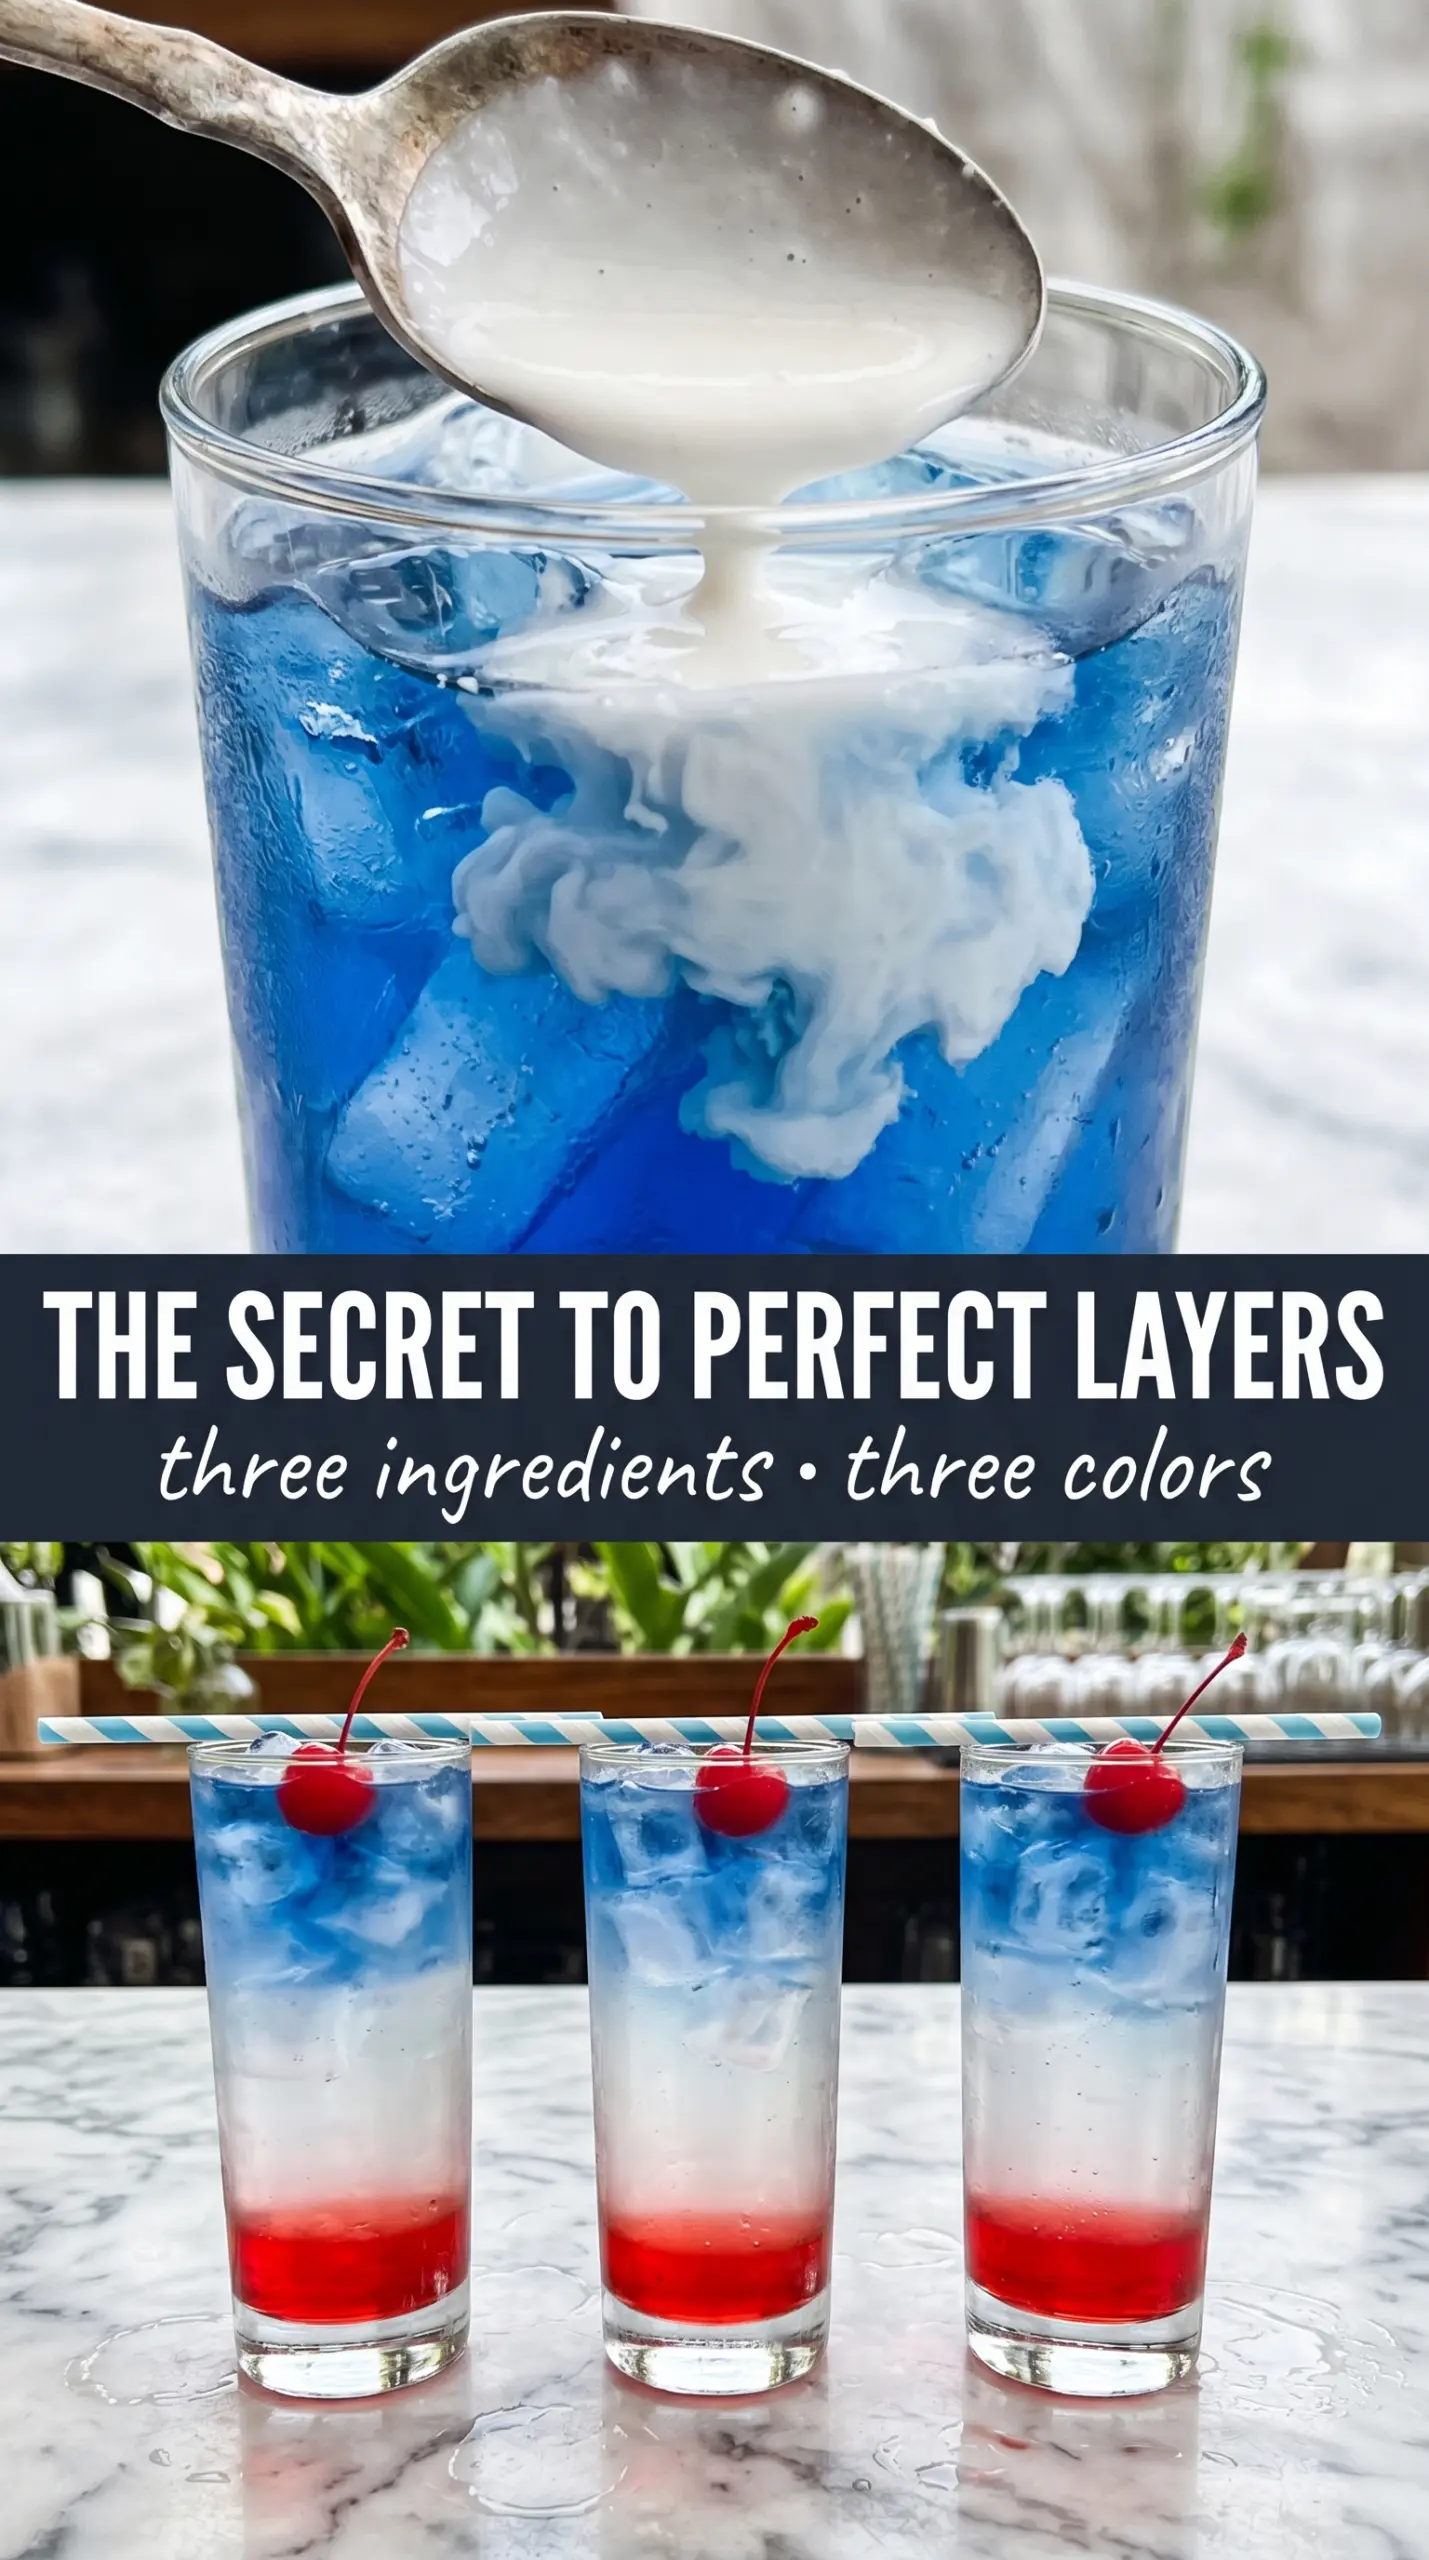
Three-layer mocktails are the kind of drink that gets people talking before they take the first sip. The red, gold, and blue bands stay crisp in the glass, and that clean separation makes a simple mix of sweet syrup, citrus, and berry flavor feel like party work. The payoff is all in the pour: if each liquid goes in gently and lands on top of the last one, you get that jewel-toned stack instead of a muddied glass.
This version works because the liquids are chosen for both color and density. Grenadine sinks, lemonade sits in the middle when poured carefully, and a blue raspberry drink gives you that bright top layer without needing any special equipment. Chilling everything first helps the layers settle faster and keeps the drink from thinning out as the ice melts. The spoon trick matters here, too — it slows the pour enough to protect each band.
Below, I’ve included the small details that make the layers hold, plus a few swaps for when you want a different color combination or need to work with what’s already in the fridge.
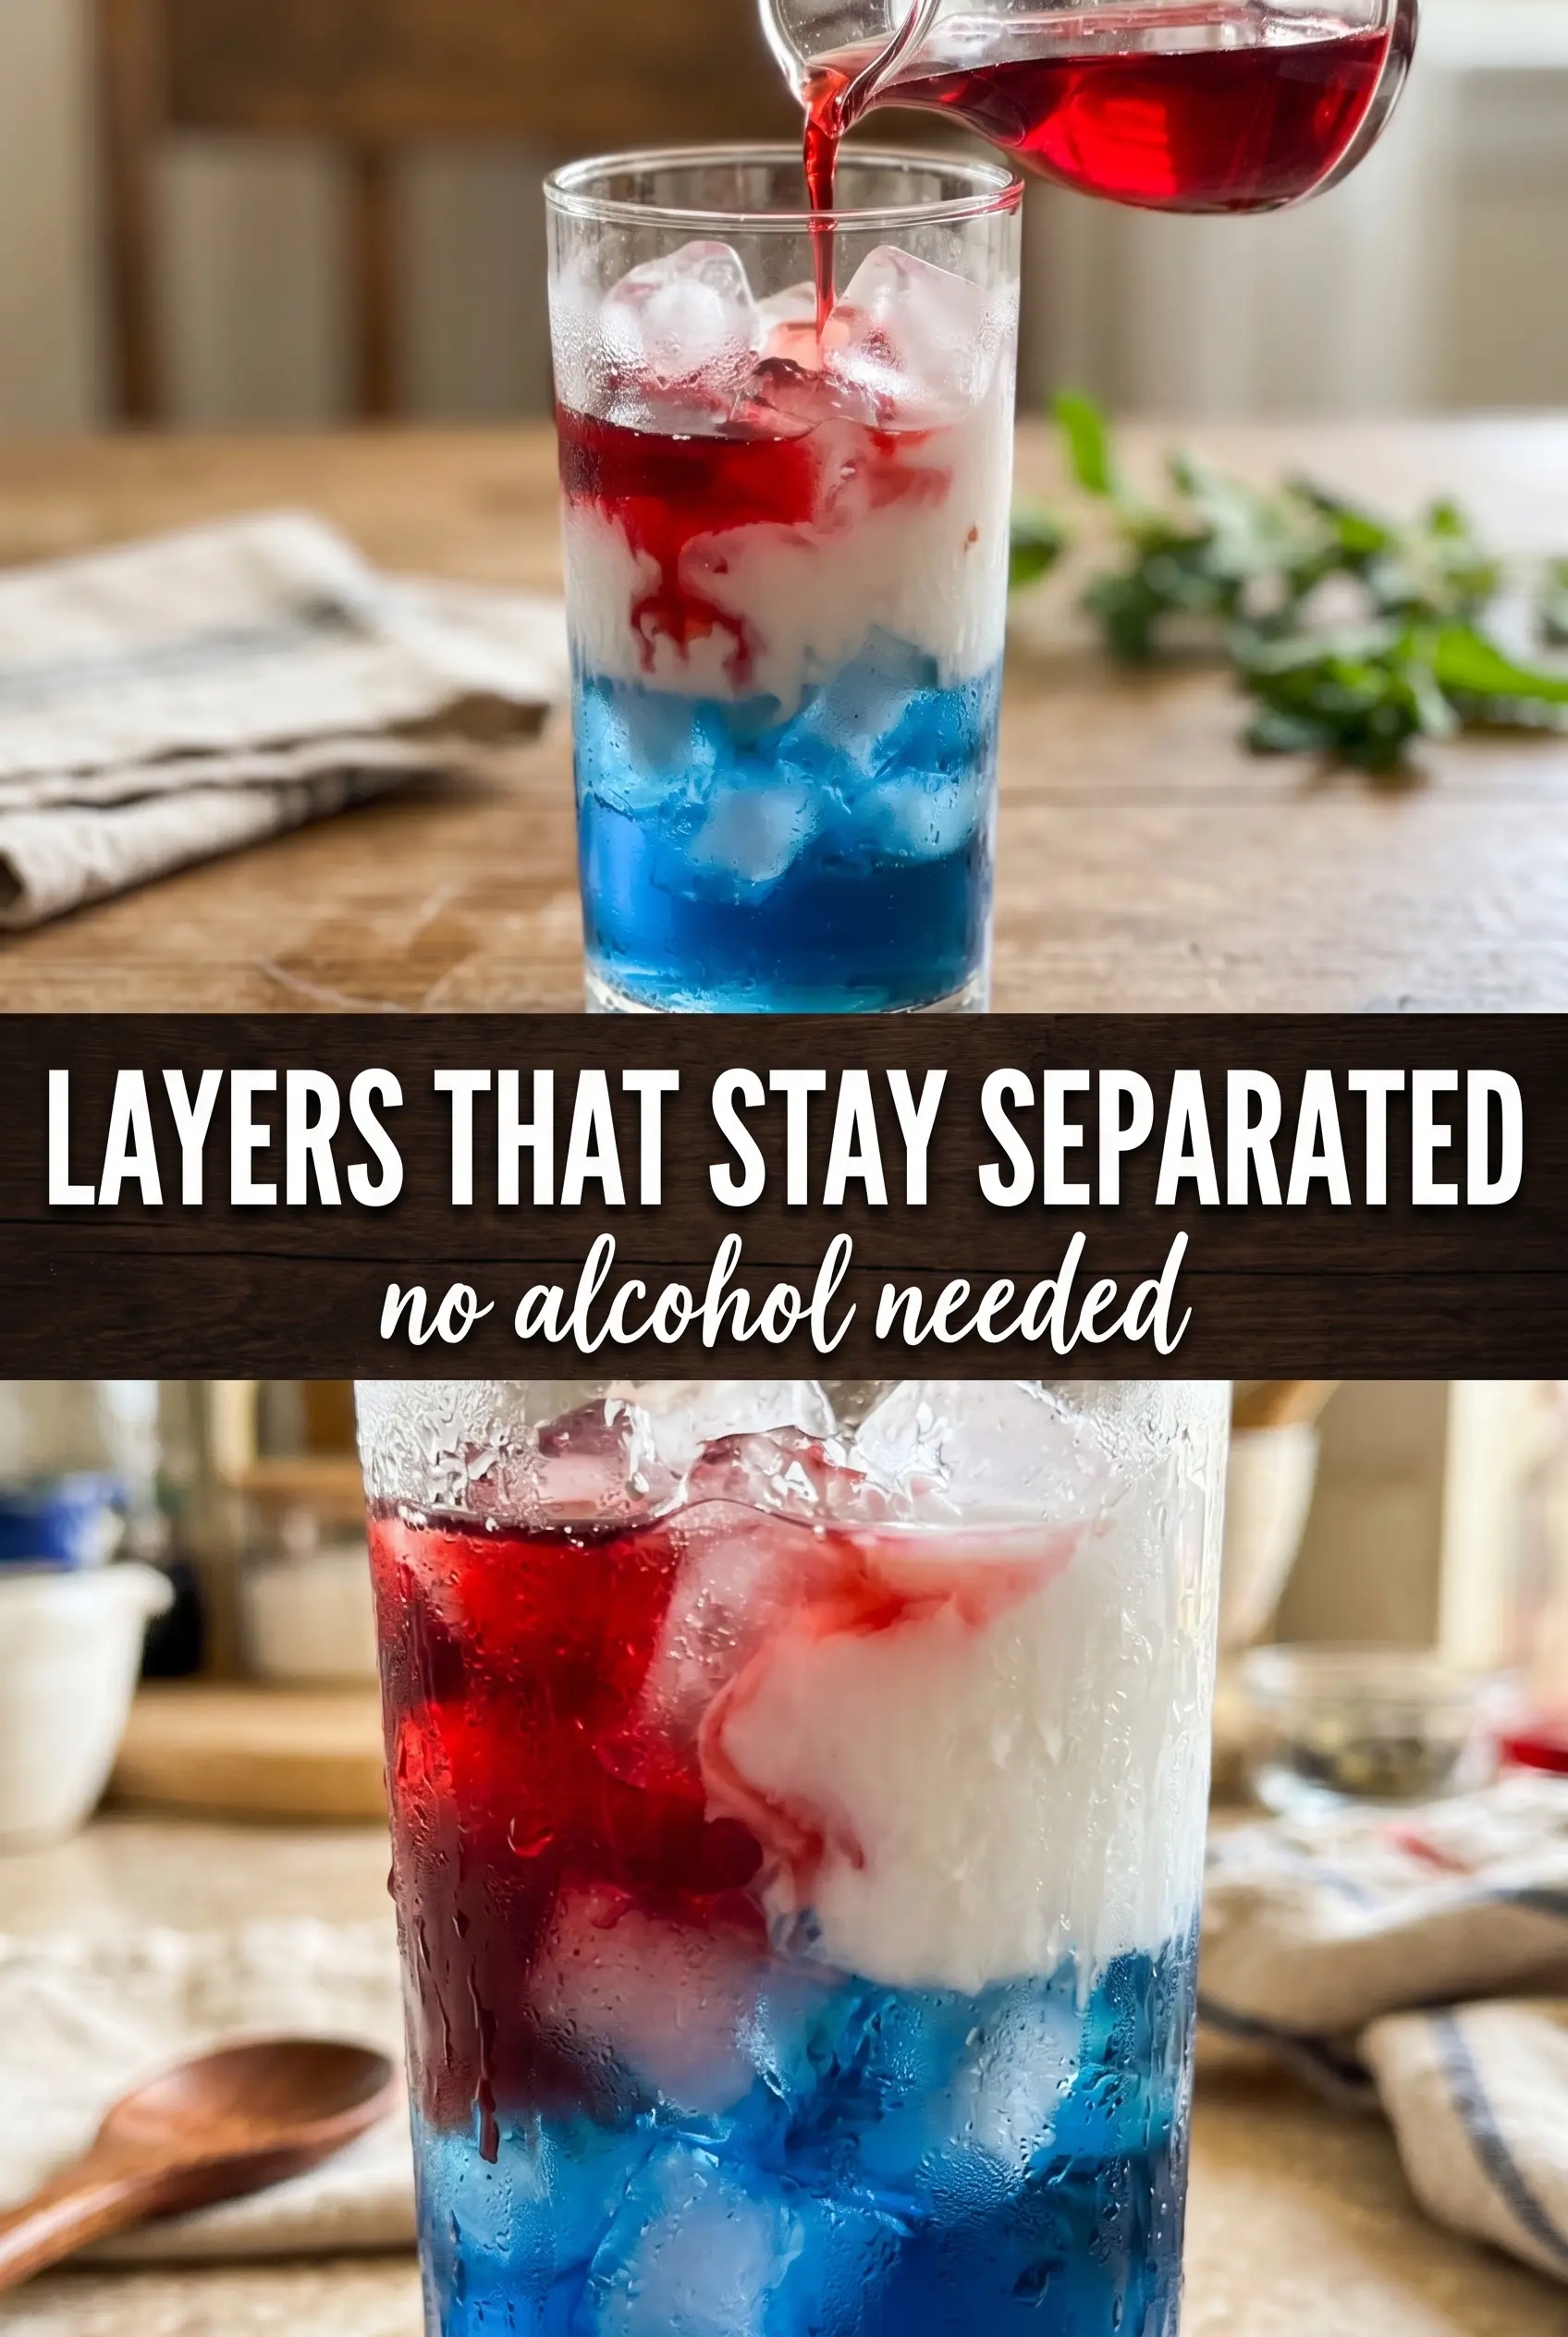
The layers stayed separate all the way to the last sip, and using the back of a spoon made the middle and top bands turn out clean instead of cloudy.
Like the look of these patriotic layered mocktails? Save this three-color drink for the next party when you want a zero-proof drink with a crisp red, gold, and blue finish.
Why the Layers Hold Instead of Blending Together
The mistake most people make with layered drinks is pouring too fast. A hard pour sends the liquid straight through the ice and disrupts the layer underneath, which is how you end up with a murky glass instead of clear stripes. The fix is simple: pour slowly over the back of a spoon and let each layer spread across the top before adding the next one.
Temperature matters just as much as technique. Cold liquids are a little more stable and less likely to rush together, while a glass packed with ice gives each layer a surface to rest on. If your first layer looks thin or streaky, pause and let it settle for a few seconds before moving on — rushing the next pour is what usually ruins the look.
What Each Ingredient Is Actually Doing in This Recipe
- Primary ingredient (the star) — Quality matters most. Choose the best you can find.
- Cooking medium (oil, butter, or broth) — This carries flavors and prevents dryness.
- Seasonings (salt, pepper, spices, herbs) — Layer flavors so nothing overpowers. Build depth gradually.
- Aromatics (garlic, onion, herbs) — Cook with fat to bloom flavors. Become the foundation.
- Supporting ingredients — Complement the main ingredient without overpowering it.
- Sauce or liquid (if applicable) — Brings flavors together. Balance richness with acid.
- Acid (lemon, vinegar, wine, or other) — Brightens and prevents flat-tasting results.
- Final finish (garnish, glaze, or sauce) — Prevents one-dimensional taste and adds visual appeal.
What Each Ingredient Is Doing in the Glass
- Grenadine syrup — This gives you the deepest red layer and the heaviest base, which is why it belongs first. Real grenadine has enough body to sink through the ice and settle at the bottom. A thin fruit syrup won’t always behave the same way.
- Lemonade, chilled — Lemonade adds the bright middle band and keeps the drink from tasting like pure candy. It needs to be cold so it doesn’t melt the ice too fast or blur the layers. Fresh lemonade or a good bottled version both work.
- Blue raspberry sports drink or blue raspberry lemonade — This top layer is mostly about color and a lighter pour. Sports drink gives the most vivid blue, while blue raspberry lemonade adds a little more tartness. Either one should be chilled well so it floats cleanly.
- Ice cubes — Ice acts like a scaffold for the layers. Fill the glass nearly to the top so each liquid has something to land on instead of plunging straight down.
- Maraschino cherries and striped straws — These don’t change the drink itself, but they finish it with the right party look. Add them right before serving so the layers stay undisturbed.
The Pour Order That Keeps Every Band Clean
Building the Red Base
Fill a tall clear glass with ice cubes almost to the top, then pour the grenadine slowly over the ice. It should sink and collect at the bottom without splashing up the sides. If the red streaks through the ice, your pour is too fast or the glass isn’t packed tightly enough. Give it a few seconds to settle before moving on.
Floating the Middle Layer
Hold a spoon just above the ice and pour the chilled lemonade over the back of it. The spoon breaks the fall of the liquid so it glides onto the grenadine instead of cutting through it. Pouring from too high is the usual problem here; even a few extra inches can blur the line between layers. Stop as soon as the glass looks evenly banded.
Finishing with the Blue Top
Use the same spoon method for the blue raspberry drink and pour it slowly over the middle layer. The top should sit clearly above the lemonade, with all three colors visible from the side. If the blue sinks, the pour was too forceful or the drink wasn’t cold enough. Garnish with a maraschino cherry and a striped straw, then serve right away before the ice starts to soften the edges.
How to Change the Colors Without Losing the Layered Look
Make it a different color trio
Swap the blue raspberry drink for another brightly colored, chilled soda or juice that’s lighter than the lemonade. The exact colors can change, but the layering rule stays the same: heaviest first, lightest-looking or most pourable last. Keep the liquids cold and the pour slow, or the new colors will blend just like the original ones would have.
Make it less sweet
Use unsweetened or lightly sweetened lemonade and a blue sports drink with lower sugar if you want a sharper drink. The visual effect stays the same, but the finish tastes cleaner and less syrupy. This is the easiest adjustment when you’re serving kids and adults together and want something that doesn’t taste like dessert.
Make it vegan-friendly and gluten-free without changing anything
This drink is already naturally dairy-free, vegetarian, and gluten-free as long as your lemonade and sports drink are labeled accordingly. That means no special substitutions are needed for most guests. Just check the bottles if you’re serving someone with allergies, since some flavored drinks contain additives you might not expect.
Batch the components for a crowd
You can chill the ingredients in advance and line up the glasses with ice, but don’t assemble them too early. Once the liquids sit together for long enough, the edges start to soften and the clean bands fade. For best results, pour each glass just before serving so the colors still look sharp when they hit the table.
Serving and prep timing
These drinks are best made and served immediately. You can prep the garnishes, chill the liquids, and set out the glasses ahead of time, but once the layers are built, the clock starts ticking. The ice slowly melts into the bands, which is normal; the goal is to serve them while the colors still look crisp and distinct.
Answers to the Questions Worth Asking
Non-Alcoholic Layered Drinks (Three-Layer Grenadine Lemonade & Blue Raspberry)
Ingredients
Method
- Fill a tall clear glass with ice cubes almost to the top.
- Pour grenadine syrup slowly over the ice; it will sink to the bottom as the first layer.
- Gently pour the chilled lemonade over the back of a spoon held just above the ice to create a clean middle layer.
- Pour the blue raspberry drink over the spoon in the same way to float it as the top layer.
- Garnish with a maraschino cherry and a striped straw and serve immediately without stirring.