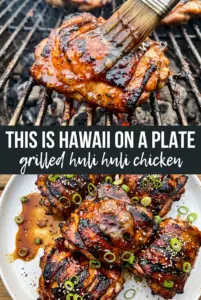
Grilled Huli Huli chicken earns its spot in the rotation because the glaze turns sticky, smoky, and deeply caramelized without losing that bright pineapple note. The skin picks up char, the marinade clings in layers, and the finished chicken lands somewhere between barbecue and teriyaki in the best possible way.
What makes this version work is the balance in the marinade and the way the sauce gets handled. Pineapple juice brings sweetness and a little acidity, soy sauce gives the salt, ketchup adds body, and the brown sugar helps the glaze darken on the grill instead of sliding off. Reserving part of the marinade before the chicken goes in is the move that keeps your basting sauce safe and lets it reduce into something glossy instead of thin and muddy.
Below, you’ll find the timing that keeps the chicken juicy, the one grilling step that builds the char without burning the sugar, and a few ways to adapt it if you want to swap the cut or make the dish work with what’s already in your pantry.
The glaze thickened up beautifully on the grill, and the chicken stayed juicy even after basting a few times. I served it with the grilled pineapple and my husband went back for seconds before I had even sat down.
Grilled Huli Huli chicken belongs on your Pinterest board for the nights when you want sticky pineapple-teriyaki glaze and real grill marks.
The Glaze Only Works If You Split It Before Marinating
The biggest mistake with Huli Huli chicken is basting with marinade that touched raw chicken. That shortcut can make the whole dish taste flat, and it also leaves you with a sauce that never quite turns glossy. Reserving a third of the marinade before the chicken goes in gives you a clean basting glaze you can simmer and reduce into something thick enough to cling to the skin.
The second thing that matters is heat control. Brown sugar and ketchup burn fast if the grill runs too hot, so medium heat is the sweet spot. You want steady caramelization, not blackened spots that taste bitter before the chicken is cooked through.
- Chicken thighs or leg quarters — Bone-in pieces stay juicier over a longer grill time than boneless breasts. If you use breasts, reduce the cook time and pull them early, because they dry out once the glaze starts darkening.
- Pineapple juice — This is what gives the marinade its signature sweet-tart edge. Fresh juice is fine, but canned works well and is often more consistent; just use unsweetened if you can.
- Mirin or dry sherry — Either one adds depth and a little roundness to the glaze. If you skip it, the sauce tastes more one-note, so this is one ingredient I’d keep if possible.
- Sesame oil — Use the real thing, not toasted sesame-flavored substitute. A small amount goes a long way and gives the glaze that nutty finish that makes the chicken taste complete.
What Each Part of the Marinade Is Doing on the Grill
- Soy sauce — This is the salt and the backbone. It seasons the meat all the way through during the long marinate, and it helps the glaze darken while it cooks.
- Ketchup and brown sugar — These build the sticky finish. Ketchup adds body and a touch of acidity, while brown sugar melts into the glaze and helps it cling to the chicken instead of sliding off.
- Garlic and ginger — Fresh is worth it here. Garlic powder and ground ginger can work in a pinch, but the fresh aromatics keep the glaze lively after it reduces.
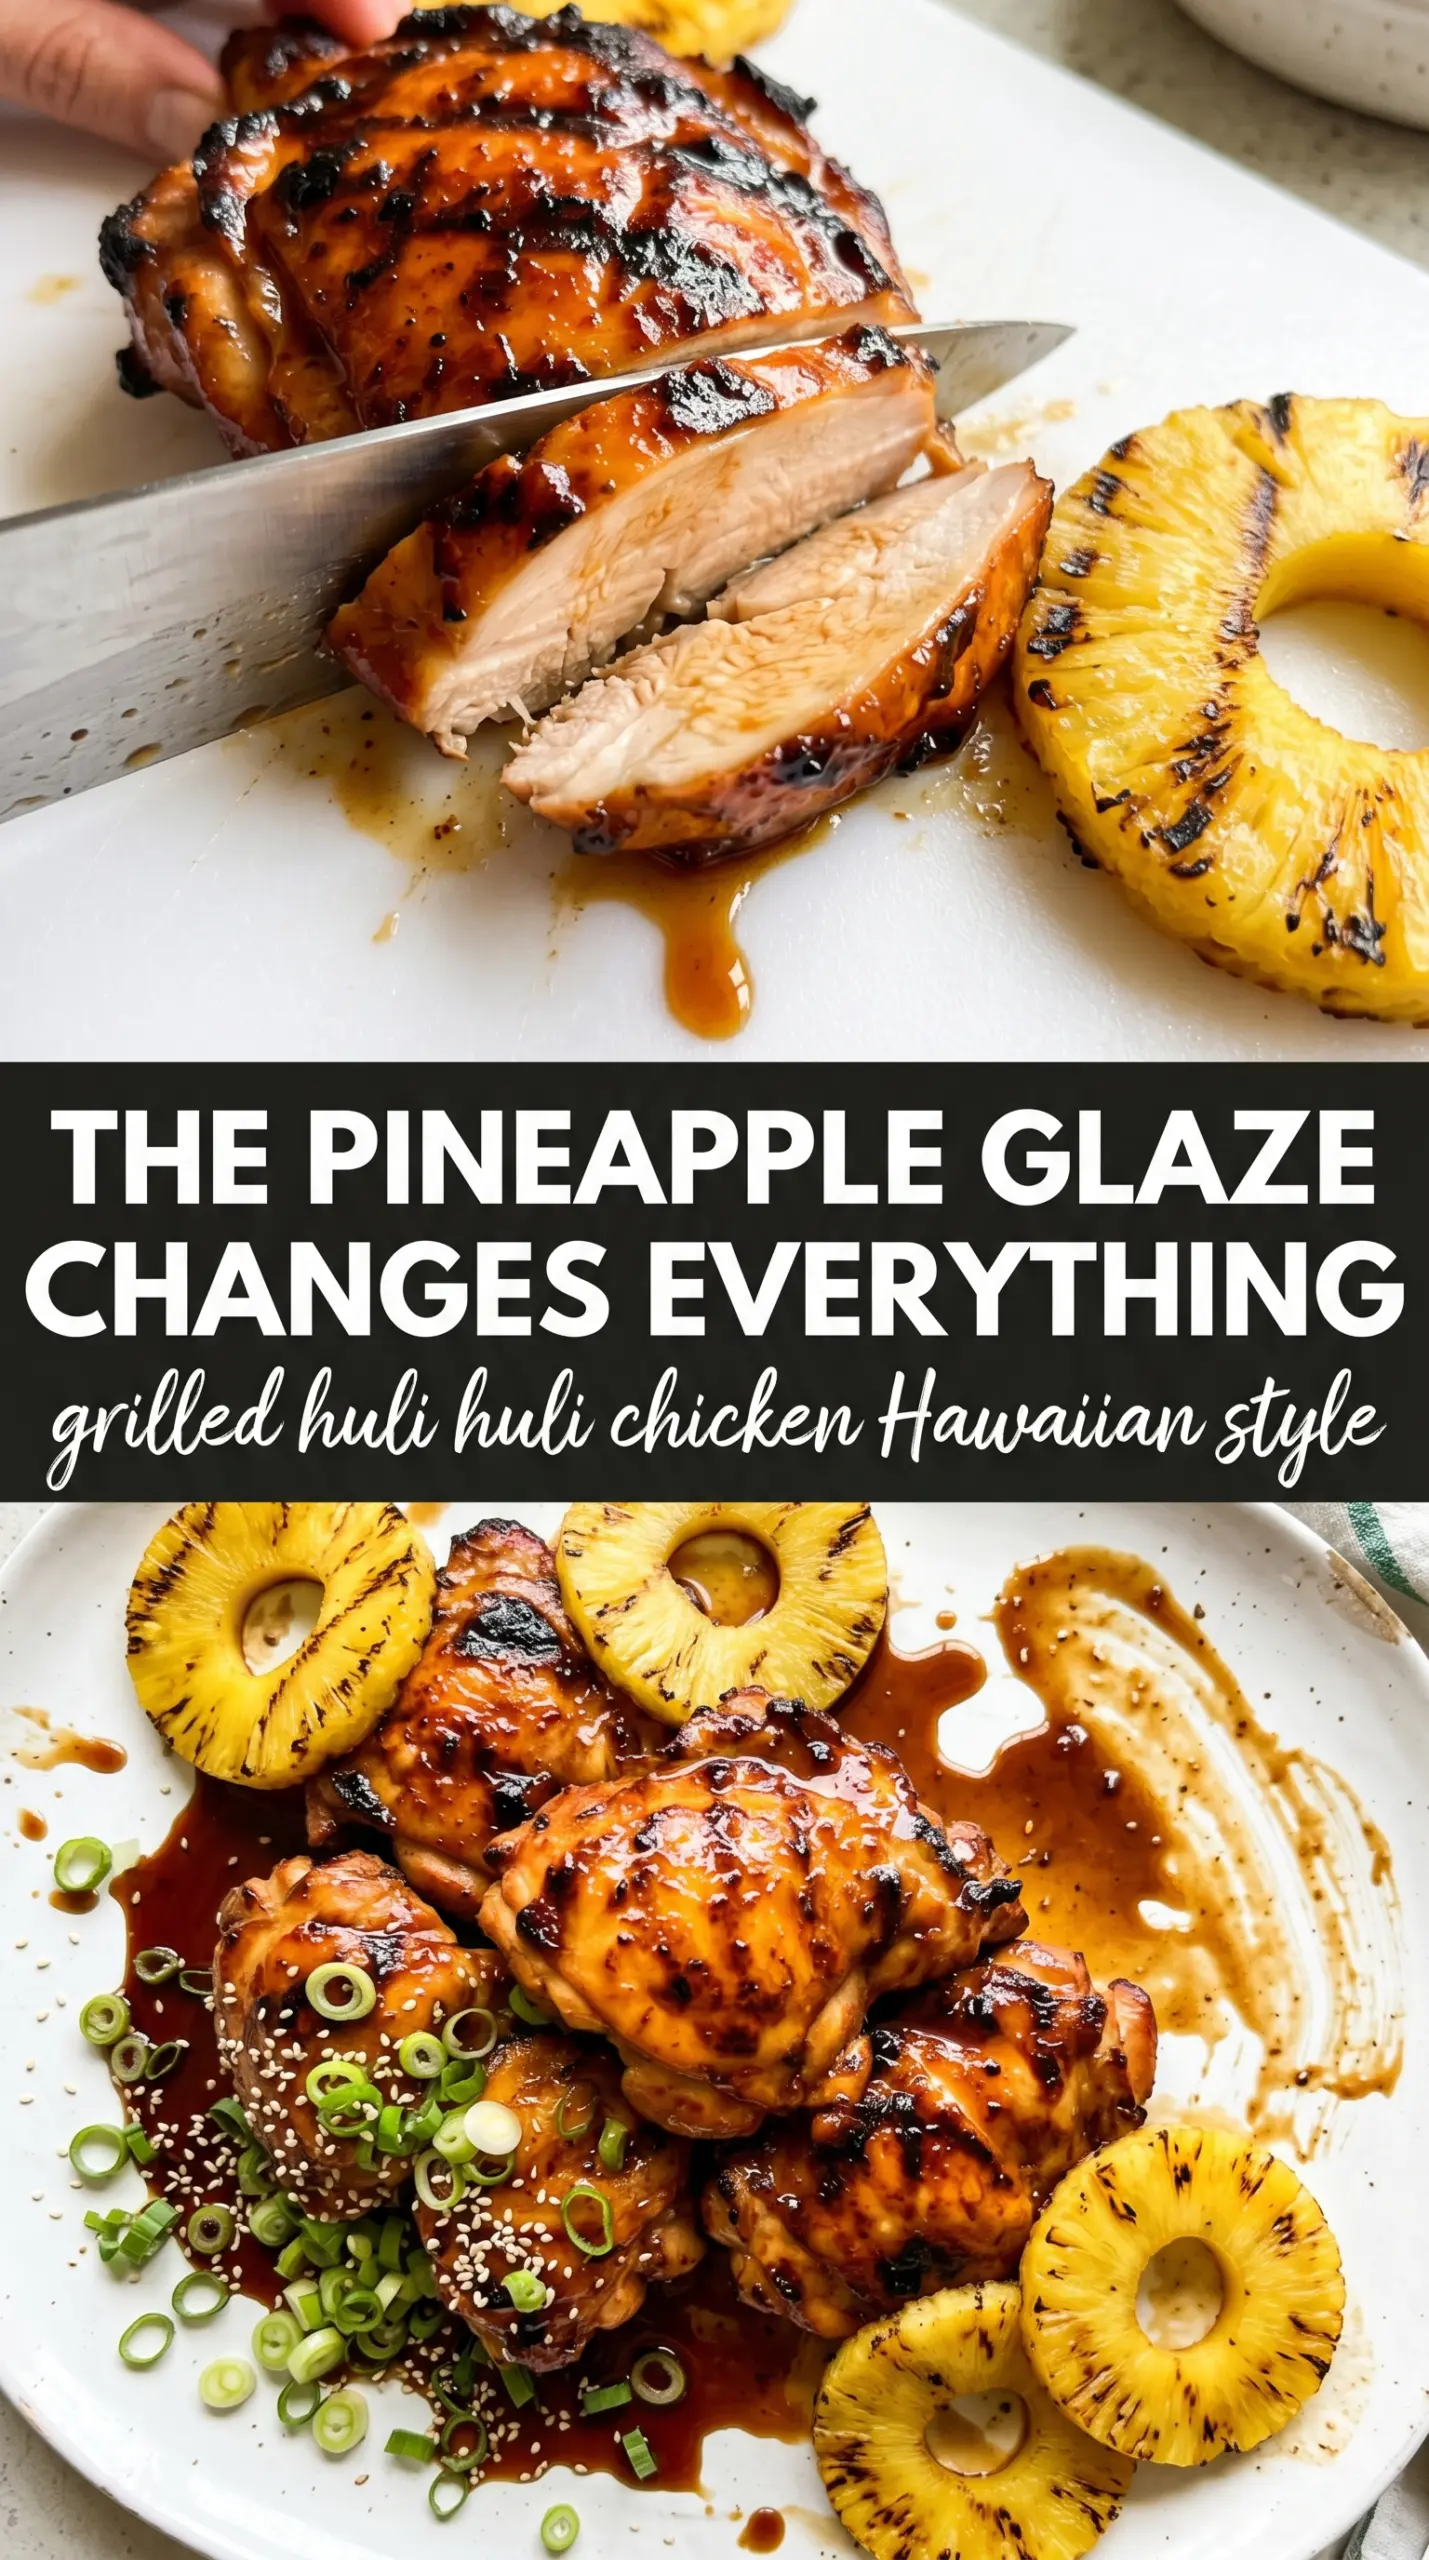
- Pineapple rings — Grill them alongside the chicken for a sweet, smoky side that makes the plate feel finished. Let them char lightly; if they sit too long, they collapse and lose their shape.
How to Build the Char Without Burning the Glaze
Mix and Reserve the Marinade
Whisk the soy sauce, pineapple juice, ketchup, brown sugar, mirin, garlic, ginger, and sesame oil until the sugar dissolves and the mixture looks smooth. Measure out one-third before the raw chicken goes in, because that portion becomes your basting glaze later. If you skip that reserve step, you’ll end up trying to salvage a sauce that can’t safely touch the finished chicken.
Marinate Until the Meat Tastes Seasoned Through
Coat the chicken well and let it sit for at least 4 hours, or overnight if you have the time. Bone-in chicken needs that longer soak so the seasoning gets past the surface and into the meat near the bone. If the marinade is rushed, the outside can taste sweet while the inside stays underseasoned.
Reduce the Reserved Glaze
Simmer the reserved marinade in a small saucepan for about 5 minutes, just until it thickens slightly and turns glossy. You’re not making caramel; you’re concentrating the flavors enough that the sauce will cling when you brush it on the grill. If it starts looking syrupy and dark at the edges, pull it off the heat before it becomes sticky in the pan instead of on the chicken.
Grill Bone-Side Down First
Preheat the grill to medium heat, then place the chicken bone-side down first so the meat has time to cook gently before the skin and glaze get all the heat. Turn every 8 to 10 minutes and baste generously with the reduced glaze after each turn. If your grill has hot spots, move the chicken around as needed; sugar burns fastest where the flames hit hardest.
Finish With the Pineapple
Grill the pineapple rings for 2 to 3 minutes per side until they pick up good color and a few charred edges. They should look caramelized and smell almost candy-sweet. Serve them with the chicken, then scatter on green onions and sesame seeds while everything is still hot so the garnish sticks and looks fresh.
Three Ways to Adjust This Without Losing the Huli Huli Character
Use boneless thighs for a faster cook
Boneless thighs still stay juicy and take the glaze well, but they cook faster and need closer attention on the grill. Start checking them earlier than the bone-in version, because they’ll go from perfect to dry much faster once the sugars on the surface start to darken.
Make it gluten-free
Swap in tamari for the soy sauce and check that your mirin or dry sherry is gluten-free if needed. The flavor stays close to the original, and the texture of the glaze doesn’t change.
Dial back the sweetness
If you want a less sweet glaze, reduce the brown sugar slightly and use a pineapple juice that isn’t labeled sweetened. The chicken will still caramelize, but the finish will read more savory and a little less sticky.
Oven-finish after grilling
If your grill runs hot or uneven, give the chicken a short head start on the grill for flavor, then finish it in a 400°F oven until it reaches 165°F. You’ll lose a little of the live-fire smokiness, but you’ll gain control over the glaze and avoid scorching the sugar before the meat is cooked.
Storage and Reheating
- Refrigerator: Store leftovers in an airtight container for up to 4 days. The glaze will thicken as it chills, but the flavor holds up well.
- Freezer: The cooked chicken freezes well for up to 2 months. Wrap portions tightly and freeze with a little extra glaze if you can, since the sauce helps protect the meat from drying out.
- Reheating: Reheat covered in a 325°F oven until warmed through, or use a skillet over low heat with a splash of water to loosen the glaze. High heat will burn the sugars before the center is hot.
Answers to the Questions Worth Asking

Grilled Huli Huli Chicken
Ingredients
Equipment
Method
- Whisk soy sauce, pineapple juice, ketchup, brown sugar, mirin, garlic, ginger, and sesame oil, then reserve 1/3 for basting.
- Place chicken in a dish and pour in the remaining 2/3 of the marinade; marinate for at least 4 hours or overnight in the refrigerator.
- Simmer the reserved marinade in a small saucepan over medium heat for 5 minutes until slightly thickened, stirring occasionally.
- Preheat the grill to medium heat, then grill chicken bone-side down first.
- Turn chicken every 8-10 minutes and baste generously with the reduced glaze as it grills.
- Continue grilling until deeply caramelized and the internal temperature reaches 165F, about 30-35 minutes total.
- Grill pineapple rings 2-3 minutes per side until marked and lightly caramelized.
- Serve huli huli chicken with pineapple rings, topped with green onions and sesame seeds.