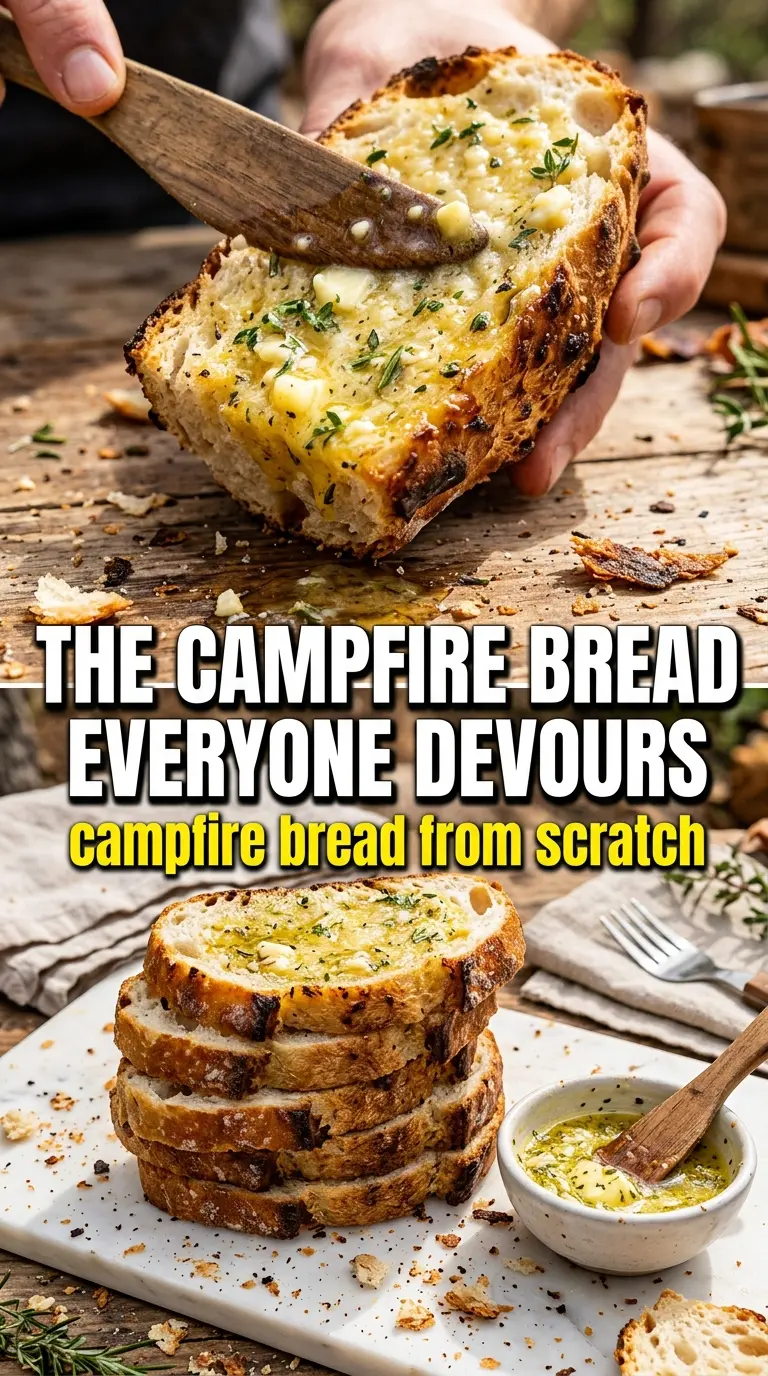
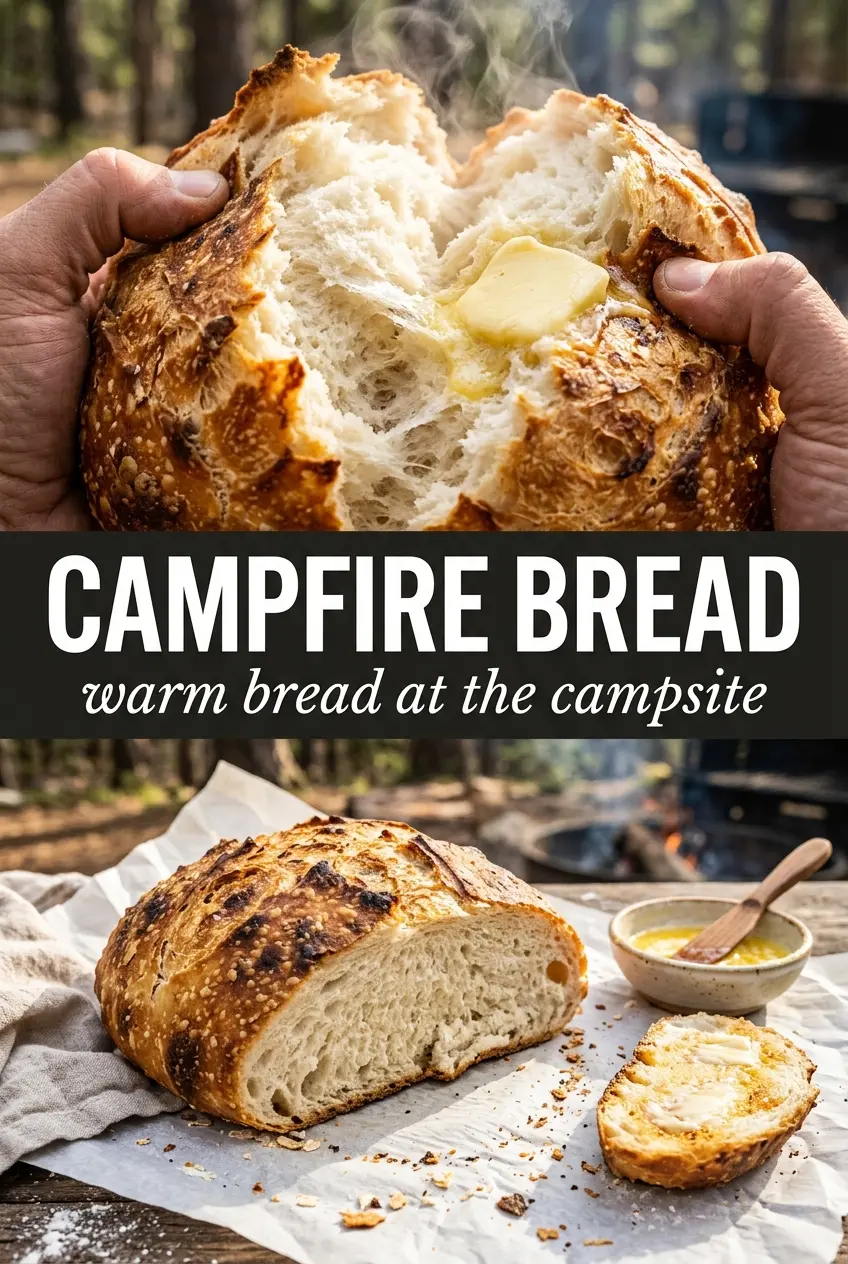
Campfire bread turns a few pantry staples into something that tastes like the best part of camping: warm, golden, and just a little smoky around the edges. The outside bakes into a crisp shell while the inside stays soft and fluffy, and the spiral shape gives you those extra ridges that catch butter the moment it melts.
What makes this version work is the balance in the dough. Baking powder gives it lift without yeast, powdered milk adds a little richness and better browning, and the dough is kept slightly sticky so it wraps and seals around the stick instead of cracking off in the heat. Coals matter here. Flames are too aggressive and will blacken the outside before the center has time to cook.
Below, I’ve included the small details that keep the dough from sliding, burning, or baking up dense. If you’ve ever had campfire bread that looked done on the outside but stayed gummy inside, the fix is in the heat and the rotation.
The dough stayed on the stick the whole time and baked up with a crisp outside and fluffy middle. We ate the first batch plain, then made a second round with cinnamon butter.
Save this campfire bread for your next camping trip, backyard fire pit night, or easy stick bread craving.
The Part That Keeps Campfire Bread From Burning Outside and Staying Raw Inside
The biggest mistake with stick bread is treating it like it belongs directly in the flames. It doesn’t. Flames scorch the outside before the center has time to set, which is how you end up with a charred shell and gummy dough underneath. Hot coals give you steady heat, and steady heat is what lets the bread cook all the way through while the surface turns evenly golden.
Rotation matters just as much as the heat source. Keep the stick moving so one side doesn’t sit in the hottest spot too long, and hold it a little back from the coals if the browning starts moving too fast. If the dough looks dark on the outside after only a few minutes, the fire is too hot. Pull it back and give it time; the bread should sound dry and feel light when it’s cooked, not doughy or heavy.
What the Dough Ingredients Are Doing in This Bread
- All-purpose flour — This gives the bread its structure without making it tough. Bread flour isn’t needed here, and it can make the dough a little too chewy for quick campfire baking.
- Baking powder — This is the lift. Since there’s no yeast or long rise, baking powder is what keeps the center from baking up dense and flat.
- Powdered milk — It adds a gentle dairy richness and helps the bread brown better over the fire. If you skip it, the bread will still work, but the flavor is a little less rounded.
- Sugar — Just enough to encourage browning and balance the salt. You’re not making sweet bread here, but a small amount helps the crust color nicely.
- Water — Add it gradually and stop as soon as the dough comes together. The dough should be slightly sticky so it grips the stick; if it’s dry and crumbly, it will crack when you wrap it.
- Roasting sticks — Use clean, sturdy sticks or metal roasting skewers. The bread needs something it can cling to while it cooks, and a stable stick makes rotating much easier.
Wrapping and Roasting the Dough So It Cooks Evenly
Mixing the Dough Without Overworking It
Stir the dry ingredients together first, then add the water and mix just until a dough forms. It should look a little rough and feel tacky, not dry and shaggy. If you keep kneading past that point, the dough can turn tight and harder to stretch around the stick. A quick mix is enough because the fire does the rest of the work.
Shaping the Ropes and Spirals
Divide the dough into even portions, then roll each one into a rope about an inch thick. Start at the end of the stick and spiral the dough around itself, overlapping slightly so there aren’t thin gaps. Press the ends together just enough to seal them. If the rope is too thin, it can dry out before the center cooks, so keep the shape thick and even.
Cooking Over the Coals
Hold the wrapped dough over hot coals and turn it constantly. You want steady browning, not rushing color. The bread is done when the outside is deep golden and the dough feels set all the way around; if you tap it gently, it should feel firm instead of soft and wet. If one side darkens too fast, lift the stick higher for a minute and let the heat even out.
Finishing and Serving Warm
Slide the bread off the stick as soon as it’s cooked through. Serve it warm while the crust is crisp and the inside is soft enough for butter or jam to melt into the spiral. If you let it sit too long, the crust softens, so eat it right away if you want that contrast. That’s the moment this bread is at its best.
How to Adapt This Bread for Different Camps and Different Eaters
Dairy-Free Version
Swap the powdered milk for the same amount of dairy-free milk powder if you have it, or leave it out and add a touch more sugar for a little more browning. The bread will still cook well, but it’ll taste slightly less rich.
Sweeter Breakfast-Style Bread
Add an extra tablespoon of sugar and serve it with cinnamon butter or honey. The texture stays the same, but the flavor leans more toward a campfire breakfast treat than a plain side.
Gluten-Free Swap
Use a 1:1 gluten-free flour blend that includes xanthan gum, then keep the dough on the softer side. Gluten-free dough can be a little more fragile on the stick, so wrap it a touch thicker and rotate it more often.
Storage and Reheating
- Refrigerator: Store leftovers in an airtight container for up to 2 days. The crust softens as it sits, but the bread still tastes good reheated.
- Freezer: Freeze after cooling completely, wrapped well, for up to 1 month. The texture is best fresh, but freezing works if you want to bring extras on a trip.
- Reheating: Warm in a low oven or over gentle heat until heated through. Skip the microwave if you want to keep the outside from turning rubbery while the center steams.
Answers to the Questions Worth Asking
Campfire Bread
Ingredients
Method
- Mix all-purpose flour, baking powder, salt, sugar, and powdered milk in a large bowl or zip-top bag until evenly combined, with no visible streaks.
- Add water and mix until a slightly sticky dough forms, stopping as soon as it clumps together.
- Divide the dough into 10 portions for even cooking.
- Roll each portion into a long rope about 1 inch thick.
- Wrap each dough rope around the end of a roasting stick in a spiral pattern with the dough touching the stick and each turn slightly overlapping.
- Hold the wrapped sticks over campfire coals (not flames) and rotate constantly for 12-15 minutes until golden brown and cooked through, using the even browning as your visual cue.
- Slide the bread off the stick carefully and serve warm, with butter or jam if desired.