Shatteringly crisp chicken tossed in a sticky honey garlic glaze earns its place fast. The coating stays light instead of heavy, the sauce clings in a glossy layer, and every bite lands with that sweet-salty garlic hit that makes takeout feel unnecessary.
What makes this version work is the balance between the dredge and the sauce. Cornstarch keeps the crust brittle, flour gives it enough body to hold, and the egg helps it cling to the chicken so the coating doesn’t slide off in the oil. The sauce is built separately and thickened just enough to lacquer the chicken without turning candy-sweet or gluey.
Below, I’ve included the one frying detail that keeps the coating crisp, plus a few swaps that still give you a dinner worth repeating.
The chicken stayed crispy even after tossing it in the sauce, and the garlic-honey glaze thickened up in just a few minutes. My husband kept picking pieces straight off the plate before dinner made it to the table.
Save this crispy Chinese honey garlic chicken for the nights when you want glossy takeout-style sauce and shatter-crisp coating in one pan.
The Reason the Chicken Stays Crispy After the Sauce Hits It
The biggest mistake with honey garlic chicken is letting the sauce do too much work too early. If the chicken goes straight into a wet sauce before the crust has set, the coating softens on contact and you lose that crackly edge that makes the dish worth frying in the first place. Here, the chicken is fried until the crust is deep golden and firm, then tossed in a sauce that has already thickened on the stove. That short window matters.
The other thing that helps is the starch-heavy dredge. Cornstarch fries up lighter and more brittle than flour alone, while the flour keeps the coating from feeling dusty or fragile. The result is a crust that can actually hold its own under a sticky glaze instead of dissolving the second it meets heat and moisture.
- Frying temperature — 375°F is the sweet spot. Too cool and the coating drinks oil before it crisps; too hot and the outside browns before the chicken cooks through.
- Batch size — Fry in small batches so the oil stays hot. Crowding drops the temperature fast and gives you pale, greasy chicken.
- Thickened sauce — The cornstarch slurry is what makes the glaze cling. If it stays thin, it runs right off the chicken and pools in the bowl.
What the Flour, Cornstarch, and Honey Are Each Doing Here
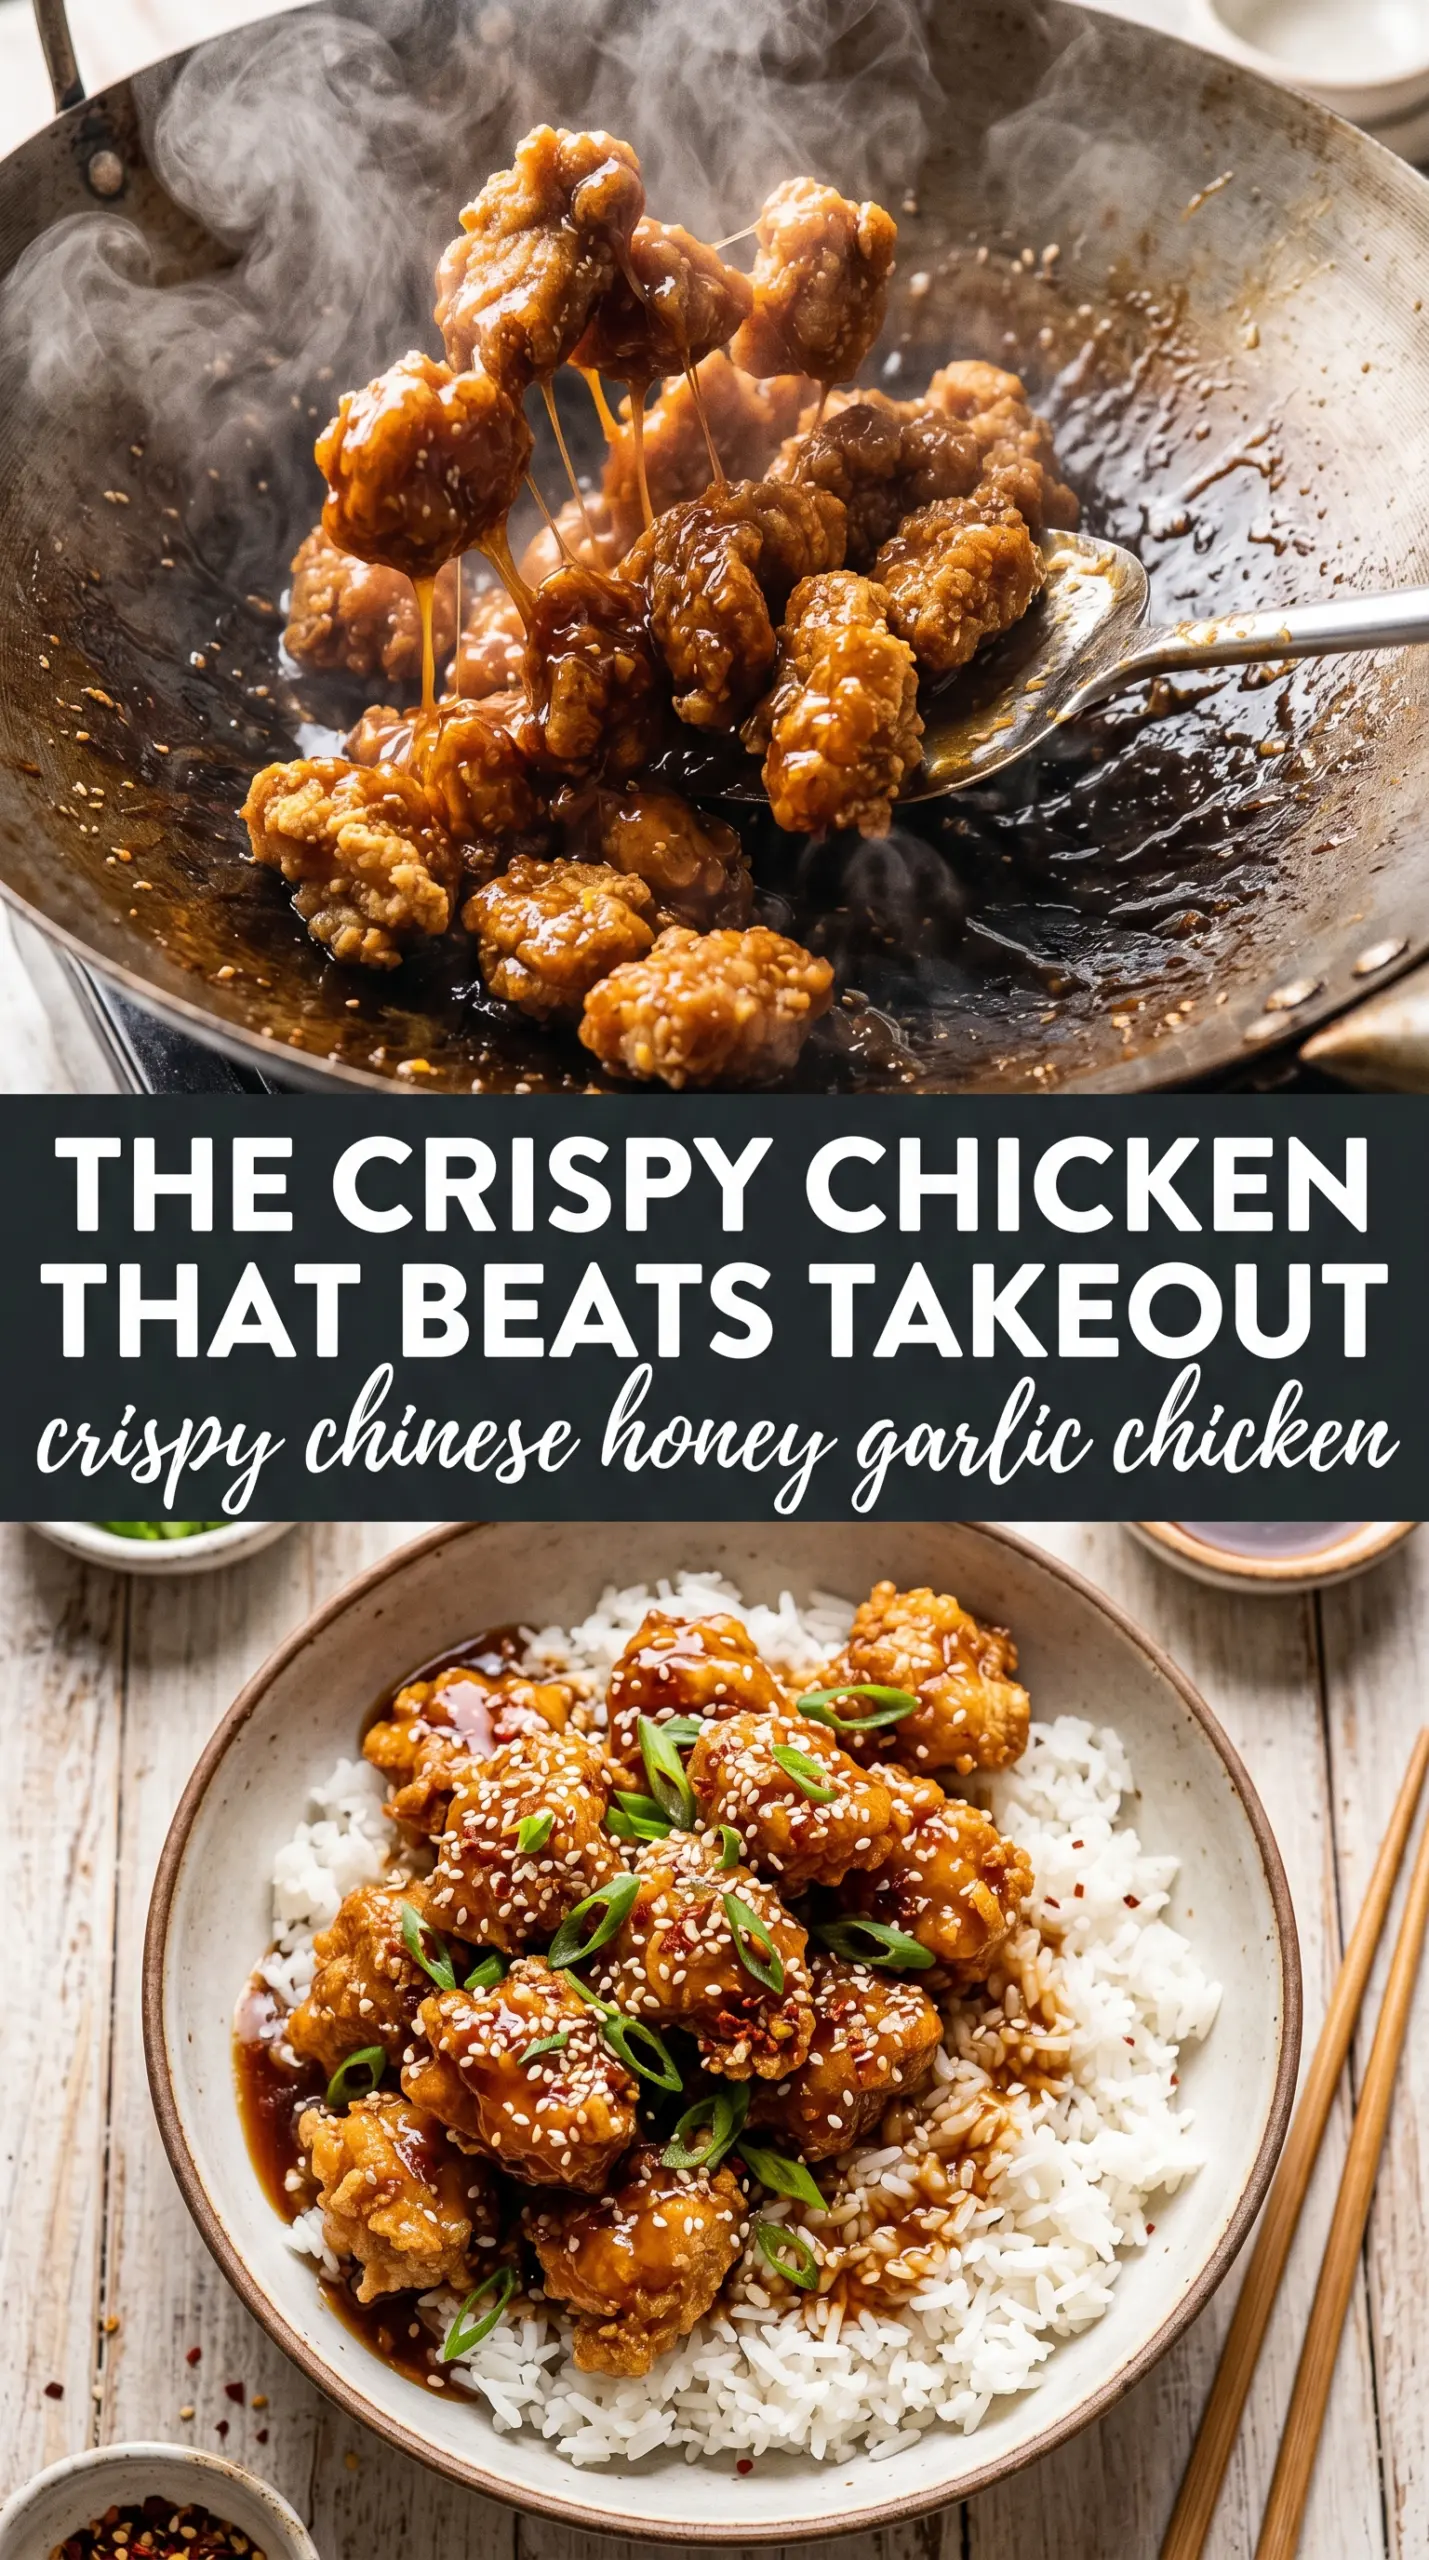
- Chicken thighs — Thighs stay juicy through frying and hold up better than breast meat. If you swap in breast, cut the pieces a little larger and pull them as soon as they’re cooked so they don’t dry out.
- Cornstarch and flour — This combination gives the crust structure and crunch. All cornstarch makes the coating a little too delicate; all flour makes it heavier and less crisp.
- White pepper — It adds that subtle restaurant-style warmth without turning the coating peppery. Black pepper works in a pinch, but it changes the look and lands more sharply.
- Rice vinegar — This keeps the sauce from tasting flat. The acid cuts the sweetness of the honey and gives the glaze a cleaner finish.
- Sesame oil — Stir it in off the heat. It’s there for aroma, not frying, and it loses some of its character if it cooks too hard.
Frying First, Glazing Last
Dredging for a Craggy Coating
Whisk the dry ingredients well so the garlic powder, salt, and white pepper are evenly spread through the coating. Dip each piece of chicken in the egg, then press it into the flour mixture until the surface looks rough and fully covered. That roughness turns into extra crunch in the oil. If the chicken looks slick or patchy, the coating was too light and you’ll end up with bare spots after frying.
Getting the Oil to the Right Heat
Heat the oil to 375°F before the first batch goes in. The chicken should sizzle the moment it hits the pan, but it shouldn’t violently sputter or darken too fast. Fry in batches for 5 to 6 minutes until the pieces are deep golden and cooked through. If the coating browns before the centers are done, the oil is too hot.
Building the Honey Garlic Glaze
Put the honey, soy sauce, garlic, and rice vinegar in a saucepan and bring it to a gentle simmer. Once the garlic smells fragrant and the mixture looks slightly syrupy, stir in the cornstarch slurry and cook for 2 to 3 minutes until the sauce turns glossy and coats the back of a spoon. Pull it off the heat before adding the sesame oil so the finish stays bright.
Tossing Without Losing the Crunch
Add the fried chicken to the sauce and toss quickly, just until every piece is coated. Don’t let it sit in the pan soaking in the glaze, or the crust will soften from the steam. The best texture happens when the sauce is thick enough to cling immediately and the chicken goes straight to the serving bowl.
How to Change the Dish Without Losing the Crunch
Gluten-Free Version
Use a gluten-free all-purpose blend in place of the flour and swap in tamari for the soy sauce. The coating stays crisp as long as the blend contains starch, and the sauce keeps the same sticky finish without the wheat.
Oven or Air Fryer Version
You can cook the coated chicken in an air fryer or a very hot oven, but the crust won’t be quite as blistered or shattery as the fried version. Spray the pieces with oil and cook until deeply golden before tossing with the sauce, or the coating will taste dry and pale.
Lower-Sugar Sauce
Reduce the honey slightly and lean on the vinegar and soy sauce for balance. The glaze will be less sticky and a little less glossy, but it still clings well if you cook it long enough to thicken properly.
Storage and Reheating
- Refrigerator: Store leftovers in an airtight container for up to 3 days. The coating softens after saucing, but the flavor holds.
- Freezer: Freeze the fried chicken and the sauce separately for the best texture. Sauced chicken freezes poorly because the crust turns soggy once thawed.
- Reheating: Reheat the chicken in a 400°F oven or air fryer until hot and re-crisped, then warm the sauce separately and toss just before serving. If you microwave it all together, the coating goes limp fast.
Questions I Get Asked About This Recipe
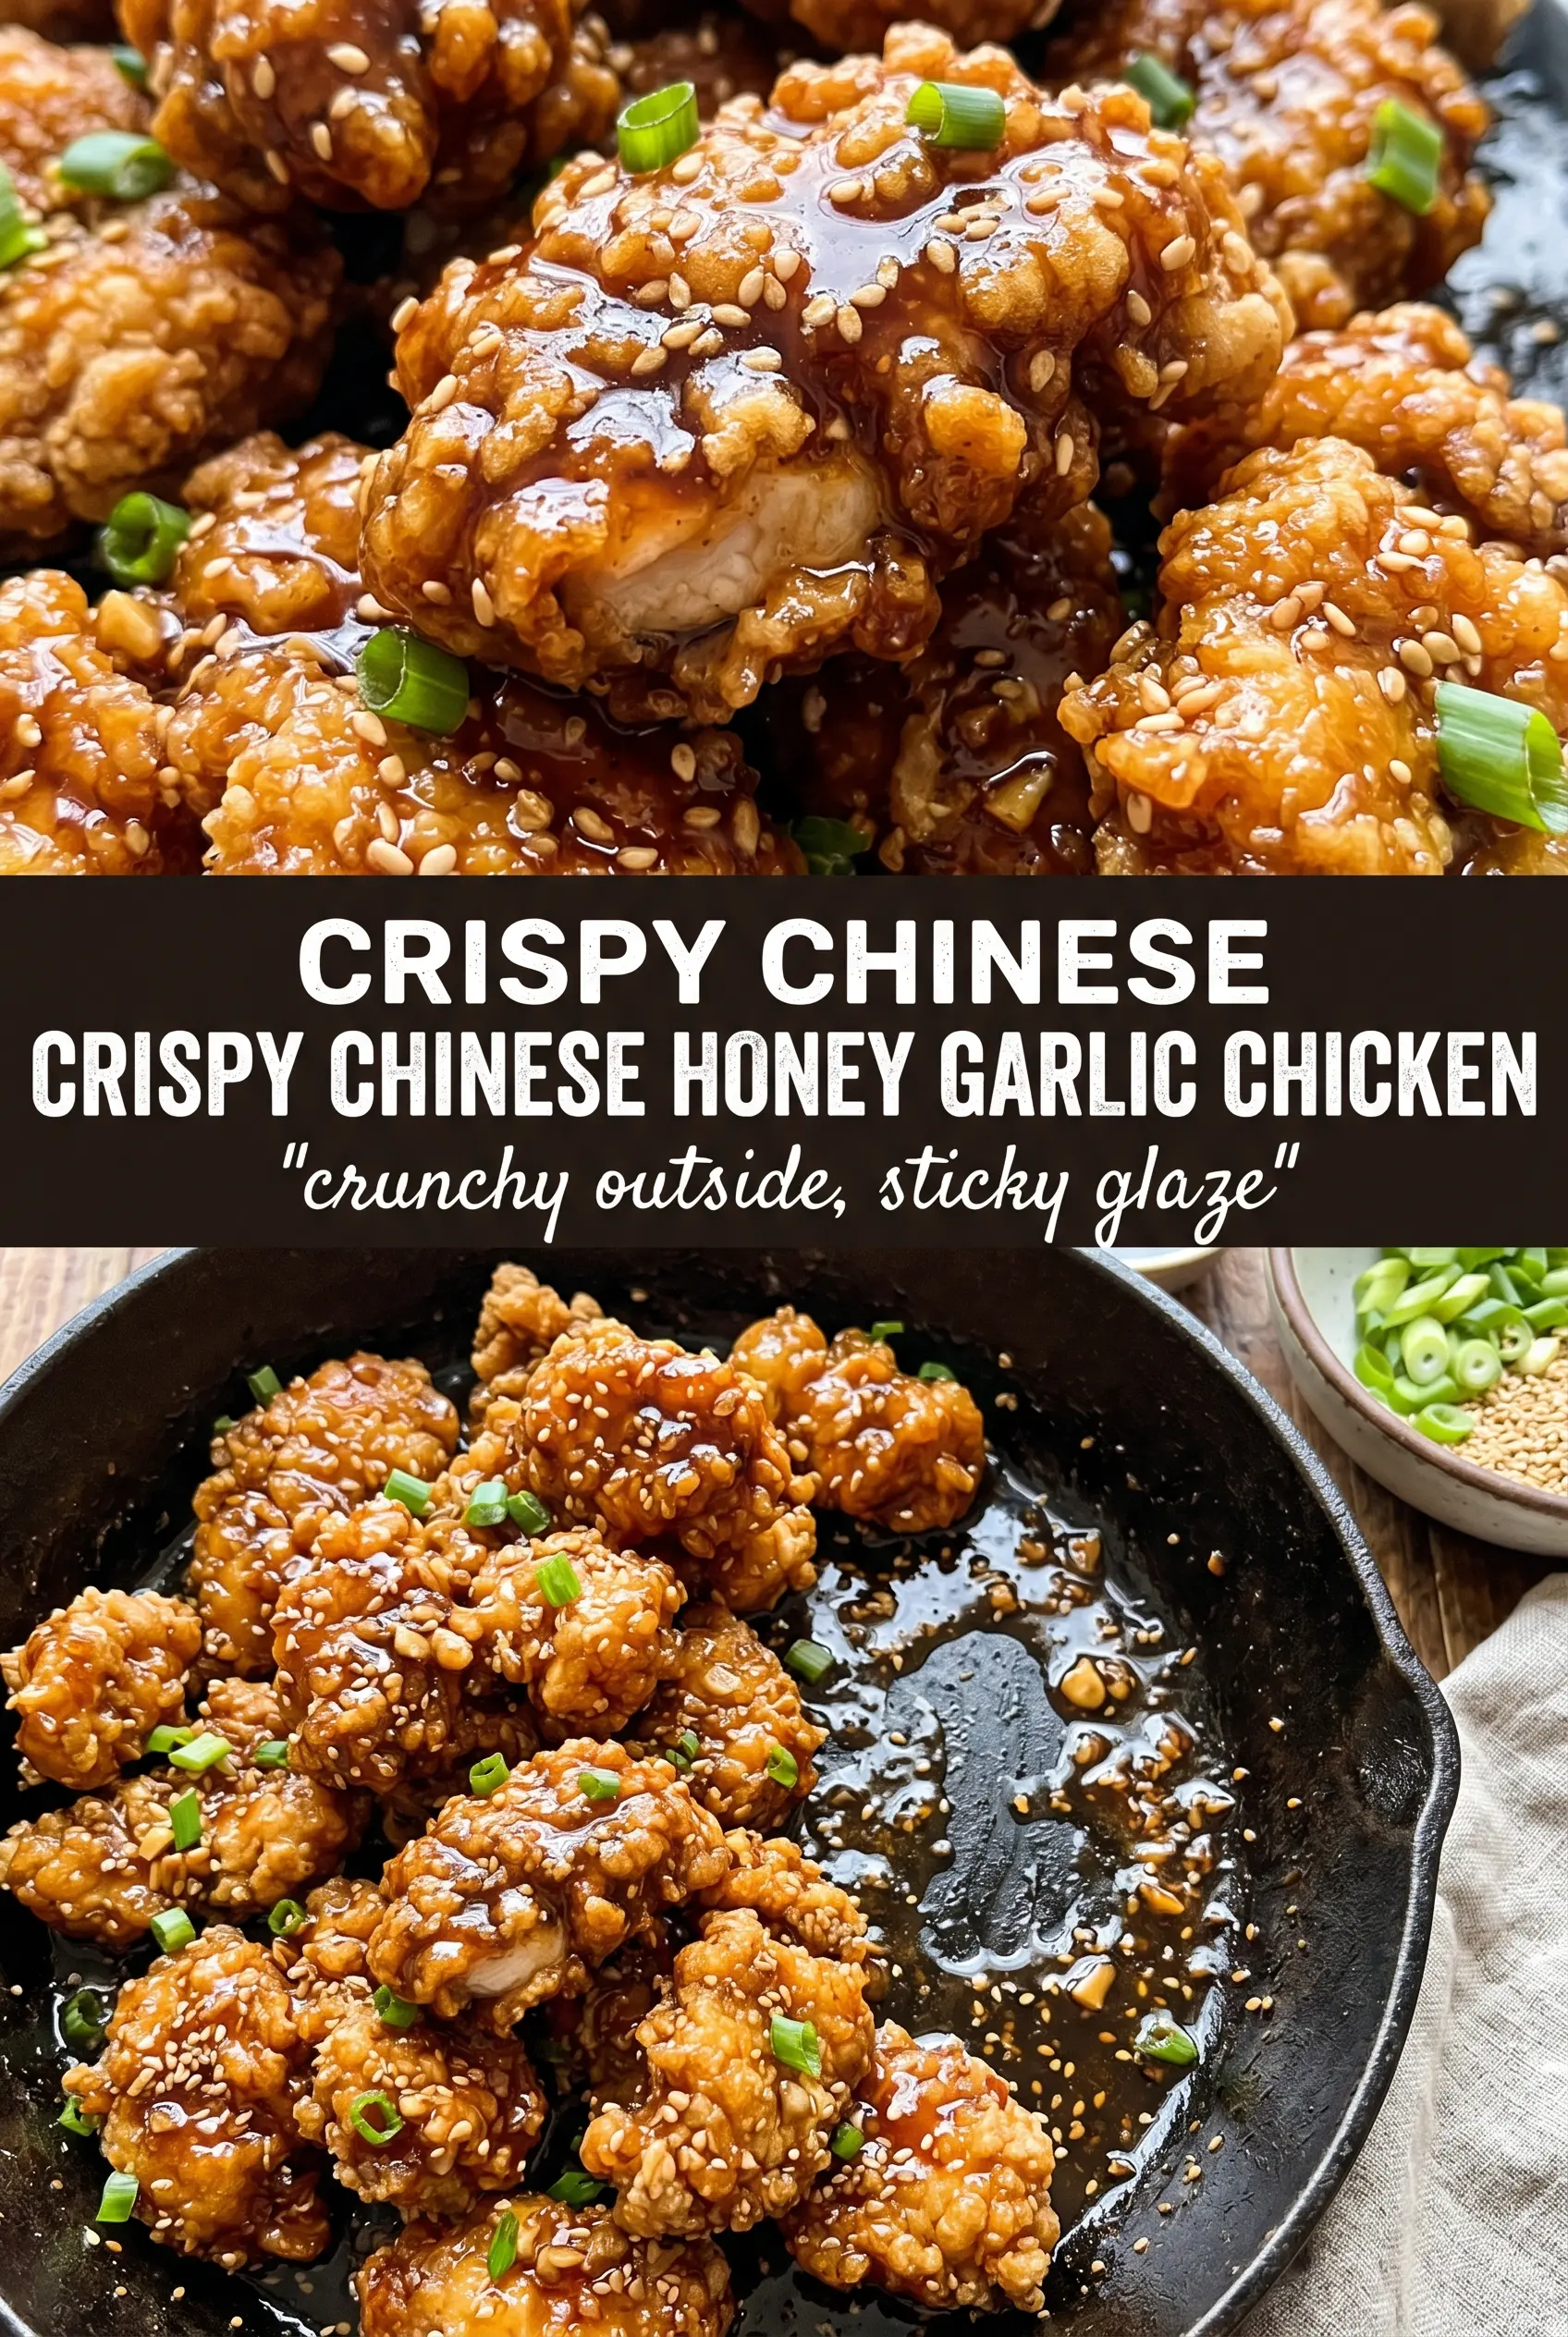
Crispy Chinese Honey Garlic Chicken
Ingredients
Equipment
Method
- Whisk together cornstarch, all-purpose flour, garlic powder, salt, and white pepper in a bowl; set up a dredging station. Keep the mixture dry and even so the coating crisps uniformly.
- Dip the bite-sized boneless skinless chicken thighs into the beaten egg, letting excess drip off. Then dredge each piece in the flour mixture until fully coated.
- Heat vegetable oil in a Dutch oven until it reaches 375°F. Maintain the temperature so the coating crisps without absorbing excess oil.
- Fry the chicken in batches at 375°F for 5-6 minutes, turning as needed, until deep golden and cooked through. Drain on a sheet pan to keep the crust crisp while you fry the next batch.
- Combine honey, soy sauce, minced garlic, and rice vinegar in a saucepan. Bring to a simmer while stirring so the garlic softens and the flavors meld.
- Stir in the cornstarch slurry (cornstarch mixed with water) and cook 2-3 minutes until the sauce thickens and looks glossy. Keep stirring until it reaches a sticky, pourable consistency.
- Remove from the heat and stir in sesame oil. The sauce should smell fragrant and look dark amber.
- Toss the crispy chicken in the honey garlic sauce until fully coated and the sauce clings to the craggy crust. Work quickly so the coating stays crisp.
- Serve immediately over steamed rice and top with sesame seeds and green onions. Add the garnish right before eating for the freshest bite.


