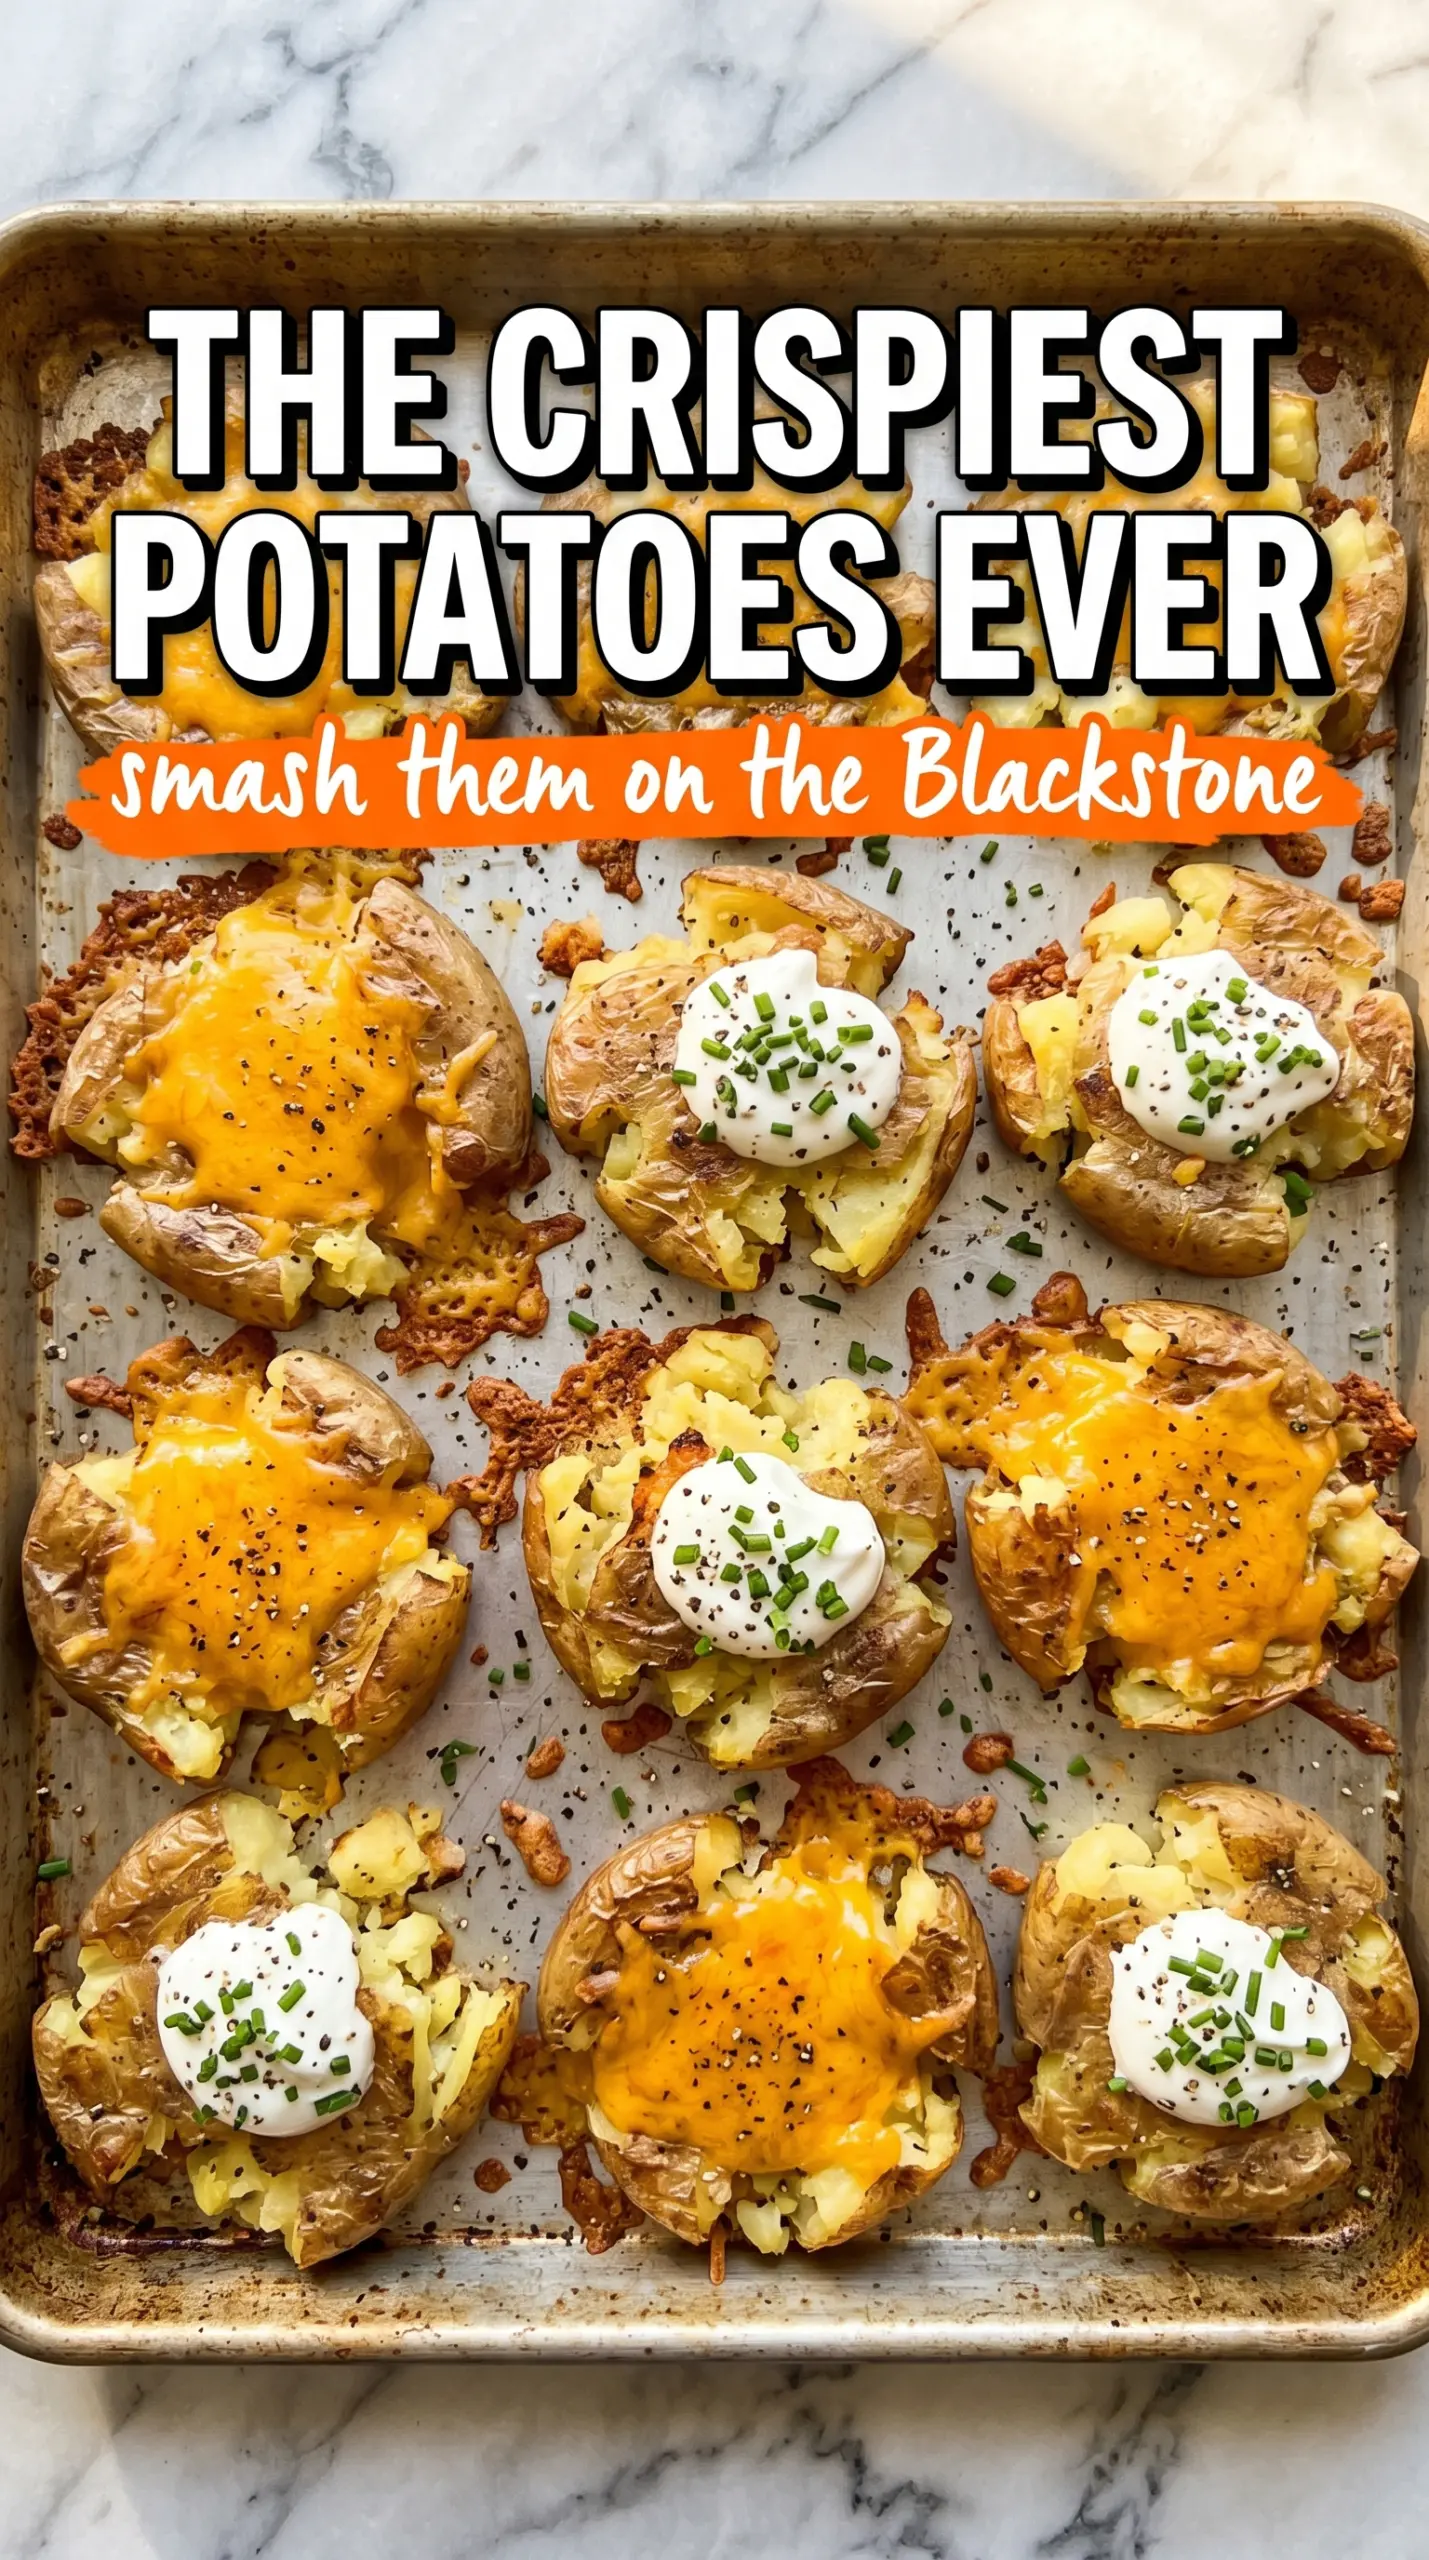
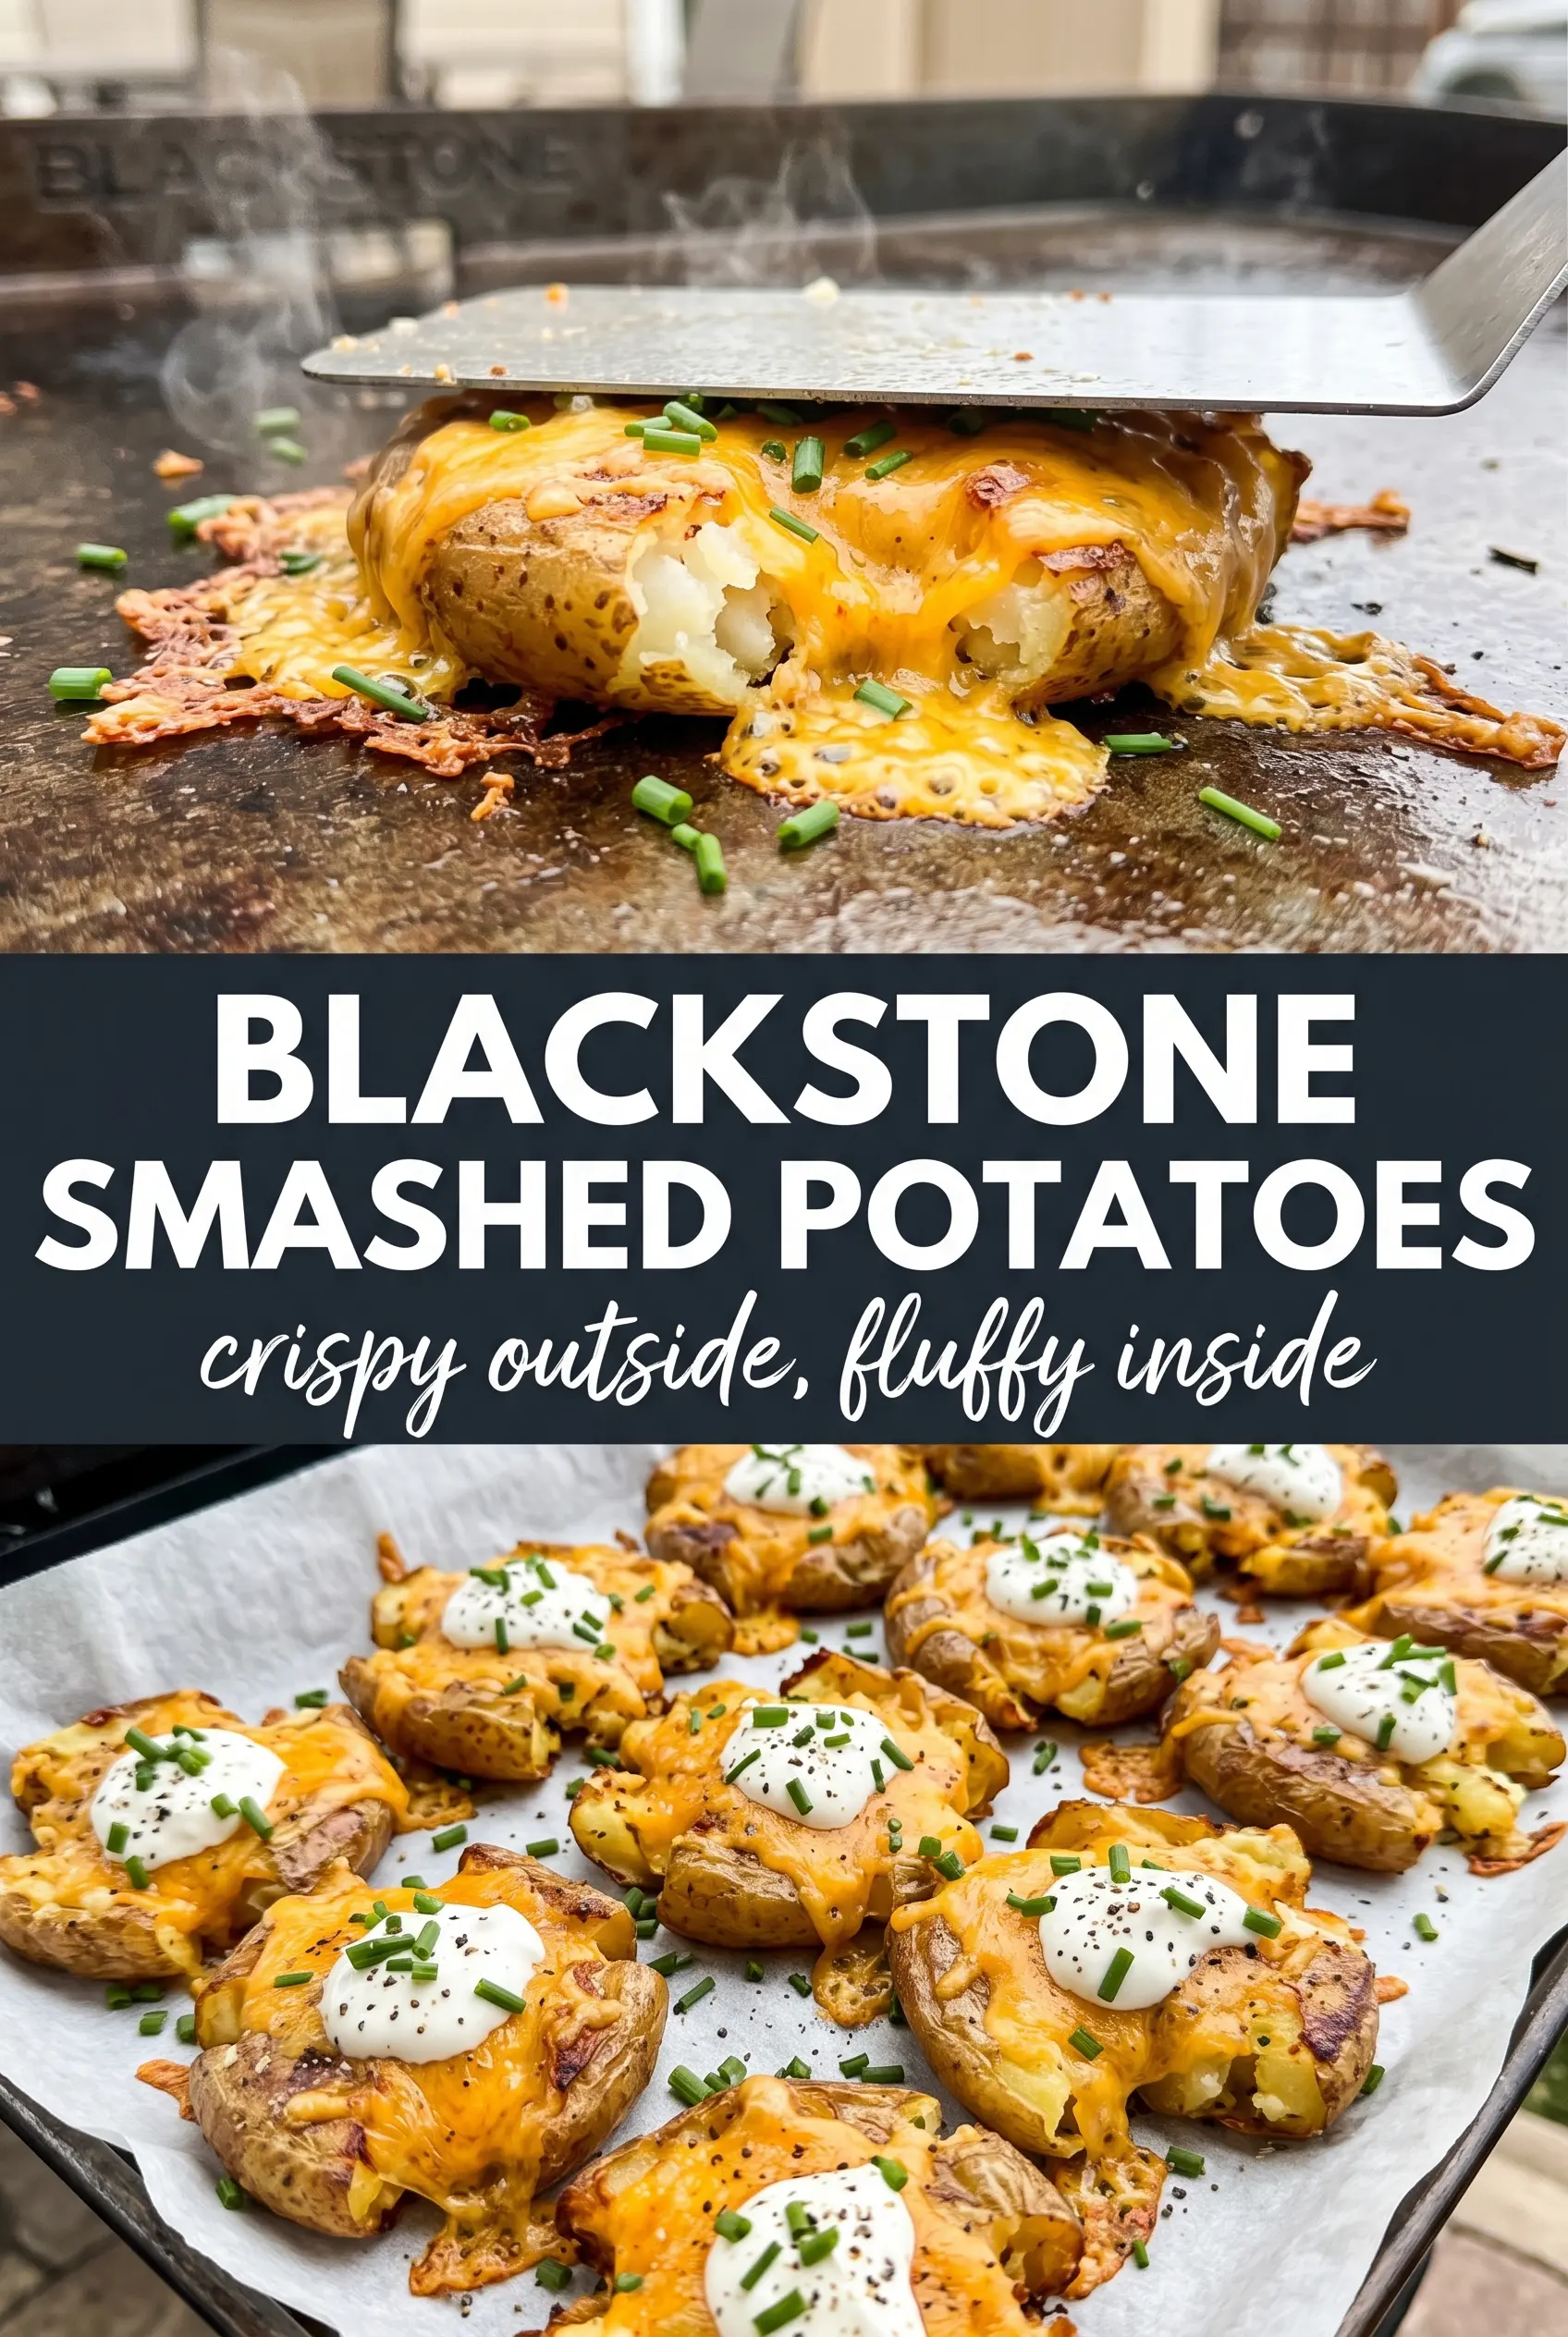
Blackstone smashed potatoes hit that sweet spot between crispy and creamy that keeps them moving from side dish to main attraction. The edges turn deeply golden and shattery on the griddle while the centers stay soft enough to give way under a fork. Piled with sour cream, cheddar, chives, and bacon, they land somewhere between diner breakfast potatoes and loaded potato skins, but with a cleaner, fresher bite.
The trick is giving the potatoes a chance to dry out a little after boiling before they ever touch the griddle. That brief pause matters. Moisture on the surface is the enemy of crisp edges, and the butter-oil combination gives you flavor without burning too fast over the heat. Garlic goes on the griddle beside the potatoes instead of into the boiling water, so it perfumes the potatoes as they crisp instead of getting lost in the pot.
Below, I’ll walk through the part that matters most: how hard to smash, when to flip, and why the potatoes need space on the griddle. I’ve also included a few smart swaps and the best way to reheat leftovers if you somehow have any left.
The bottoms got crackly and crisp on the Blackstone, but the centers stayed creamy. I followed the smash timing exactly and the garlic butter on the griddle made them taste like steakhouse potatoes.
Like these Blackstone smashed potatoes? Save them to Pinterest for the nights when you want crispy edges, creamy centers, and an easy griddle side that disappears fast.
The Part Most People Get Wrong: Too Much Moisture Before the Smash
The potatoes need to be fork-tender, but not falling apart. If they’re undercooked, they’ll crack instead of flattening. If they’re waterlogged when they hit the griddle, they steam before they crisp, and that’s where a lot of smashed potato recipes lose their edge.
Let them drain well and sit just long enough for the surface steam to fade. That dry surface is what lets the oil and butter start browning the potato instead of fighting water. Smashing them after they’ve cooled a touch also helps them hold together better, so you get one piece with crispy ridges instead of a pile of mashed potato fragments.
- Boiled baby potatoes — Baby potatoes keep their shape after boiling and give you a creamy center that still holds together when smashed. Waxy varieties work best because they don’t turn mealy and collapse.
- Olive oil and butter — Oil gives you higher-heat stability, while butter brings the browning and the flavor. Using both is what keeps the potatoes from tasting flat or burning too quickly.
- Garlic — Fresh minced garlic added to the griddle toasts in the fat and seasons the potatoes without turning bitter the way it can in boiling water. Keep it close to the potatoes, not directly under a hot pile of butter, or it can scorch.
- Sour cream, cheddar, chives, and bacon — These toppings turn the potatoes into loaded griddle potatoes, but they’re best added after the crisping is done. If you pile them on too soon, the steam softens the crust you worked for.
What Each Ingredient Is Actually Doing on the Griddle
The potatoes are the whole structure of the dish, so start with ones that are similar in size. That keeps the boil time even, which matters more than people think when you’re aiming for a crisp exterior and a soft middle. Smaller baby potatoes smash more cleanly and cook through faster on the griddle.
The toppings are flexible, but the base method isn’t. Sour cream cools the heat and gives you that loaded baked potato feel. Cheddar melts best if you add it while the potatoes are still hot from the griddle, and bacon bits bring salt and crunch, though you can skip them if you want the potatoes to stay vegetarian.
Getting the Smash, Sear, and Finish in the Right Order
Boil Until Just Tender
Cover the potatoes with cold water, bring them up to a boil, and cook until a fork slides in with little resistance, usually 15 to 20 minutes depending on size. They should be tender enough to flatten but still intact. If they’re cooked until the skins split and the centers start breaking apart, they’ll fall apart on the griddle before they ever crisp.
Dry the Surface Before They Touch the Heat
Drain the potatoes well and let them sit a few minutes. You want the steam to fade off the outside so they hit the griddle dry. This is one of the biggest differences between potatoes that brown and potatoes that just sit there and soften.
Smash and Leave Room Around Each One
Heat the Blackstone to medium-high, then add the oil and butter so the surface is coated and shimmering. Set the potatoes down with space between them, then press each one flat with a heavy spatula or masher. Smash firmly enough to open up the edges, but not so hard that the center tears away from the skin.
Let the First Side Build a Crust
Add the minced garlic around the potatoes and let it toast in the fat while the first side cooks for 6 to 7 minutes. Don’t move the potatoes too early. If you try to lift them before the crust forms, the edges stick and you lose the browned bits that give the dish its texture. You’re looking for a deep golden bottom that releases cleanly.
Flip, Finish, and Top While Hot
Turn the potatoes and cook another 5 to 6 minutes until the second side is crisp too. Season with salt and pepper right after the final flip so the seasoning sticks to the hot surface. Add the sour cream, cheddar, chives, and bacon at the end, while the potatoes are still hot enough to soften the cheese without collapsing the crust.
How to Change These Up Without Losing the Crispy Edges
Dairy-Free Griddle Potatoes
Use all olive oil instead of the butter and skip the sour cream or replace it with a dairy-free topping. You’ll lose a little richness, but the potatoes still crisp beautifully because the texture comes from the griddle contact, not the dairy.
Loaded Breakfast-Style Potatoes
Top them with a fried egg instead of bacon and add a little extra chives. The yolk gives you the same savory richness as bacon, and it runs into the crispy edges in the best way.
Gluten-Free, Naturally
This recipe is already gluten-free as written, as long as your bacon bits and toppings are certified gluten-free if that matters for your kitchen. The method doesn’t need any flour or binder, which keeps the crust crisp instead of bready.
Make Them Spicy
Add a pinch of paprika, cayenne, or chili flakes to the butter-oil mixture before the potatoes go down. The heat clings best when it’s bloomed in fat, and it gives the crust a little extra edge without changing the method.
Storage and Reheating
- Refrigerator: Store leftovers in an airtight container for up to 4 days. The crust softens in the fridge, but the flavor holds up well.
- Freezer: These freeze poorly once topped, since the sour cream and cheese change texture. If you want to freeze them, do it before adding toppings and expect a softer result after reheating.
- Reheating: Reheat on a skillet, griddle, or in a hot oven until the edges crisp back up. The mistake to avoid is the microwave, which turns the potatoes soft and steamy instead of bringing the crust back.
Answers to the Questions Worth Asking
Blackstone Smashed Potatoes
Ingredients
Equipment
Method
- Boil baby potatoes until fork-tender, about 15-20 minutes. Drain them and let cool slightly so they can be smashed without falling apart.
- Heat a Blackstone griddle to medium-high and add olive oil and butter. Let the butter melt and start bubbling lightly before the potatoes go down.
- Place potatoes on the griddle and smash flat with a heavy spatula or masher. Press each potato to create contact for crispy edges.
- Add minced garlic around the potatoes and cook for 6-7 minutes. Watch for bottoms that turn golden and crisp.
- Flip the potatoes and cook another 5-6 minutes. Cook until both sides are crispy and browned.
- Season with salt and pepper. Taste and adjust before topping.
- Top the smashed potatoes with sour cream, shredded cheddar cheese, chopped chives, and bacon bits. Serve right away while the edges stay crisp.