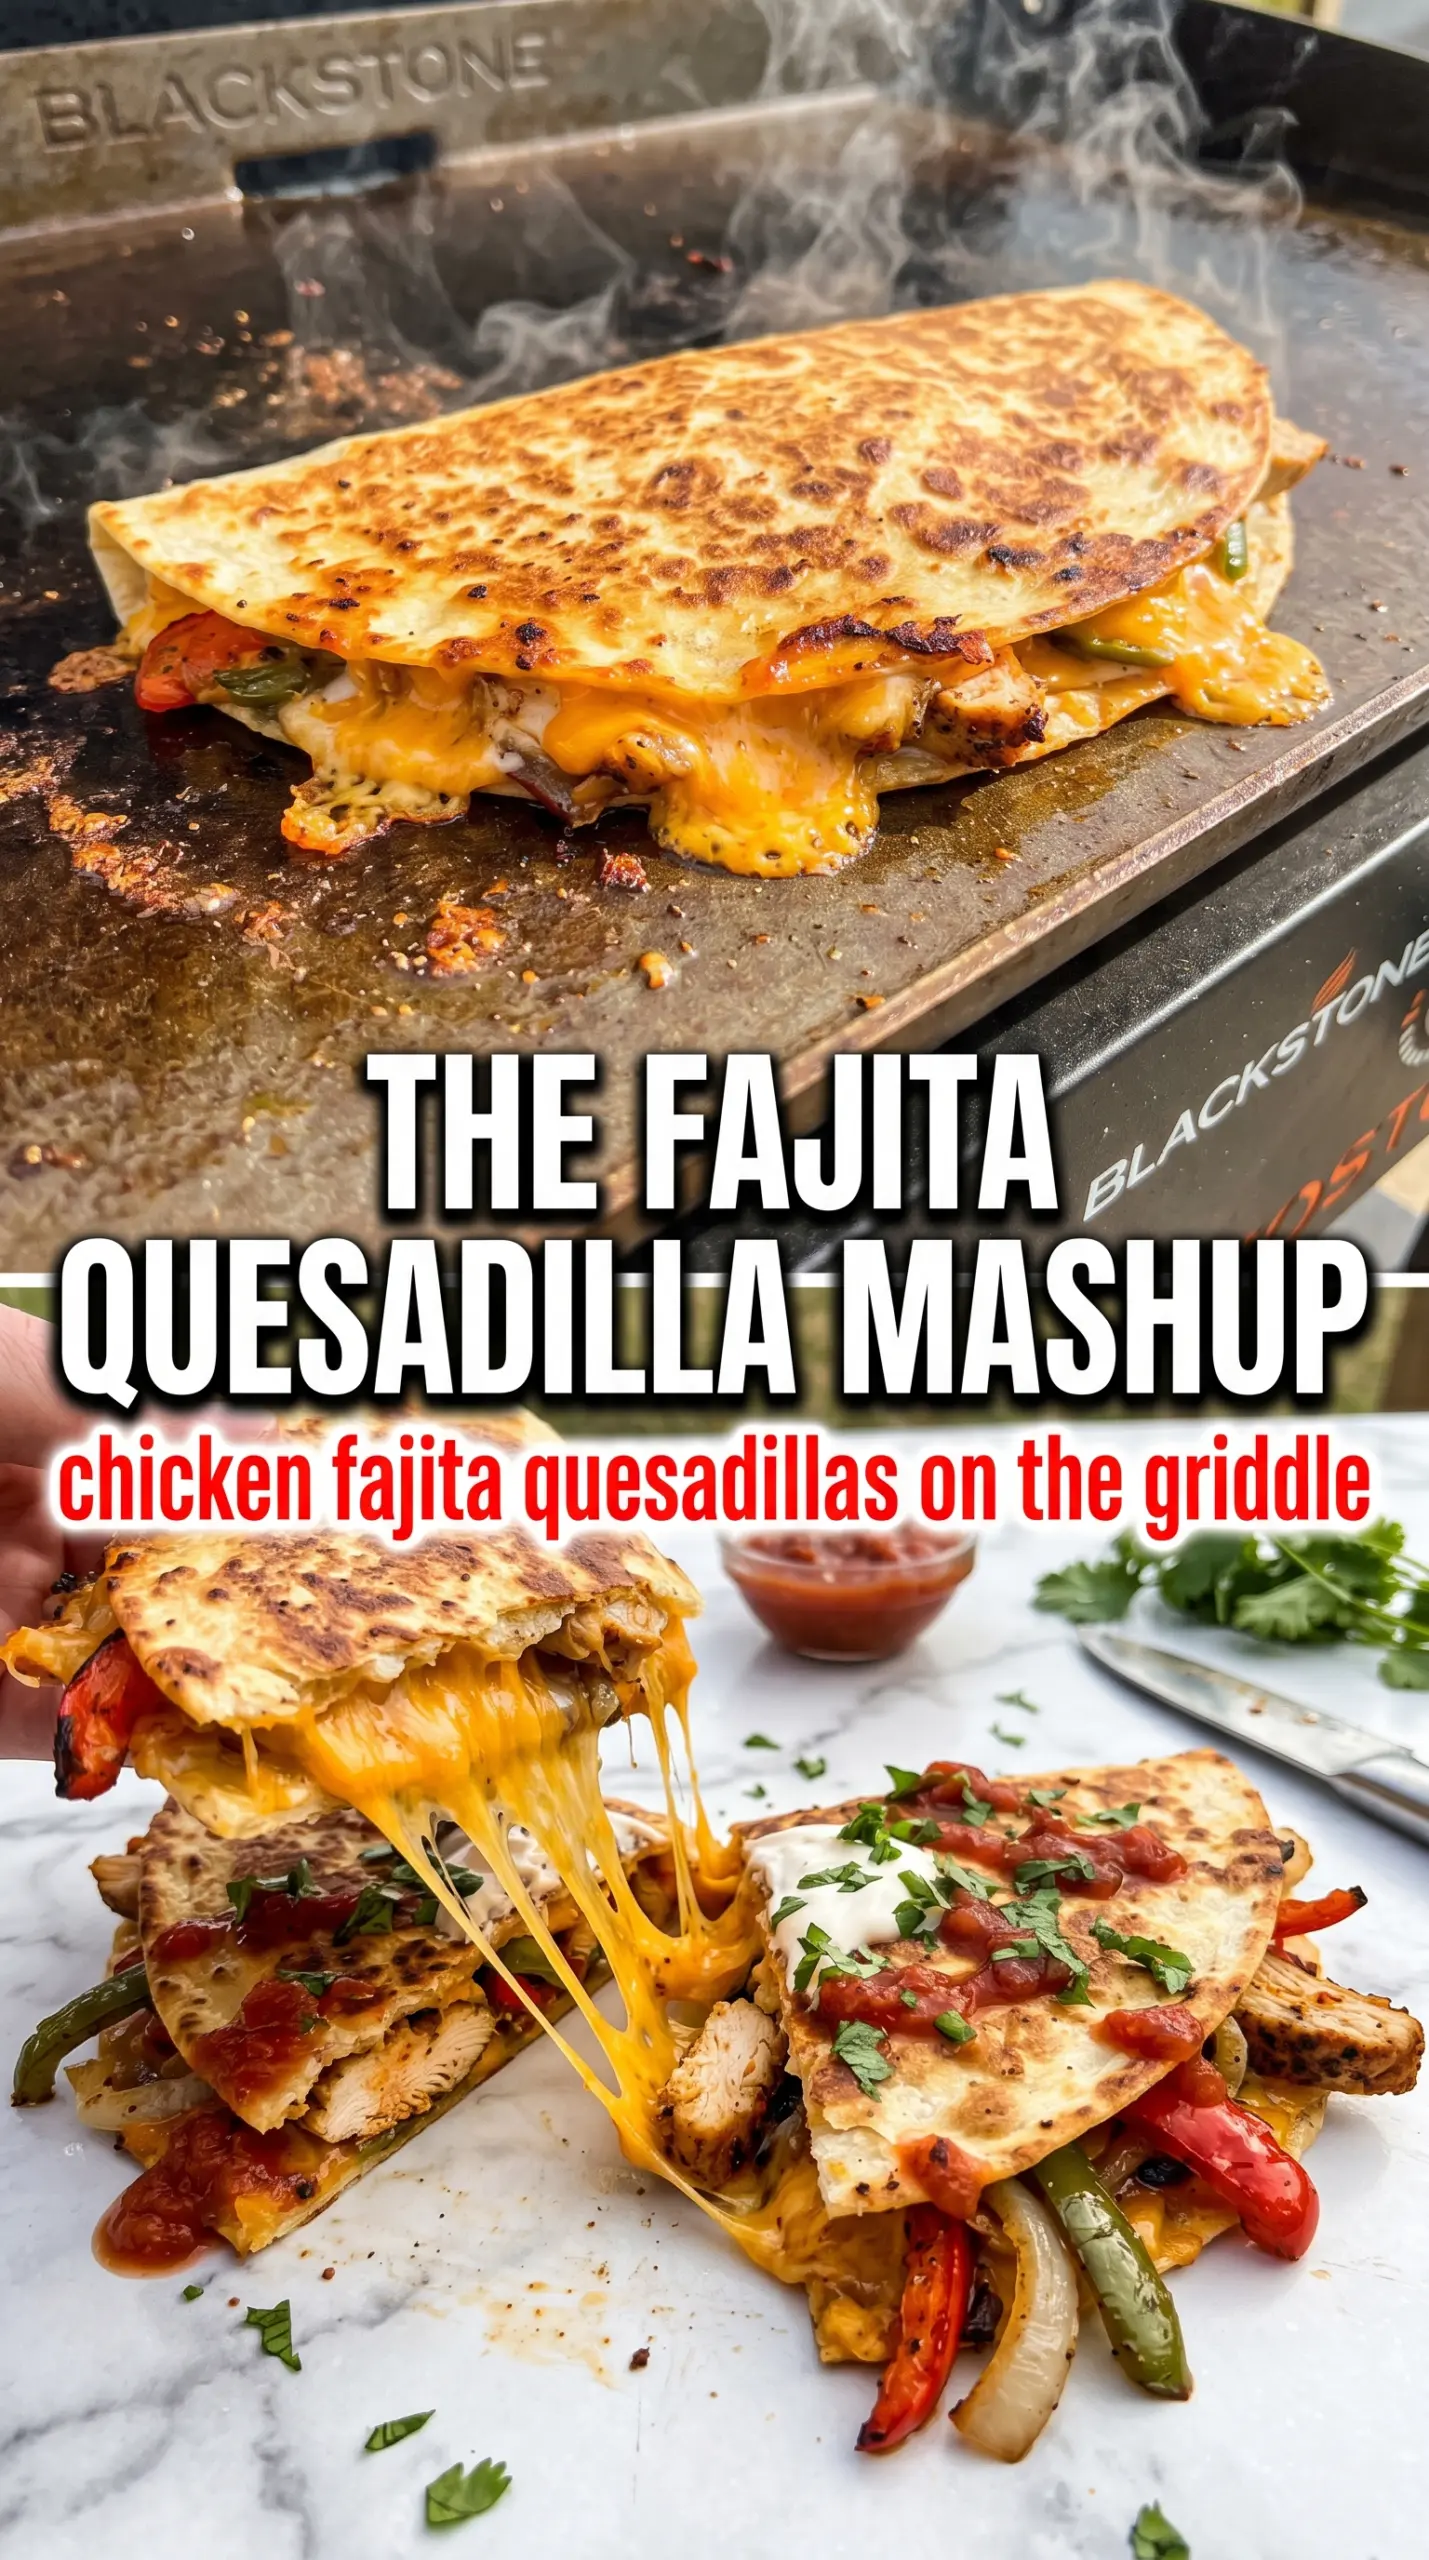
Blackstone chicken fajita quesadillas hit that sweet spot between weeknight dinner and griddle-night fun: crisp tortillas, melty cheese, juicy chicken, and peppers that still taste like peppers instead of going soft and dull. The best part is the contrast in every bite. You get browned edges, stretchy cheese, and the smoky, seasoned filling tucked inside.
This version works because the chicken and vegetables are cooked separately just long enough to develop flavor before they’re tucked into the tortillas. The griddle stays hot, which means the tortillas toast instead of steaming, and the cheese melts into the filling before the outside has a chance to overbake. A good fajita seasoning does a lot of the heavy lifting here, but the order of operations matters just as much.
Below, I’ve included the small things that make these quesadillas come out cleanly and taste balanced, plus a few easy ways to adapt them if you need to work with what’s already in your kitchen.
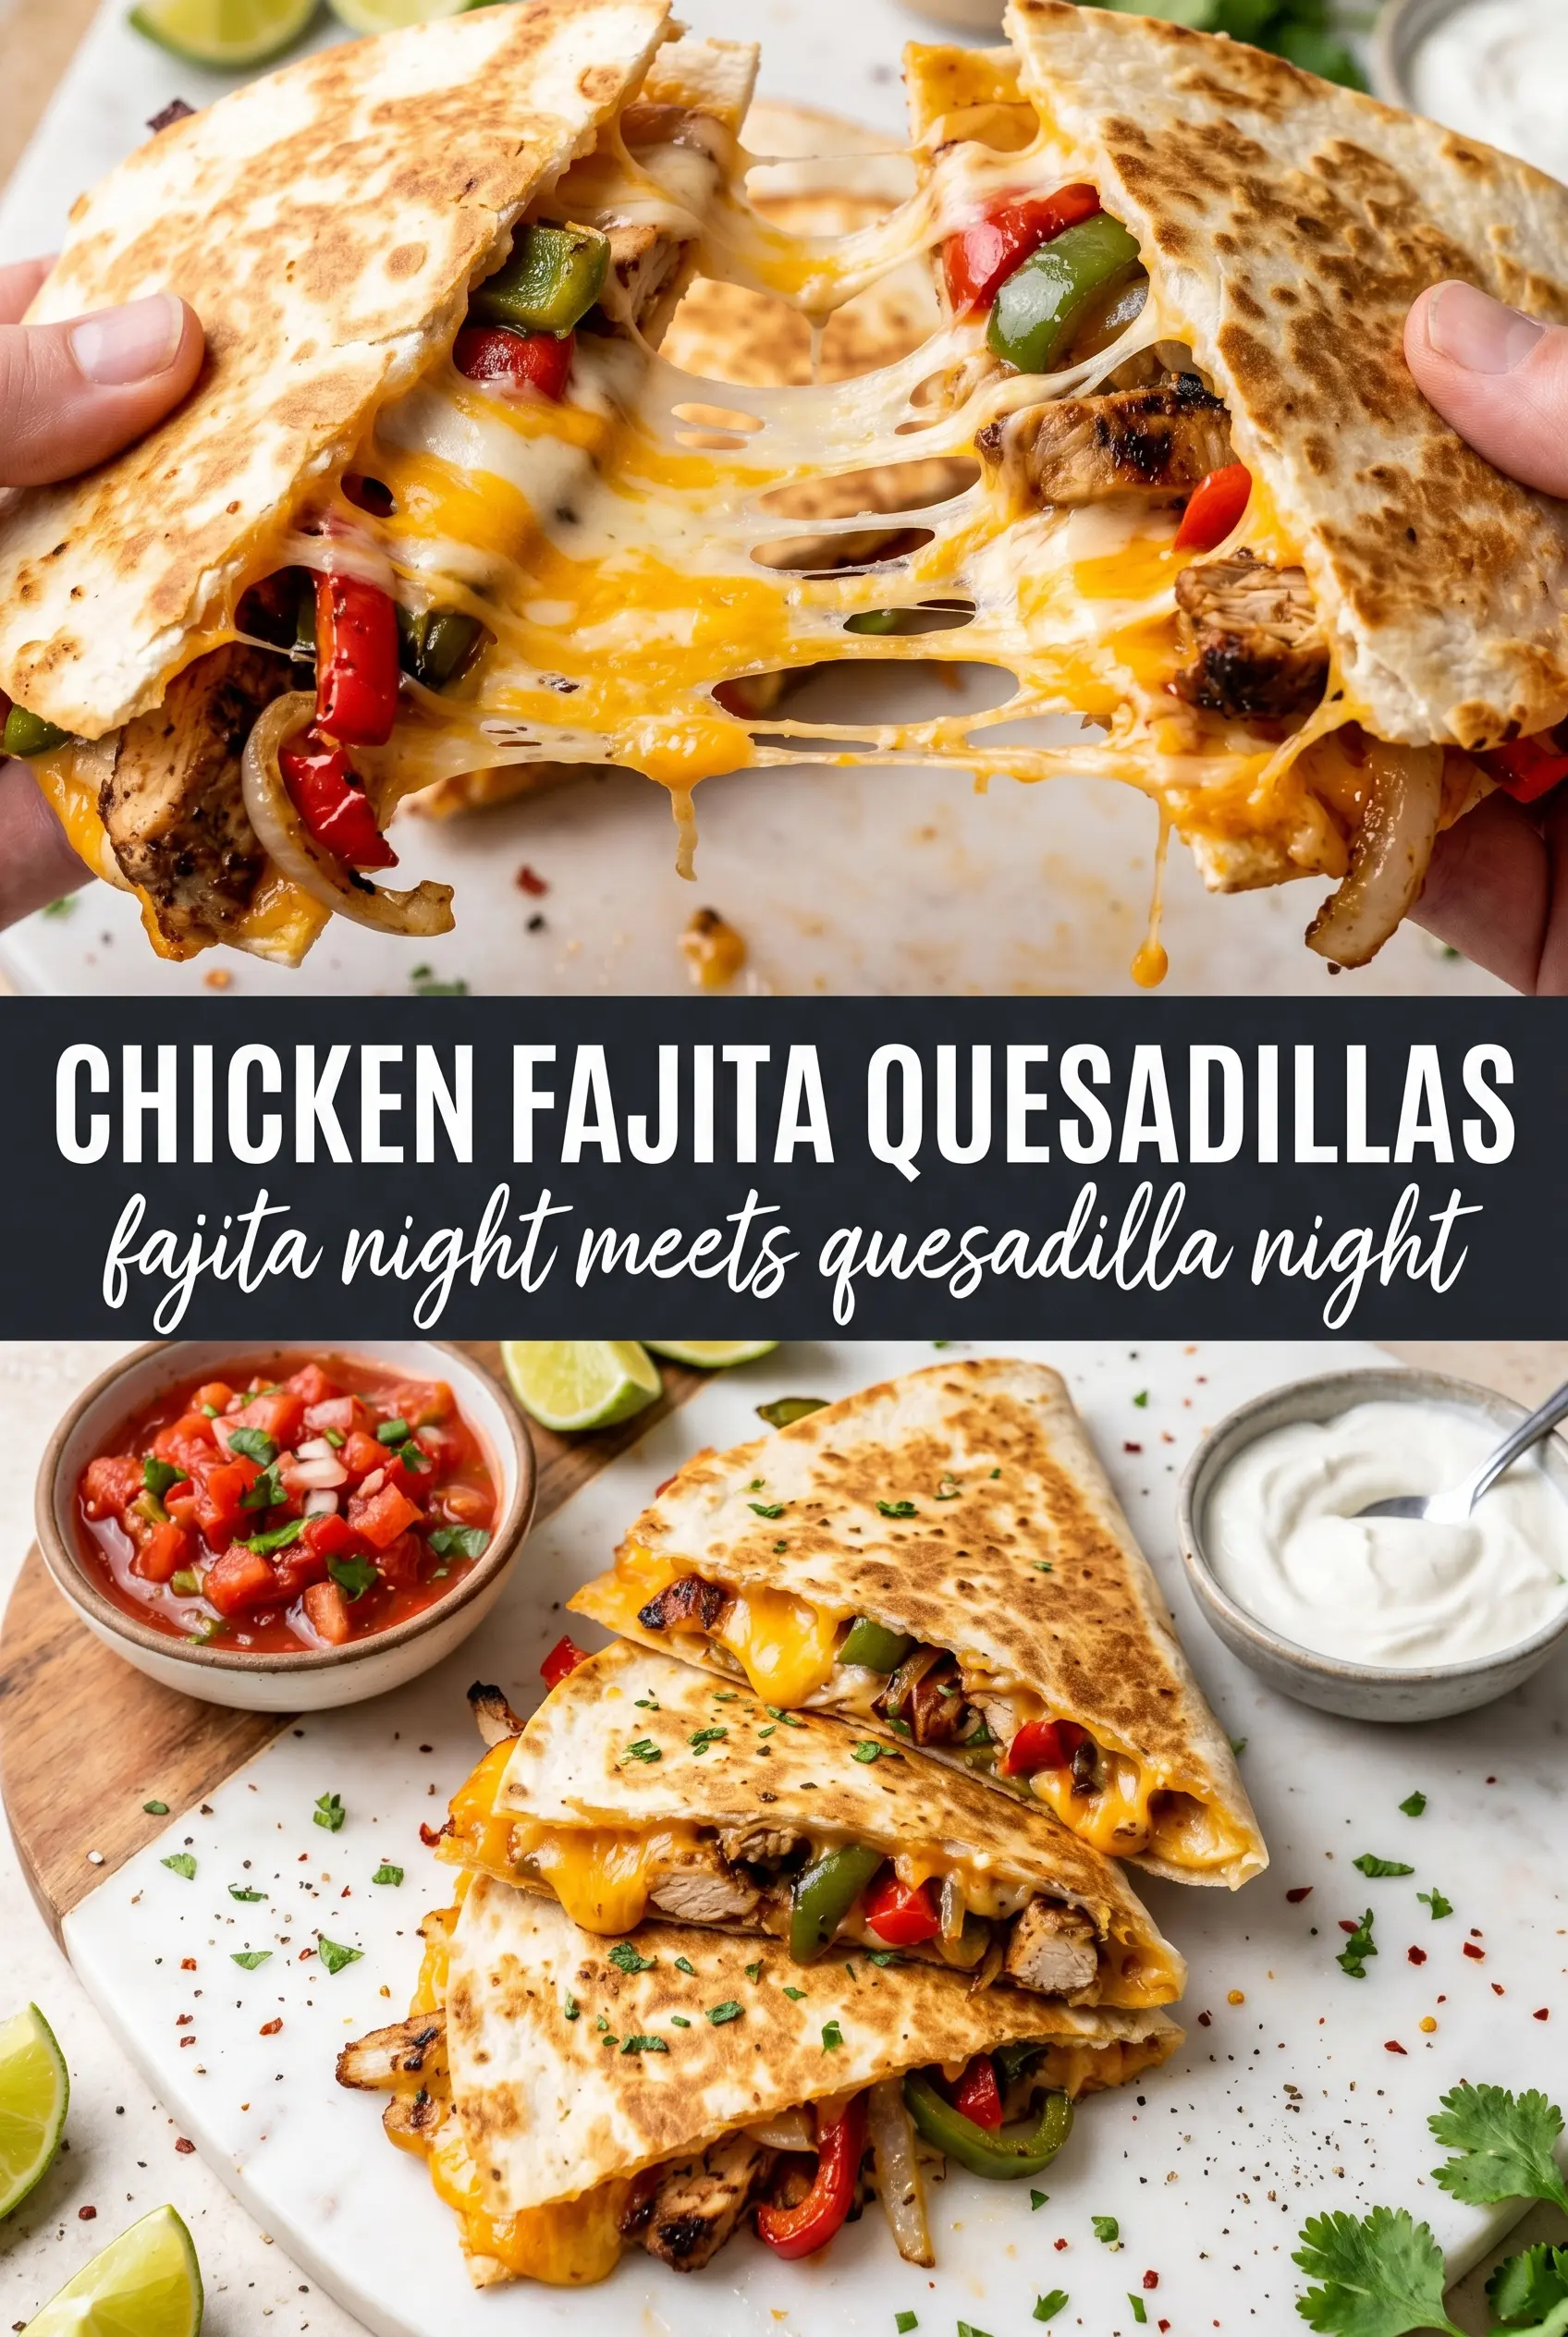
The chicken stayed juicy, the peppers kept a little bite, and the quesadillas crisped up beautifully without getting greasy. I used the sour cream and salsa on the side, and the cheese pull was exactly what I wanted.
Save these Blackstone chicken fajita quesadillas for the night you want crispy tortillas, melty cheese, and a fast griddle dinner with real Tex-Mex payoff.
The Griddle Heat That Keeps the Tortillas Crisp
The most common mistake with quesadillas is cooking them like grilled cheese on a pan that isn’t hot enough. On a Blackstone, that means the tortillas sit there absorbing oil and turning soft before they ever brown. Medium-high heat gives you a quick toast on the outside while the cheese starts melting right away, so the filling stays contained instead of slipping out.
Chicken and vegetables also need different treatment. The chicken needs enough time to cook through and pick up color, while the peppers and onions only need to soften and sweeten. If you throw everything on at once, the vegetables can overcook before the chicken is done, or the chicken can dry out while the peppers catch up.
- Hot griddle, not blazing hot: You want immediate sizzling, but not a pan so hot that the tortillas scorch before the cheese softens.
- Separate the filling stages: Cook the chicken first, then the vegetables. That keeps both textures where they should be.
- Use enough oil to coat the surface: Too little and the tortillas stick; too much and they fry instead of crisp.
What the Cheese, Tortillas, and Seasoning Each Bring to the Pan
- Flour tortillas: Large flour tortillas hold up best here because they stay flexible long enough to fold cleanly over the filling. Smaller tortillas work, but they’re harder to fill evenly and more likely to tear when you flip them.
- Shredded cheddar and Monterey Jack: This combo gives you both flavor and melt. Monterey Jack stretches beautifully, while cheddar adds the sharper taco-night taste people expect. Pre-shredded cheese works in a pinch, but freshly shredded melts a little smoother.
- Fajita seasoning: This is the flavor backbone, so use one you like. If yours is heavy on salt, don’t oversalt the chicken before cooking. If you’re mixing your own, get enough chili powder, cumin, garlic, and paprika in the blend so the filling tastes like fajitas instead of just spiced chicken.
- Bell peppers and onion: They add the sweet, savory bite that makes these taste like fajitas and not just chicken and cheese. Slice them thin so they soften in a few minutes and tuck neatly into the tortilla.
Building the Filling So It Stays Inside the Tortilla
Season the Chicken First
Toss the sliced chicken with half the fajita seasoning before it hits the griddle. That gives the meat a direct hit of flavor and helps it brown instead of steaming. Spread it in a single layer so it cooks quickly and develops some color; crowded chicken turns pale and watery. Pull it as soon as it’s cooked through and no longer pink in the center.
Cook the Vegetables Until They Just Relax
Add the peppers and onions after the chicken comes off the hot surface or moves to the side. They should soften, pick up a little char, and still keep some shape. If they go all the way limp, the filling turns mushy inside the quesadilla. The remaining seasoning goes in here so it blooms against the hot oil instead of tasting raw.
Layer Cheese Twice
Put cheese under the filling and on top of it. The bottom layer acts like glue, and the top layer helps seal everything before you close the tortilla. If you skip the second layer, the filling can slide out when you flip the quesadilla. Press the top tortilla down gently so the cheese makes contact across the whole surface.
Flip Only After the Bottom Is Set
Give the first side time to turn deep golden before flipping. If you move it too early, the tortilla can tear and the filling spills out. A firm spatula works best here, and the quesadilla should feel stable before you turn it. After the second side browns, pull it off and let it sit for a minute so the cheese settles instead of running out the moment you cut it.
How to Adapt These Quesadillas Without Losing the Good Part
Dairy-Free Quesadillas
Use a good melting dairy-free cheese and don’t overload the tortilla. Dairy-free shreds vary a lot, so cook these a little more gently and give them a minute to set before slicing. You’ll lose some of the stretch, but the crisp edges and seasoned filling still carry the dish.
Use Steak or Shrimp Instead of Chicken
Thin-sliced steak gives you a deeper, beefier filling, and shrimp gives you a lighter, quicker-cooking version. Both need less time on the griddle than chicken, so cook them separately and pull them as soon as they’re done. Shrimp especially can overcook fast, so it should be just opaque and curled, not tight.
Gluten-Free Version
Swap in certified gluten-free flour tortillas that are made for folding and browning. Some brands crack if they’re too dry, so warm them briefly before filling if they feel stiff out of the package. The rest of the method stays the same.
Storage and Reheating
- Refrigerator: Store leftovers in an airtight container for up to 3 days. The tortillas soften a bit, but the flavor holds up.
- Freezer: These freeze better after cooking than before. Wrap wedges tightly and freeze for up to 2 months, then thaw in the fridge before reheating.
- Reheating: Reheat in a dry skillet or on the griddle over medium heat until the tortilla crisps again and the center is hot. The oven works too, but the microwave makes the tortillas soft and the cheese greasy.
Answers to the Questions Worth Asking
Blackstone Chicken Fajita Quesadillas
Ingredients
Equipment
Method
- Heat the griddle to medium-high and add the oil, so it shimmers when ready. The surface should look slick and hot before you add the chicken.
- Season the chicken with half the fajita seasoning and cook for 6-7 minutes until cooked through. Stir occasionally so the chicken browns and the center loses its pink color.
- Add the peppers and onions along with the remaining fajita seasoning, then cook for 5-6 minutes until softened. Keep moving them until they become tender and glossy.
- Place 4 tortillas on the griddle and layer each with cheese, the chicken mixture, and more cheese. Press gently so the filling is packed and the top layer of cheese stays in place.
- Top with the remaining tortillas and cook for 3-4 minutes per side until golden and the cheese is melted. Flip when the bottom is browned, then cook the second side until the cheese stretches.
- Cut the quesadillas into wedges and serve immediately with sour cream, salsa, guacamole, and lime wedges. The cheese should pull as you lift a slice.