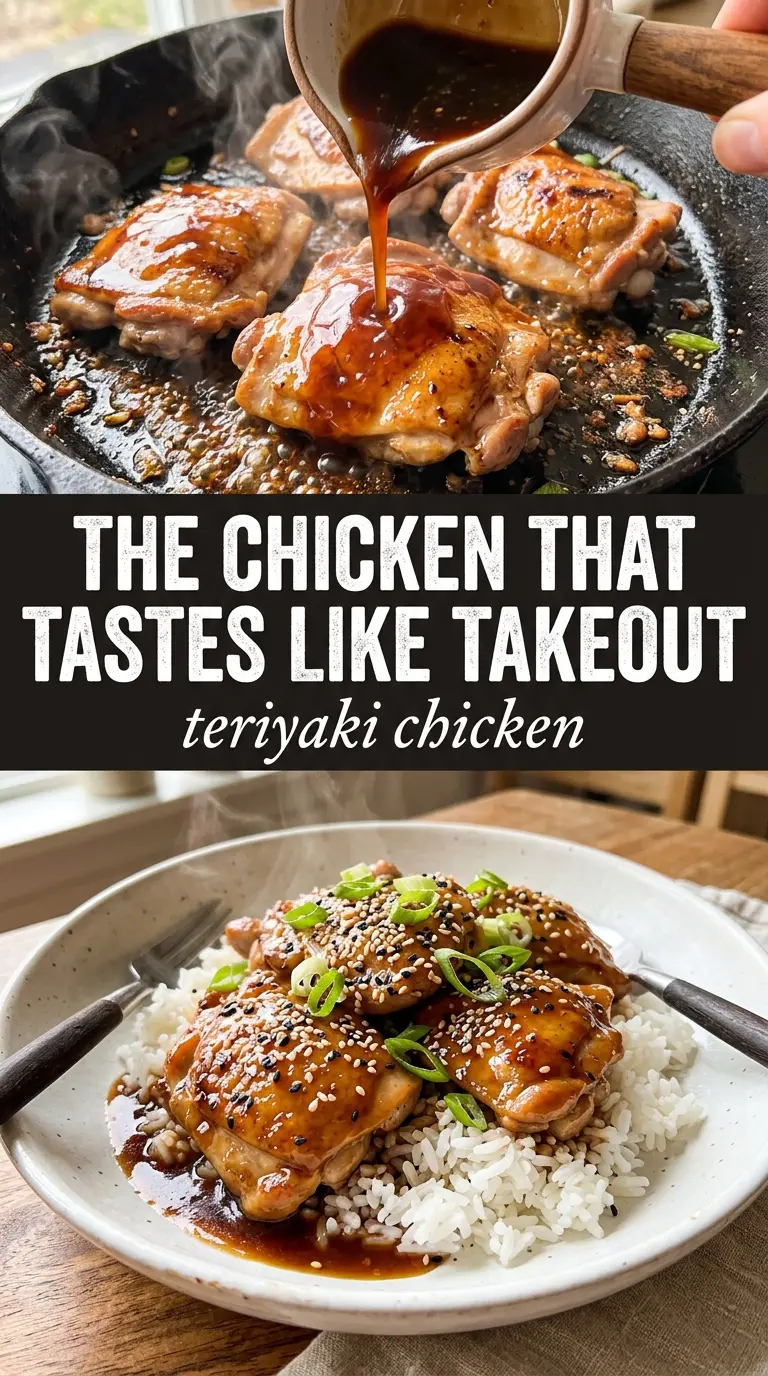
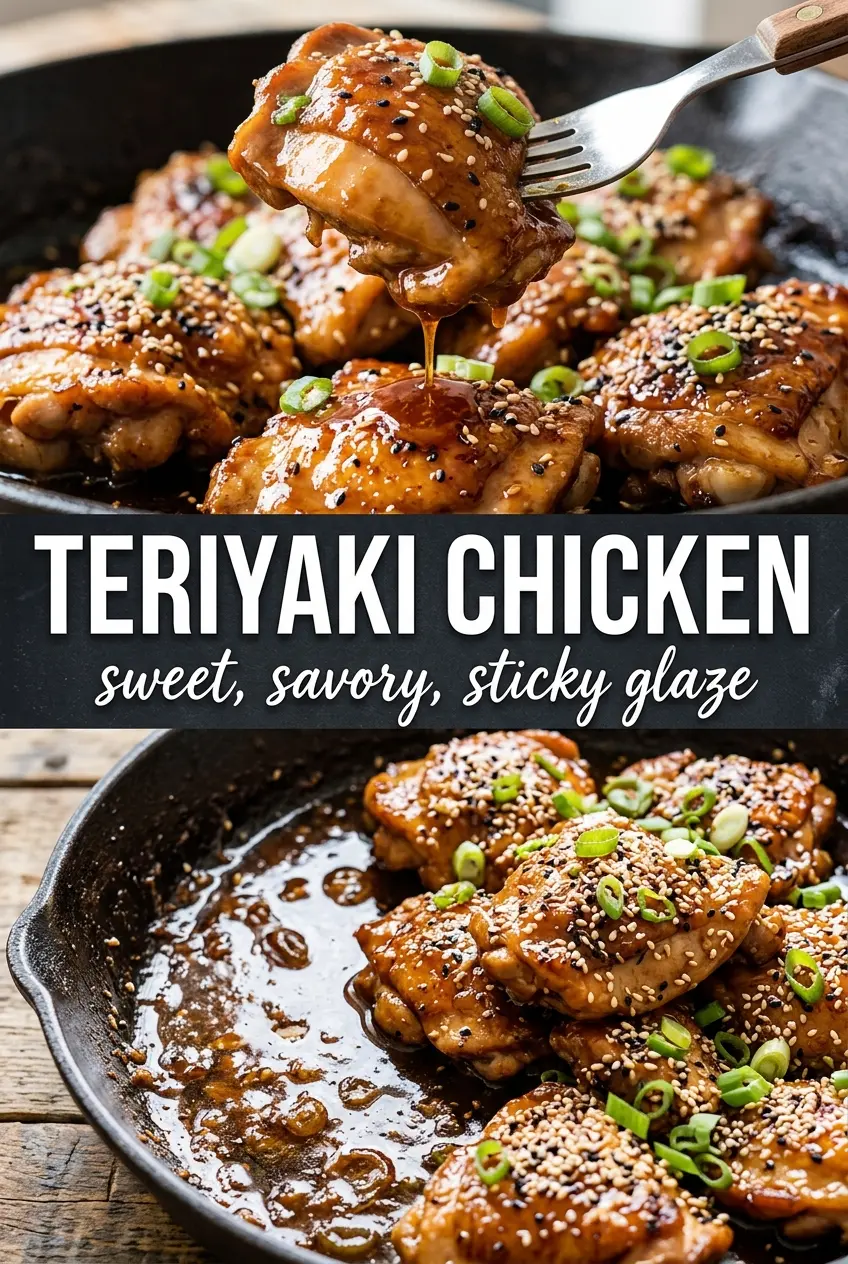
Glossy teriyaki chicken has a way of disappearing fast when the sauce turns sticky and dark amber at the edges, clinging to the chicken instead of pooling on the plate. The best versions hit that balance of sweet, salty, and savory without tasting like bottled glaze, and this one gets there with a short marinade and a quick finish in the same skillet.
The trick is splitting the sauce before the chicken goes in. One half seasons the thighs and gives them a head start on flavor; the other half stays clean so it can be simmered safely into a thick glaze at the end. Cornstarch does the heavy lifting for that shiny finish, but it only works if the sauce comes to a real simmer. Rush that part and you’ll end up with thin sauce or a slightly starchy taste instead of the slick coating you want.
Below, I’ve laid out the small details that matter most, including what to watch for when the sauce tightens and how to swap ingredients without losing that takeout-style finish.
The sauce thickened up perfectly and coated every piece instead of running off. I used the thighs, and they stayed juicy even after simmering in the glaze at the end.
Love the sticky, glossy finish on this teriyaki chicken? Save it to Pinterest for the nights when you want a fast homemade glaze that tastes better than takeout.
The Reason This Glaze Stays Thick Instead of Watery
Teriyaki can fail in one of two ways: the chicken gets too dark before it cooks through, or the sauce turns thin and slippery instead of lacquered. This version avoids both because the marinade is divided before it touches the meat. That means the sauce that goes back into the pan hasn’t been diluted by raw chicken juices, so it can reduce into a proper glaze instead of simmering forever and still tasting loose.
Boneless skinless thighs are the right cut here because they stay tender under high heat and pick up more color than breast meat. If you use chicken breast, pull it from the pan as soon as it hits 165°F. Let it go much further and it dries out before the sauce finishes. The sauce itself needs a steady simmer after the cornstarch slurry goes in; that’s when it turns glossy and coats the spoon in a thin, even layer.
What the Garlic, Ginger, and Cornstarch Are Actually Doing
- Soy sauce — This is the salty backbone of the whole dish. Use a regular all-purpose soy sauce for the best balance; low-sodium works too, but the glaze can taste a little flat unless you reduce it a bit longer.
- Brown sugar and honey — These build the sticky finish and help the chicken caramelize. Honey gives the sauce a softer shine and better cling than sugar alone, so don’t swap both sweeteners for one or the other unless you’re ready for a different texture.
- Mirin or rice vinegar — Mirin gives the sauce that rounded, lightly sweet tang you taste in good teriyaki. Rice vinegar works in a pinch, but use the lower amount and keep the honey in place so the sauce doesn’t turn sharp.
- Sake or dry sherry — This is optional, but it adds depth and that subtle cooked-aroma note that makes the sauce taste less one-dimensional. If you skip it, the chicken still works; just don’t add extra vinegar to compensate.
- Cornstarch slurry — This is what turns the reserved sauce into a glaze instead of a thin marinade. Stir it in only after the sauce is simmering, or it can turn chalky before it thickens properly.
- Ginger and garlic — Fresh is worth using here. Jarred ginger and garlic taste harsher and flatter once they cook down, while fresh aromatics keep the sauce bright under all that sweetness.
Getting the Chicken Brown Before the Sauce Tightens
Mixing the Marinade Without Burning the Sugar
Whisk the soy sauce, brown sugar, honey, mirin, sake, garlic, and ginger until the sugar looks mostly dissolved. Divide the mixture right away, then add the chicken to one half and leave the other half untouched for the pan sauce. If you marinate in all of it, you contaminate the sauce and lose the clean, glossy finish at the end.
Cooking the Thighs to a Deep Sear
Heat the oil in a large skillet over medium-high heat until it shimmers. Lay the chicken in and leave it alone long enough to pick up color; if you move it too soon, it sticks and steams instead of browning. After 5 to 6 minutes per side, the edges should look dark amber and a meat thermometer should read 165°F in the thickest part.
Turning the Reserved Sauce Into a Glaze
Pour the reserved marinade into the pan and let it come to a real simmer before adding the cornstarch slurry. Stir constantly for 2 to 3 minutes as it thickens; it should go from thin and noisy to glossy and a little quieter in the pan. If it stays cloudy or loose, keep simmering for another minute rather than adding more cornstarch, which can make the sauce gluey.
Coating the Chicken at the End
Return the chicken to the skillet and turn each piece through the sauce until every side looks lacquered. This last toss should happen off the strongest heat so the glaze clings instead of reducing down past sticky and into burnt sugar territory. Serve it right away over rice while the sauce is still shiny, then finish with sesame seeds and green onions.
How to Adjust This Without Losing the Sticky Finish
Gluten-Free Version
Use tamari instead of soy sauce and keep everything else the same. The glaze will still thicken and coat properly, and you won’t lose the deep savory backbone that makes teriyaki taste complete.
No Mirin on Hand
Swap in rice vinegar, but use the smaller amount so the sauce stays balanced. Mirin adds sweetness as well as acidity, so when you replace it with plain vinegar, the sauce needs the honey to keep that rounded teriyaki taste.
Chicken Breast Instead of Thighs
Breast meat works, but it cooks faster and dries out sooner, so watch the temperature closely and pull it the moment it reaches 165°F. You’ll get a slightly leaner result with less richness, but the sauce still gives it plenty of body.
Storage and Reheating
- Refrigerator: Store in an airtight container for up to 4 days. The sauce will thicken more as it chills, which is normal.
- Freezer: It freezes well for up to 2 months. Freeze the chicken and sauce together, then thaw overnight in the fridge before reheating.
- Reheating: Warm gently in a skillet over low heat with a splash of water to loosen the glaze. Don’t blast it in the microwave on high or the sauce can separate and the chicken can turn rubbery.
Answers to the Questions Worth Asking
Teriyaki Chicken
Ingredients
Equipment
Method
- In a bowl, whisk together soy sauce, brown sugar, honey, mirin, sake, garlic, and ginger until the sugar dissolves and the mixture looks evenly combined.
- Reserve half the marinade for the sauce, then place the chicken thighs in the remaining half and marinate for 20 minutes.
- Heat vegetable oil in a large skillet over medium-high heat until shimmering.
- Add the marinated chicken and cook 5-6 minutes per side until caramelized with dark amber blistered edges and the internal temperature reaches 165°F; remove to a plate.
- Pour the reserved marinade into the pan and bring it to a simmer.
- Stir in the cornstarch slurry and cook 2-3 minutes until the sauce turns thick and glossy.
- Return the chicken to the pan and turn to coat in the teriyaki sauce until the surface is evenly glazed.
- Serve the glazed teriyaki chicken over steamed rice, drizzle with any extra sauce from the pan, and garnish with sesame seeds and sliced green onions.


