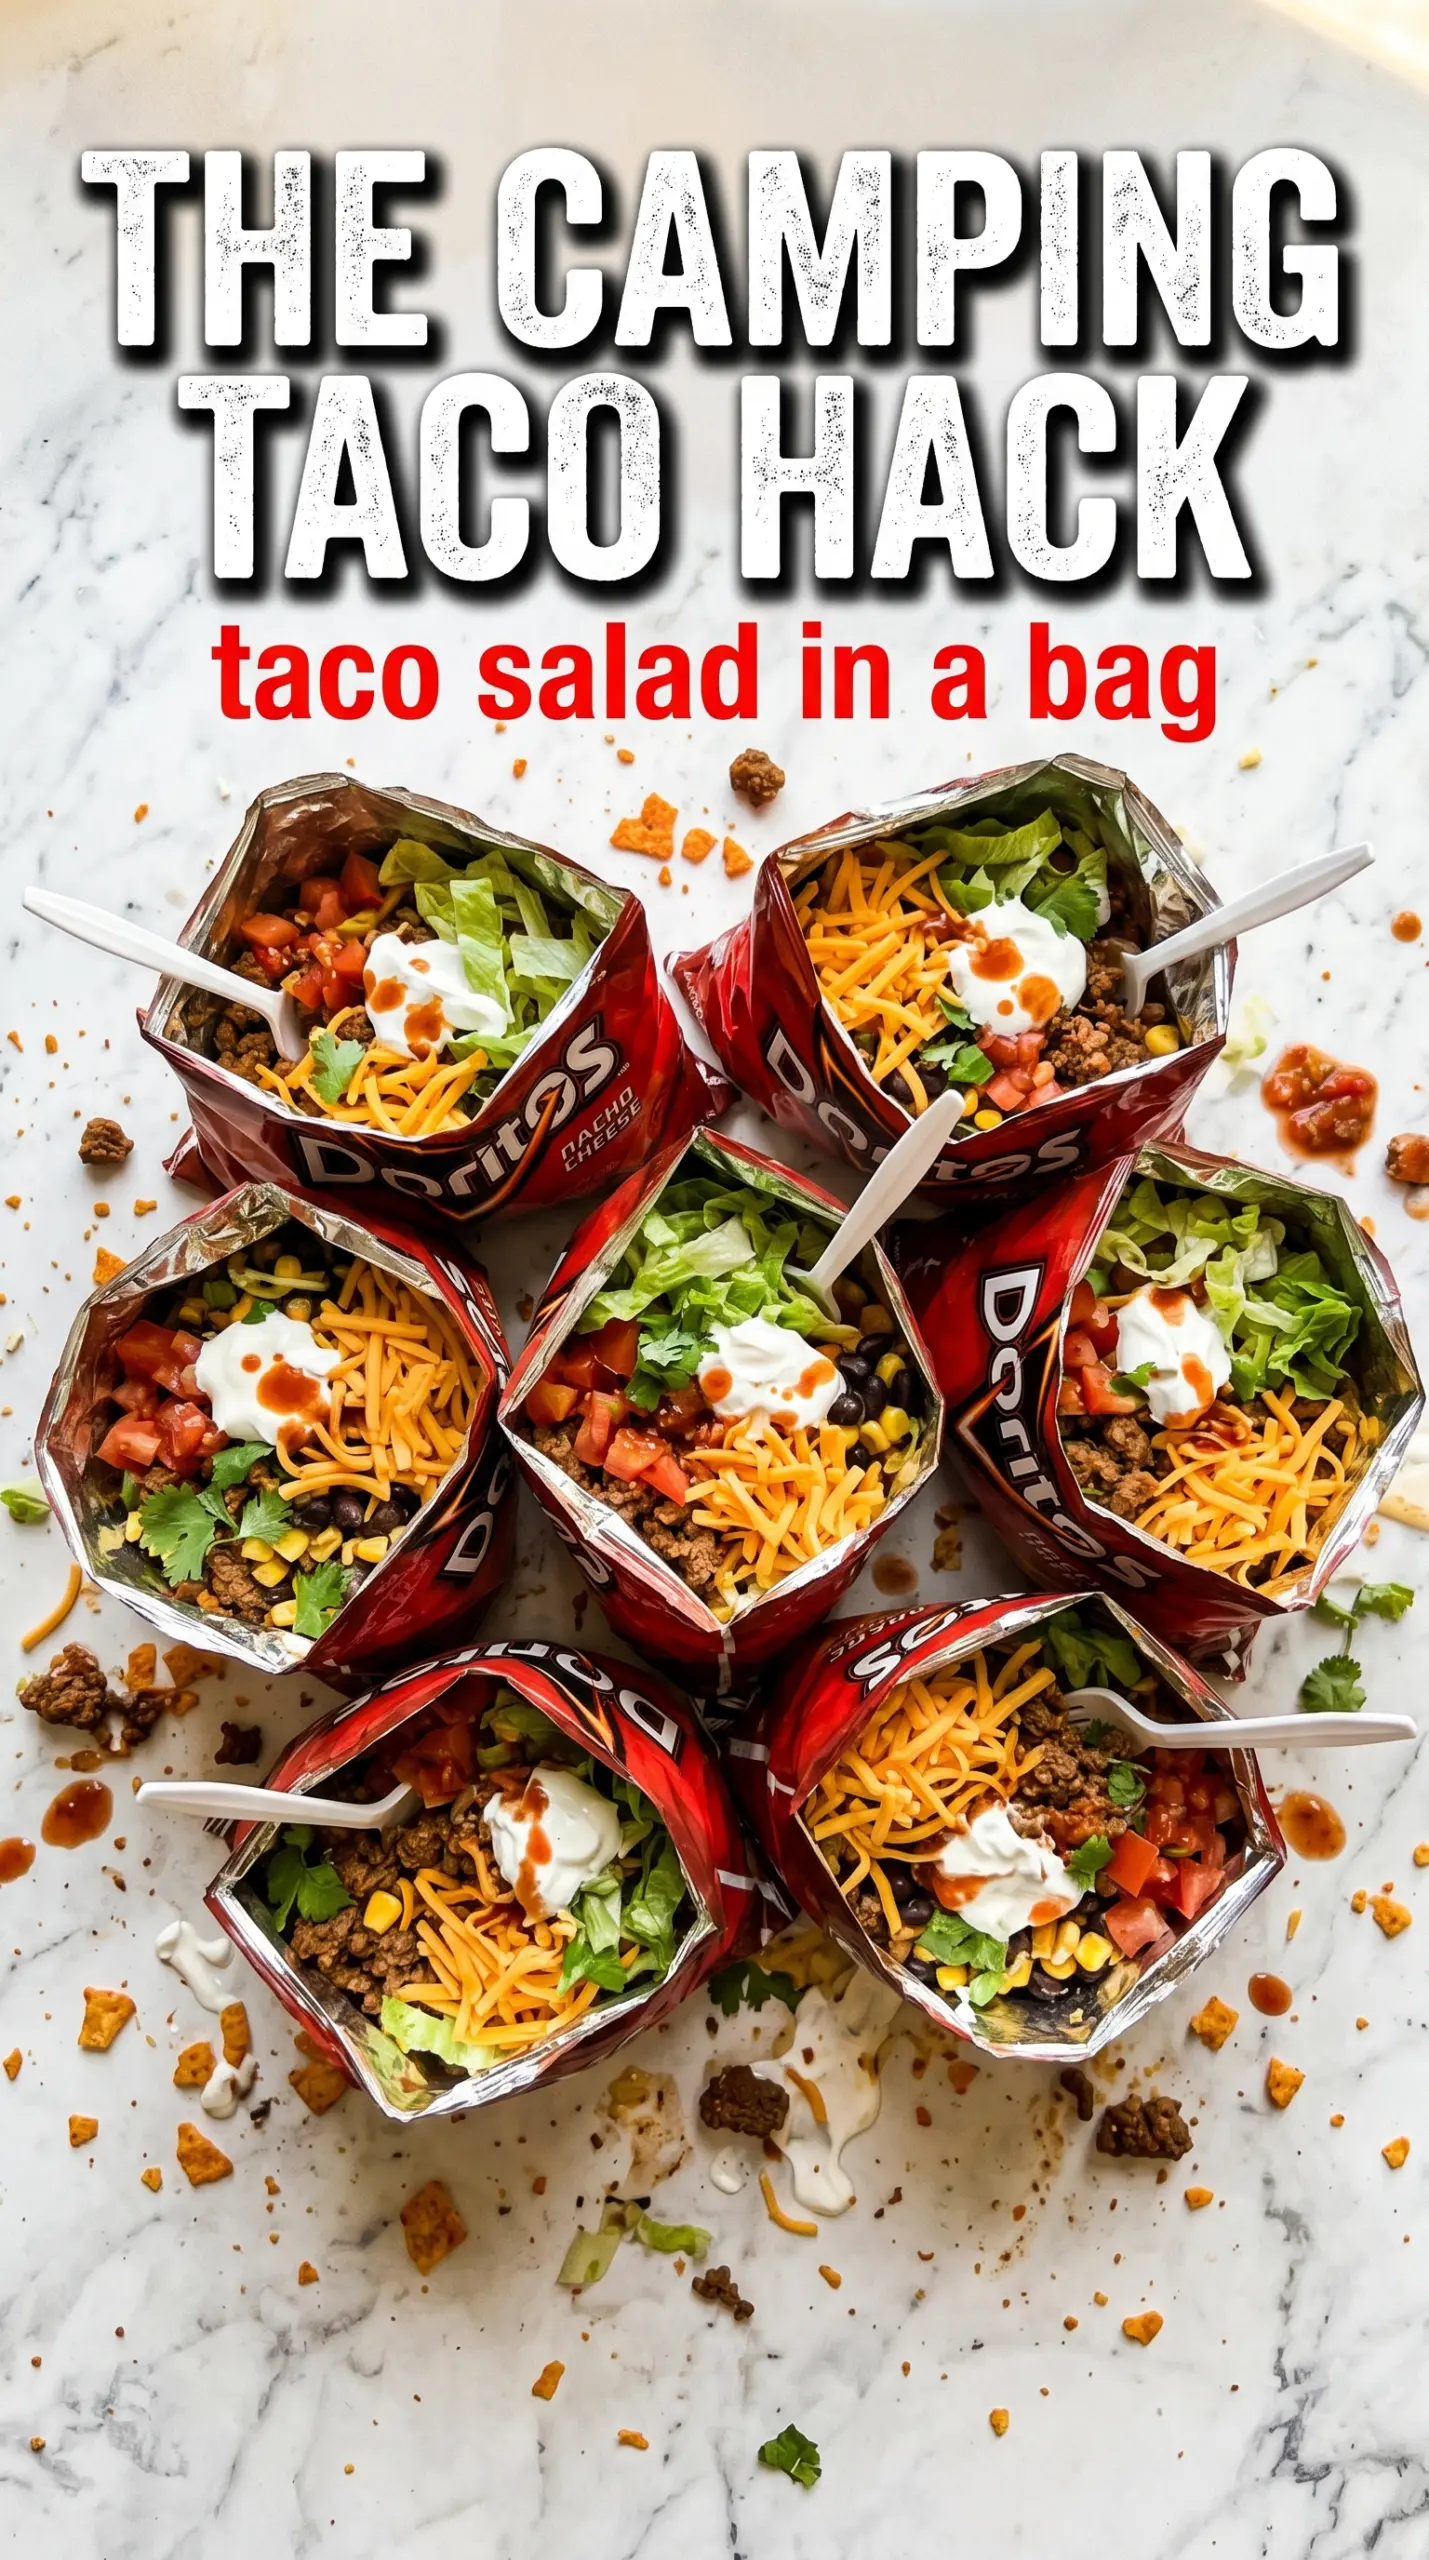
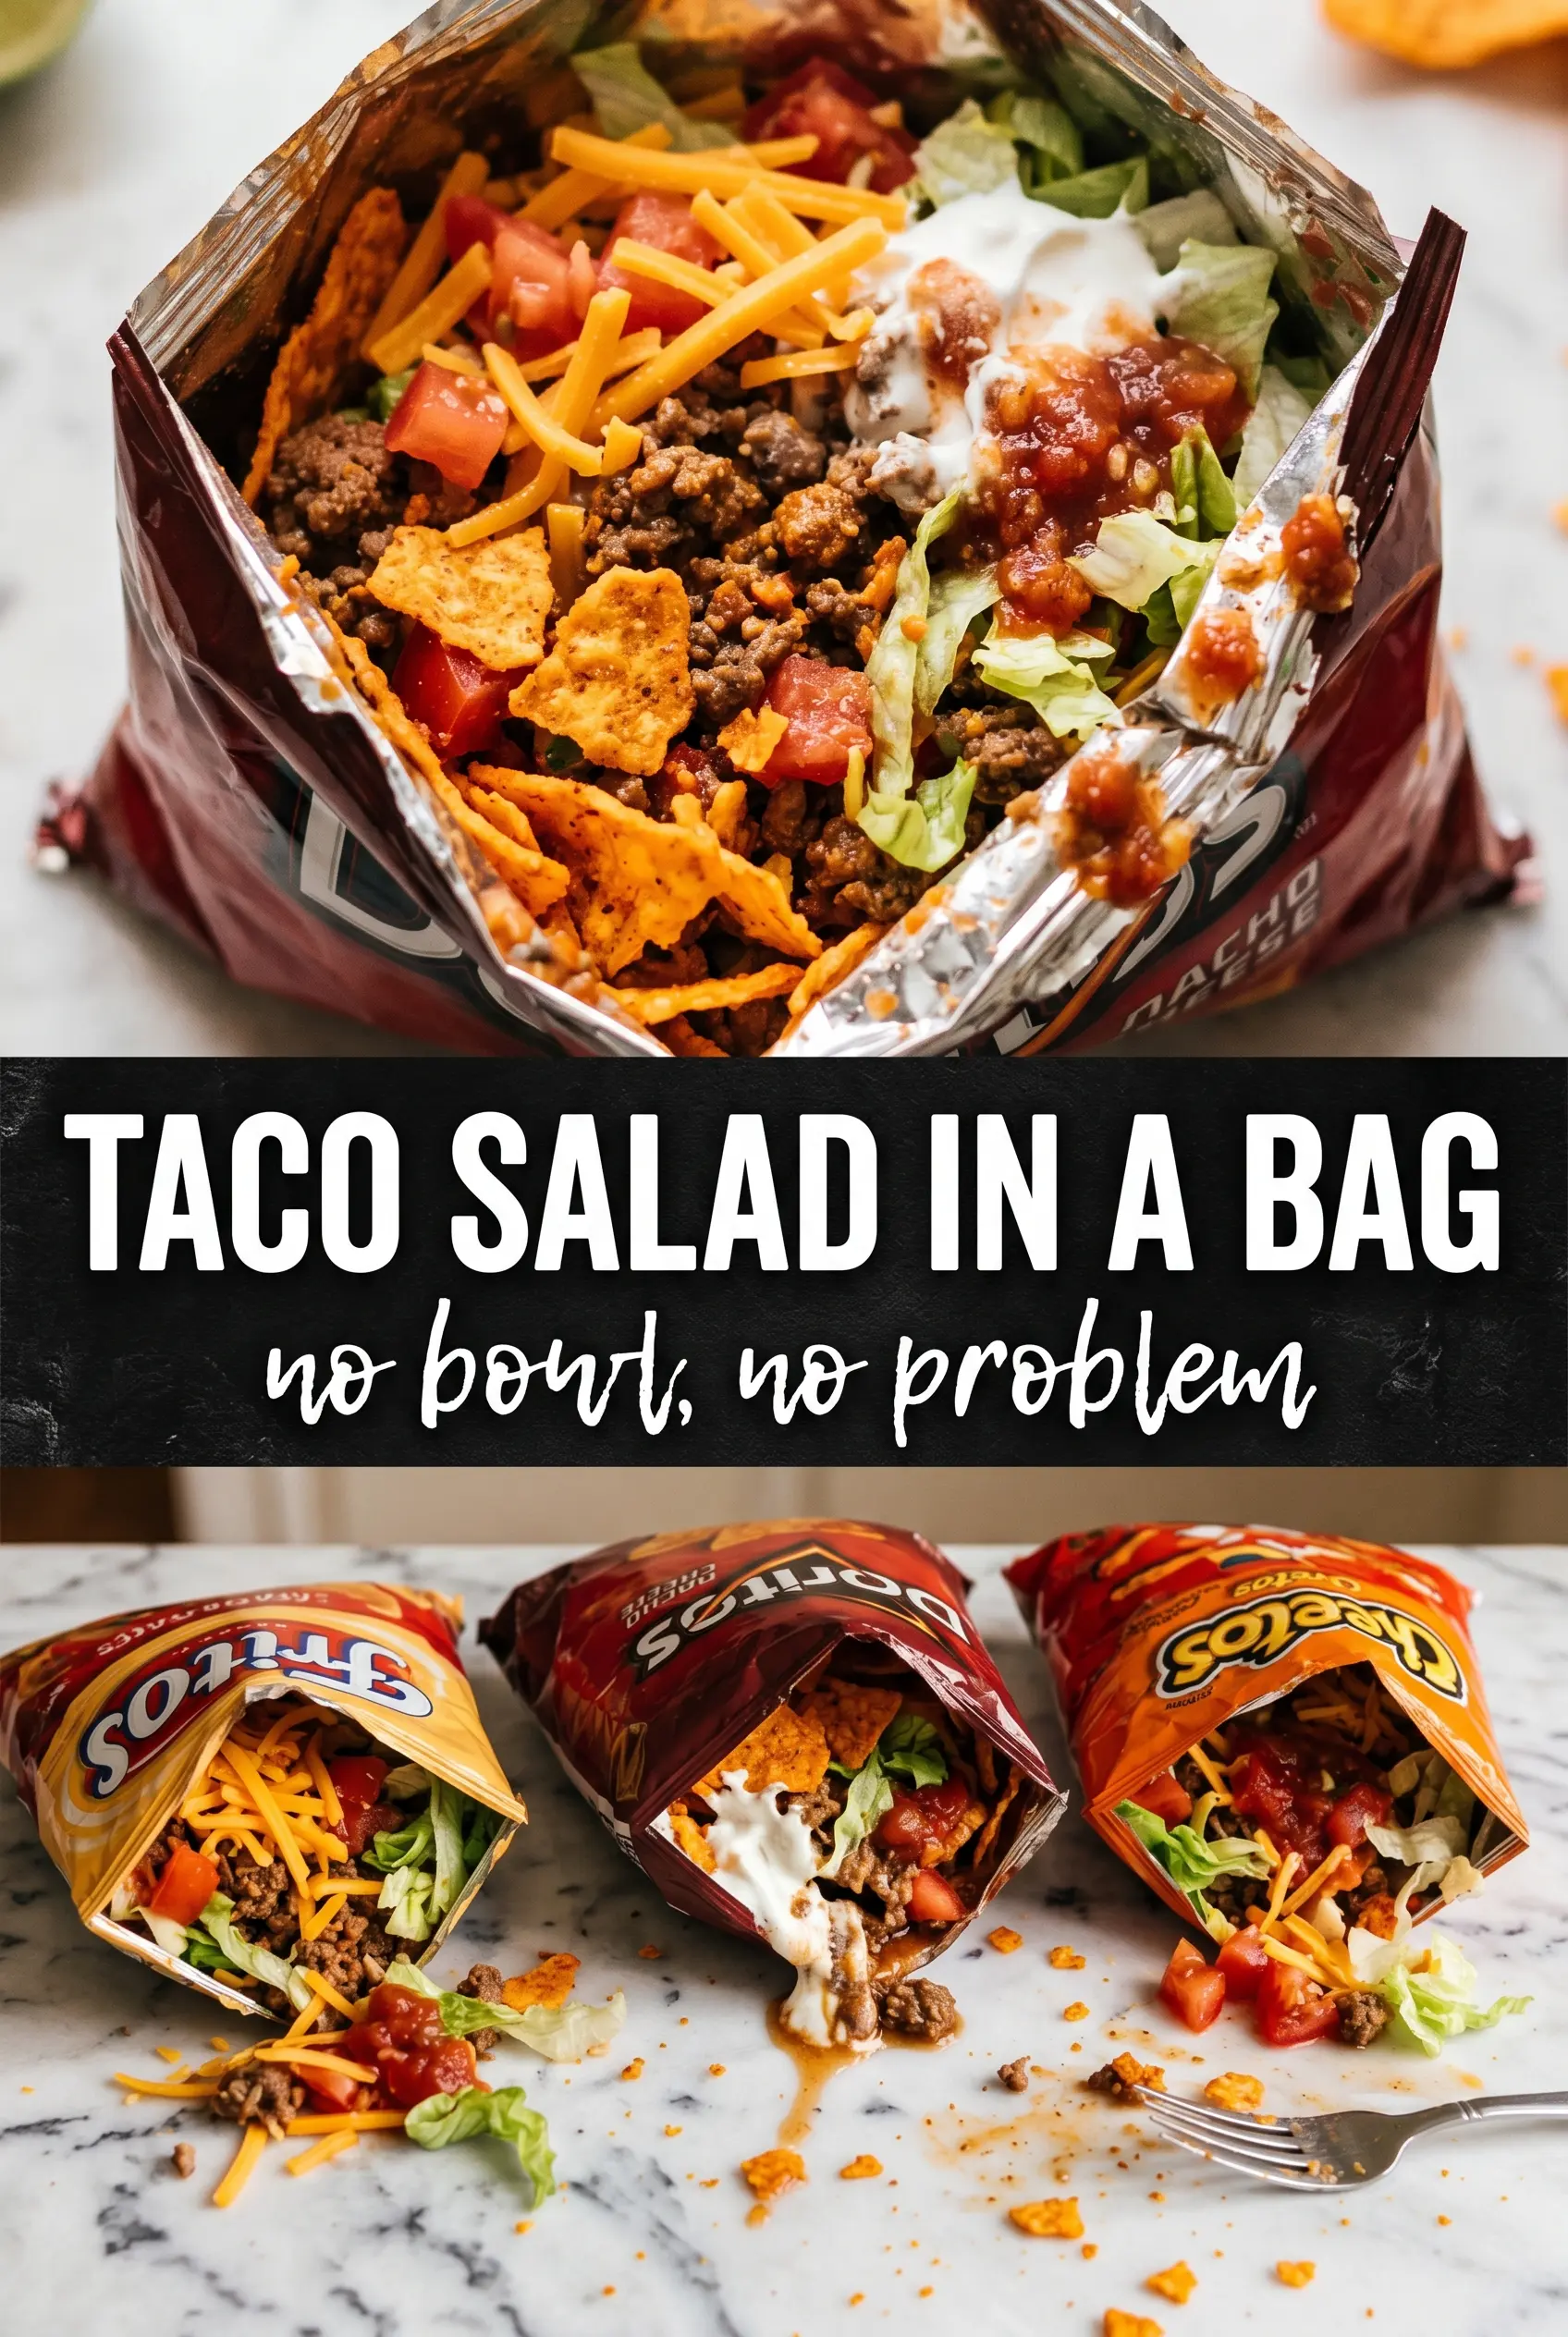
Taco Salad In A Bag hits the table with the kind of crunch that makes people grin before the first bite. The chips stay sturdy under the hot taco meat, the lettuce stays crisp, and every bag ends up with its own perfect balance of salty, cool, creamy, and spicy. It’s the kind of low-fuss meal that works just as well for a backyard dinner as it does for camping, tailgates, or any night when plates feel like one step too far.
What makes this version work is the order. The warm meat goes in first so it softens the bottom just enough without turning the whole thing soggy, and the toppings stay layered instead of getting stirred into chip crumbs right away. A sturdy chip bag matters here, too. Doritos give you a bolder, cheesier base, while Fritos lean more savory and hold up well under the fillings.
Below, I’ve included the small details that keep the bags from collapsing and the toppings from sliding everywhere. There’s also a simple way to scale this for a crowd without turning your counter into a mess.
The bags held up better than I expected, and the trick of adding the meat first kept the chips crunchy instead of soggy. My kids thought it was the coolest dinner ever and asked for the same setup the next night.
Love the crunchy, layered fun of Taco Salad In A Bag? Save it to Pinterest for camping lunches, easy dinners, and nights when everyone wants their own loaded chip bag.
The Trick to Keeping the Chips Crunchy Under the Toppings
The biggest mistake with walking tacos is letting the chips sit under hot, wet fillings for too long. If the meat is too loose or too saucy, the bottom of the bag turns soft before anyone gets to eat it. The fix is simple: cook the beef until the liquid from the seasoning has reduced and the pan looks mostly dry, then spoon it into the bags right before serving.
Layering matters more here than it would in a regular bowl. Meat first, then lettuce and cheese, then tomatoes and the cold toppings on top. That order gives you a little cushion between the chips and the wetter ingredients, which keeps the whole bag from collapsing into crumbs the second you set the fork in.
What Each Ingredient Is Actually Doing in the Bag
- Doritos or Fritos — This is the base and the whole reason the recipe works. Doritos give you extra seasoning and a lighter crunch, while Fritos are sturdier and hold up well when the bag gets packed tight. Plain chips work in a pinch, but they won’t carry the same flavor.
- Ground beef — Brown it well so it has real flavor before the taco seasoning goes in. If the pan still has a lot of fat or liquid, drain it off before assembling or the chips will soften fast. Ground turkey works too, but it tastes leaner and needs a little more seasoning to stand up to the toppings.
- Shredded lettuce — Use crisp lettuce, and shred it thin enough to eat easily from the bag. Iceberg stays crunchiest, while romaine brings a little more flavor. Wet lettuce is the fastest way to dull the texture of the whole meal.
- Shredded cheese — The cheese helps bridge the hot meat and cool toppings, so it’s worth using a good handful. Pre-shredded cheese is fine here, though freshly shredded melts against the meat a little better if the filling is still warm.
- Sour cream and salsa — These are the finishing touches, but they should stay on top until the last minute. If you add them too early, the chips underneath start to go soft. Thick salsa is easier to manage than watery salsa in this setup.
Assembling the Bags Without Crushing the Crunch
Cooking the Beef Until It’s Spoonable, Not Soupy
Brown the ground beef in a skillet until no pink remains and the edges start to take on some color. Stir in the taco seasoning with just enough water for it to coat the meat, then let it simmer until the liquid reduces and the mixture looks glossy instead of wet. That reduction is what keeps the filling from puddling at the bottom of the bag.
Opening the Chip Bags Cleanly
Cut the bags across the top or down one side, then gently open them wide enough to hold the fillings without tearing the paper liner. If the opening is too small, the toppings fall all over the counter and the chips break while you’re trying to dig in. Keep the bags upright in a muffin tin, small bowl, or folded towel so they stay steady while you fill them.
Layering for the Best Bite
Spoon in the meat first, then add lettuce, cheese, tomatoes, and finally sour cream, salsa, and olives. That keeps the hotter filling away from the chips as long as possible and gives each bite a little bit of everything. Don’t stir the bag unless you want crushed chips immediately; the best version is a forkful that already has the right mix from the top down.
Make It With Taco Turkey
Swap the ground beef for lean ground turkey and use a slightly heavier hand with the seasoning. Turkey brings a lighter flavor and less richness, so the cheese and salsa matter more for balance. It’s a good choice when you want the same walking taco feel with a less heavy filling.
Vegetarian Chip Bags
Replace the beef with seasoned black beans, pinto beans, or a mix of both. The beans won’t give you the same crumble, but they do add a creamier bite that works well against the crunchy chips. Keep the beans thick and drained so they don’t make the bag soggy.
Dairy-Free Version
Skip the cheese and sour cream, then pile on extra salsa, diced avocado, or a dairy-free crema. You’ll lose some of the creamy contrast, so the avocado or crema helps keep the bag from tasting too sharp or dry. This version still eats like the original, just a little fresher and lighter.
Storage and Reheating
- Refrigerator: Store the cooked taco meat separately for up to 4 days. The assembled bags don’t hold well once the chips and toppings meet.
- Freezer: The seasoned beef freezes well for up to 3 months. Thaw it in the fridge before reheating so it warms evenly without drying out.
- Reheating: Warm the meat in a skillet or microwave until hot, then assemble fresh bags. Don’t reheat the whole bag; the chips will go stale and the lettuce will wilt almost immediately.
Questions I Get Asked About This Recipe
Taco Salad In A Bag
Ingredients
Equipment
Method
- Cook the ground beef in a cast iron skillet over campfire for 10 minutes, stirring until browned and cooked through, keeping the surface sizzling. Season with taco seasoning and stir until the beef looks evenly coated.
- Open each individual Doritos or Fritos bag by cutting along the top or side, then spread the opening so it stands ready to fill. Keep the chip bags upright as you work.
- Add a layer of cooked taco meat into each opened bag, filling each portion evenly across the 6 bags. Tap the bag lightly so the meat settles at the bottom.
- Layer shredded lettuce over the taco meat in each bag to create a crunchy base. Spread it out so you can see lettuce across the top layer.
- Add shredded cheese on top of the lettuce in each bag, letting it fall in an even blanket. The cheese should look thick enough to cover most of the lettuce.
- Add diced tomatoes as the next layer in each bag. Stop when the tomatoes cover the cheese in a thin layer.
- Top each bag with sour cream, spooning it over the tomatoes until you see creamy swirls. Add sour cream after building so the chips stay crisp.
- Top each bag with salsa by spooning it over the top layer. Let the salsa pool slightly without flooding the chips.
- Finish each bag with sliced black olives, scattering them evenly across the surface. Serve immediately and eat directly from the bag with a fork.