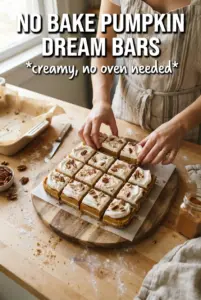
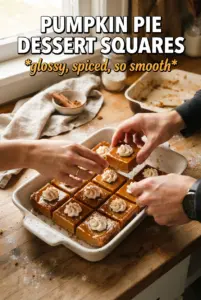
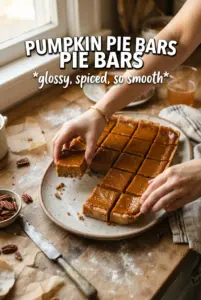
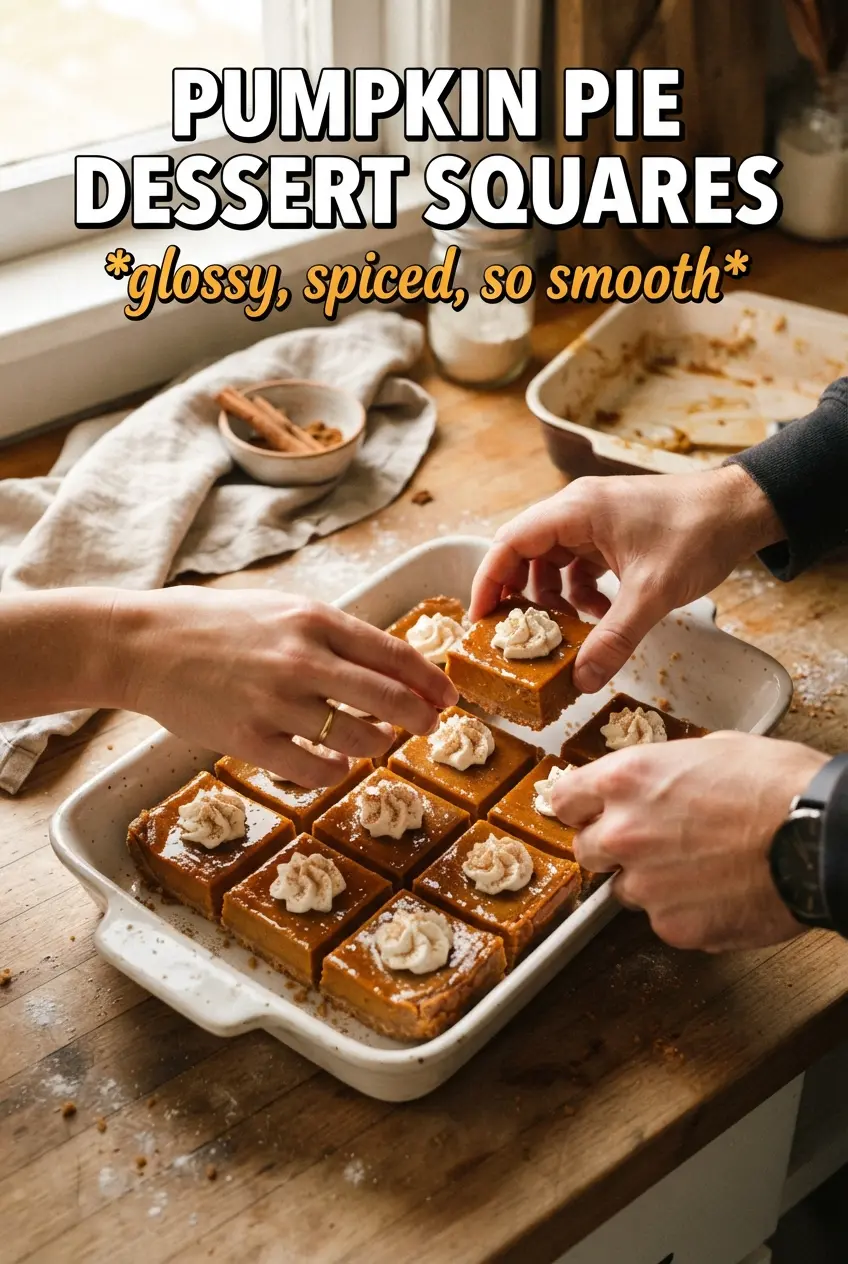
Pumpkin pie dessert squares give you all the custardy, spiced comfort of pumpkin pie without the fuss of rolling dough or worrying about a soggy bottom. The yellow cake mix crust bakes into a soft, sturdy base, the pumpkin layer sets up creamy and smooth, and the cinnamon crumble on top adds just enough texture to keep each bite from feeling flat. Cut them into neat squares and they hold together beautifully for potlucks, holidays, or anytime you want a dessert that slices cleanly and disappears fast.
What makes this version work is the contrast. The crust gets a quick bake before the filling goes on, which keeps it from turning pasty under the custard. Using evaporated milk gives the pumpkin layer a richer, silkier texture than regular milk would, and the crumble topping stays more distinct when the butter is cold instead of melted. Letting the bars cool all the way down matters too, because the filling finishes setting as it rests.
Below you’ll find the small details that keep the crust from getting dense, the filling from cracking, and the topping from sinking. There’s also a straightforward storage guide and a few smart swaps if you need to work around what’s in your pantry.
The crust baked up sturdy but still tender, and the pumpkin layer set into clean squares instead of wobbling all over the pan. I served them with whipped cream and the cinnamon topping was the first thing gone.
Save these pumpkin pie dessert squares for the days when you want a creamy pumpkin filling, a buttery cake crust, and an easy pan dessert that slices cleanly.
The Trick to Keeping the Pumpkin Layer Creamy Instead of Watery
Most pumpkin bars fail for one simple reason: the filling is too thin when it goes into the oven, or the crust is overbaked before the custard has a chance to set. This version avoids both problems by starting with a short pre-bake on the crust and then pouring the filling over it while it’s still warm. That warm base helps the layers bond without soaking the bottom into mush.
The other key is restraint. The filling should be whisked until smooth, not beaten until foamy. Too much air gives you a puffy top that collapses later, and overbaking turns the custard grainy around the edges before the center is done. Pull the pan when the center still has a slight jiggle and the topping is golden, then let the residual heat finish the job.
What Each Ingredient Is Actually Doing in These Squares
- Yellow cake mix — This does double duty as the crust and part of the crumble topping. It brings sugar, flour, and leavening in one box, which is why the base turns tender instead of dense. If you swap in a homemade dry mix, keep the texture on the sandy side so the crust presses together without getting greasy.
- Melted butter for the crust — Melted butter binds the crust fast and helps it press evenly into the pan. If the butter is too hot, let it cool for a minute before mixing so it doesn’t start cooking the egg.
- Eggs — The eggs in the crust help it set into a sliceable layer, and the eggs in the filling give the custard structure. There’s no good substitute for both jobs at once, which is why the bars hold together after chilling.
- Pumpkin puree — Use pure pumpkin, not pumpkin pie filling. Pie filling already has sugar and spices added, and that throws off the balance here. The puree gives you a clean pumpkin flavor that the spice blend can carry.
- Evaporated milk — This is what makes the filling taste rich without turning heavy. Regular milk will work in a pinch, but the result won’t be quite as silky. Evaporated milk has more body and helps the custard set with a smooth finish.
- Cold butter for the crumble — Cold butter creates little pockets in the topping, so it bakes up crumbly instead of pasty. Cut it in until the mixture looks like damp sand with some pea-sized bits left behind.
How to Build the Layers So They Slice Cleanly
Pressing and Prebaking the Crust
Mix the crust ingredients just until combined, then press them into the prepared 9×13 pan in an even layer. A measuring cup helps flatten the dough without tearing it. Bake it for the full 10 minutes so the base sets before the pumpkin goes on; if you skip that part, the crust absorbs moisture and turns gummy.
Whisking the Filling Smooth
Whisk the pumpkin, eggs, sugar, evaporated milk, and spices until the mixture looks uniform and glossy. Stop as soon as the streaks disappear. If you keep whipping after that, you add air, and air is what causes a puffed top that cracks as it cools. Pour the filling over the warm crust right away so the layers meet evenly.
Making the Crumble Hold Its Shape
Work the reserved cake mix, sugar, cinnamon, and cold butter together until the topping forms irregular crumbs. You want pieces of different sizes, not a paste. Scatter them across the filling without pressing down; if you compact the topping, it bakes into a hard sheet instead of a crisp crumble.
Knowing When the Pan Is Done
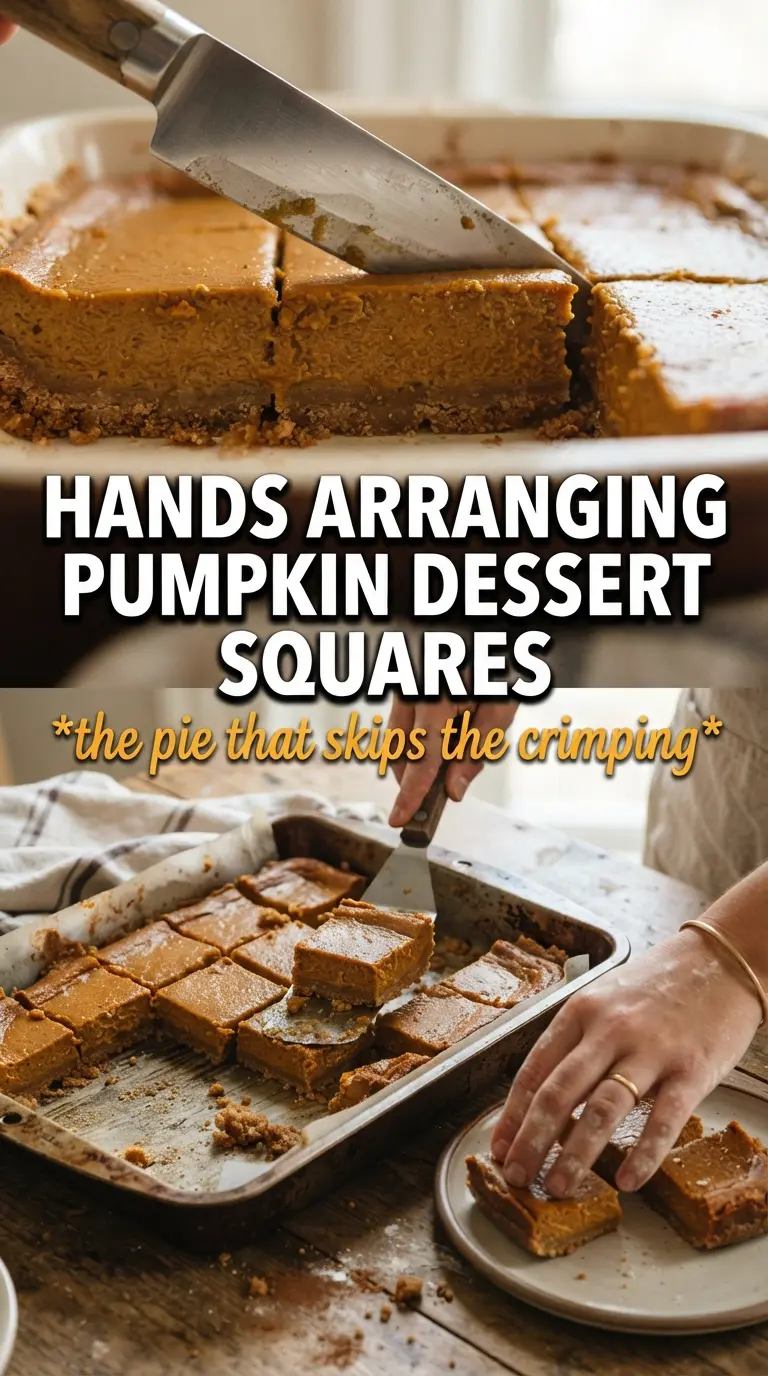
Bake until the topping is golden and the center has only a slight wobble when you nudge the pan. The middle should look set around the edges but still have a soft jiggle in the very center. If you wait until it looks completely firm in the oven, it usually ends up overbaked by the time it cools. Let it cool completely before cutting, or the squares will slump and smear.
How to Adapt Pumpkin Pie Dessert Squares Without Losing the Texture
Dairy-Free Version
Use a plant-based butter substitute in both the crust and the crumble, and swap the evaporated milk for canned coconut milk or a dairy-free evaporated milk alternative. Coconut milk brings a faint coconut note, while dairy-free evaporated milk keeps the filling closer to the original taste. The custard will still set, but it may slice a little softer.
Gluten-Free Swap
Use a gluten-free yellow cake mix designed for baking in place of the regular mix. The texture lands closest when the mix already contains a binder, so don’t mix in extra flour. Expect a slightly more delicate crust, and let the bars cool fully before lifting them from the pan.
A Warmer Spice Profile
If you like a stronger spice finish, add an extra 1/4 teaspoon cinnamon or a pinch more ginger. Keep the pumpkin pie spice in place, since it already carries the classic clove and nutmeg notes. The filling should still taste like pumpkin first, spice second.
Storage and Reheating
- Refrigerator: Store covered for up to 4 days. The texture firms up a bit more in the fridge, which actually helps the squares cut cleaner.
- Freezer: These freeze well. Wrap individual squares tightly, then place them in an airtight container for up to 2 months. Thaw in the refrigerator overnight for the best texture.
- Reheating: Serve them chilled or let them sit at room temperature for 20 to 30 minutes. If you warm them, use short bursts in the microwave. Long reheating can make the custard weep and soften the crumble too much.
Answers to the Questions Worth Asking
Pumpkin Pie Dessert Squares
Ingredients
Equipment
Method
- Preheat the oven to 350F and grease a 9x13 pan.
- Combine the remaining cake mix, melted butter, and the egg, then press the mixture into the prepared pan.
- Bake the crust for 10 minutes.
- Whisk pumpkin puree, eggs, granulated sugar, evaporated milk, pumpkin pie spice, cinnamon, ginger, and salt until smooth.
- Pour the filling over the warm crust.
- Combine the reserved cake mix, sugar, cold butter, and cinnamon until crumbly.
- Scatter the crumble topping over the filling.
- Bake for 40 to 45 minutes, until the topping is golden and the filling is set.
- Cool completely before cutting into squares so the custard sets cleanly.
- Serve squares with whipped cream.