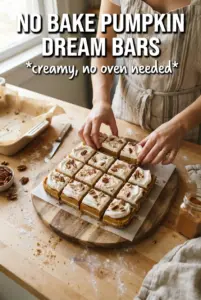
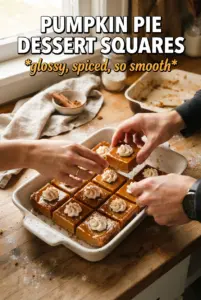
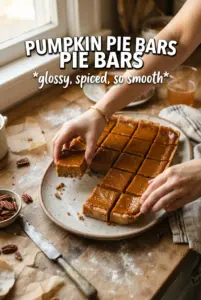
Pumpkin pie bars give you all the comfort of classic pumpkin pie with a crust that stays sturdy enough to slice cleanly and serve without a fight. The filling bakes up smooth and custardy, the spice lands right in that warm, familiar place, and the shortbread base adds a buttery crunch that keeps every bite from feeling heavy. They’re the kind of dessert that disappears fast because people can pick them up, eat them neatly, and still get that full pie experience.
This version works because the crust is baked before the filling goes in, which keeps the butter layer crisp instead of soggy. The filling also starts hot, then the oven drops to a lower temperature so the eggs set gently instead of tightening into cracks or curdles. That two-stage bake is the difference between bars that slice like a dream and bars that slump in the middle.
Below, I’ll show you the little details that matter most: how to know the crust is pressed firmly enough, what the center should look like when the bars are done, and how to keep the filling silky even if you’re making them a day ahead.
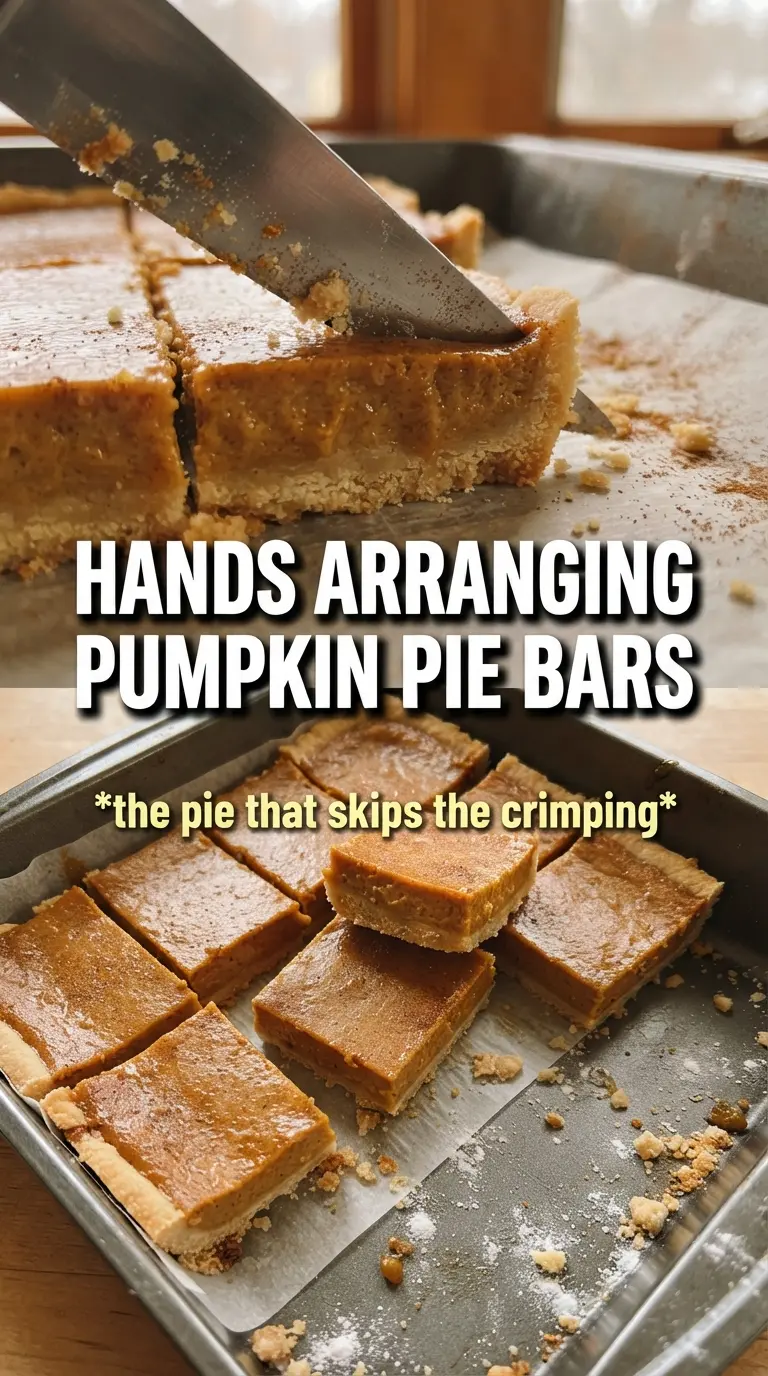
The crust stayed crisp even under the pumpkin layer, and the bars cut into clean squares after chilling overnight. I topped them with whipped cream and a little cinnamon, and they tasted just like pumpkin pie without the messy slices.
Save these pumpkin pie bars for the kind of dessert that slices clean, chills beautifully, and still tastes like a real pie.
The Crust Has to Be Baked First, Not Just Pressed in Place
The shortbread crust is what keeps these bars from turning into pumpkin pudding on a plate. If you skip the first bake, the filling soaks into the flour and you lose that clean slice and buttery snap on the bottom. Baking it until it’s just pale golden gives the crust enough structure to hold the custard without overbrowning before the filling goes in.
The other detail that matters is how firmly you press it into the pan. Loose patches puff and crumble, while an even, compact layer bakes into a sturdy base. Use the bottom of a measuring cup if your hands leave it uneven; the goal is a tight, level crust from corner to corner.
What the Pumpkin Filling Needs to Stay Smooth and Sliceable
- Pumpkin puree — Use pure pumpkin, not pumpkin pie filling. Pie filling already has sugar and spice added, which throws off the balance and makes the bars sweeter and less clean-tasting.
- Evaporated milk — This gives the filling its creamy, dense texture without making it heavy. Whole milk won’t set quite the same way, and sweetened condensed milk would make the bars far too rich and overly sweet.
- Eggs — They’re the setting agent here. Whisk them thoroughly with the pumpkin mixture so the custard bakes evenly and doesn’t end up streaked or eggy.
- Spices — Pumpkin pie spice does the broad work, while the extra cinnamon, ginger, and cloves sharpen the flavor so it tastes like a real pie, not just warm sugar. If you use a store-bought blend that’s old, the bars can taste flat, so check the aroma before you start.
- Vanilla — This rounds out the spice and softens the edges of the filling. It’s not a background ingredient here; it helps the pumpkin taste fuller.
Building the Custard So It Sets Without Cracking
Whisking the Filling Until It’s Fully Homogeneous
Mix the filling until the pumpkin, eggs, sugar, and spices are completely smooth. If you still see streaks of egg white or clumps of spice, those spots bake unevenly and can leave you with a grainy texture. A whisk works better than a spoon because it breaks up the eggs and distributes the evaporated milk evenly. Pour it over the hot crust right away so the filling begins setting from the bottom instead of soaking in.
The Two-Temperature Bake
The first blast at 425°F gives the filling enough heat to start setting quickly, which helps the bars hold together. Then the temperature drops to 350°F so the custard finishes gently. If you leave it at the high heat the whole time, the edges can overbake before the center is done, and that’s when cracks and a dry texture show up. The bars are ready when the edges are firm and the center still has a slight wobble, like soft gelatin.
Cooling Before Cutting
These bars need a full cool-down before you even think about slicing them. The filling firms as it loses heat, and the refrigerator finishes the job. If you cut too soon, the squares slump and the crust can separate from the filling. A two-hour chill gives you clean edges and a custard that holds its shape under the whipped cream.
How to Adjust These Bars for Different Needs
Dairy-Free Version
Use a plant-based butter that’s meant for baking in the crust and full-fat canned coconut milk in place of the evaporated milk. The bars will still set, but the filling will taste a little richer and coconut-forward, so keep the cinnamon and ginger in place to balance it.
Gluten-Free Crust
Swap the all-purpose flour for a 1:1 gluten-free baking blend with xanthan gum included. Press it firmly and expect a slightly more delicate crust that still slices well once chilled. If your blend runs dry, add a teaspoon or two of cold water until the dough just comes together.
Bigger Spice Presence
If you like a stronger spice note, add another 1/2 teaspoon of cinnamon or a pinch more cloves. Don’t push the cloves too far; once they take over, the bars stop tasting like pumpkin pie and start tasting sharp.
Storage and Reheating
- Refrigerator: Keep covered for up to 4 days. The crust softens slightly, but the flavor stays excellent.
- Freezer: These freeze well. Wrap individual bars tightly and freeze for up to 2 months; thaw in the refrigerator so the custard doesn’t sweat.
- Reheating: Serve chilled or let a bar sit at room temperature for 10 to 15 minutes. Don’t microwave them for long, or the filling turns rubbery and the crust loses its texture.
Answers to the Questions Worth Asking
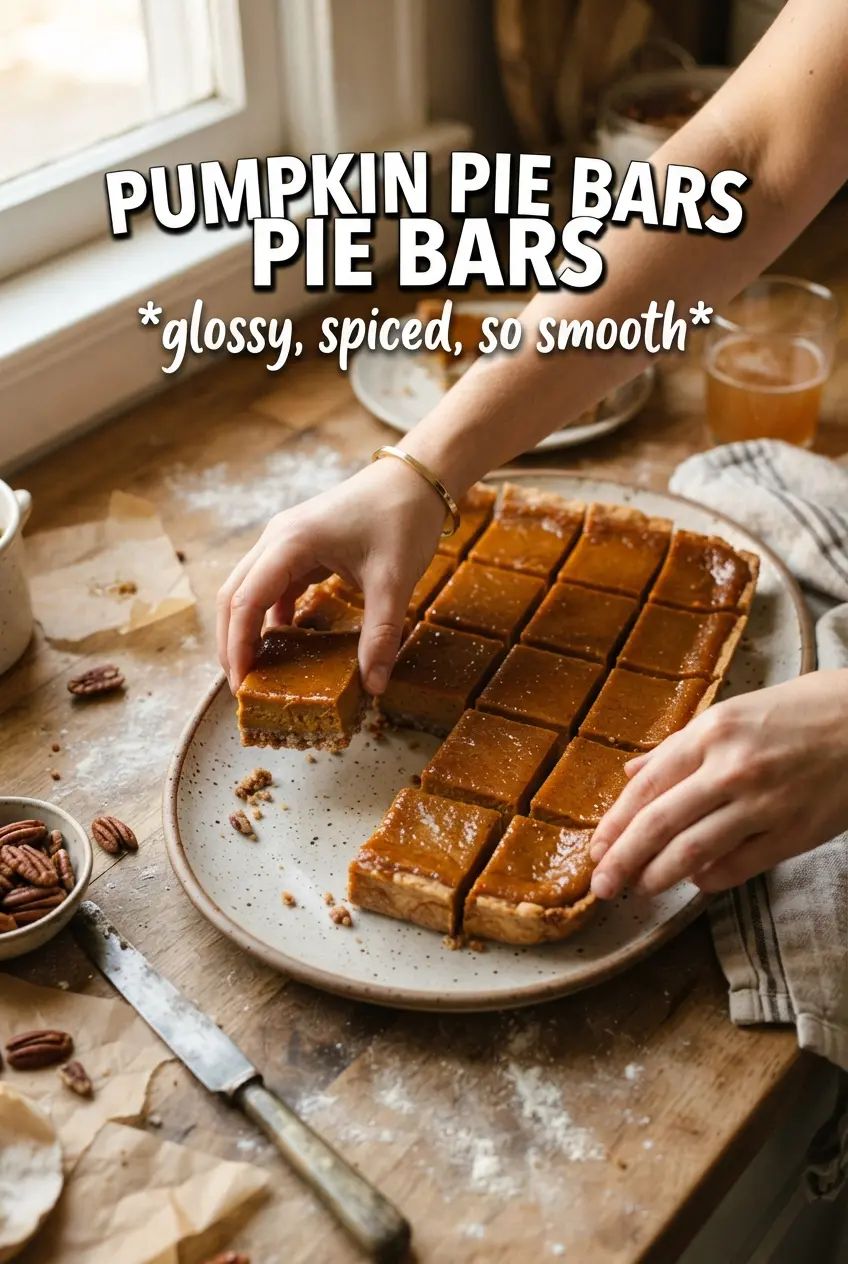
Pumpkin Pie Bars
Ingredients
Equipment
Method
- Preheat the oven to 425F and line a 9x13 pan with parchment paper, leaving overhang for easy lifting later.
- Combine all-purpose flour, powdered sugar, and salt in a bowl.
- Cut in cold unsalted butter until the mixture forms dough that just holds together.
- Press the crust firmly and evenly into the pan, then bake at 425F for 15 minutes until pale golden.
- Whisk pumpkin puree, evaporated milk, eggs, granulated sugar, pumpkin pie spice, cinnamon, ginger, cloves, salt, and vanilla until smooth.
- Pour the filling over the hot crust.
- Bake at 425F for 15 minutes, then reduce heat to 350F and bake 25 to 30 more minutes until the filling is set with just a slight wobble in the center.
- Cool the bars completely at room temperature, then refrigerate for 2 hours so the filling firms up.
- Cut into bars and serve with whipped cream.