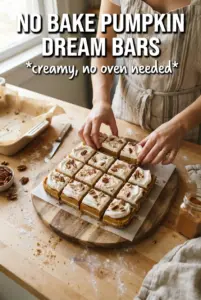
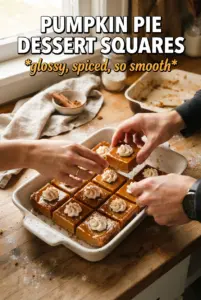
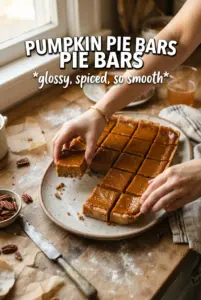
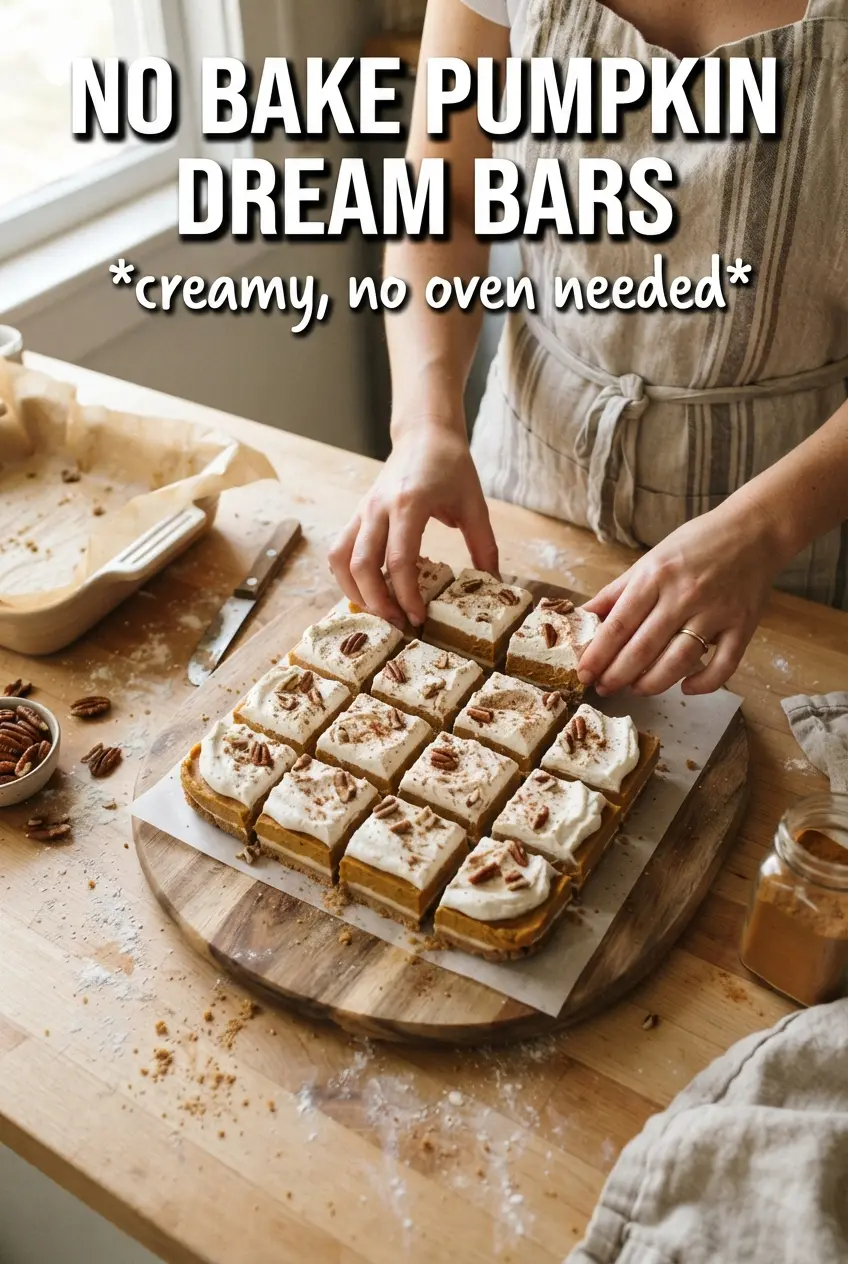
These no bake pumpkin dream bars set up with a cool, creamy middle and a graham cracker crust that stays crisp enough to slice cleanly. The pumpkin layer tastes like pumpkin pie meeting cheesecake, but without the oven, the water bath, or the stress of waiting for a custard to behave. Once chilled, the bars hold their shape and the whipped topping gives each bite a light finish that keeps the whole dessert from feeling heavy.
The key is in the texture balance. Softened cream cheese gives the filling structure, pumpkin puree brings the flavor, and powdered sugar sweetens without making the mixture grainy. Folding in whipped topping at the end keeps the filling airy, while a well-pressed crust and a long chill give you those neat bakery-style squares instead of a scoopable mess.
Below, you’ll find the small details that matter most: how to keep the crust from crumbling, why the filling needs to be mixed in a specific order, and a few smart ways to adjust the bars for different ingredients or occasions.
The filling set up beautifully after chilling overnight, and the gingersnap topping gave just the right crunch against the fluffy pumpkin layer. Mine sliced cleanly into neat bars without oozing at all.
Love the fluffy pumpkin filling and gingersnap finish? Save these no bake pumpkin dream bars for the next time you need a chilled dessert that slices cleanly.
The Chill Time Is What Gives These Bars Their Clean Slice
No bake bars only look effortless after the chilling is done. The crust needs that first firm rest so it won’t collapse when you spread the filling, and the pumpkin layer needs enough time to turn from soft mousse into something you can cut without dragging it across the pan. If you rush either part, the bars still taste good, but they’ll lean and smear instead of holding neat edges.
The other thing people miss is how soft the filling should look before it goes into the pan. You’re aiming for smooth and fluffy, not dense like frosting. Once the whipped topping is folded in, the mixture should mound gently on a spoon and spread with light pressure. If it looks loose, the most common cause is underchilled whipped topping or overmixing after it goes in.
What Each Ingredient Is Doing In These Pumpkin Dream Bars
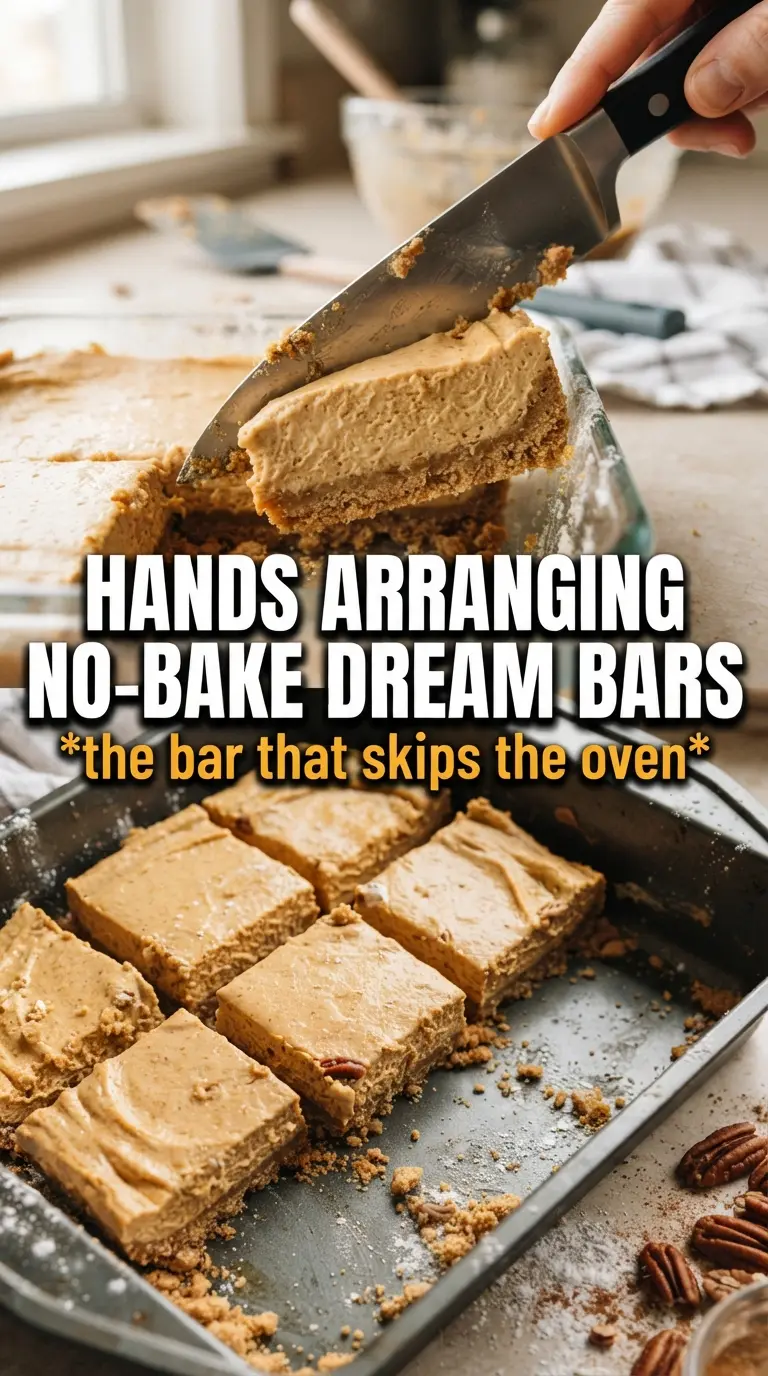
- Graham cracker crumbs — These give the crust its classic sweet, sandy base. You can crush the crackers yourself or use store-bought crumbs; either works as long as the texture is fine and even, because big chunks make the crust cut poorly.
- Melted butter — This is what binds the crust so it sets firmly in the pan. Don’t cut it back, or the crust turns dry and crumbly instead of staying together under the filling.
- Cream cheese — Softened cream cheese is nonnegotiable here. Cold cream cheese leaves little bits behind, and those bits show up in the finished bars as lumps instead of a smooth pumpkin layer.
- Pumpkin puree — Use plain pumpkin puree, not pumpkin pie filling. Pie filling already contains sugar and spices, which throws off the balance and can make the bars taste overly sweet and muddy.
- Whipped topping — This is what gives the filling its airy, sliceable texture. A thawed tub style topping folds in best; homemade whipped cream can work, but it softens faster and the bars won’t hold quite as long in the fridge.
- Gingersnaps — The topping adds spice and crunch that breaks up the soft filling. Crush them coarsely so you get texture instead of dust.
Building The Crust And Filling So The Bars Hold Together
Pressing The Crust Hard Enough
Stir the graham crumbs, sugar, and melted butter until every crumb looks evenly moistened, then press the mixture firmly into the pan. Use the bottom of a measuring cup to pack it in; that extra pressure is what keeps the crust from crumbling when you lift the bars out. Chill it before the filling goes on so the butter has time to set.
Mixing The Pumpkin Layer Without Turning It Runny
Beat the cream cheese first until it looks completely smooth and glossy. Add the pumpkin, powdered sugar, pumpkin pie spice, cinnamon, and vanilla, and mix until the color is even and there are no streaks left. If the mixture looks watery, the pumpkin was likely stirred in too aggressively before the cream cheese was smooth, which makes the filling feel loose instead of plush.
Folding In The Whipped Topping
Add the whipped topping after the base is fully mixed, then fold it in with a spatula instead of beating it. Folding keeps the filling light and helps it hold its shape after chilling. If you whip it hard at this stage, the filling gets denser and loses that dreamy, cloudlike texture these bars are known for.
Finishing And Chilling The Bars
Spread the pumpkin layer over the crust in an even layer, then top it with the remaining whipped topping. Dust on cinnamon and crushed gingersnaps, then refrigerate for at least 4 hours, though overnight is even better. The bars are ready when the filling feels firm all the way through and a knife slips through cleanly without dragging the topping.
How To Adapt These No Bake Pumpkin Dream Bars For Different Kitchens
Gluten-Free Crust Swap
Use gluten-free graham-style crumbs in place of regular graham crackers. The texture stays nearly the same, but the sweetness and crunch will depend on the brand, so choose one that tastes close to a classic graham cracker rather than an overly dry cookie crumb.
Dairy-Free Version
Use dairy-free cream cheese and a plant-based whipped topping that whips and chills well. The bars will still slice nicely, but the filling may be a touch softer, so give them the full chill time and keep them cold until serving.
Gingersnap Upgrade
If you want more spice, add a thicker layer of crushed gingersnaps on top instead of a light sprinkle. That gives each bite more crunch and a stronger molasses note, which works especially well if you like a sharper contrast against the sweet filling.
Storage and Reheating
- Refrigerator: Store covered for up to 4 days. The crust stays best in the first 2 days, while the topping softens a little after that.
- Freezer: These bars freeze well. Cut them first, wrap tightly, and freeze in a single layer before moving them to a container; thaw in the refrigerator so the filling doesn’t weep.
- Reheating: No reheating needed. Serve them cold straight from the fridge, and don’t leave them out too long or the filling will lose that clean slice.
Answers To The Questions Worth Asking About These Bars
No Bake Pumpkin Dream Bars
Ingredients
Equipment
Method
- Press the graham crust mixture into a 9x13 pan, using firm pressure to make an even layer, then refrigerate 20 minutes to set.
- Keep the crust chilled while you make the filling so the layer stays firm and sliceable.
- Beat the cream cheese until smooth, scraping the bowl as needed for no lumps.
- Add pumpkin puree, powdered sugar, pumpkin pie spice, cinnamon, and vanilla, then beat until the mixture looks uniform and creamy.
- Fold in 2/3 of the whipped topping until no streaks remain.
- Spread the pumpkin cream cheese layer over the chilled crust and smooth the top.
- Spread the remaining whipped topping over the pumpkin layer to cover the surface evenly.
- Dust with cinnamon and scatter crushed gingersnap cookies across the top.
- Refrigerate 4 hours or overnight until firm to allow clean bar cuts.
- Cut into bars and serve chilled.