Oatmeal Cookie Apple Crisp bakes up with a bubbling cinnamon apple filling and a thick, craggy topping that tastes like the best parts of an oatmeal cookie. The edges turn deeply golden and crisp, while the center stays tender enough to scoop cleanly with a spoon. It’s the kind of dessert that gets passed around the table fast, especially with a cold scoop of ice cream melting into the cracks.
What makes this version work is the topping: melted butter, honey, and vanilla coat the oats and flour evenly, so you get those cookie-like clusters instead of a sandy layer. The apples are tossed with cornstarch before baking, which keeps the filling syrupy instead of watery. A little lemon juice keeps the sweetness in check and helps the fruit taste bright instead of flat.
Below, you’ll find the small details that matter most: how to keep the topping clumpy, which apples bake up best, and what to do if you want to make it ahead for company.
The topping baked into those big oatmeal-cookie chunks I was hoping for, and the apple filling thickened up nicely instead of running all over the plate.
Save this oatmeal cookie apple crisp for the nights when you want a bubbling apple dessert with a thick, cookie-style oat topping.
The Trick to Getting a Cookie-Like Crumble Instead of a Sandy Topping
Apple crisp goes wrong when the topping stays loose and dry, which is exactly what happens if the butter isn’t worked through the oats evenly. Melted butter changes the game here because it coats every dry bit and encourages little clusters to form as the crisp bakes. Honey helps with that, too. It gives the topping a stickier, more cookie-like finish than a plain butter-and-sugar mix.
The other place people lose the texture is in the fruit layer. Apples release a lot of juice as they bake, and if there’s nothing to catch it, you end up with a thin puddle under the topping. Cornstarch thickens those juices right in the pan, so the filling turns glossy and spoonable instead of watery.
What the Apples and Oats Are Each Doing Here
- Apples — Use a mix that holds its shape in the oven, like Granny Smith, Honeycrisp, or Pink Lady. Softer apples can work, but they’ll collapse faster and make the filling more saucy. If you want a firmer bite, lean toward tart apples with a little structure.
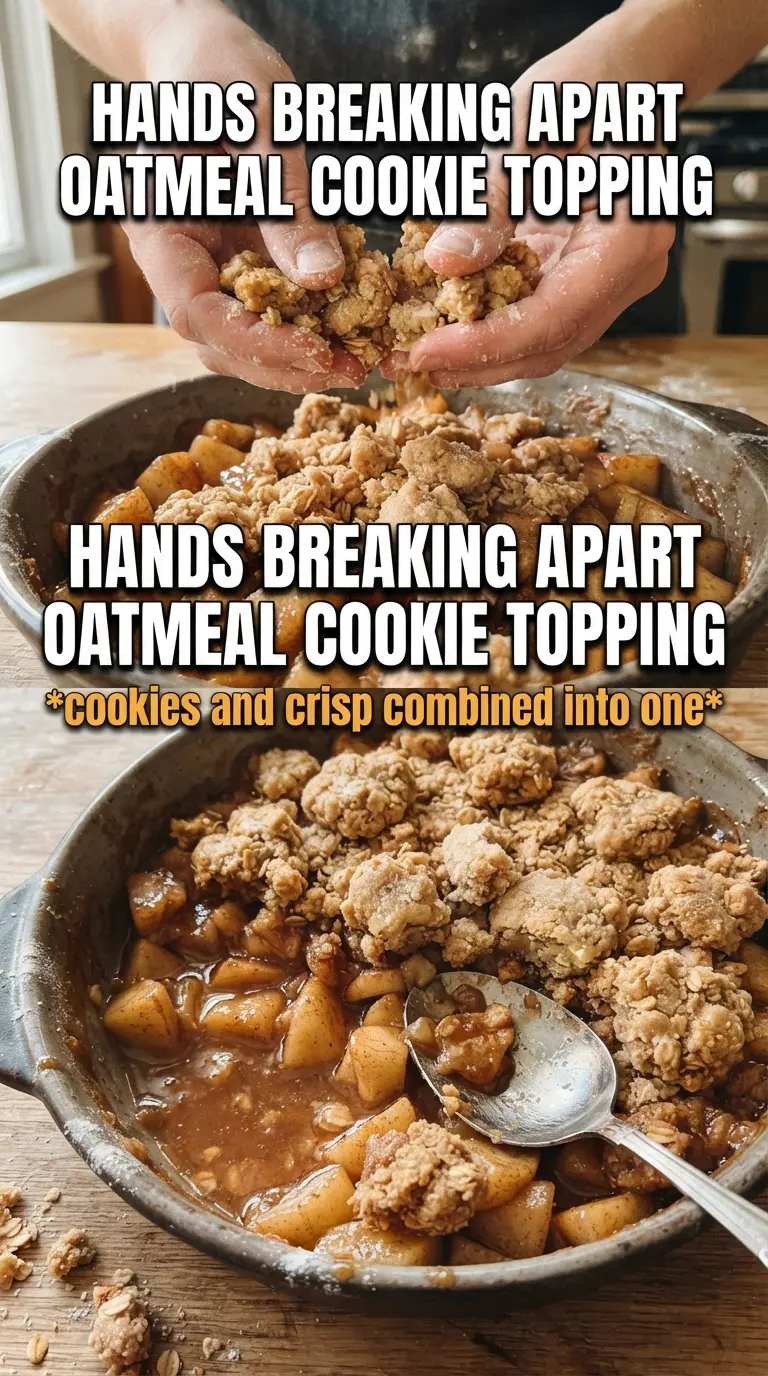
- Rolled oats — These give the topping its chew and rustic texture. Quick oats won’t give you the same craggy finish, and the topping can turn pasty. Old-fashioned rolled oats hold up best and bake into distinct clusters.
- Brown sugar — This brings the molasses note that makes the topping taste like an oatmeal cookie instead of just sweet crumbs. Packed brown sugar also helps the topping brown more deeply. Light or dark both work; dark brown sugar gives a richer finish.
- Honey — It helps bind the topping and adds the sticky quality that encourages clumps. Maple syrup can replace it, but the flavor shifts more toward maple and the topping may spread a little less neatly.
Building the Crisp So the Filling Thickens and the Topping Stays Craggy
Mix the fruit layer first
Toss the sliced apples with sugar, cinnamon, nutmeg, cornstarch, and lemon juice until every slice looks lightly coated. The cornstarch should disappear into the fruit, not sit in dry pockets, or you’ll get streaks of chalky thickener in the finished filling. Spread the apples in an even layer so they bake at the same pace. A crowded pile can stay crunchy in the middle while the edges overcook.
Turn the topping into damp crumbs, not dough
Combine the oats, flour, brown sugar, cinnamon, baking soda, and salt before adding the melted butter mixture. Stir the butter, honey, and vanilla together, then pour it over the dry mix and toss until everything is evenly moistened. The mixture should look like wet rubble with a few larger clumps; if it looks like paste, it was overmixed, and the topping will bake up dense instead of crisp.
Bake until the edges bubble hard
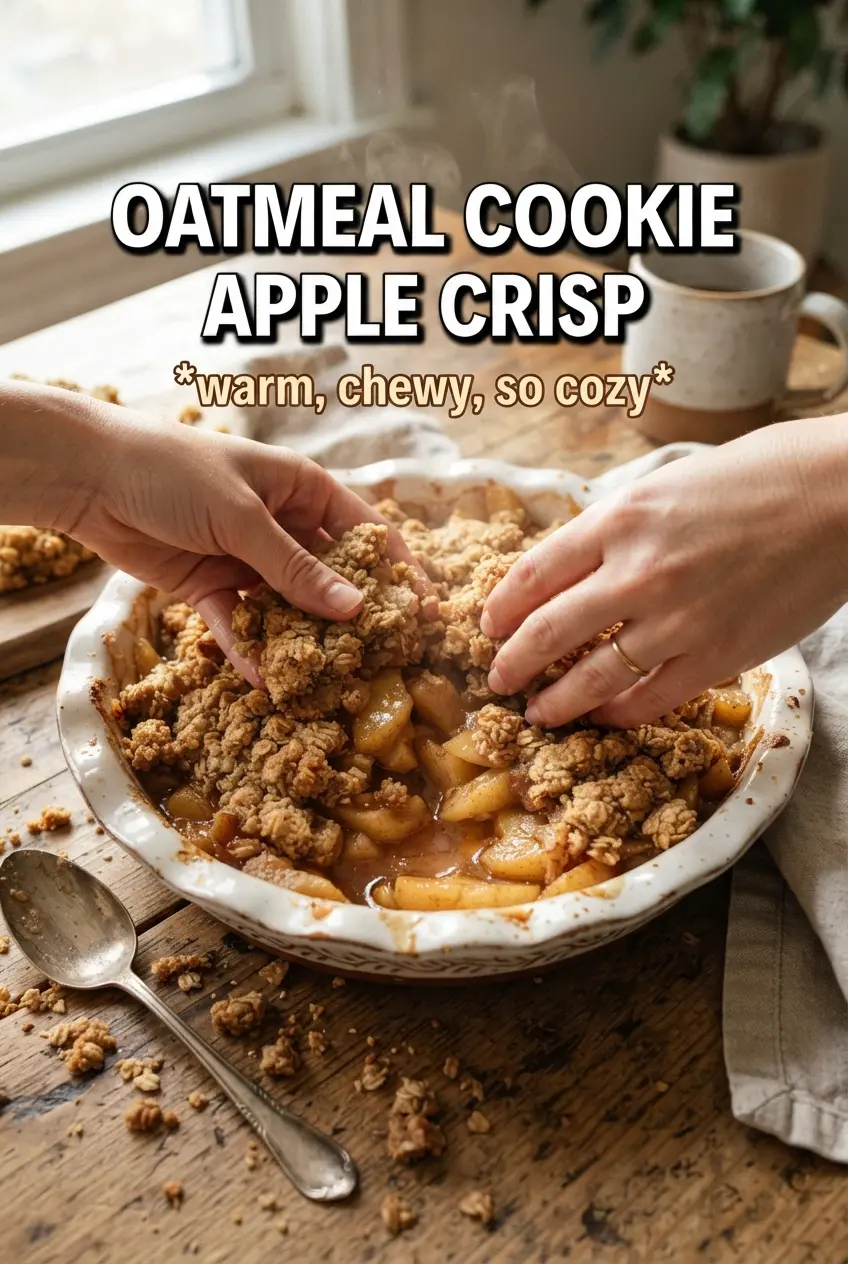
Scatter the topping over the apples in large chunks, not a tight packed layer. Those gaps let steam escape and help the top brown instead of steaming soft. Bake until the topping is deeply golden and you can see the filling bubbling around the sides and through the cracks. That bubbling is your sign that the cornstarch has activated and the apples are fully cooked.
Let it rest before serving
Give the crisp at least 10 minutes on the counter after it comes out of the oven. The filling will still be loose when it’s piping hot, and that short rest lets it settle into a thick, glossy layer. If you cut in too soon, the juices will run. It still tastes great, but it won’t spoon up as cleanly.
How to Adapt This Crisp When You Need to Work Around an Ingredient
Make It Gluten-Free
Swap the all-purpose flour for a measure-for-measure gluten-free flour blend. The topping still bakes up craggy and crisp, though it may be a little more delicate when you scoop it. Keep the oats certified gluten-free if cross-contamination matters.
Skip the Raisins or Add Them for More Chew
The raisins or dried cranberries are optional, and leaving them out keeps the topping more classic and cookie-like. Adding them gives you little bursts of sweetness and a chewier bite, especially if you like a trail-mix style crisp. Stir them in last so they stay evenly distributed.
Use Pears for a Softer, Sweeter Filling
Pears can replace some or all of the apples if that’s what you have, but the filling will be softer and sweeter. They release juice more quickly, so the cornstarch matters even more here. Use pears that are firm, not fully ripe, or the filling can turn mushy.
Storage and Reheating
- Refrigerator: Store covered for up to 4 days. The topping softens as it sits, but the flavor holds up well.
- Freezer: Freeze baked crisp in a tightly wrapped dish for up to 2 months, or freeze portions in airtight containers. Thaw in the fridge before reheating so the filling warms evenly.
- Reheating: Warm in a 325F oven until the center is hot and the topping starts to crisp again, about 15 to 20 minutes for a whole dish or less for portions. The microwave works in a pinch, but it softens the crumble instead of bringing it back to life.
Answers to the Questions Worth Asking
Oatmeal Cookie Apple Crisp
Ingredients
Equipment
Method
- Preheat oven to 375F and grease a 9x13 baking dish so the topping releases easily.
- Toss sliced apples with granulated sugar, cinnamon, nutmeg, cornstarch, and lemon juice, then spread the coated apples in the dish.
- Combine rolled oats, all-purpose flour, brown sugar, cinnamon, baking soda, and salt in a bowl.
- Stir melted unsalted butter, honey, and vanilla extract together, then pour over the oat mixture.
- Toss until evenly moistened, forming a crumbly mixture with larger clumps.
- Fold in raisins or dried cranberries if using, then scatter the oatmeal crumble in large chunks over the apples to cover the top.
- Bake at 375F for 40-45 minutes until the topping is golden and the filling is bubbling at the edges and corners.
- Rest for 10 minutes before serving so the apple filling thickens slightly and the crumble sets.