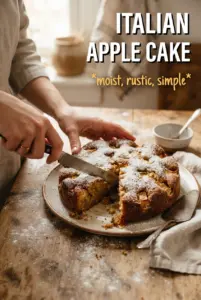
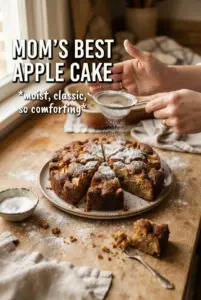
Italian apple cake bakes up with a tender, almost custardy crumb and pockets of soft fruit in every slice. It doesn’t eat like a heavy coffee cake and it isn’t meant to. The beauty here is in the balance: just enough batter to hold the apples together, enough structure to slice cleanly, and a snowy finish of powdered sugar that makes the whole thing look elegant without any fuss.
This version works because the batter starts with eggs and sugar whipped until pale, which gives the cake lift before the flour even goes in. The oil keeps the crumb moist for days, while lemon zest wakes up the apples and keeps the flavor from going flat. Dice the apples into small, even pieces and they soften right into the cake instead of sinking to the bottom.
Below you’ll find the little details that matter most, from the way to fold in the apples so the batter stays light to the best way to serve it after it cools. It’s the kind of cake that looks simple on the outside and eats like you’ve done a lot more work than you actually have.
The apples stayed evenly suspended and the center baked up moist, not gummy. I loved how the lemon zest kept it bright, and the powdered sugar on top made it feel like something from a bakery.
Love that soft, lemony crumb? Save this Italian Apple Cake for the next time you want a simple dessert with a bakery-style finish.
The Trick to Keeping the Apples From Sinking Into the Batter
Apple cake falls apart when the batter is too loose or the fruit is cut too large. Small dice matter here. They soften fast, stay evenly distributed, and don’t drag the center of the cake downward as it bakes. The whipped eggs and sugar also do a lot of the structural work, so that step isn’t just for lightness — it gives the cake enough body to hold all that fruit.
The other detail that changes the result is how you fold. Once the flour goes in, stop as soon as the streaks disappear. Overmixing tightens the crumb and makes the cake bready instead of tender. The apples should go in at the very end, and the batter should still look thick and spoonable when it hits the pan.
- Small apple pieces — Dice them evenly so they bake through at the same rate. Big chunks release too much juice in random spots and can leave the center wet.
- Whipped eggs and sugar — This builds the cake’s structure. Beat until the mixture is pale and thick enough to fall from the whisk in ribbons.
- Oil — Oil keeps the crumb moist for days, which is one reason this cake tastes even better after sitting overnight. Butter can work, but the texture will be a little firmer.
- Lemon zest — Don’t skip it. It sharpens the apple flavor and keeps the cake from tasting flat.
What Each Ingredient Is Actually Doing in This Cake
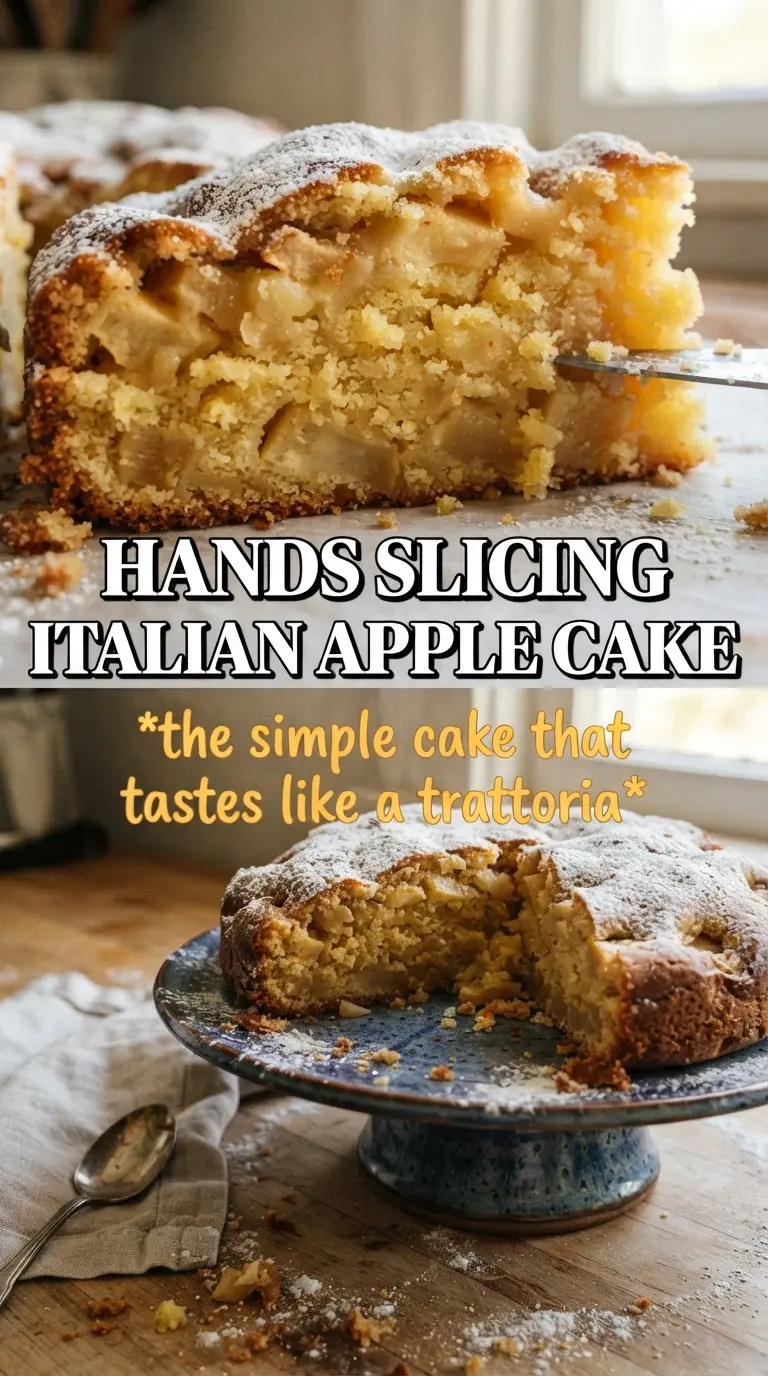
- All-purpose flour — This gives the cake its soft but sliceable crumb. A cake flour swap will make it even lighter, but it can lose some of the gentle structure that keeps the apple pieces suspended.
- Baking powder — This is the lift. Fresh baking powder matters here because the batter is heavy with fruit, and stale leavener will leave you with a dense, flat middle.
- Vegetable or sunflower oil — Neutral oil keeps the cake tender without competing with the apples. Melted butter changes the flavor nicely, but the cake won’t stay as moist over time.
- Whole milk — The milk loosens the batter just enough so the flour folds in smoothly. You can use 2% in a pinch, but the texture is a little less plush.
- Apples — Use firm apples that hold their shape as they bake. Softer apples can disappear into the crumb and turn the center muddy.
- Powdered sugar — This is more than decoration. It gives the cake that classic Italian bakery look and adds a delicate sweetness right on top.
Building the Batter So the Cake Stays Tender
Whipping the Eggs and Sugar
Beat the eggs and sugar until the mixture turns pale, thick, and slightly ribbons off the beaters. That step is doing some of the lifting that butter would usually handle in a traditional cake. If you stop too soon, the batter will bake up tighter and the crumb won’t have that soft, springy feel. Don’t rush it; the color change is the cue.
Streaming in the Oil
Add the oil in a slow stream while the mixer runs. If you dump it in all at once, the batter can look slick and separated for a moment, and it won’t emulsify as smoothly. Once the oil is in, the batter should look glossy and thick. Then mix in the milk, vanilla, and lemon zest just until combined.
Folding in the Flour and Apples
Fold the dry ingredients in by hand so you don’t knock out the air you built earlier. Stop as soon as the flour disappears; a few streaks are better than an overworked batter. The apples go in last so they stay intact and don’t get crushed. The batter will look full and chunky, and that’s exactly right.
Baking and Cooling
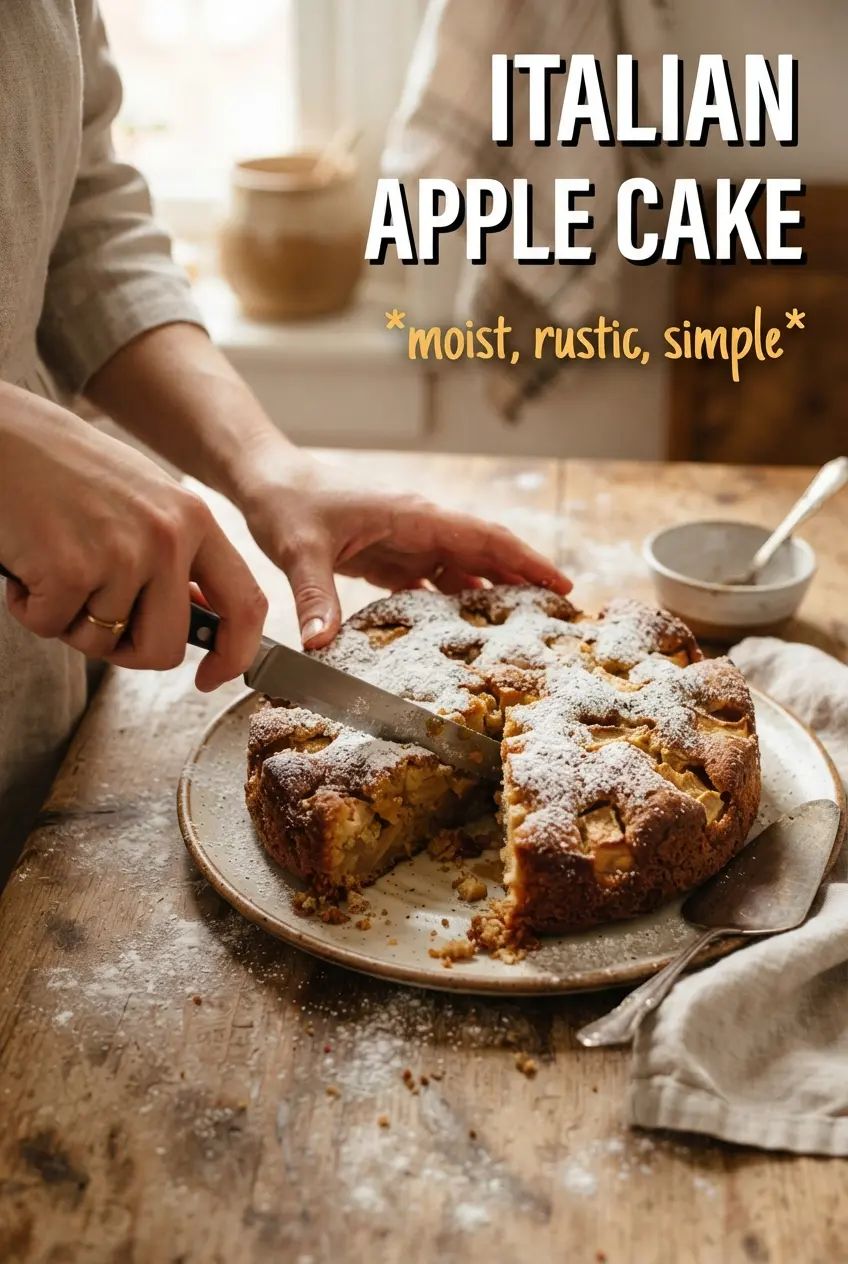
Bake until the top is deeply golden and a toothpick comes out clean from the center. The cake should feel set in the middle with just a little spring when you press it lightly. Cool it all the way before dusting with powdered sugar, or the sugar will melt into the top instead of sitting in that clean, snowy layer. Slice only after it has cooled, or the crumb will tear.
How to Adapt This for Different Apples and Diets
Use tart apples for a brighter cake
Granny Smith gives the cleanest contrast against the sweet batter, while Honeycrisp or Fuji make the cake a little softer and sweeter. I like a mix of tart and sweet apples if I have them. The key is firmness, not variety alone, because mushy apples can turn the crumb wet.
Make it dairy-free without losing the texture
Swap the whole milk for an unsweetened plain non-dairy milk such as almond or oat. The cake still bakes up tender because the oil is carrying most of the moisture. Just avoid strongly flavored milks, since they can muddy the apple and lemon notes.
Gluten-free version with a softer crumb
Use a cup-for-cup gluten-free flour blend that already contains xanthan gum. The cake will still be moist, but the crumb may be a touch more fragile, so let it cool completely before slicing. If the blend is very absorbent, add a tablespoon of milk only if the batter looks overly stiff.
Make it a little more rustic
Leave some of the apple pieces slightly larger if you want more visible fruit in each slice. The cake will bake up a little looser and more rustic-looking, but you’ll lose some of the tidy, bakery-style crumb that comes from smaller dice.
Storage and Reheating
- Refrigerator: Store covered for up to 4 days. The crumb gets a little denser after chilling, but the flavor stays excellent.
- Freezer: Freeze slices tightly wrapped for up to 2 months. Thaw at room temperature while still wrapped so the cake doesn’t dry out.
- Reheating: Warm a slice for 10 to 15 seconds in the microwave, just enough to take the chill off. Too much heat will make the apples soft and the cake rubbery.
Questions I Get Asked About This Recipe
Italian Apple Cake
Ingredients
Equipment
Method
- Preheat oven to 350F and grease a 9-inch round cake pan, then line the bottom with parchment.
- Preheating cues: the oven should fully reach 350F before baking for even browning.
- Whisk all-purpose flour, baking powder, cinnamon, and salt together in a bowl until the color is evenly speckled.
- Beat eggs and granulated sugar with an electric mixer until pale, thick, and slightly foamy, about 3 minutes.
- Visual cue: the mixture should look lighter in color and ribbon more slowly off the beaters.
- Stream in vegetable or sunflower oil slowly while mixing, then add whole milk, vanilla extract, and lemon zest.
- Continue mixing until smooth and well combined, without overworking the batter.
- Fold the dry flour mixture into the batter just until no dry streaks remain.
- Fold in the diced apples gently so they’re distributed throughout without breaking.
- Pour batter into the prepared pan and spread evenly.
- Bake 40-45 minutes at 350F until a toothpick comes out clean and the top is golden.
- Visual cue: the center should feel set, not wet, when lightly tapped.
- Cool the cake completely before removing from the pan.
- Dust generously with powdered sugar right before serving for a snowy, crisp finish.