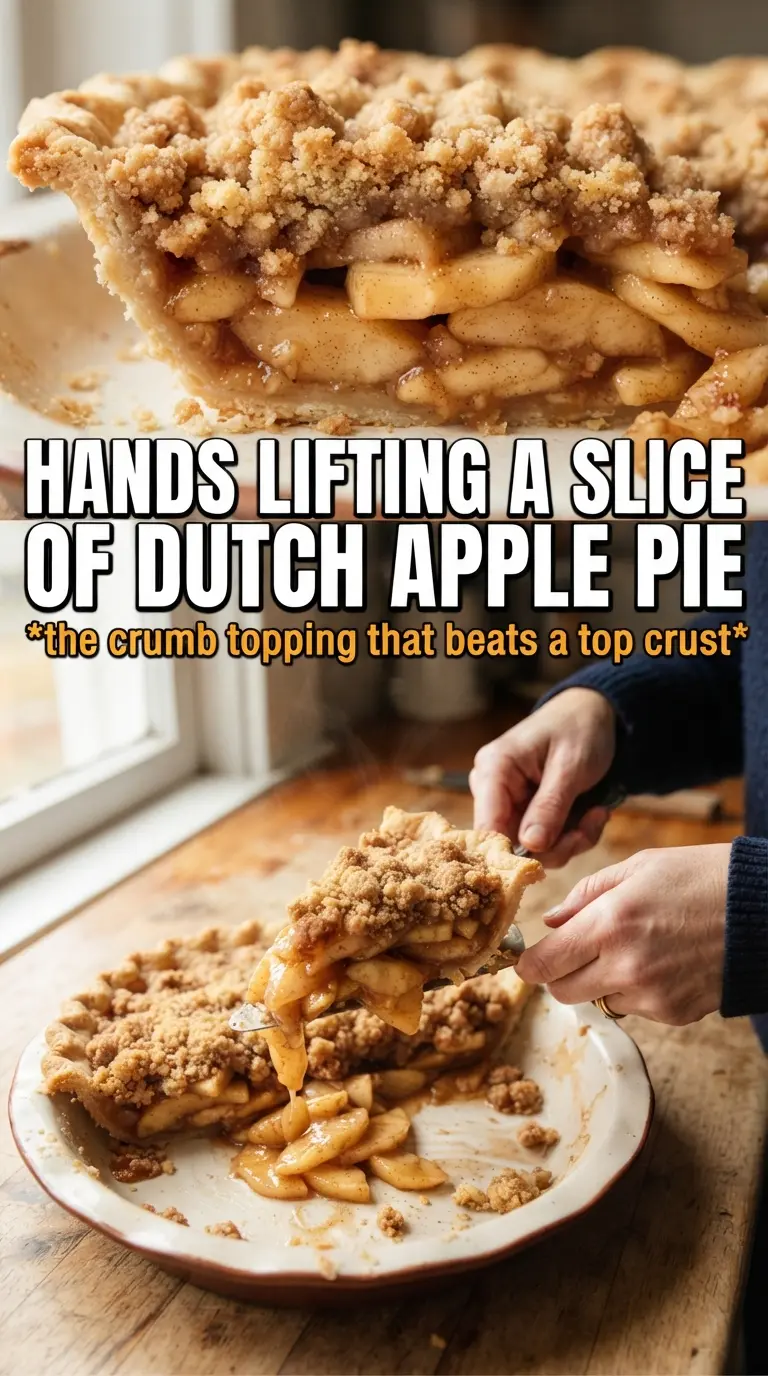
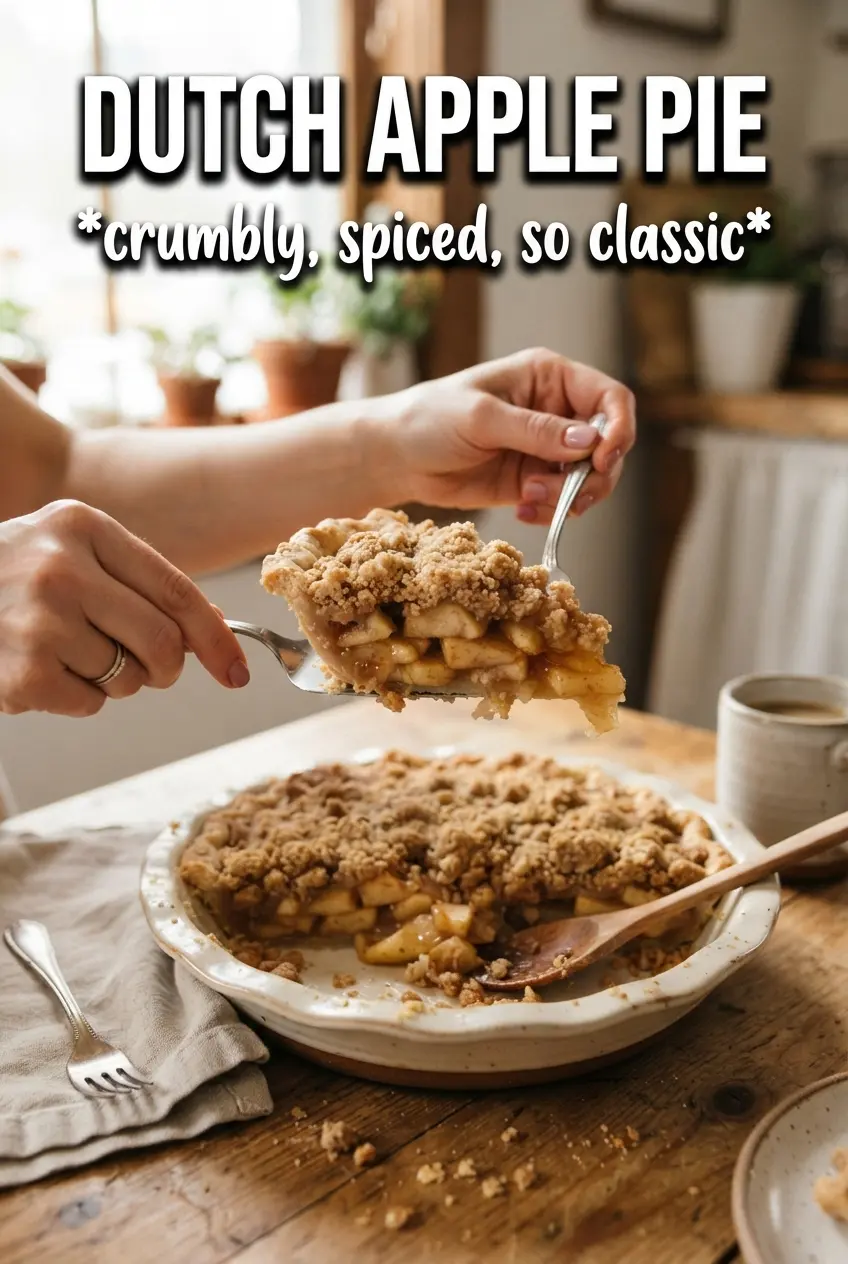
Thick, craggy streusel and tender baked apples make Dutch apple pie the kind of dessert people remember after the table is cleared. The topping bakes into a golden, buttery crown with crisp edges, while the filling underneath turns jammy and spiced without going watery. It slices cleanly when it’s cooled, but it still has that soft, warm apple center everyone wants.
What sets this version apart is the balance between the crust, the filling, and the crumble. The bottom crust stays sturdy because the apples are tossed with cornstarch before baking, and the streusel is kept cold so it bakes into clumps instead of melting into sand. Using a mix of Granny Smith and Honeycrisp gives you both tartness and sweetness, which keeps the pie from tasting flat.
Below, I’m walking through the small details that matter most: how to keep the crust from shrinking, how to know when the filling has thickened enough, and what to do if the topping starts browning before the pie is done. Those are the difference between a pie that looks good and one that slices like a dream.
The streusel stayed in big buttery clumps and the apple filling set up perfectly after cooling. I used Granny Smith and Honeycrisp like suggested, and the slices held together without turning mushy.
Save this Dutch apple pie for the kind of dessert where a thick streusel crown and clean apple slices matter most.
The Reason the Crumble Stays Crisp Instead of Sinking
The biggest mistake with Dutch apple pie is letting the topping turn into paste before it even hits the oven. Cold butter matters here because it creates pockets that melt into craggy crumbs, not a smooth layer. If the butter gets warm while you’re mixing, the streusel bakes up flat and sandy instead of forming that thick, rough topping that looks almost golden at the edges.
The filling matters just as much. Cornstarch thickens the apple juices as they bubble, which keeps the bottom crust from getting soupy. If you skip the lemon juice, the flavor leans dull and the apples taste heavier; that little hit of acidity keeps the filling bright enough to cut through all that butter and sugar.
What Each Ingredient Is Actually Doing in This Recipe
- Primary ingredient (the star) — Quality matters most. Choose the best you can find.
- Cooking medium (oil, butter, or broth) — This carries flavors and prevents dryness.
- Seasonings (salt, pepper, spices, herbs) — Layer flavors so nothing overpowers. Build depth gradually.
- Aromatics (garlic, onion, herbs) — Cook with fat to bloom flavors. Become the foundation.
- Supporting ingredients — Complement the main ingredient without overpowering it.
- Sauce or liquid (if applicable) — Brings flavors together. Balance richness with acid.
- Acid (lemon, vinegar, wine, or other) — Brightens and prevents flat-tasting results.
- Final finish (garnish, glaze, or sauce) — Prevents one-dimensional taste and adds visual appeal.
What Each Ingredient Is Doing in the Pie
- Granny Smith apples — They hold their shape and bring the tartness this pie needs. Use them for structure; they keep the filling from turning soft and one-note.
- Honeycrisp apples — These add sweetness and a juicier bite. The mix of firm and juicy apples gives you a filling that tastes layered instead of mushy.
- Cornstarch — This is what turns bubbling apple juices into a glossy, sliceable filling. Flour won’t thicken as cleanly here, so cornstarch is the better choice.
- Cold butter in both crust and streusel — Cold butter is what creates flakiness in the crust and clumpy texture in the topping. If it softens too much, both parts lose definition.
- Brown sugar in the streusel — It adds moisture and a deeper caramel note that granulated sugar can’t match. The result is a topping that tastes toasted, not just sweet.
Building the Pie So the Bottom Stays Firm
Mixing the Crust Without Warming It Up
Start with cold butter and stop as soon as the flour looks like coarse crumbs. You want pea-sized bits still visible, because those are what steam and create a tender crust in the oven. Add the ice water slowly, one tablespoon at a time, and stop the moment the dough holds together when pressed. If you add too much water, the crust turns tough and shrinks more as it bakes.
Loading the Apples and Setting the Filling
Toss the sliced apples with the sugar, spices, cornstarch, and lemon juice until every piece is coated. The apples should look glossy, not wet and puddled. Pile them into the unbaked shell and press them down lightly so you don’t leave large air pockets; those gaps collapse as the fruit cooks and can leave the top uneven.
Making the Streusel in Thick Clumps
Cut the butter into the flour, brown sugar, and cinnamon until you get irregular clumps, not fine crumbs. Those bigger pieces are what bake into the crunchy, craggy top. If the mixture starts looking greasy or paste-like, it’s too warm and the topping will melt instead of crisp. Chill it for a few minutes if needed before scattering it over the apples.
Baking Until the Filling Bubbles at the Edges
Bake until the streusel is deeply golden and you see the filling bubbling around the edges of the pie. That bubbling is the sign that the cornstarch has activated and thickened the fruit juices. If the top browns too quickly, tent it loosely with foil after about 30 minutes, but leave the center exposed long enough for the crust and filling to finish properly. Don’t pull the pie early; underbaked filling turns loose when sliced.
How to Adapt This Pie for Different Kitchens and Cravings
Gluten-Free Version
Use a cup-for-cup gluten-free flour blend in both the crust and streusel. The crust will be a little more delicate, so chill it thoroughly before rolling or pressing. The filling stays the same, and the pie still bakes up with a crisp top and a set center.
Dairy-Free Version
Swap in a solid plant-based butter that bakes well and stays cold. The flavor will be a touch less rich, but the texture stays close if you keep the butter chilled and don’t overwork the dough. This works best with a firmer style of dairy-free butter, not a tub spread.
Using All Tart Apples
If you only have tart apples like Granny Smith, increase the sugar in the filling by a couple of tablespoons. The pie will taste brighter and less jammy, with a sharper apple flavor. That’s a good trade if you like a less sweet dessert, but it won’t have the same rounded sweetness as the mixed-apple version.
Storage and Reheating
- Refrigerator: Store covered for up to 4 days. The streusel will soften a bit, but the filling stays set.
- Freezer: Freeze the baked pie tightly wrapped for up to 2 months. Thaw overnight in the refrigerator before reheating so the crust doesn’t turn soggy.
- Reheating: Warm slices in a 325F oven until heated through. The oven brings the streusel back to life; the microwave makes the topping limp and the crust rubbery.
Answers to the Questions Worth Asking
Dutch Apple Pie
Ingredients
Equipment
Method
- Mix all-purpose flour, salt, and sugar in a bowl until combined.
- Cut in cold unsalted butter until the mixture is crumbly.
- Add ice water 1 tablespoon at a time, mixing until the dough forms.
- Chill the dough for 30 minutes.
- Press the chilled dough into a 9-inch pie dish.
- Toss apple slices with granulated sugar, cinnamon, nutmeg, cornstarch, and lemon juice until evenly coated.
- Pile the spiced apple filling into the unbaked pie shell.
- Combine all-purpose flour, brown sugar, and cinnamon.
- Cut in cold unsalted butter until large clumps form.
- Pile the streusel thickly over the apples, covering every inch.
- Bake the pie at 375°F for 55-65 minutes until the streusel is golden and the filling bubbles around the edges.
- Tent loosely with foil after 30 minutes if the streusel browns too quickly.
- Cool the pie at least 1 hour before slicing.