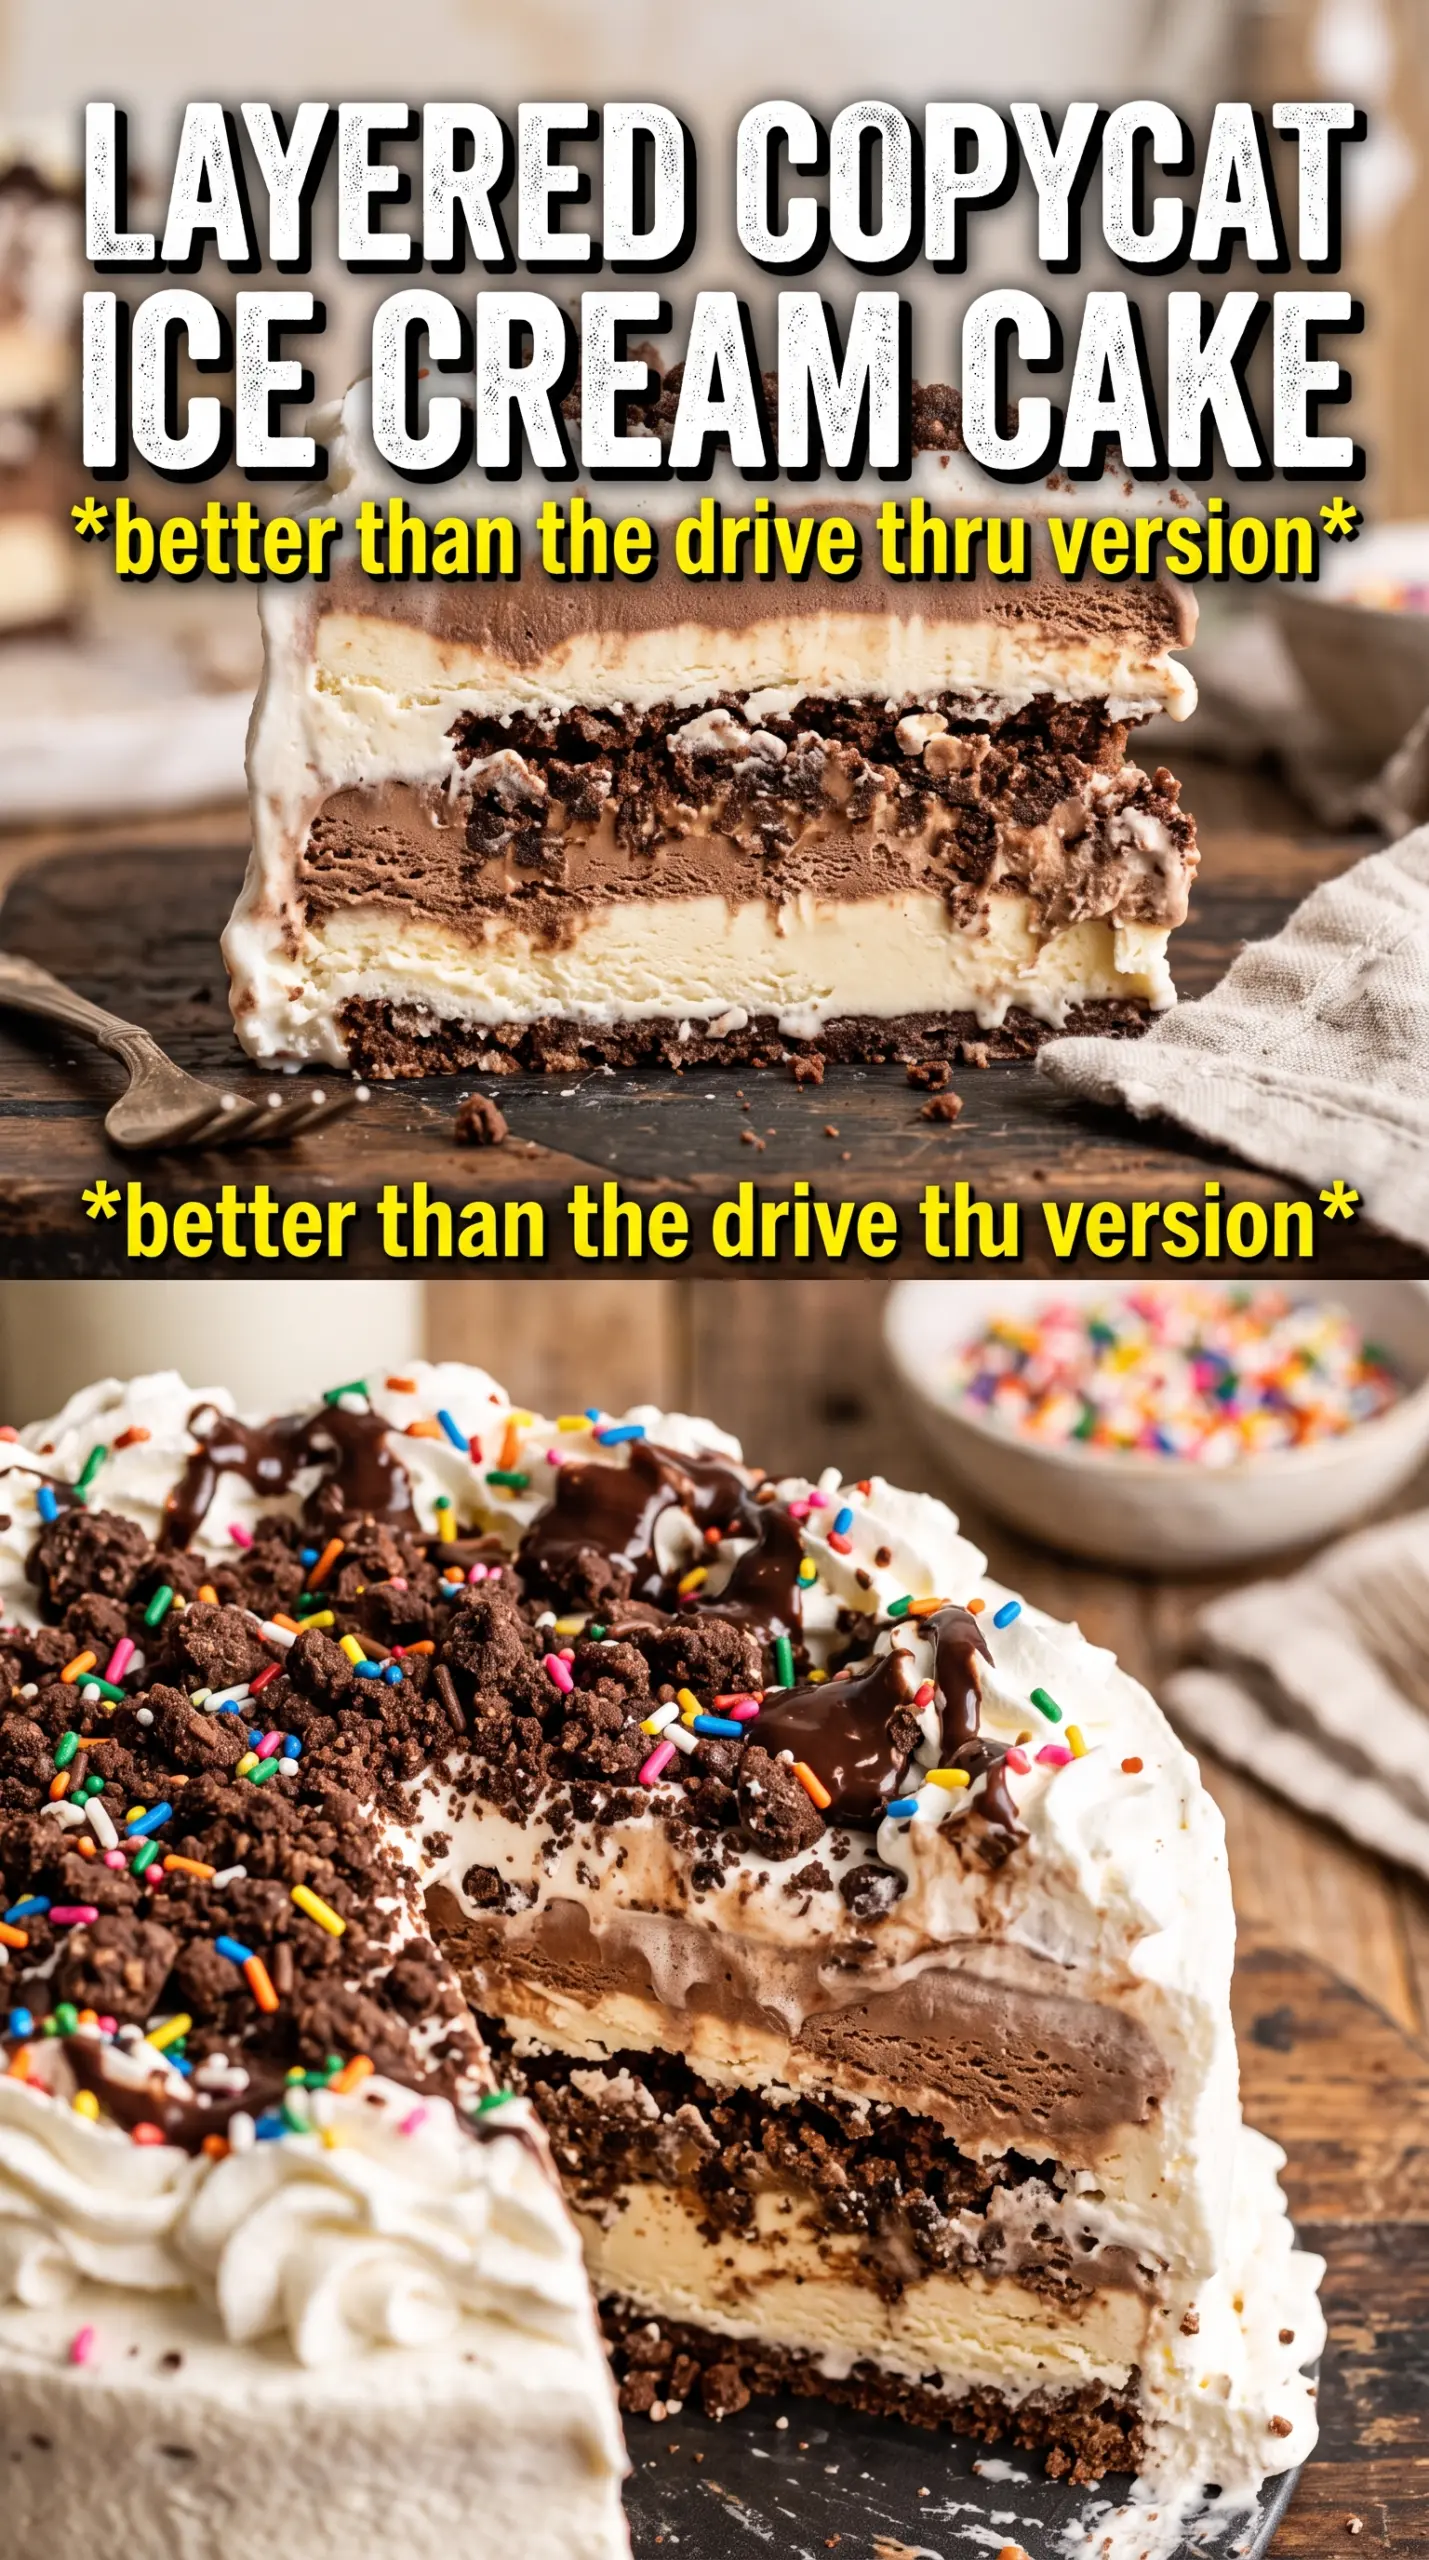
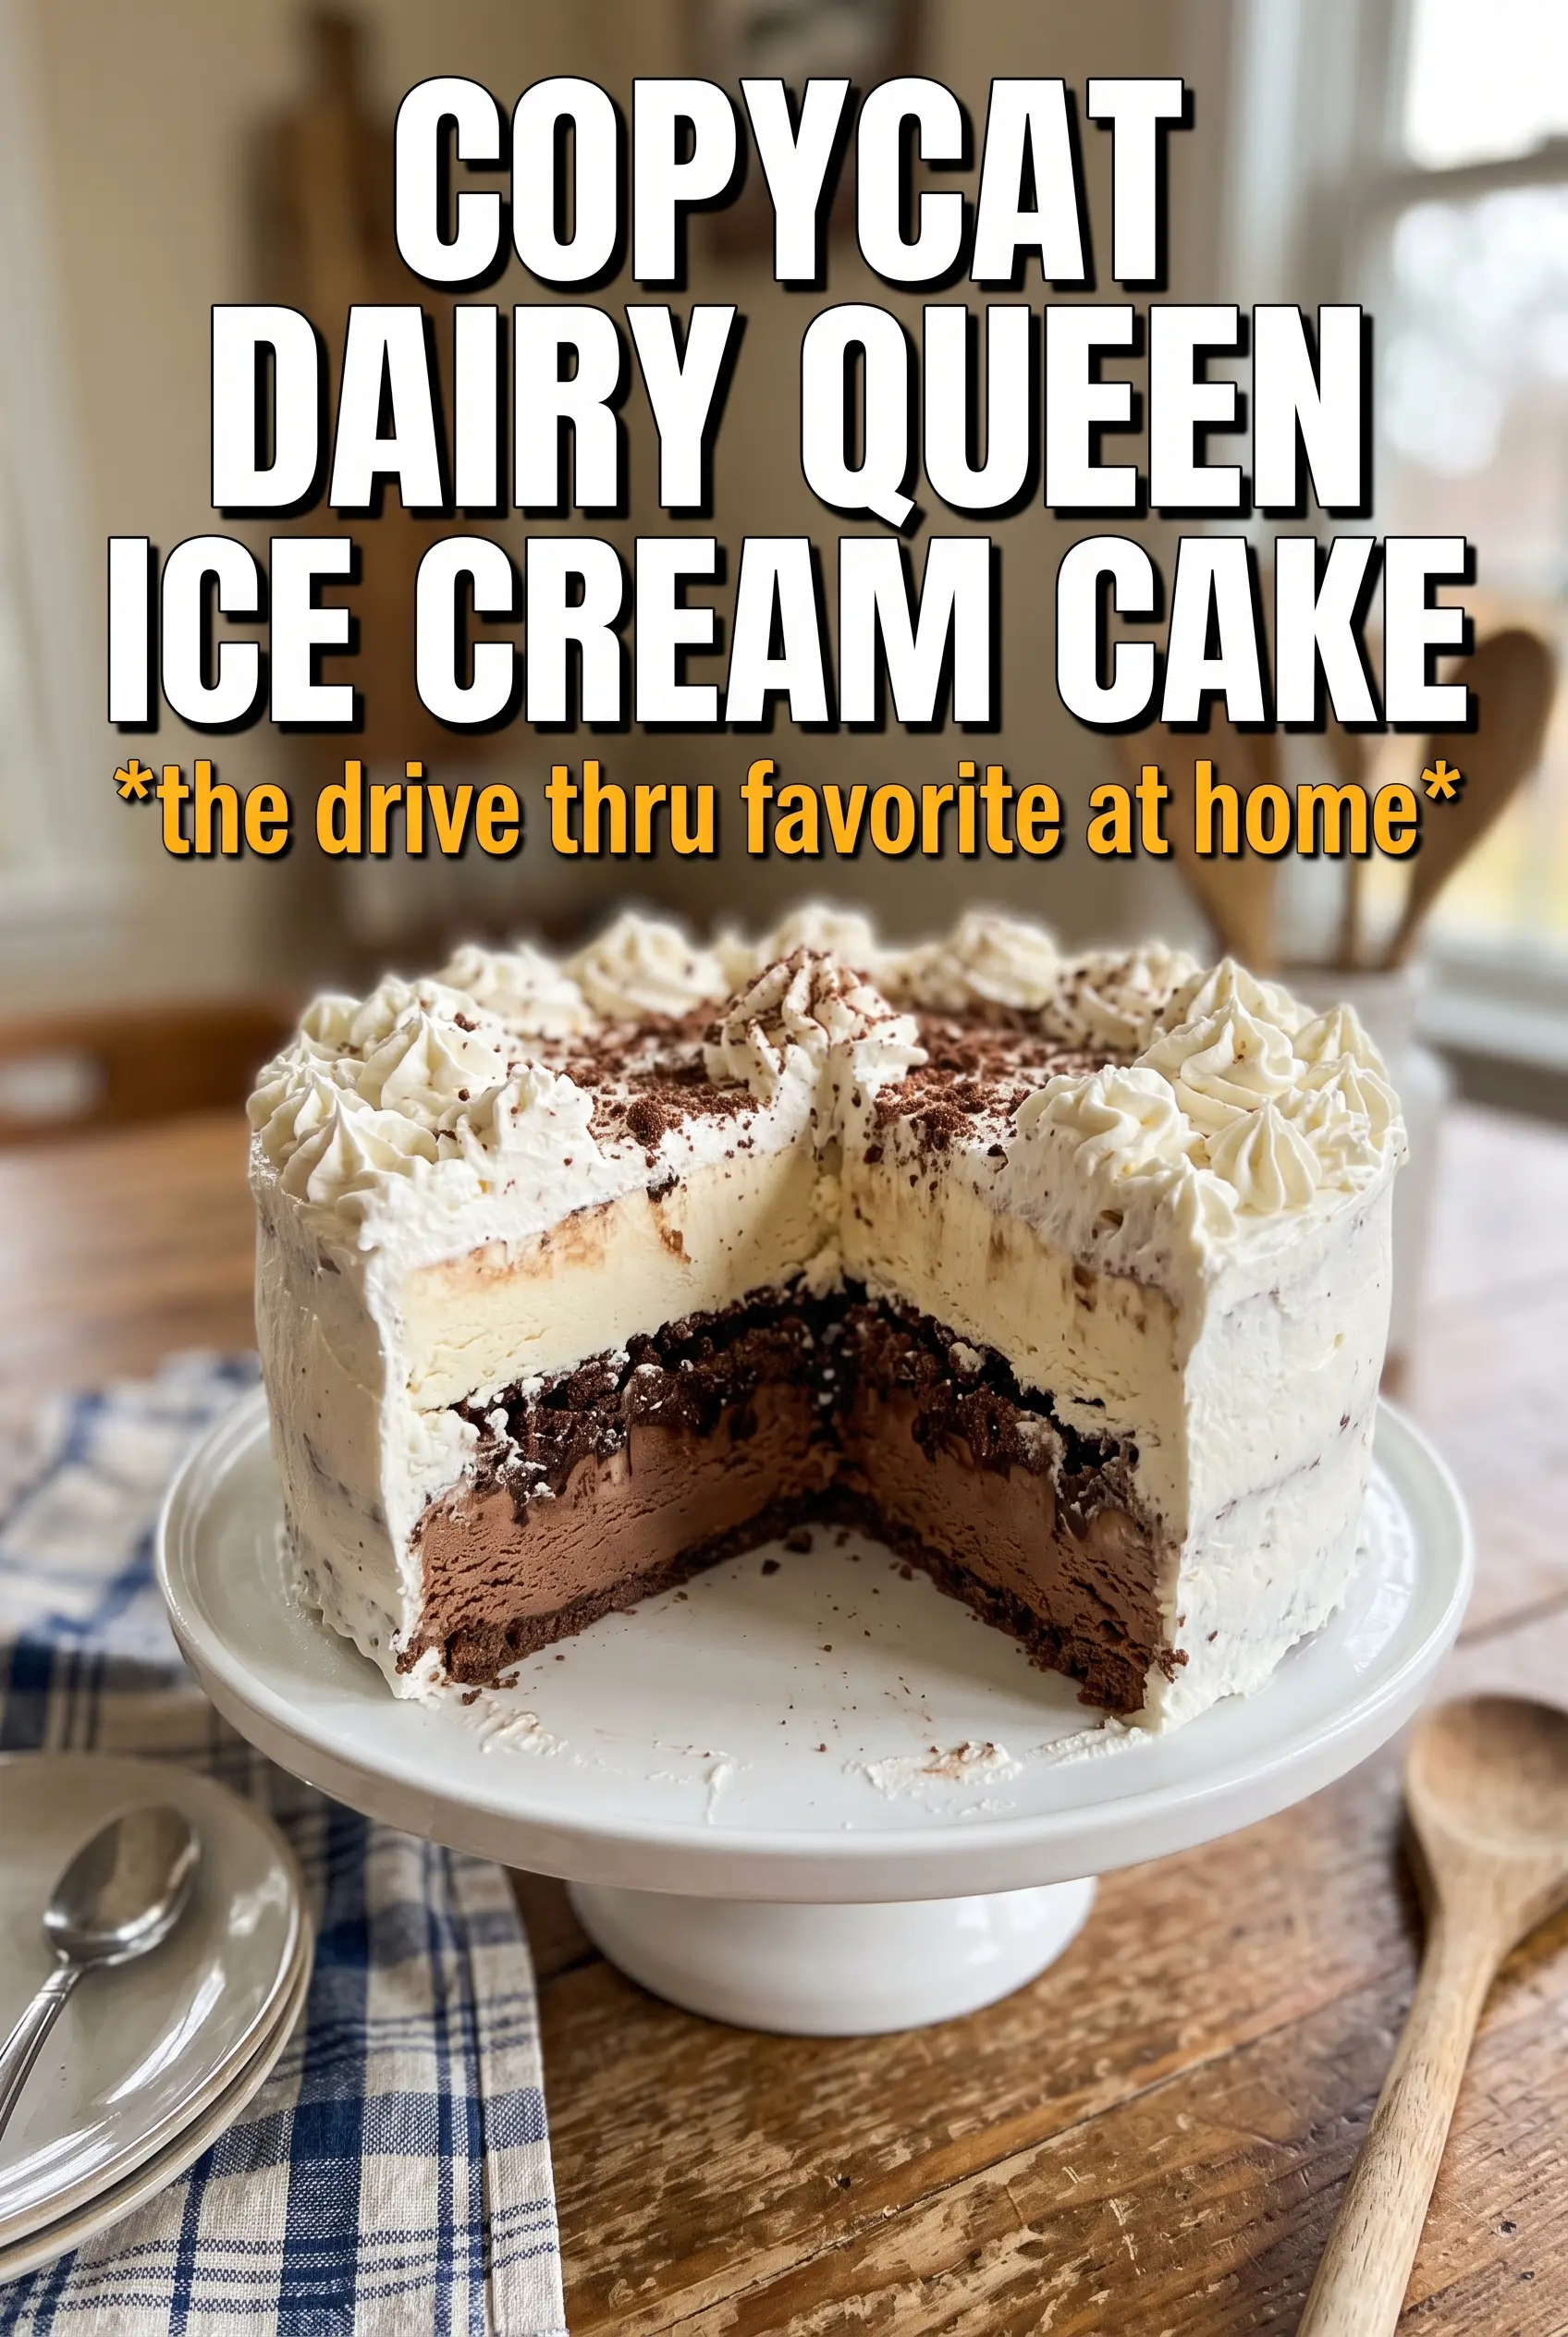
That first slice of a copycat Dairy Queen ice cream cake is all about the layers: a firm chocolate base, a crackly Oreo-fudge center, and a smooth vanilla top that cuts cleanly once it’s fully frozen. The homemade version hits the same cold, creamy, crunchy contrast people remember from the real thing, and it holds together better when you let each layer set before adding the next.
The trick is in the texture of the middle. The Oreos need to be crushed fine enough to spread, but not so fine that they disappear into the fudge. That crunch layer should sit on top of a frozen chocolate base so it doesn’t sink, and the vanilla layer needs to go on soft enough to smooth out without melting the cookie center underneath.
Below, I’ve included the timing that keeps the layers distinct, plus a few swaps and storage notes for making this cake ahead without losing that classic ice cream parlor look.
The Oreo fudge layer stayed crunchy even after freezing, and the vanilla top smoothed out beautifully. My kids thought I brought home the real Dairy Queen cake.
Like this homemade DQ cake? Save it to Pinterest for the layered ice cream dessert with the Oreo fudge crunch center.
The Freeze Point That Keeps the Crunch Layer Sharp
The biggest mistake with an ice cream cake like this is building the next layer before the one underneath is firm. If the chocolate base is still soft, the Oreo-fudge mixture slides into it and the cake loses that clean, bakery-style stripe when you cut it. A short freeze between layers gives you definition and keeps the middle from turning muddy.
The other thing that matters is temperature control. Softened ice cream should be spreadable, not melty, or the layers blend instead of stack. Work fast, use the back of a spoon or offset spatula, and freeze the cake long enough at the end for the center to set all the way through before you slice it.
What the Oreos and Hot Fudge Are Really Doing Here
- Chocolate ice cream — This makes the bottom layer taste like the real thing and gives the cake a sturdy base. A premium brand freezes a little creamier, but any full-fat chocolate ice cream will work if it’s softened just enough to spread.
- Vanilla ice cream — This layer brightens the cake and gives you that classic chocolate-vanilla contrast. Use plain vanilla rather than French vanilla if you want the cleaner Dairy Queen-style flavor.
- Oreos — These give the center its recognizable crunch. Crush them fine enough to mix with the fudge, but leave some small bits for texture; a food processor works, but a zip-top bag and rolling pin gives you more control.
- Hot fudge sauce — This binds the cookie crumbs into that signature middle layer. It needs to be pourable, not piping hot, or it can melt the ice cream on contact.
- Whipped topping — Cool Whip holds its shape better than freshly whipped cream on a cake like this because it freezes with a cleaner finish. If you swap in whipped cream, use stabilized whipped cream or expect a softer top.
- Chocolate shell or ganache — This is for decoration, but it adds a little snap and makes the top look like the classic store-bought cake. Ganache gives a richer finish; shell sauce gives you that familiar hard-set drizzle.
How to Stack the Layers Without Smearing the Middle
Building the Chocolate Base
Spread the chocolate ice cream into the pan in an even layer, pressing it into the corners so there aren’t thin spots around the edges. A chilled metal spoon or spatula helps because warm utensils drag through the ice cream. Freeze it until the surface feels solid when you press it lightly with a fingertip; if it’s still soft, the crunch layer will sink.
Mixing the Oreo Crunch Center
Stir the crushed Oreos and hot fudge just until the crumbs are coated. You want a thick, spreadable paste, not a loose wet pile, or it won’t stay in a clean layer. Spread it gently over the frozen chocolate base and stop before you drag the bottom layer up into it. Freeze again long enough that the surface no longer shifts when you tap the pan.
Finishing with Vanilla and Topping
Spread the vanilla ice cream over the set crunch layer in a smooth, even blanket. If the ice cream is too soft, it will pick up crumbs and streak the top; if it’s too firm, let it sit on the counter for a few minutes before working it. After the final freeze, add the whipped topping, drizzle with chocolate shell or ganache, and finish with sprinkles before returning it to the freezer so the top stays neat.
How to Make This Cake Work for Different Tastes and Timelines
Gluten-Free Version
Use certified gluten-free sandwich cookies in place of Oreos. The texture stays close to the original, and the fudge still binds the crumbs into that same crunchy middle. Check the hot fudge and chocolate shell labels too, since some brands use gluten ingredients as stabilizers.
Dairy-Free Version
Use dairy-free chocolate and vanilla frozen desserts, plus a plant-based whipped topping. The cake will still layer well, though the texture may freeze a little harder than the classic version. Let it sit at room temperature for 10 to 15 minutes before slicing so the layers cut cleanly.
Make-Ahead Birthday Cake
This cake is built for making ahead. Assemble it the day before, then add the whipped topping and decorations after the final freeze so the finish looks fresh. If you need it for a party, pull it from the freezer and let it stand just long enough to slice without cracking the top.
Extra-Crunch Version
Add another 1/2 cup of crushed cookies to the fudge layer if you want a thicker center with more bite. The tradeoff is a slightly less creamy middle, but it gives each slice a stronger cookie crunch and a more dramatic stripe when you cut into it.
Storage and Reheating
- Refrigerator: Don’t store this cake in the fridge; it melts too fast and the layers collapse.
- Freezer: Keep it covered in the freezer for up to 1 week for the best texture. After that, the ice cream can pick up freezer flavor and the whipped topping starts to lose its clean look.
- Reheating: No reheating needed. For serving, let the cake sit at room temperature for 8 to 12 minutes so the knife slides through the layers instead of shattering the top.
Questions I Get Asked About This Recipe
Copycat Dairy Queen Ice Cream Cake
Ingredients
Equipment
Method
- Spread the softened chocolate ice cream into the bottom of a 9x13 pan or 10-inch springform, then smooth the surface. Freeze for 1 hour until firm, with the layer looking set around the edges.
- Mix the crushed Oreo cookies with the hot fudge sauce until the mixture holds together when pressed. Spread the crunch layer evenly over the frozen chocolate ice cream so it looks level and compact.
- Freeze the cake for 30 minutes to firm up the Oreo crunch layer. The surface should look matte and slightly set.
- Spread the softened vanilla ice cream over the Oreo crunch layer and smooth completely. Freeze at least 4 hours, until the top feels firm and sliceable.
- Top with whipped topping and use gentle pressure to cover the vanilla layer evenly. Decorate with drizzled chocolate shell and colorful sprinkles so the top shows distinct swirls and speckles.
- Freeze at least 2 more hours before serving so each slice holds clean layers. The cake should be fully firm when lifted from the pan.