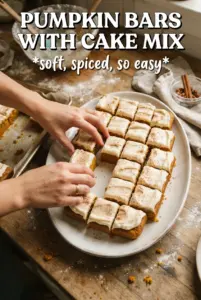
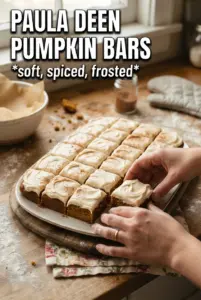
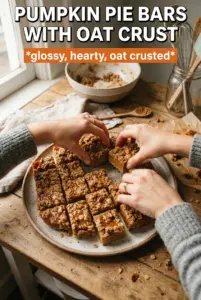
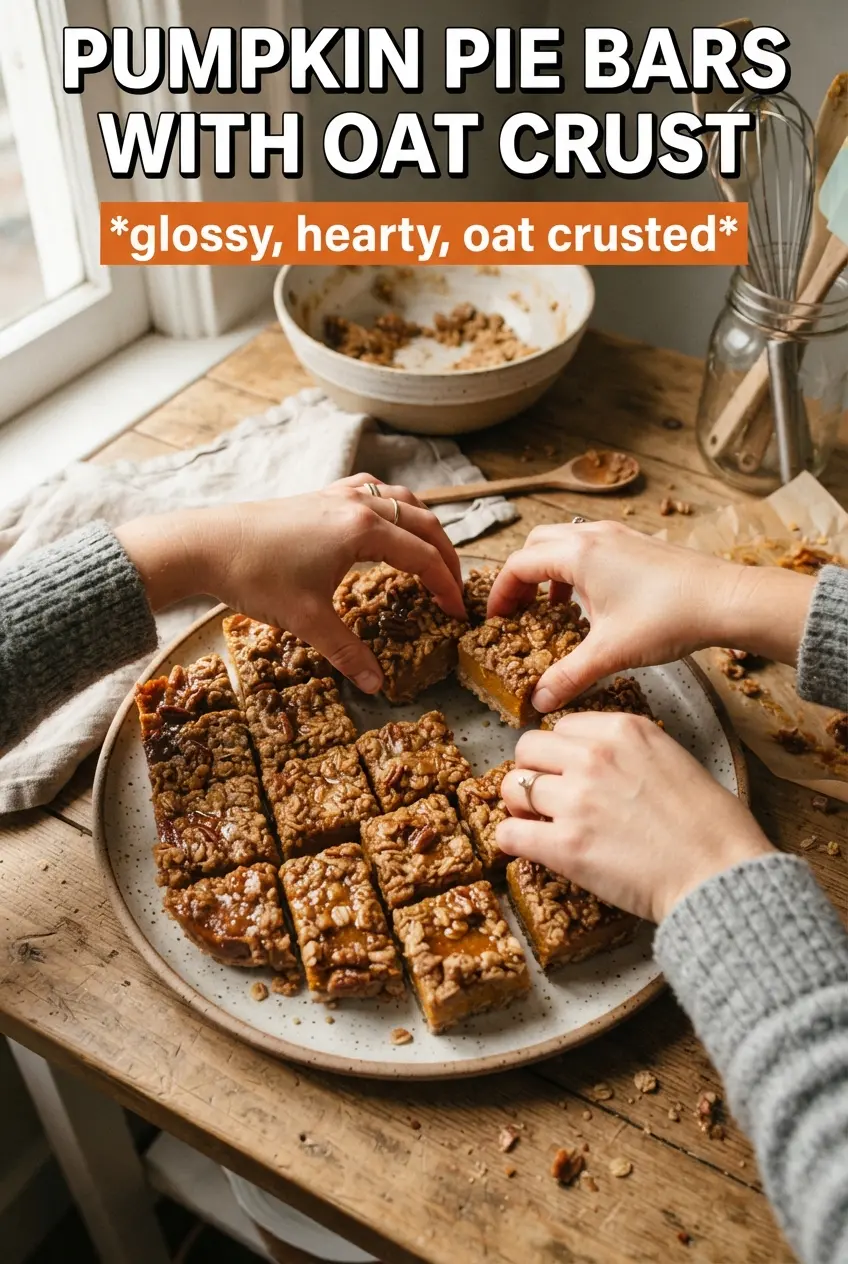
Pumpkin pie bars with oat crust give you everything people love about a slice of pumpkin pie, but in a sturdier, easier-to-serve format. The base bakes up crisp and a little nubbly from the oats, while the filling sets into that smooth, gently spiced pumpkin layer that slices cleanly once it’s chilled. The contrast is the whole point here: crumbly on the bottom and top, creamy in the middle, with no pie crust rolling required.
The oat mixture does double duty, which is why this recipe earns its keep. Half becomes a pressed crust that gets a short bake before the filling goes in, and the other half stays loose for a toasted crumble on top. That small head start on the crust keeps the bottom from turning soft under the pumpkin layer, and using cold butter in the oat mixture gives you those golden, buttery crumbs instead of a sandy topping.
Below, I’ve included the details that matter most: how to keep the crust from getting soggy, what the filling should look like when it’s done, and the best way to cut neat bars after chilling.
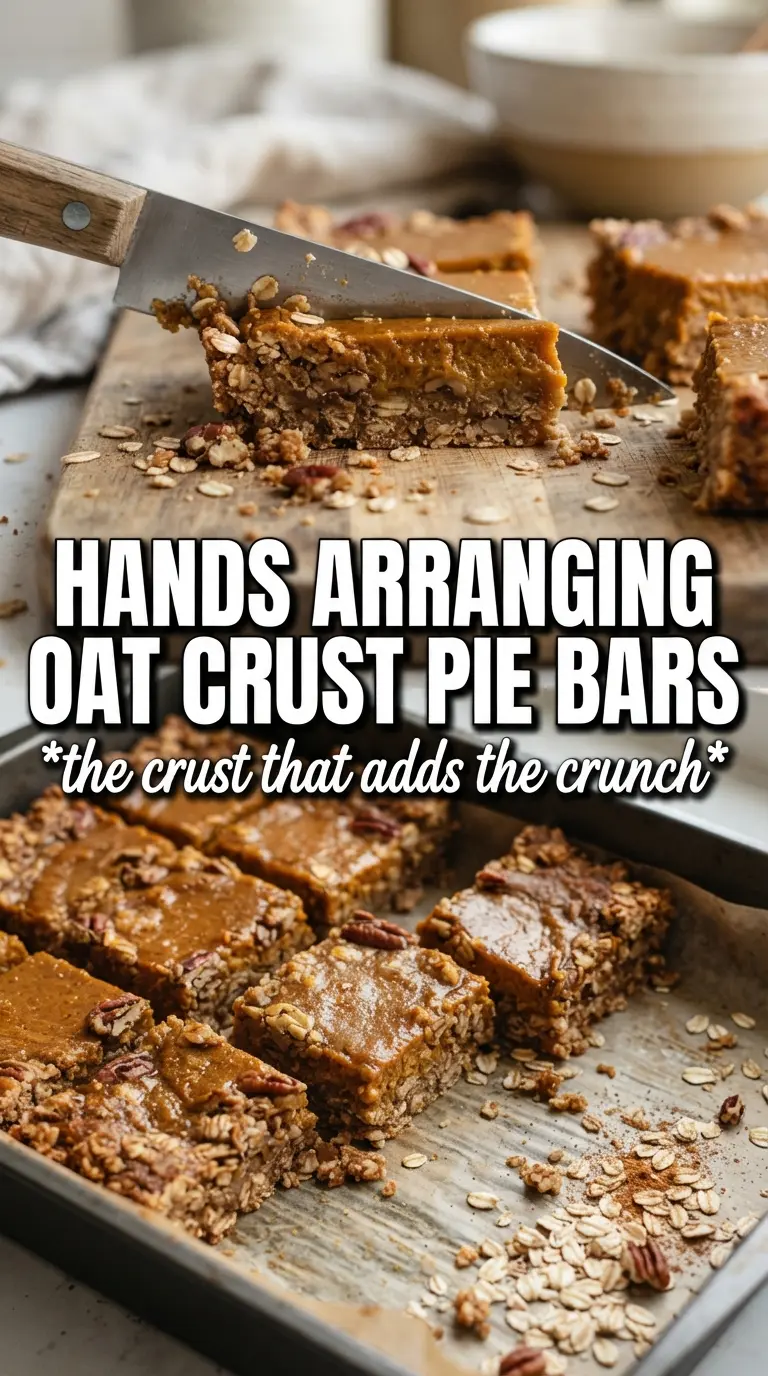
The oat crust stayed crisp even after chilling, and the pumpkin layer sliced cleanly without smearing. I used the full hour in the fridge and the bars came out with neat edges and a perfect crumble on top.
Save these pumpkin pie bars with oat crust for the holiday dessert table or any time you want a creamy pumpkin filling with a crisp, buttery crumble.
The Trick to Keeping the Oat Crust Crisp Under the Pumpkin Layer
The biggest mistake with bar-style pumpkin desserts is treating the crust like an afterthought. Here, the oat mixture gets pressed into the pan and baked on its own first, which gives it a chance to set and toast before the wet filling ever touches it. That short bake is what keeps the bottom from turning pasty once the pumpkin custard goes in.
The other thing that matters is packing the base firmly. If the crust is too loose, the filling can seep through and make the whole bottom layer muddy. Press it down with steady, even pressure so it holds together, but don’t compact it into a hard slab; you still want a little crumble in the final bite.
- Rolled oats — These give the crust its chewy, nubby texture. Quick oats will work in a pinch, but they make a softer, finer crust and lose some of that crumble.
- Cold butter — Cold cubes are what create the sandy, buttery pieces that bake into a crisp topping and base. If the butter gets too soft, the mixture turns greasy instead of crumbly.
- Pumpkin puree — Use plain pumpkin puree, not pumpkin pie filling. The filling needs you to control the sugar and spice so it sets with the right balance.
- Evaporated milk — This gives the custard body and a smooth, rich finish without making it heavy. Regular milk makes the filling looser and more likely to bake up soft in the center.
Building the Filling So It Sets Cleanly
- Eggs — They’re the set in the set-and-slice dessert. Whisk them in until smooth, but don’t beat in a lot of air or the bars can puff and crack as they cool.
- Pumpkin pie spice, cinnamon, and ginger — This blend gives you warmth without making the bars taste one-note. The spice should smell fragrant and rounded, not sharp or dusty.
- Vanilla — It softens the edge of the spice and makes the pumpkin taste fuller. It’s a small ingredient, but it helps the filling taste finished.
- Reserved oat crumble — Don’t skip scattering it over the filling. That top layer bakes into little crunchy islands that give every bite texture and keep the bars from eating like plain custard.
The Bake That Turns This From Loose Filling Into Bars
Making the Crumb Base
Combine the oats, flour, brown sugar, cinnamon, and salt, then cut in the cold butter until the mixture looks like coarse, buttery pebbles. When you squeeze a handful, it should hold together in a loose clump, not a paste. If it starts to smear or look glossy, the butter warmed too much, and the crust won’t bake up crisp.
Pressing and Pre-Baking
Press most of the mixture firmly into the parchment-lined pan and bake it until the edges look set and lightly toasted. Don’t wait for deep browning here; you only want enough color to build structure. Pulling it too early leaves you with a soft bottom, and skipping this bake almost always leads to a soggy middle.
Filling and Finishing the Bars
Whisk the pumpkin, evaporated milk, eggs, sugar, spices, salt, and vanilla until completely smooth, then pour it over the hot crust. The filling should look silky and pourable, not frothy. Bake until the topping is golden and the center no longer sloshes when you nudge the pan; a little wobble in the middle is fine, but it should move like a set custard, not liquid.
Cooling for Neat Slices
Let the bars cool all the way before chilling them, then refrigerate for at least an hour before cutting. That chill time is what gives you clean squares instead of pumpkin pudding with crumbs around the edges. Use a sharp knife wiped clean between cuts if you want tidy bars for serving.
How to Adapt These Bars for Different Kitchens and Occasions
Gluten-Free Oat Crust
Use certified gluten-free oats and swap the all-purpose flour for a 1:1 gluten-free baking blend. The bars will still hold together well, though the crust may bake a little more delicately, so let it cool before pressing in the filling.
Dairy-Free Version
Swap the butter for a firm plant-based butter and use an unsweetened evaporated coconut milk if you can find it. The crust will still crisp up, but the filling may taste a little more coconut-forward depending on the brand you use.
Less-Sweet, More-Spiced Bars
Cut the granulated sugar in the filling slightly and lean a little harder on cinnamon and ginger. The bars will taste less dessert-sweet and more pumpkin-forward, which works well if you plan to serve them with whipped cream.
Storage and Reheating
- Refrigerator: Store covered for up to 5 days. The crust softens a little over time, but the flavor holds well.
- Freezer: These freeze well. Cut into bars, wrap individually, and freeze in a single layer before moving to a container; thaw overnight in the refrigerator.
- Reheating: Serve chilled or let sit at room temperature for 15 to 20 minutes. Don’t microwave them for long, or the filling can weep and the oat topping loses its texture.
Questions I Get Asked About This Recipe
Pumpkin Pie Bars With Oat Crust
Ingredients
Equipment
Method
- Preheat the oven to 375°F, and line a 9x13 pan with parchment for easy lifting.
- In a bowl, combine rolled oats, all-purpose flour, brown sugar, cinnamon, and salt.
- Cut the cold unsalted butter into the oat mixture until it forms crumbly clumps.
- Reserve 1 cup of the oat mixture for topping, then press the rest firmly into the prepared pan.
- Bake for 12 minutes, until the crust looks lightly set.
- Whisk together pumpkin puree, evaporated milk, eggs, granulated sugar, pumpkin pie spice, cinnamon, ginger, salt, and vanilla until smooth.
- Pour the filling over the hot crust.
- Scatter the reserved oat crumble over the filling so it covers most of the surface.
- Bake for 35-40 minutes at 375°F until the topping is golden and the filling is set.
- Cool the bars completely at room temperature before chilling.
- Refrigerate for 1 hour to firm up for clean cutting.