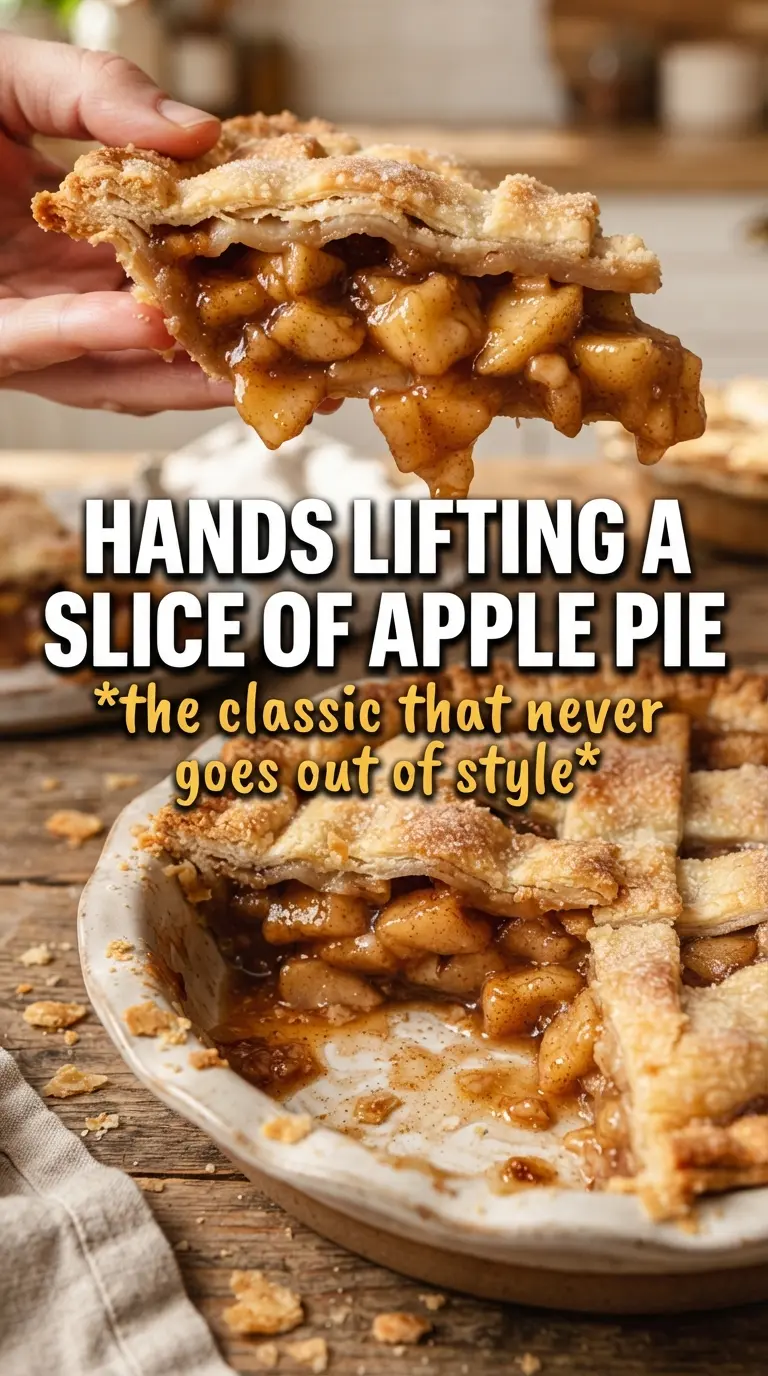
Apple pie earns its place on the table when the crust shatters at the first cut and the filling holds together instead of sliding into a loose puddle. The best slices give you both things at once: a flaky, browned lid, tender apples that still keep some shape, and a spiced syrup that clings to every bite.
The trick is balancing the apples before they ever hit the oven. A mix of Granny Smith and Honeycrisp gives you tartness plus sweetness, and the cornstarch catches the juices that leak out as the fruit bakes. Letting the filling sit for 15 minutes matters, because it draws out liquid early so you can drain off the excess instead of gambling on a soggy bottom crust.
Below, you’ll find the small details that keep the pie from collapsing, including why the filling gets mounded in the center and how to bake it long enough for the juices to thicken properly.
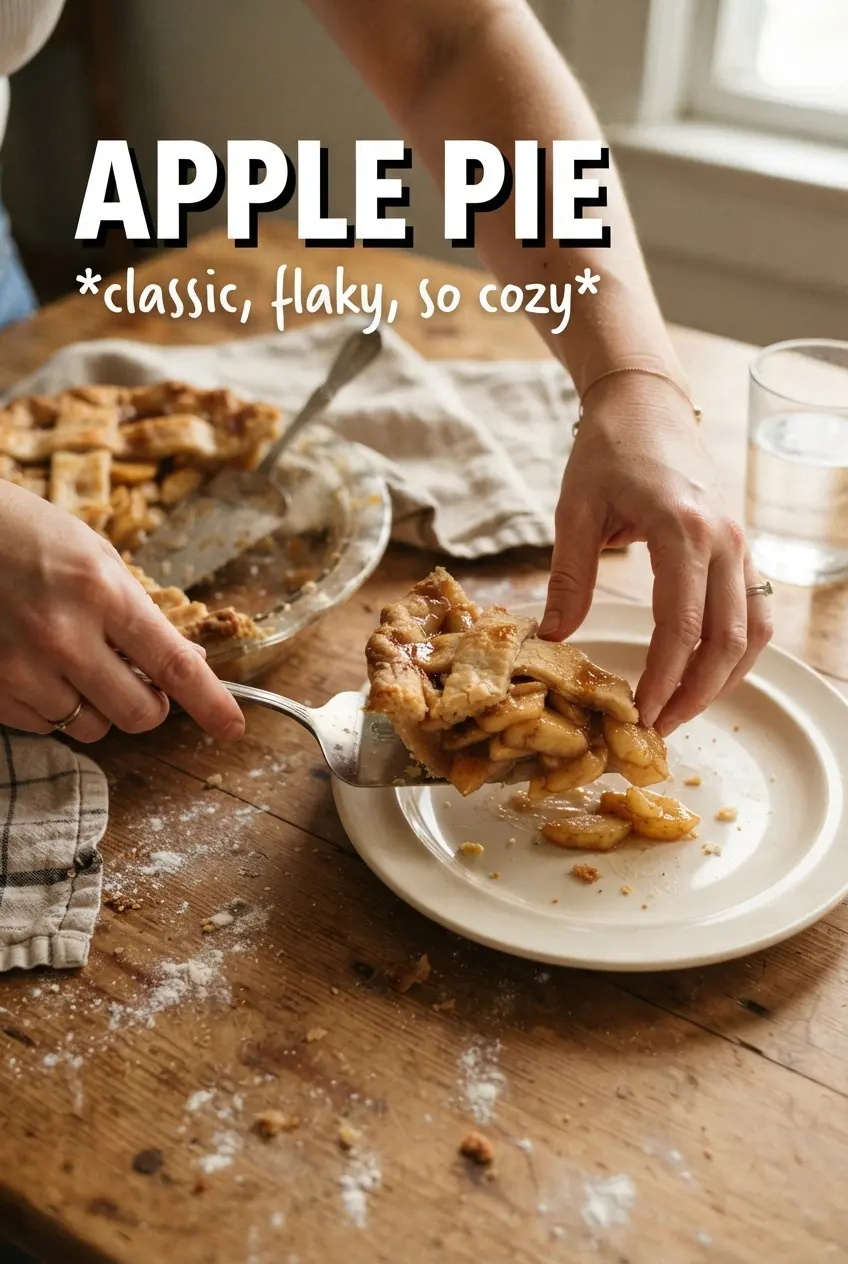
The filling set up beautifully after cooling, and the crust stayed flaky all the way to the last slice. The cinnamon sugar top was a nice touch and kept the pie from tasting flat.
Save this classic apple pie for the kind of dessert that needs a deep golden crust and a filling that slices cleanly.
The Reason Apple Pie Turns Watery Before It Turns Set
The two biggest problems in apple pie are excess juice and underbaked fruit. Apples release water as they heat, and if that liquid isn’t managed before baking, it turns the bottom crust soft and the filling thin. Tossing the apples with sugar and cornstarch first pulls that moisture out where you can see it, then the cornstarch thickens it in the oven instead of leaving it behind in the bowl.
The other thing people miss is bake time after the crust starts browning. The pie is done when the filling bubbles in the center, not just around the edges. Those bubbles tell you the cornstarch has reached the heat it needs to thicken properly, and that’s what keeps the filling from running when you slice it.
What Each Ingredient Is Actually Doing in This Pie
- Granny Smith and Honeycrisp apples — This mix gives you structure and sweetness in the same pie. Granny Smiths stay tart and hold their shape, while Honeycrisp softens a little faster and brings a juicier bite. Using only soft apples makes the filling go mushy.
- Cornstarch — This is what turns the apple juices into a glossy filling instead of a runny one. Flour can work in a pinch, but it tastes heavier and doesn’t set as cleanly. Don’t reduce it unless you want a looser pie.
- Brown sugar plus granulated sugar — White sugar sweetens cleanly, while brown sugar adds a deeper caramel note that makes the filling taste more like apple pie and less like sweetened apples. The amount is modest on purpose, so the fruit still tastes like fruit.
- Lemon juice — A small amount keeps the apples tasting bright and keeps the filling from leaning flat or overly sweet. It won’t make the pie taste lemony; it just sharpens the edges.
- Egg wash and cinnamon sugar — The egg wash gives the top crust color and helps the sugar stick. The sugar and cinnamon on top add crunch and a little sparkle that makes the pie look finished, not just baked.
Building the Filling So the Bottom Crust Stays Crisp
Mix and Rest the Apples
Toss the sliced apples with both sugars, spices, cornstarch, and lemon juice until every piece looks lightly coated. Let them sit for 15 minutes; you’ll see liquid collect at the bottom of the bowl, and that is exactly what you want. If you skip the rest, the apples will dump that moisture into the pie instead. Drain the excess liquid before filling the crust.
Pack the Pie with a Little Height
Transfer the apples into the bottom crust and mound them in the center. Apples shrink as they bake, so a flat fill at the start gives you a sunken pie later. The mound should look generous above the rim of the dish. Dot the top with the butter so it melts into the filling and enriches the syrup as it bakes.
Seal, Vent, and Brown the Top
Lay the second crust over the fruit, crimp the edges, and cut a few steam vents so the filling can bubble without blasting the seam open. Brush the top with egg wash, then sprinkle on the cinnamon sugar. That sugar browns fast, so keep an eye on the pie during the last stretch of baking. If the edges color before the center is done, cover them with foil.
Bake Until the Center Bubbles
Start the pie at 425°F for 25 minutes to set the crust, then drop the oven to 375°F and bake 30 to 35 minutes more. You want a deep golden crust and visible bubbling in the center vents, not just along the rim. If the top looks done but the filling isn’t bubbling yet, keep baking. That’s the difference between a neat slice and a runny one.
How to Adapt This Pie Without Losing the Texture
Use a Store-Bought Crust for a Faster Shortcut
Refrigerated crust works well here if you keep it cold and handle it gently. You lose a little flaky butter flavor compared with homemade, but the filling is still the star. Let the dough warm just enough to unroll without cracking, then chill the assembled pie before baking so the crust sets before the fat melts out.
Make It Gluten-Free with a Gluten-Free Crust
The filling is already gluten-free as written, so the crust is the only real swap. Use a sturdy gluten-free pie dough that can be rolled or pressed without cracking too badly. Expect a slightly more delicate texture, and let the pie cool fully before slicing so the bottom doesn’t fall apart.
Lean into a More Tart Filling
If you like a sharper pie, swap one of the Honeycrisp apples for another Granny Smith and reduce the granulated sugar by a tablespoon or two. The filling will taste brighter and less candy-sweet, but the texture stays the same. This works best if your apples are naturally sweet to begin with.
Storage and Reheating
- Refrigerator: Cover and refrigerate for up to 4 days. The crust softens a little on day two, but the flavor stays good.
- Freezer: A baked apple pie freezes well. Cool completely, wrap tightly, and freeze for up to 2 months. Thaw in the refrigerator before reheating.
- Reheating: Warm slices in a 325°F oven until heated through, about 10 to 15 minutes. The oven keeps the crust crisp; the microwave makes it limp.
Answers to the Questions Worth Asking
Apple Pie
Ingredients
Equipment
Method
- Preheat oven to 425F, then fit one crust into a 9-inch pie dish.
- Toss sliced apples with granulated sugar, brown sugar, cinnamon, nutmeg, allspice, cornstarch, and lemon juice, then let sit 15 minutes.
- Drain any excess liquid, then pile the apple filling into the crust, mounding in the center.
- Dot the filling with diced unsalted butter, then place the second crust on top, crimp the edges, and cut steam vents.
- Brush the top crust with egg wash, then sprinkle with cinnamon sugar.
- Bake at 425F for 25 minutes.
- Reduce heat to 375F and bake 30-35 minutes, until the crust is deep golden and the filling bubbles.
- Cool the pie at least 2 hours before slicing, so the filling sets.