Caramel apple crisp lands in that perfect middle ground between cozy and dramatic: tender apples underneath, a thick bubbling caramel edge, and a buttery oat topping that stays craggy instead of turning sandy. The first spoonful gives you soft fruit, toasted oats, and a hit of caramel that tastes like it was built into the dessert from the start, not poured on as an afterthought.
The part that makes this version work is how the apples are coated before baking. Cornstarch thickens the juices as they come out of the fruit, while lemon juice keeps the filling bright enough to balance the brown sugar and caramel. Cold butter in the crumble matters too. If it warms up before the dish goes into the oven, the topping melts flat instead of baking into those crisp, buttery clusters everyone wants.
You’ll find the timing cues below that keep the filling from turning soupy and the topping from overbrowning before the apples are tender. There’s also a note on the best apple types to use if you want slices that hold their shape instead of collapsing into applesauce.
The apples held their shape and the caramel bubbled up into the topping instead of making it soggy. I baked it for 45 minutes and the crumble came out crisp on top with a thick filling underneath.
Save this caramel apple crisp for the night you want bubbling apples, a buttery oat topping, and plenty of caramel over vanilla ice cream.
The Part That Keeps the Filling Thick Instead of Runny
The filling needs enough starch to catch the juices before they flood the pan. Cornstarch does that job fast, but it only works if it’s mixed evenly with the apples before baking. If you see dry white patches in the bowl, those spots can turn gummy or leave parts of the filling loose.
Granulated sugar pulls moisture out of the apples, which helps build that syrupy caramel sauce as the crisp bakes. The lemon juice keeps the sweetness in check and gives the apples a little lift so the dessert doesn’t taste flat. If your apples are especially juicy, the filling may look a little loose going into the oven; that’s normal. It tightens as it bakes and settles as it cools.
What Each Ingredient Is Actually Doing in This Crisp
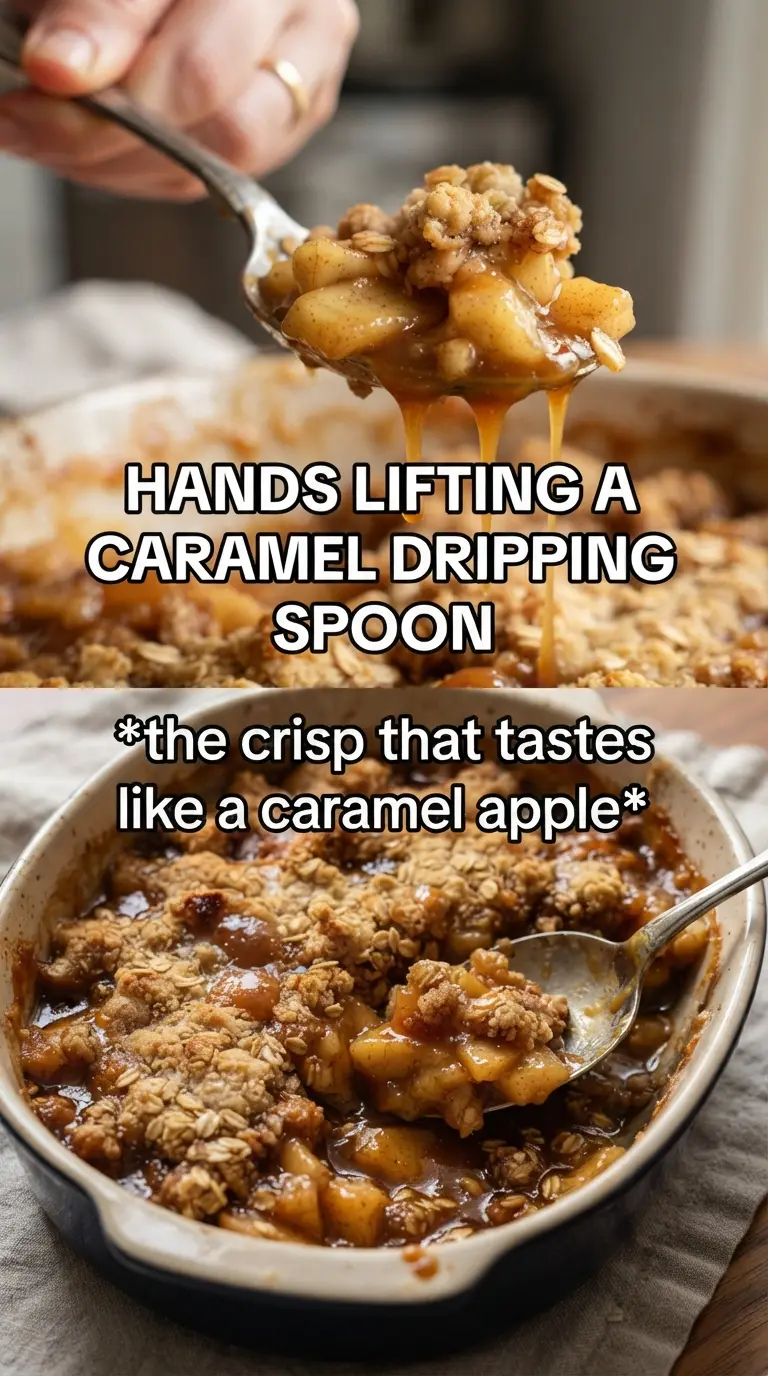
- Apples — Use a firm baking apple if you want slices that stay distinct after 45 minutes in the oven. Granny Smith, Honeycrisp, Braeburn, or a mix all work. Softer apples collapse faster and turn the filling mushy.
- Caramel sauce — This gives the filling that deep candy-like note and helps the juices thicken into something spoonable. A good jarred caramel works fine here because it’s baked into the fruit, but it should be a sauce, not a hard caramel candy.
- Cornstarch — This is the thickener that keeps the apple juices from running all over the dish. Arrowroot can work in its place, but use a little less because it thickens more aggressively.
- Rolled oats — Old-fashioned oats give the topping its nubby, crisp texture. Quick oats turn softer and can make the crumble feel more pasty.
- Cold butter — Cold cubes are what create those chunky crumbs. If the butter is too warm, the topping turns into a flat layer instead of a crisp, craggy blanket.
Building the Crisp So the Top Stays Crunchy
Coating the Apples Evenly
Toss the sliced apples with the sugar, caramel sauce, spices, cornstarch, lemon juice, and salt until every piece looks glossy. The cornstarch should disappear into the juices, not sit in pockets at the bottom of the bowl. Spread the fruit in an even layer so the filling cooks at the same rate across the pan. If the pile is mounded in the center, the middle stays undercooked while the edges overbake.
Making the Crumble by Hand
Combine the oats, flour, brown sugar, cinnamon, and salt first, then cut in the butter until you get uneven clumps that hold when squeezed. You want some sandy bits and some larger chunks. Those bigger clumps toast into the best crispy pieces. If the mixture starts looking paste-like, the butter is warming up too much, and the topping will bake dense instead of crisp.
Watching for the Bubble
Bake until the top is deeply golden and the filling is bubbling around the edges and through the center. Those bubbles are the sign that the cornstarch has activated and the apples have softened enough. If the top is browning too quickly, lay a loose piece of foil over the dish for the last 10 minutes. The crisp needs the full bake time to thicken properly, even if the topping looks close before the fruit is done.
Adding the Final Caramel Drizzle
Drizzle extra caramel over the crisp during the last few minutes of baking so it warms without disappearing completely into the filling. That gives you shiny, sticky pockets on top instead of just a sauce on the serving spoon. Let the dessert sit for at least 15 minutes before scooping. Straight from the oven, the filling is thinner than it will be once it settles.
How to Adapt This for Different Pans, Diets, and Leftovers
Make It Gluten-Free
Swap the all-purpose flour for a 1:1 gluten-free baking blend and use certified gluten-free oats. The texture stays crisp if the blend contains xanthan gum or another binder, and the topping will still brown nicely. The filling doesn’t need any other changes.
Dairy-Free Version
Use a dairy-free butter stick that’s made for baking. Soft tub-style spreads can melt too fast and won’t give you the same craggy crumble. The rest of the dessert already fits naturally into a dairy-free plan as long as you serve it without ice cream or use a non-dairy vanilla alternative.
Using a Mix of Apples
A mix of tart and sweet apples gives the best balance. Granny Smith adds structure and brightness, while Honeycrisp or Fuji bring sweetness and juiciness. All tart apples can taste sharp, and all sweet apples can lean bland once baked.
Storage and Reheating
- Refrigerator: Store covered for up to 4 days. The topping softens a little, but the flavor stays strong.
- Freezer: It freezes well baked or unbaked. Wrap tightly and freeze for up to 2 months, then thaw in the fridge before reheating or baking.
- Reheating: Warm individual portions in a 325F oven until hot. The microwave works in a pinch, but it softens the crumble and turns the topping chewy instead of crisp.
Answers to the Questions Worth Asking
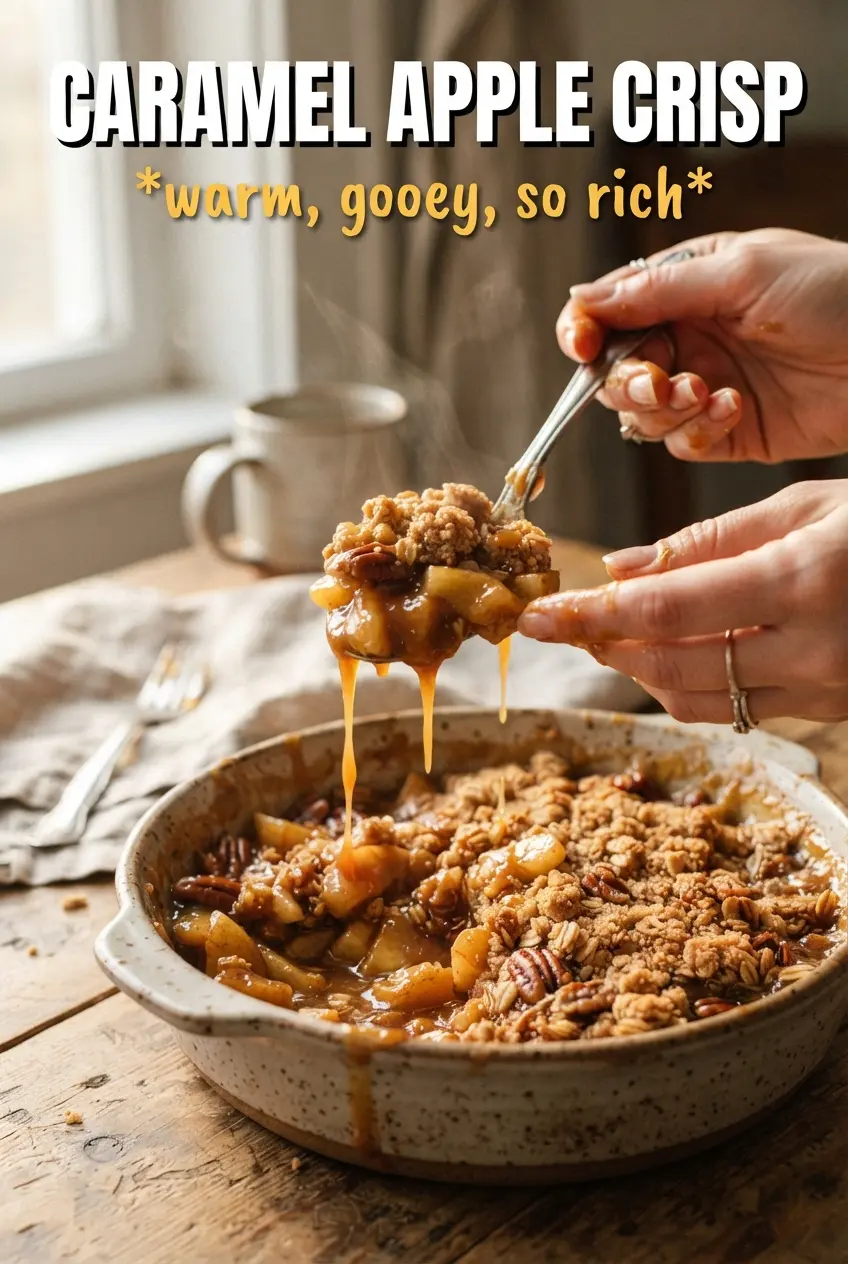
Caramel Apple Crisp
Ingredients
Equipment
Method
- Preheat the oven to 375°F and grease a 9x13 baking dish.
- Arrange the prepared baking dish on a stable surface so it’s ready for the filling.
- Toss the apple slices with granulated sugar, caramel sauce, cinnamon, nutmeg, cornstarch, lemon juice, and sea salt until evenly coated.
- Spread the apple mixture in the greased 9x13 baking dish in an even layer.
- Combine rolled oats, all-purpose flour, brown sugar, cinnamon, and salt in a bowl.
- Cut in the cold cubed unsalted butter until chunky clumps form.
- Scatter the crumble evenly over the caramel apples.
- Bake at 375°F for 40–45 minutes, until the topping is deeply golden and the filling is bubbling at the edges.
- Drizzle extra caramel sauce over the top during the last 5 minutes of baking.
- Let the crisp cool slightly, then serve warm with vanilla ice cream and more caramel.