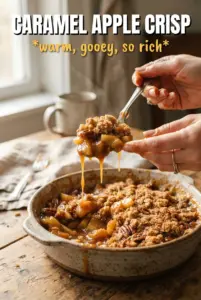
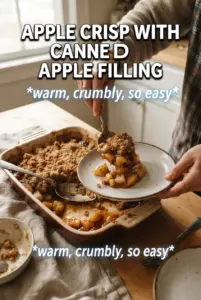
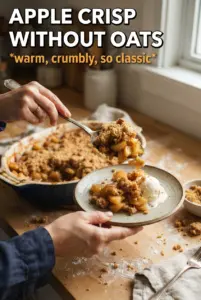
Apple crisp without oats gives you the kind of topping that shatters at the spoon and stays crisp long enough for seconds. The filling turns glossy and cinnamon-spiced underneath, with tender apple slices that hold their shape instead of collapsing into applesauce. It’s the kind of dessert that feels familiar the first time you make it, then earns a permanent spot because the texture lands exactly where you want it.
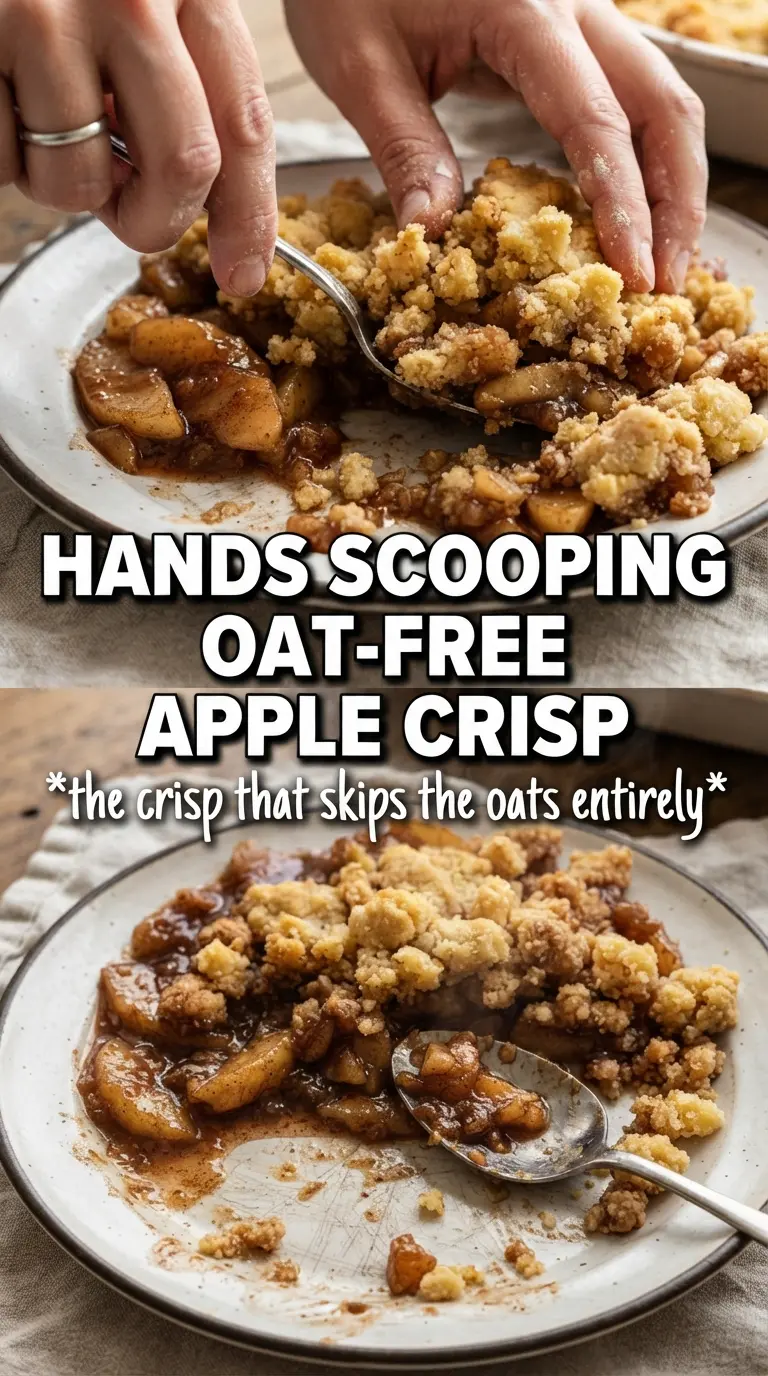
The trick is in the topping. Flour, brown sugar, and cold butter make a sandy crumble that bakes into those uneven golden clumps people actually fight over. A little cornstarch in the apples matters too, because it thickens the juices as the fruit bakes and keeps the bottom from turning watery. If you’ve ever had crisp topping go soft before dessert even hit the table, this version fixes that.
Below, I’ll walk through the one step that keeps the topping crisp, the swaps that still work if you don’t have nuts, and the best way to serve it warm without losing that contrast between bubbling fruit and crunchy crumble.
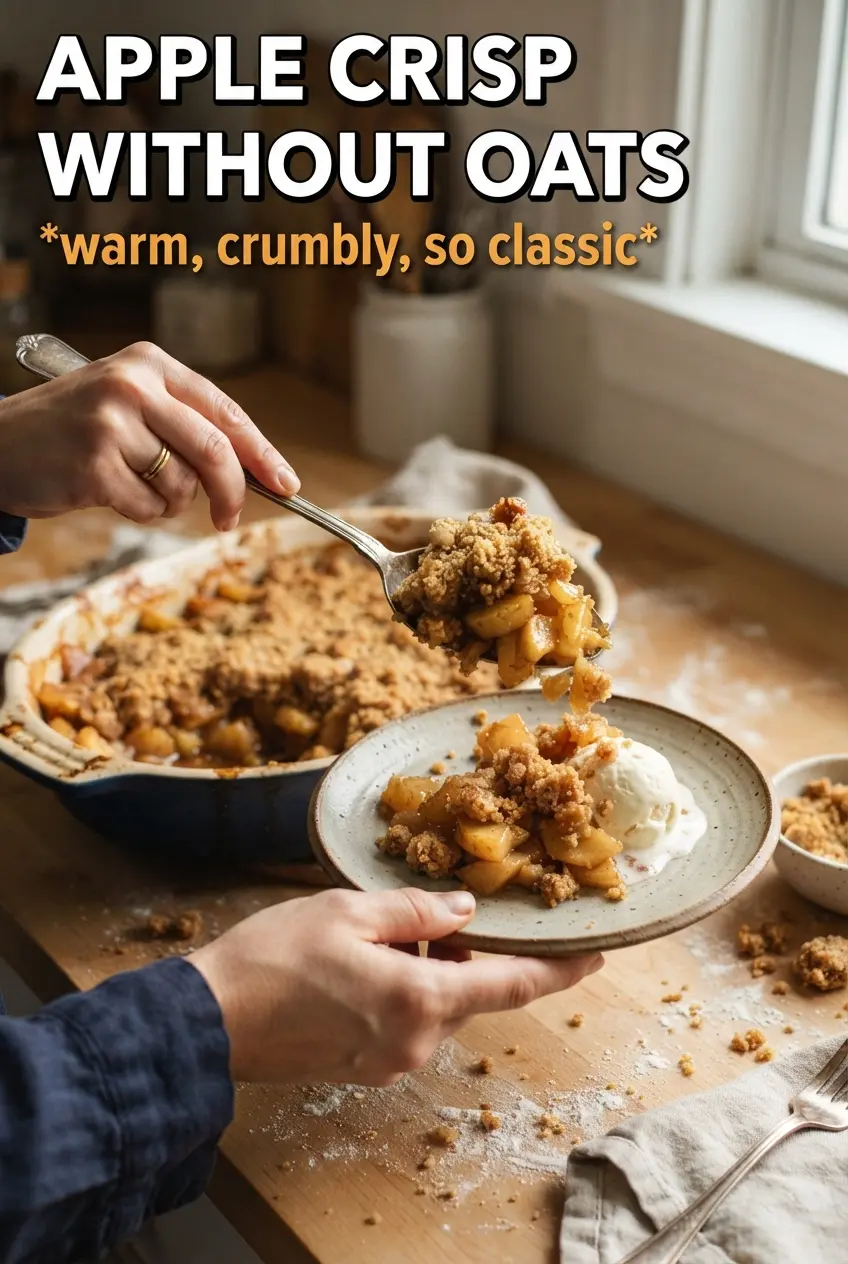
The topping baked up sandy and crisp all the way through, and the apple layer thickened instead of pooling at the bottom. I served it after a 10-minute rest like you said, and it scooped cleanly with the ice cream on top.
Save this apple crisp without oats for the nights when you want a buttery cinnamon crumble with a crisp, sandy topping.
The Crumble Needs Cold Butter, Not Just Less Butter
The mistake that ruins oat-free crisp topping is letting the butter melt before it hits the oven. Cold butter creates pockets in the flour and sugar mixture, and those pockets bake into the crisp, craggy topping that holds together on top but still breaks cleanly with a spoon. If the butter turns soft and greasy while you’re mixing, the topping bakes up dense instead of sandy.
You want clumps that range from pea-sized to walnut-sized. That mix gives you both crunch and those sweeter little pockets where the brown sugar caramelizes. If the mixture looks too dry, keep working it gently with your fingertips or a pastry cutter; if it looks like paste, stop and chill it for 10 minutes before scattering it over the apples.
- Apples — A mix of tart and sweet apples gives the best balance and keeps the filling from tasting flat. Firm apples like Granny Smith, Honeycrisp, or Braeburn hold their shape better than soft baking apples.
- Cornstarch — This thickens the juices as the fruit bakes. Flour can work in a pinch, but cornstarch gives a clearer, cleaner filling without muddiness.
- Brown sugar — This is what gives the topping that deep caramel note. Dark brown sugar makes it richer; light brown sugar still works fine.
- Butter — Use it cold and cubed. That step matters more than brand or price, because the texture depends on the butter staying solid long enough to create steam and lift.
- Pecans or walnuts — Optional, but they add extra crunch and a toasted edge. Skip them if you want a smoother topping or if you’re serving someone with a nut allergy.
What Each Ingredient Is Actually Doing in This Recipe
- Primary ingredient (the star) — Quality matters most. Choose the best you can find.
- Cooking medium (oil, butter, or broth) — This carries flavors and prevents dryness.
- Seasonings (salt, pepper, spices, herbs) — Layer flavors so nothing overpowers. Build depth gradually.
- Aromatics (garlic, onion, herbs) — Cook with fat to bloom flavors. Become the foundation.
- Supporting ingredients — Complement the main ingredient without overpowering it.
- Sauce or liquid (if applicable) — Brings flavors together. Balance richness with acid.
- Acid (lemon, vinegar, wine, or other) — Brightens and prevents flat-tasting results.
- Final finish (garnish, glaze, or sauce) — Prevents one-dimensional taste and adds visual appeal.
Building the Filling and Topping So They Bake at the Same Pace
Coating the Apples
Toss the sliced apples with sugar, cinnamon, nutmeg, cornstarch, and lemon juice until every piece looks lightly coated. The mixture should look a little wet at first; that’s normal, and it’s what helps the cornstarch dissolve before baking. Spread the fruit in an even layer so the center doesn’t stay undercooked while the edges overbake.
Cutting in the Butter
Mix the dry crumble ingredients first, then cut in the cold butter until the mixture looks like damp sand with plenty of chunky bits. Stop before it turns into a smooth dough. If you press a handful and it holds, you’re there. That rough texture is what gives you a crisp top instead of a cookie-like lid.
Baking Until the Filling Bubbles
Scatter the crumble over the apples in an even layer, then bake until the top is deeply golden and the filling is bubbling around the edges and through the center. Those bubbles matter more than the clock. If the top browns early but the filling isn’t bubbling, lay a sheet of foil loosely over the dish and give it more time.
Letting It Set Before Serving
Rest the crisp for 10 minutes before scooping. That short pause lets the juices thicken enough to serve instead of pour. If you cut into it too soon, the filling will run and the topping will sink into the fruit.
How to Adapt This Apple Crisp Without Oats
Make It Nut-Free
Leave out the pecans or walnuts and keep the rest of the crumble the same. You’ll lose a little extra crunch, but the topping still bakes up crisp because the flour-and-butter mixture carries the texture on its own.
Use Gluten-Free Flour
A good 1:1 gluten-free flour blend works here without changing the method. The topping may be a little more delicate, but the flavor and crispness stay close to the original if the butter stays cold.
Swap the Apples for Pears
Firm pears can stand in for part or all of the apples if that’s what you have. Pears soften faster, so check a few minutes early, and keep the cornstarch in place so the filling still thickens properly.
Storage and Reheating
- Refrigerator: Store covered for up to 4 days. The topping softens a little, but it still tastes great.
- Freezer: Freeze baked crisp in a tightly wrapped dish for up to 2 months, or freeze unbaked for the best texture. Bake from frozen with extra time until the filling bubbles through.
- Reheating: Warm in a 350°F oven until heated through and the topping crisps back up. The microwave makes the topping soggy, so skip it unless you don’t care about crunch.
Answers to the Questions Worth Asking
Apple Crisp Without Oats
Ingredients
Equipment
Method
- Preheat the oven to 375F and grease a 9x13 baking dish for easy release and even browning.
- Toss the apple slices with granulated sugar, cinnamon, nutmeg, cornstarch, and lemon juice, then spread them in the greased dish in an even layer.
- In a bowl, combine all-purpose flour, brown sugar, granulated sugar, cinnamon, nutmeg, and salt to form the dry crumble base.
- Cut the cold cubed unsalted butter into the dry mixture until it forms large sandy clumps for a crisp topping.
- Stir in the roughly chopped pecans or walnuts if using, then scatter the crumble evenly over the apples to cover the surface.
- Bake at 375F for 40-45 minutes until the topping is golden and the filling is bubbling at the edges.
- Rest the apple crisp for 10 minutes so the filling thickens slightly and the topping sets before serving.
- Serve warm with vanilla ice cream.