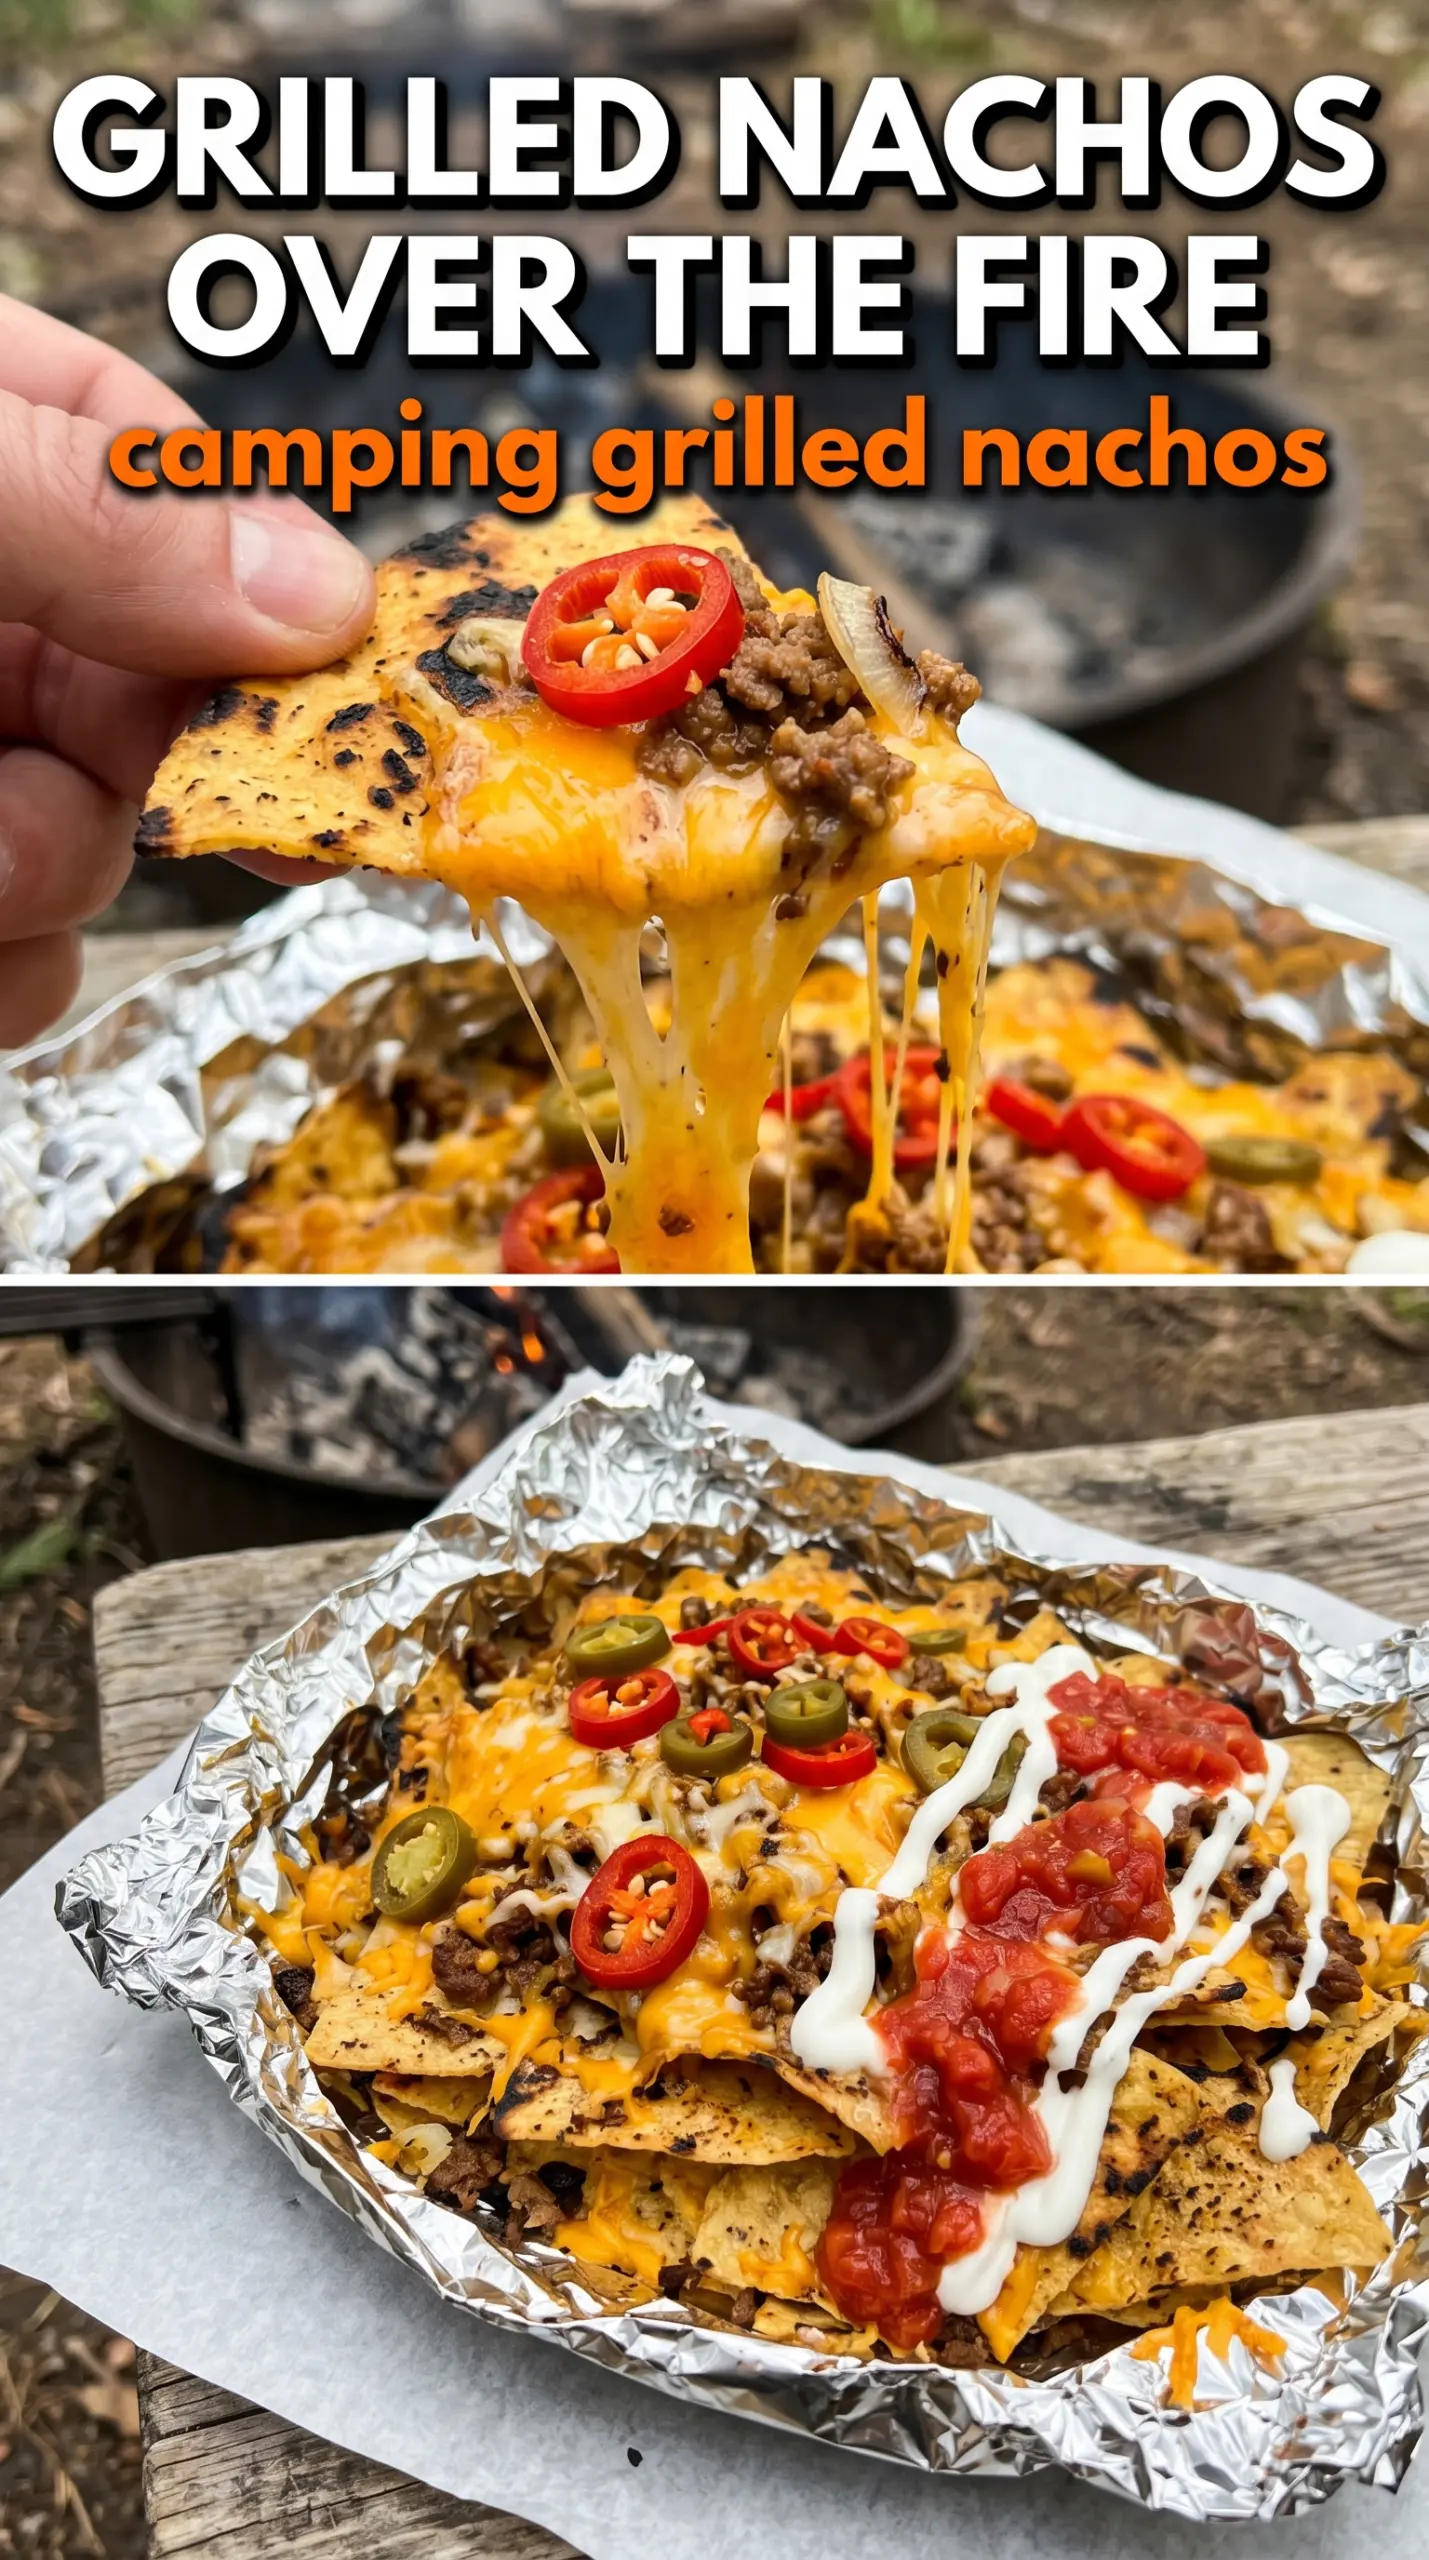
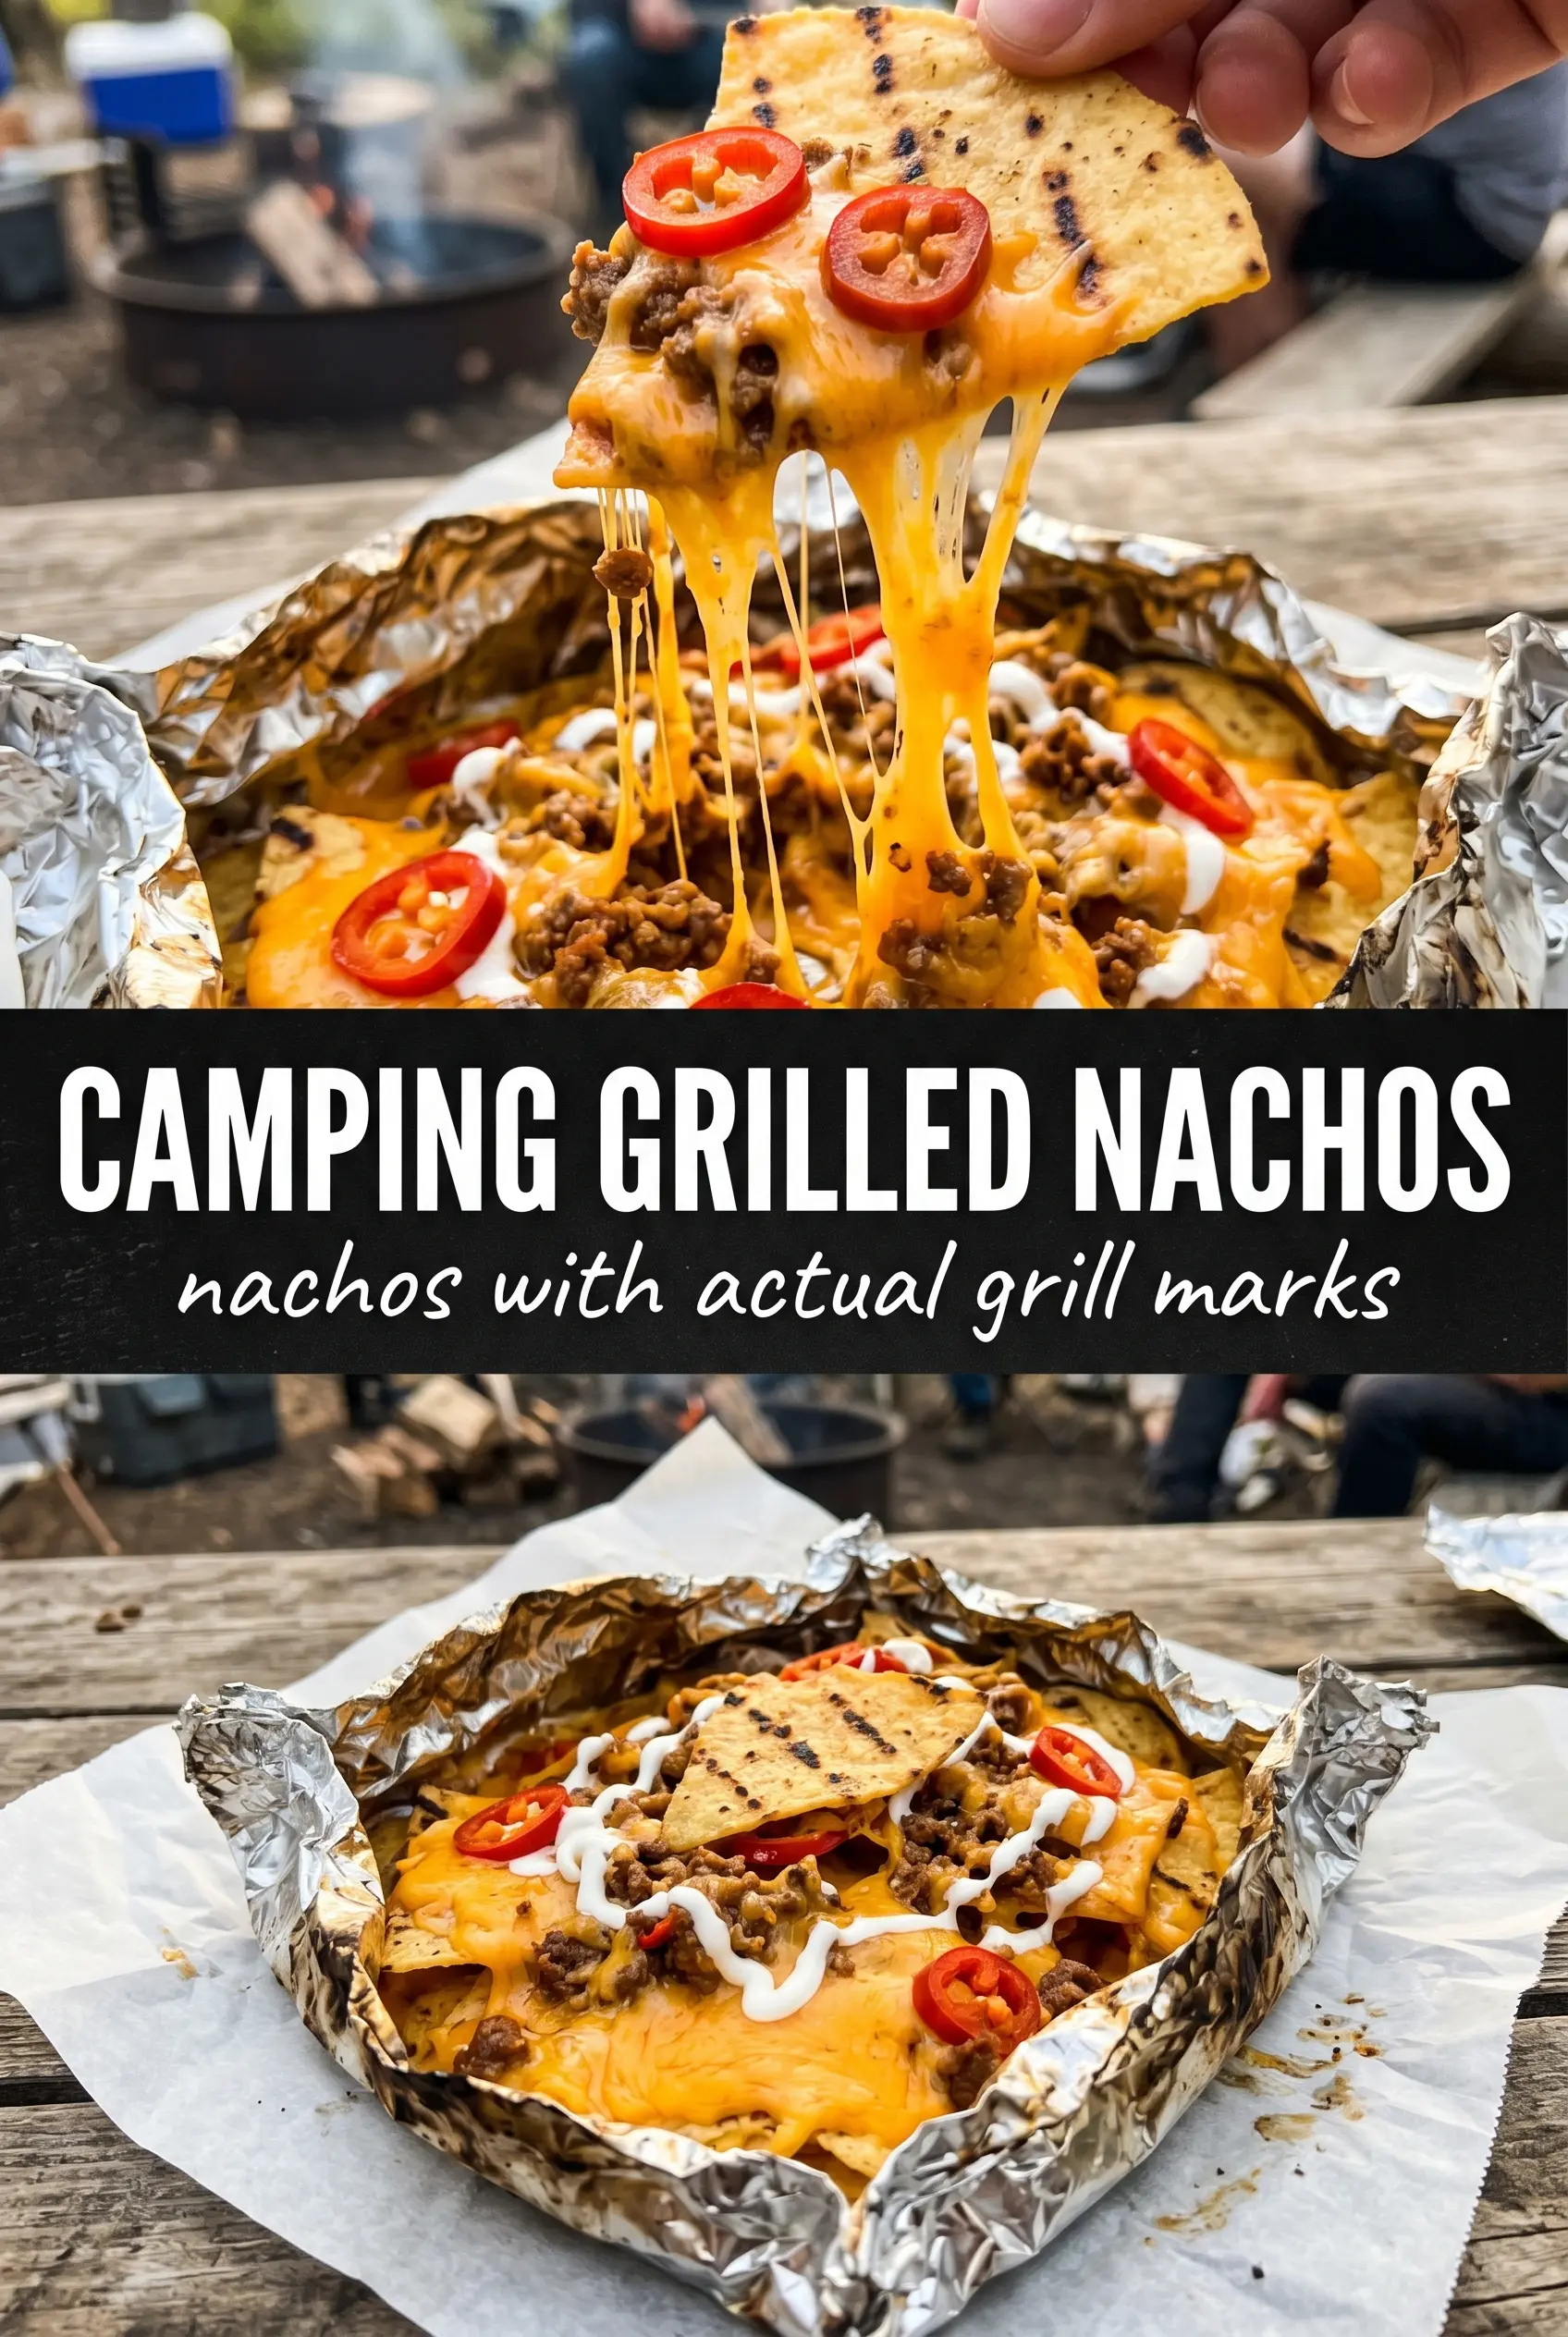
Camping grilled nachos hit that sweet spot between casual and crowd-pleasing: crisp chips on the bottom, melted cheese pulling into every layer, and just enough smoky heat from the fire to make the whole pan taste like you planned ahead. They’re the kind of campsite food that disappears fast, which is usually the clearest sign you made the right thing.
The trick is building the pan in layers instead of dumping everything on top at once. That gives the cheese something to hold onto, keeps the chips from turning into a soggy mess, and helps the beans and beef stay tucked into the nachos instead of sliding to the center. Disposable aluminum pans work best here because they heat evenly and can sit right on the grill grate without any fuss.
Below, I’ll show you how to keep the chips sturdy, how to judge the fire so the cheese melts before the bottom burns, and a few smart swaps if you want to make these nachos meatless or stretch them for a bigger group.
The layers held up better than I expected, and the cheese melted all the way through without burning the chips on the bottom. We made this over the campfire and everyone kept going back for “just one more” scoop.
Save these camping grilled nachos for the next night you want a fast campfire appetizer with melted cheese, smoky beef, and zero fancy equipment.
The Campfire Timing That Keeps the Chips Crisp
The biggest mistake with nachos over a fire is treating them like a casserole and leaving them on too long. Tortilla chips only need enough heat to warm through and let the cheese melt; once they soak up too much steam, they turn limp fast. A medium campfire heat is the sweet spot here, with the pan set on the grate rather than buried close to the coals.
Layering also matters more than people think. Starting with half the chips, then half the toppings, then repeating, spreads out the weight and helps the bottom layer stay protected. If your fire is running hot, move the pan to the edge of the grate and rotate it once so one side doesn’t brown faster than the other.
What Each Ingredient Is Actually Doing in These Nachos
- Tortilla chips — Choose sturdy chips with some thickness. Thin chips break under the weight of the beans and beef, and they soften faster once the steam starts building in the pan.
- Mexican cheese blend — This gives you the best melt for campfire nachos because it usually includes cheeses that go gooey without turning oily. Pre-shredded is fine here and easier for camping, though freshly shredded melts a little smoother.
- Black beans — They add body and make the pan feel more complete. Drain them well so extra liquid doesn’t pool in the bottom and turn the chips soggy.
- Ground beef — Use it cooked and seasoned before it goes into the pan. Raw beef won’t cook evenly in this setup, and you’ll end up overcooking the chips before the meat is done.
- Salsa, sour cream, jalapeños, cilantro, and lime — These go on after the pan comes off the fire so they stay bright and fresh. Adding them too early dulls the flavor and can make the topping layer watery.
Building the Pan So Nothing Turns Soggy
Start With a Base That Can Take the Heat
Line a large disposable aluminum pan with half the chips, then add half the cheese, beans, and beef. That bottom layer gives you structure and keeps the toppings from collapsing into one dense middle pile. If the chips are packed too tightly, the cheese can’t travel between them and you’ll end up with dry pockets.
Repeat the Layers for Even Melt
Add the remaining chips, cheese, beans, and beef in the same order. The cheese should sit on top of the chips and under the heavier toppings so it can melt down and glue everything together. If the pan looks overloaded, hold back a handful of chips and serve them on the side instead of crowding the pan.
Cook Over Medium Heat, Not Flames
Set the pan on the grill grate over medium campfire heat and cook for 8 to 10 minutes. You’re listening for the cheese to get soft and start bubbling at the edges, not for the chips to brown. If the bottom starts scorching before the top melts, the fire is too hot and the pan needs to move farther from the flames.
Finish With Cold Toppings at the Table
Take the pan off the heat and add the salsa, sour cream, jalapeños, and cilantro right away. That contrast of hot, melted cheese with cool toppings is part of what makes the nachos work. A squeeze of lime at the end wakes everything up and cuts through the richness of the beef and cheese.
How to Adapt These Nachos for Different Camps and Crowds
Make Them Vegetarian
Skip the ground beef and add an extra can of black beans, or fold in seasoned corn for more texture. You still get a hearty pan, but the flavor leans lighter and a little fresher.
Make Them Dairy-Free
Use your favorite dairy-free shred that melts well, then add a little extra salsa for moisture and brightness. Some plant-based cheeses stiffen as they cool, so serve these immediately while they’re still hot and stretchy.
Stretch the Pan for a Bigger Group
Use a wider pan and add another half bag of chips plus a little more cheese to keep the layers balanced. If you add more filling without enough chips, the center turns heavy and the edges go bare.
Storage and Reheating
- Refrigerator: Store leftovers in an airtight container for up to 2 days. The chips soften as they sit, so expect a much less crisp texture.
- Freezer: These don’t freeze well. The chips break down and the toppings separate once thawed.
- Reheating: Reheat leftovers in a skillet over low heat or in the oven at 350°F until warmed through. The mistake is blasting them in the microwave, which turns the chips chewy and the cheese rubbery.
Questions I Get Asked About This Recipe
Camping Grilled Nachos
Ingredients
Equipment
Method
- Line a large disposable aluminum pan with half the tortilla chips, spreading them into an even layer so they’ll melt uniformly.
- Layer on half the shredded Mexican cheese blend, half the drained black beans, and half the cooked and seasoned ground beef for a dense, hearty base.
- Repeat with the remaining tortilla chips, shredded Mexican cheese blend, black beans, and ground beef to build a tall nacho stack that will bubble at the top.
- Place the aluminum pan on the grill grate over medium campfire heat, ensuring it sits stable over the coals.
- Cook for 8-10 minutes, until the cheese is melted and bubbly, then remove the pan from the heat when the surface is hot and glossy.
- Top the hot nachos with salsa, letting it seep slightly into the melted cheese.
- Add sour cream in spoonfuls so it creates cool, creamy pockets on the warm chips.
- Scatter sliced jalapeño and chopped cilantro over the top for fresh bite and green color.
- Serve immediately with lime wedges on the side so guests can squeeze over the nachos to brighten the flavor.