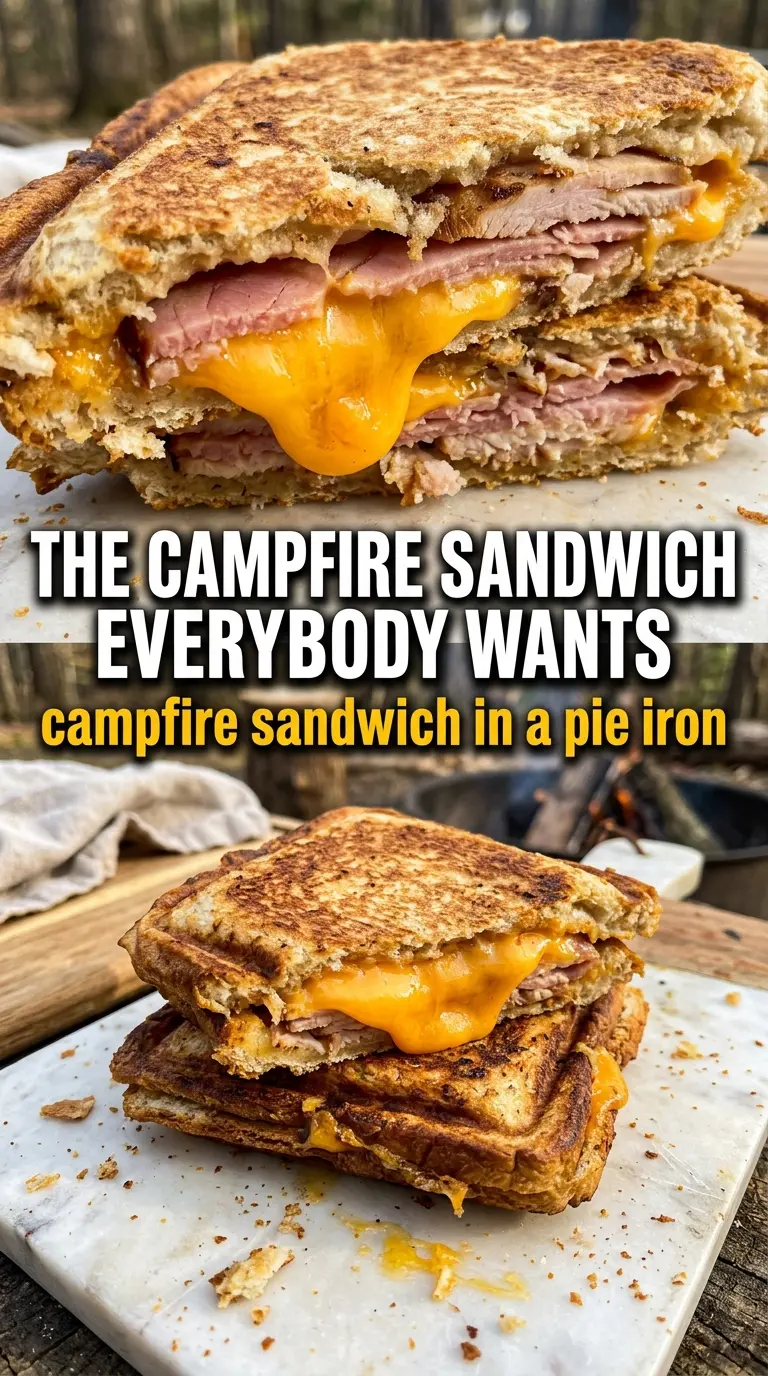
Smoky bread, melted cheese, and crisp grill marks make a campfire sandwich one of those meals that disappears the second it hits the plate. The outside turns deeply golden and buttery while the center stays soft, warm, and gooey enough to hold the ham and turkey together without sliding apart. It’s simple food, but over a fire it picks up a little more character than anything made in a kitchen toaster ever could.
The trick is building the sandwich with the butter on the outside and keeping the heat at medium, not raging-hot. That gives the bread time to brown before the cheese gives up and leaks out. I also like putting cheese on both sides of the meat so the filling stays locked in place and melts into one cohesive layer instead of a loose stack.
Below, I’ll walk through the small adjustments that keep this sandwich from burning before the cheese melts, plus a few easy swaps for different tastes or dietary needs.
The bread got crisp before the cheese oozed out, and the layers stayed stacked instead of sliding everywhere. We made these at camp and nobody wanted to wait for the next round.
Save this campfire sandwich for your next outdoor lunch when you want melted cheese, buttery bread, and zero fuss at the fire.
The Heat Zone That Keeps the Bread from Burning First
The biggest mistake with a campfire sandwich is putting it over flames that are too aggressive. The bread browns fast, but the inside needs a little more time for the cheese to melt and the ham and turkey to warm through. Medium heat over a grate gives you control; if the bread is coloring too quickly, move the sandwich toward the edge of the grate where the heat is gentler.
Another thing that helps: don’t press it down hard with a spatula. A little contact is good, but squashing the sandwich forces the filling out the sides before the cheese has softened enough to hold it together. If you want clean halves and neat layers, let the heat do the work.
What Each Layer Is Doing in the Sandwich
- Bread — A sturdy sandwich bread holds up best over the fire. Thin, soft bread can tear when you flip it, especially once the butter softens and the cheese starts melting. White, sourdough, or a hearty sandwich loaf all work well as long as the slices aren’t too delicate.
- Butter — Softened butter spreads more evenly than melted butter, which matters here because even coverage is what gives you that even golden crust. If you’re camping and the butter is cold, let it sit near the fire for a few minutes before assembling.
- Cheese — Cheddar brings a sharper flavor and Swiss melts into a smoother, milder layer. Use slices rather than shredded cheese if you want less mess and better structure. If you only have shredded cheese, pack it tightly between the meat layers so it doesn’t spill out as easily.
- Ham and turkey — The deli meats add salt, heft, and a little steam inside the sandwich. Thin slices warm fastest, which keeps the cooking time short and helps the bread stay crisp. Thicker slices work too, but they need a little more time over lower heat.
- Mustard and mayo — These are optional, but they add moisture and a little tang. Use them lightly; too much can make the bread slippery and encourage the filling to slide when you flip the sandwich.
Building the Sandwich So It Stays Closed Over the Fire
Butter the Outside, Not the Filling
Spread butter on one side of every bread slice, then assemble the sandwiches with the butter facing out. That’s what gives you the crisp, toasty surface once the sandwich hits the grate. If the butter goes on the inside, you lose the browning effect and the bread can taste greasy instead of toasted.
Stack the Cheese Around the Meat
Layer bread, cheese, ham, turkey, cheese, then the second bread slice. The cheese on both sides helps glue the filling together as it melts, which keeps the meats from slipping around when you flip the sandwich. If you skip that extra cheese layer, the sandwich is more likely to come apart before the center finishes warming.
Grill Slowly and Flip Once
Set the sandwiches on a campfire grate over medium heat and let them cook for 4 to 5 minutes per side. You’re looking for a deep golden crust and cheese that’s melted all the way to the edges; if the bread is darkening too fast, move it farther from the coals. Flip once with a wide spatula and keep the motion steady so the filling doesn’t slide out.
Slice After a Short Rest
Pull the sandwiches off the heat and let them sit for a minute before cutting. That brief rest lets the cheese settle just enough that it doesn’t run out the second you cut into it. A sharp knife gives the cleanest cut, especially if you want that nice cross-section with the melted center showing.
How to Adapt This Campfire Sandwich for Different Camp Kitchens
Make it vegetarian
Swap the ham and turkey for sliced tomatoes, sautéed mushrooms, or a layer of roasted peppers. The sandwich loses some salt and heft, so keep the cheese generous and season the vegetables before assembling so the filling still tastes full and satisfying.
Use gluten-free bread
Gluten-free bread works, but choose a sturdy loaf that can handle a flip over the grate without crumbling. Toast it a little slower than regular bread, because many gluten-free loaves brown on the outside before they’re fully heated through.
Make it with just one meat
If you only have ham or only turkey, use two layers of that one meat and keep the cheese on both sides. The sandwich will still feel substantial, but it won’t be quite as tall, so it’s easier to manage on a camp grate and less likely to tip apart when you turn it.
Add a little heat
A thin swipe of mustard inside the sandwich gives the filling a sharper edge without making it messy. Skip heavy sauces, though, because too much moisture softens the bread and makes the sandwich harder to grill evenly.
Storage and Reheating
- Refrigerator: Store leftover sandwiches wrapped tightly for up to 2 days. The bread will soften, but it still reheats well.
- Freezer: Freezing isn’t ideal because the bread turns dry and the cheese texture changes after thawing.
- Reheating: Rewarm in a skillet over low heat with a lid on top so the cheese melts before the bread scorches. The common mistake is using high heat, which burns the outside before the center is hot.
Questions I Get Asked About This Campfire Sandwich
Campfire Sandwich
Ingredients
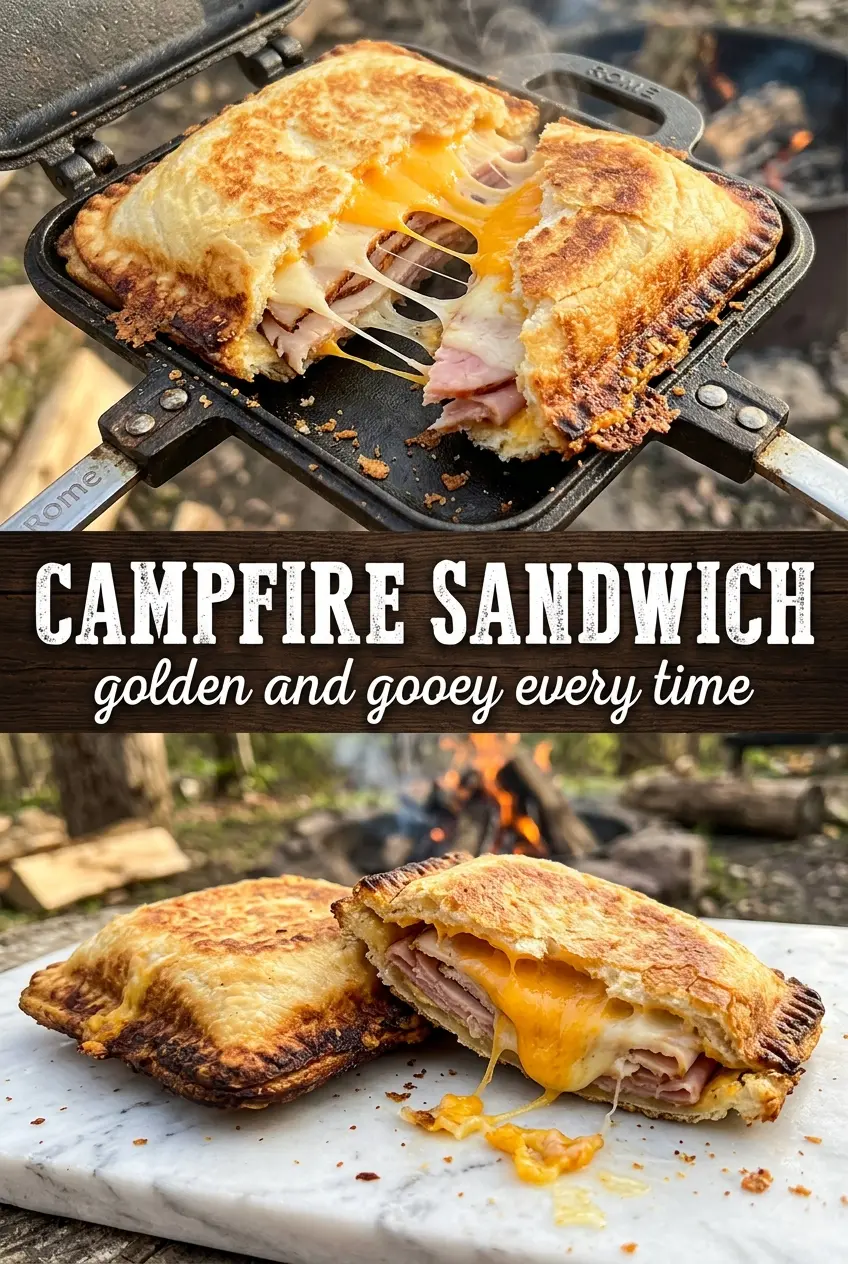
Equipment
Method
- Butter one side of each bread slice so the outside browns as it grills.
- Assemble the sandwiches with the buttered side on the outside: bread, cheese, ham, turkey, cheese, bread.
- Optional: spread a thin layer of mustard or mayo on the inside faces before closing the sandwich.
- Place sandwiches on a campfire grate over medium heat, keeping them spaced so they toast evenly.
- Grill for 4-5 minutes per side, until the bread is golden and the cheese is fully melted.
- Remove sandwiches from the heat, cut in half, and serve hot.