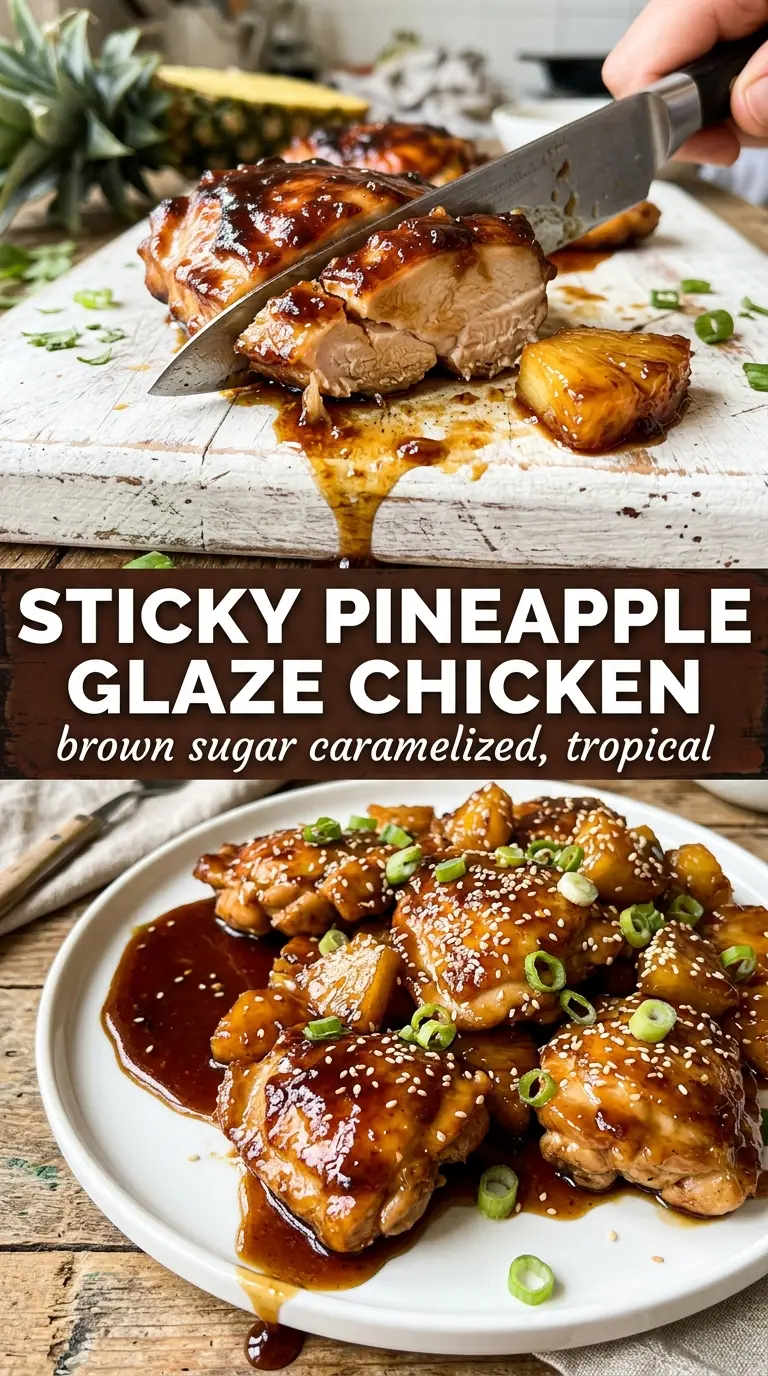
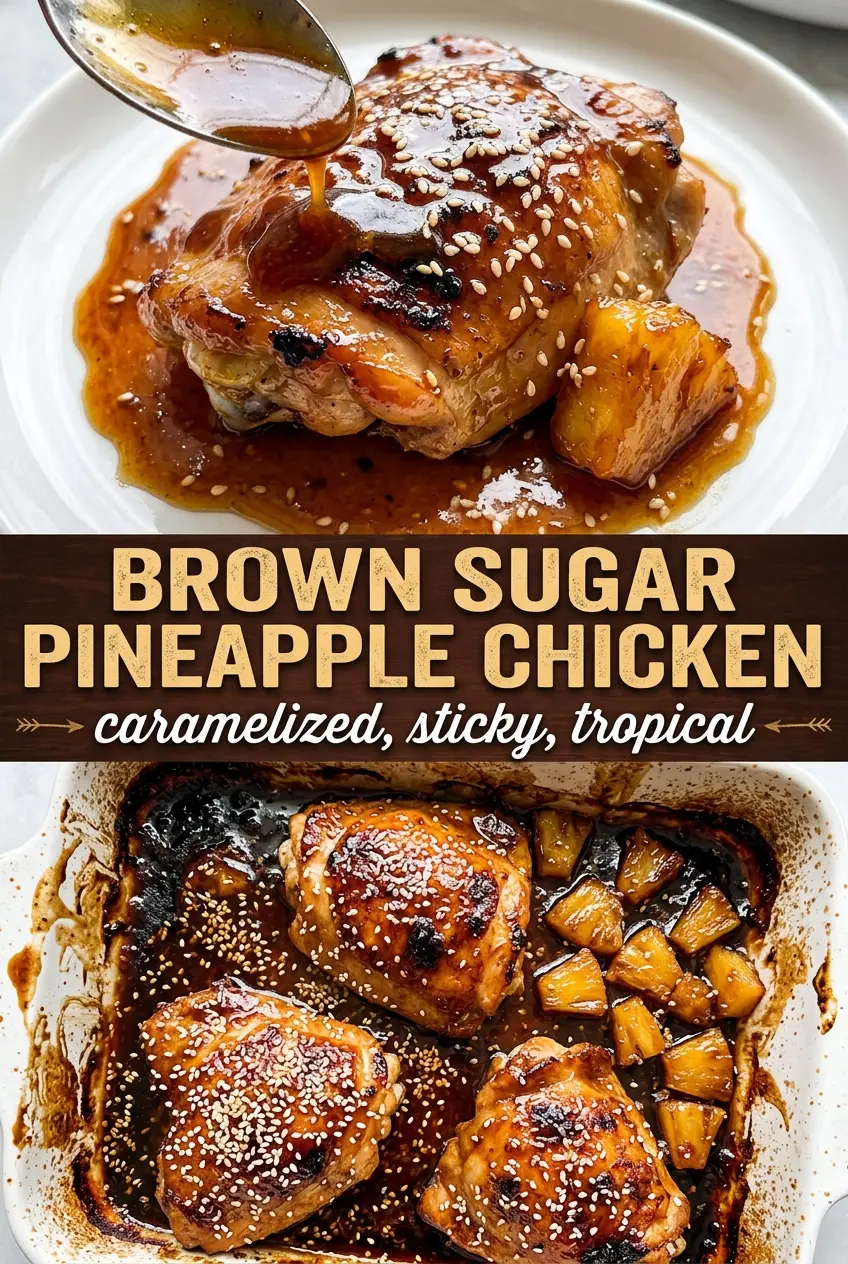
Sticky brown sugar pineapple chicken lands on the plate with glossy edges, tender chicken, and that sweet-tangy glaze that clings instead of sliding off. The pineapple cooks down into the sauce just enough to stay bright while the brown sugar gives it that deep amber finish you only get when the glaze has a minute to bubble and tighten. It eats like takeout in the best way, only with a fresher, cleaner sauce and chicken that still tastes like chicken.
The key is building the glaze in the same skillet after the chicken comes out. Those browned bits left behind from searing add a little savory depth that keeps the sauce from tasting one-note sweet. Cornstarch does the heavy lifting for the texture, but it needs a full simmer to activate; if you rush that part, the sauce stays thin and the chicken won’t get that proper lacquered coating.
The glaze thickened into that sticky coating in just a few minutes, and the pineapple stayed juicy instead of turning mushy. I served it over rice and the sauce soaked in perfectly.
Save this brown sugar pineapple chicken for the nights when you want a sticky skillet glaze that clings to every bite.
The Trick to a Glaze That Sticks Instead of Pooling
This recipe works because the sauce is built around a reduction, not just a quick stir-together glaze. Pineapple juice brings acid and sweetness, but it’s thin on its own. When you simmer it with brown sugar, soy sauce, ketchup, garlic, and ginger, it tightens into something glossy enough to coat the chicken without turning watery at the bottom of the skillet.
The other detail that matters is timing. The chicken comes back into the pan only after the sauce has already thickened, so it gets lacquered rather than boiled. If you add the chicken too early, the juices thin the glaze and you lose that sticky finish. The cornstarch slurry is there to support the texture, but the simmer is what turns the sauce from syrupy to spoon-coating.
What Each Ingredient Is Actually Doing in the Pan
- Chicken breasts — Boneless, skinless breasts keep the cooking time short and give the glaze a clean surface to cling to. If yours are thick, pound them to an even thickness so the outside doesn’t overcook before the center hits 165°F.
- Pineapple juice — Use juice, not syrup. Juice gives the sauce brightness and enough natural sugar to caramelize without becoming cloying. Canned juice is fine here.
- Brown sugar — This deepens the glaze and helps it turn sticky as it simmers. Packed light or dark brown sugar both work; dark brown sugar gives a richer molasses note.
- Soy sauce — This keeps the glaze from tasting flat. It adds salt and a savory edge that balances the pineapple. Low-sodium soy sauce works well if that’s what you keep on hand.
- Ketchup — It sounds small, but it matters. Ketchup adds body, color, and a little vinegar, which keeps the sauce from reading as dessert-sweet.
- Cornstarch slurry — This is what gives you that shiny, spoon-coating texture. Whisk the cornstarch into cold water before adding it, or you’ll get little lumps in the glaze.
- Pineapple chunks — Add them near the end so they soften without falling apart. Fresh or canned both work; just drain canned chunks well so they don’t water down the sauce.
How to Get the Chicken Glossed Without Overcooking It
Searing the Chicken First
Season the chicken generously on both sides, then sear it in hot olive oil until it’s deeply golden and cooked through, about 5 to 6 minutes per side depending on thickness. You’re looking for color and a clean release from the pan, not pale chicken that’s been steamed in its own moisture. If the skillet is crowded or the heat is too low, the chicken will gray instead of brown and the glaze won’t have the same depth later.
Building the Pineapple Glaze
After the chicken comes out, pour the pineapple juice mixture into the same skillet and scrape up every browned bit from the bottom. Those bits melt into the sauce and keep it from tasting one-dimensional. Let it come to a steady simmer before adding the cornstarch slurry; if the pan is barely warm, the starch won’t thicken evenly and the sauce can turn cloudy instead of glossy.
Finishing With the Sticky Coat
Once the glaze thickens enough to leave a trail on the spoon, stir in the pineapple chunks and return the chicken to the skillet. Spoon the sauce over the top and let everything cook for a couple more minutes so the chicken picks up the glaze and the pineapple warms through. The finish should look shiny and clingy, with sauce that moves slowly across the pan instead of running like broth.
How to Adapt the Skillet for Different Dinners
Make it with chicken thighs
Boneless thighs give you a juicier result and forgive a little extra time in the pan. They brown nicely and stand up well to the sticky glaze, though they won’t slice as neatly as breasts. If you use thighs, cook them until they hit 165°F in the thickest part and don’t rush the sear.
Swap in tamari for a gluten-free version
Tamari gives you the same savory backbone as soy sauce without the wheat. The flavor stays balanced and the glaze thickens the same way, so this is an easy switch. Just check that your ketchup is gluten-free if that matters for your kitchen.
Use honey instead of brown sugar
Honey works if that’s what you have, but the sauce will taste a little brighter and less molasses-rich. Start with a bit less than the brown sugar amount and simmer gently, since honey can tip from glossy to overly sharp if it cooks too hard. The end result is still sticky, just a little lighter in flavor.
Make it dairy-free without changing a thing
This recipe is naturally dairy-free as written, which makes it an easy main dish when you need something everyone can eat. The only thing to watch is garnish and serving sides; keep the rice plain and finish with sesame seeds and green onions for the cleanest result.
Storage and Reheating
- Refrigerator: Store leftovers in an airtight container for up to 4 days. The sauce thickens a little more as it chills, which is normal.
- Freezer: It freezes well for up to 2 months, though the pineapple softens a bit after thawing. Freeze the chicken and sauce together in a tightly sealed container and thaw overnight in the fridge.
- Reheating: Warm it gently in a covered skillet over low heat with a splash of water or pineapple juice. High heat can tighten the chicken too far and make the glaze sticky in the wrong way before the center is hot.
Answers to the Questions Worth Asking
Brown Sugar Pineapple Chicken
Ingredients
Equipment
Method
- Season the chicken breasts with salt, pepper, garlic powder, and smoked paprika, then set them aside to marinate for 20 minutes to let the flavors cling.
- Rest the chicken uncovered while you prepare the glaze ingredients so the pan is ready when you start searing.
- Heat olive oil in a large skillet over medium-high heat, then sear the chicken for 5-6 minutes per side until golden with juices running clear and cooked through to 165°F, turning once for a clean caramelized crust.
- Remove the chicken from the skillet and let it rest while you make the glaze in the same pan, keeping the browned bits in place.
- Whisk pineapple juice, packed brown sugar, soy sauce, ketchup, minced garlic, and grated ginger in the same pan, then bring to a simmer over medium heat for 1-2 minutes until the sugar fully dissolves.
- Stir in the cornstarch slurry and cook for 2-3 minutes, watching the sauce turn glossy and visibly thicken into a glaze.
- Add pineapple chunks and simmer briefly until they glisten and start to caramelize at the edges, then turn off the heat.
- Return the chicken to the pan and turn to coat in the glaze, then cook for 2 more minutes so the caramelized surface darkens and the glaze clings thickly.
- Garnish with sesame seeds and sliced green onions for a fresh top layer before serving.
- Serve the brown sugar pineapple chicken hot over steamed rice so the amber glaze can soak in slightly with each bite.