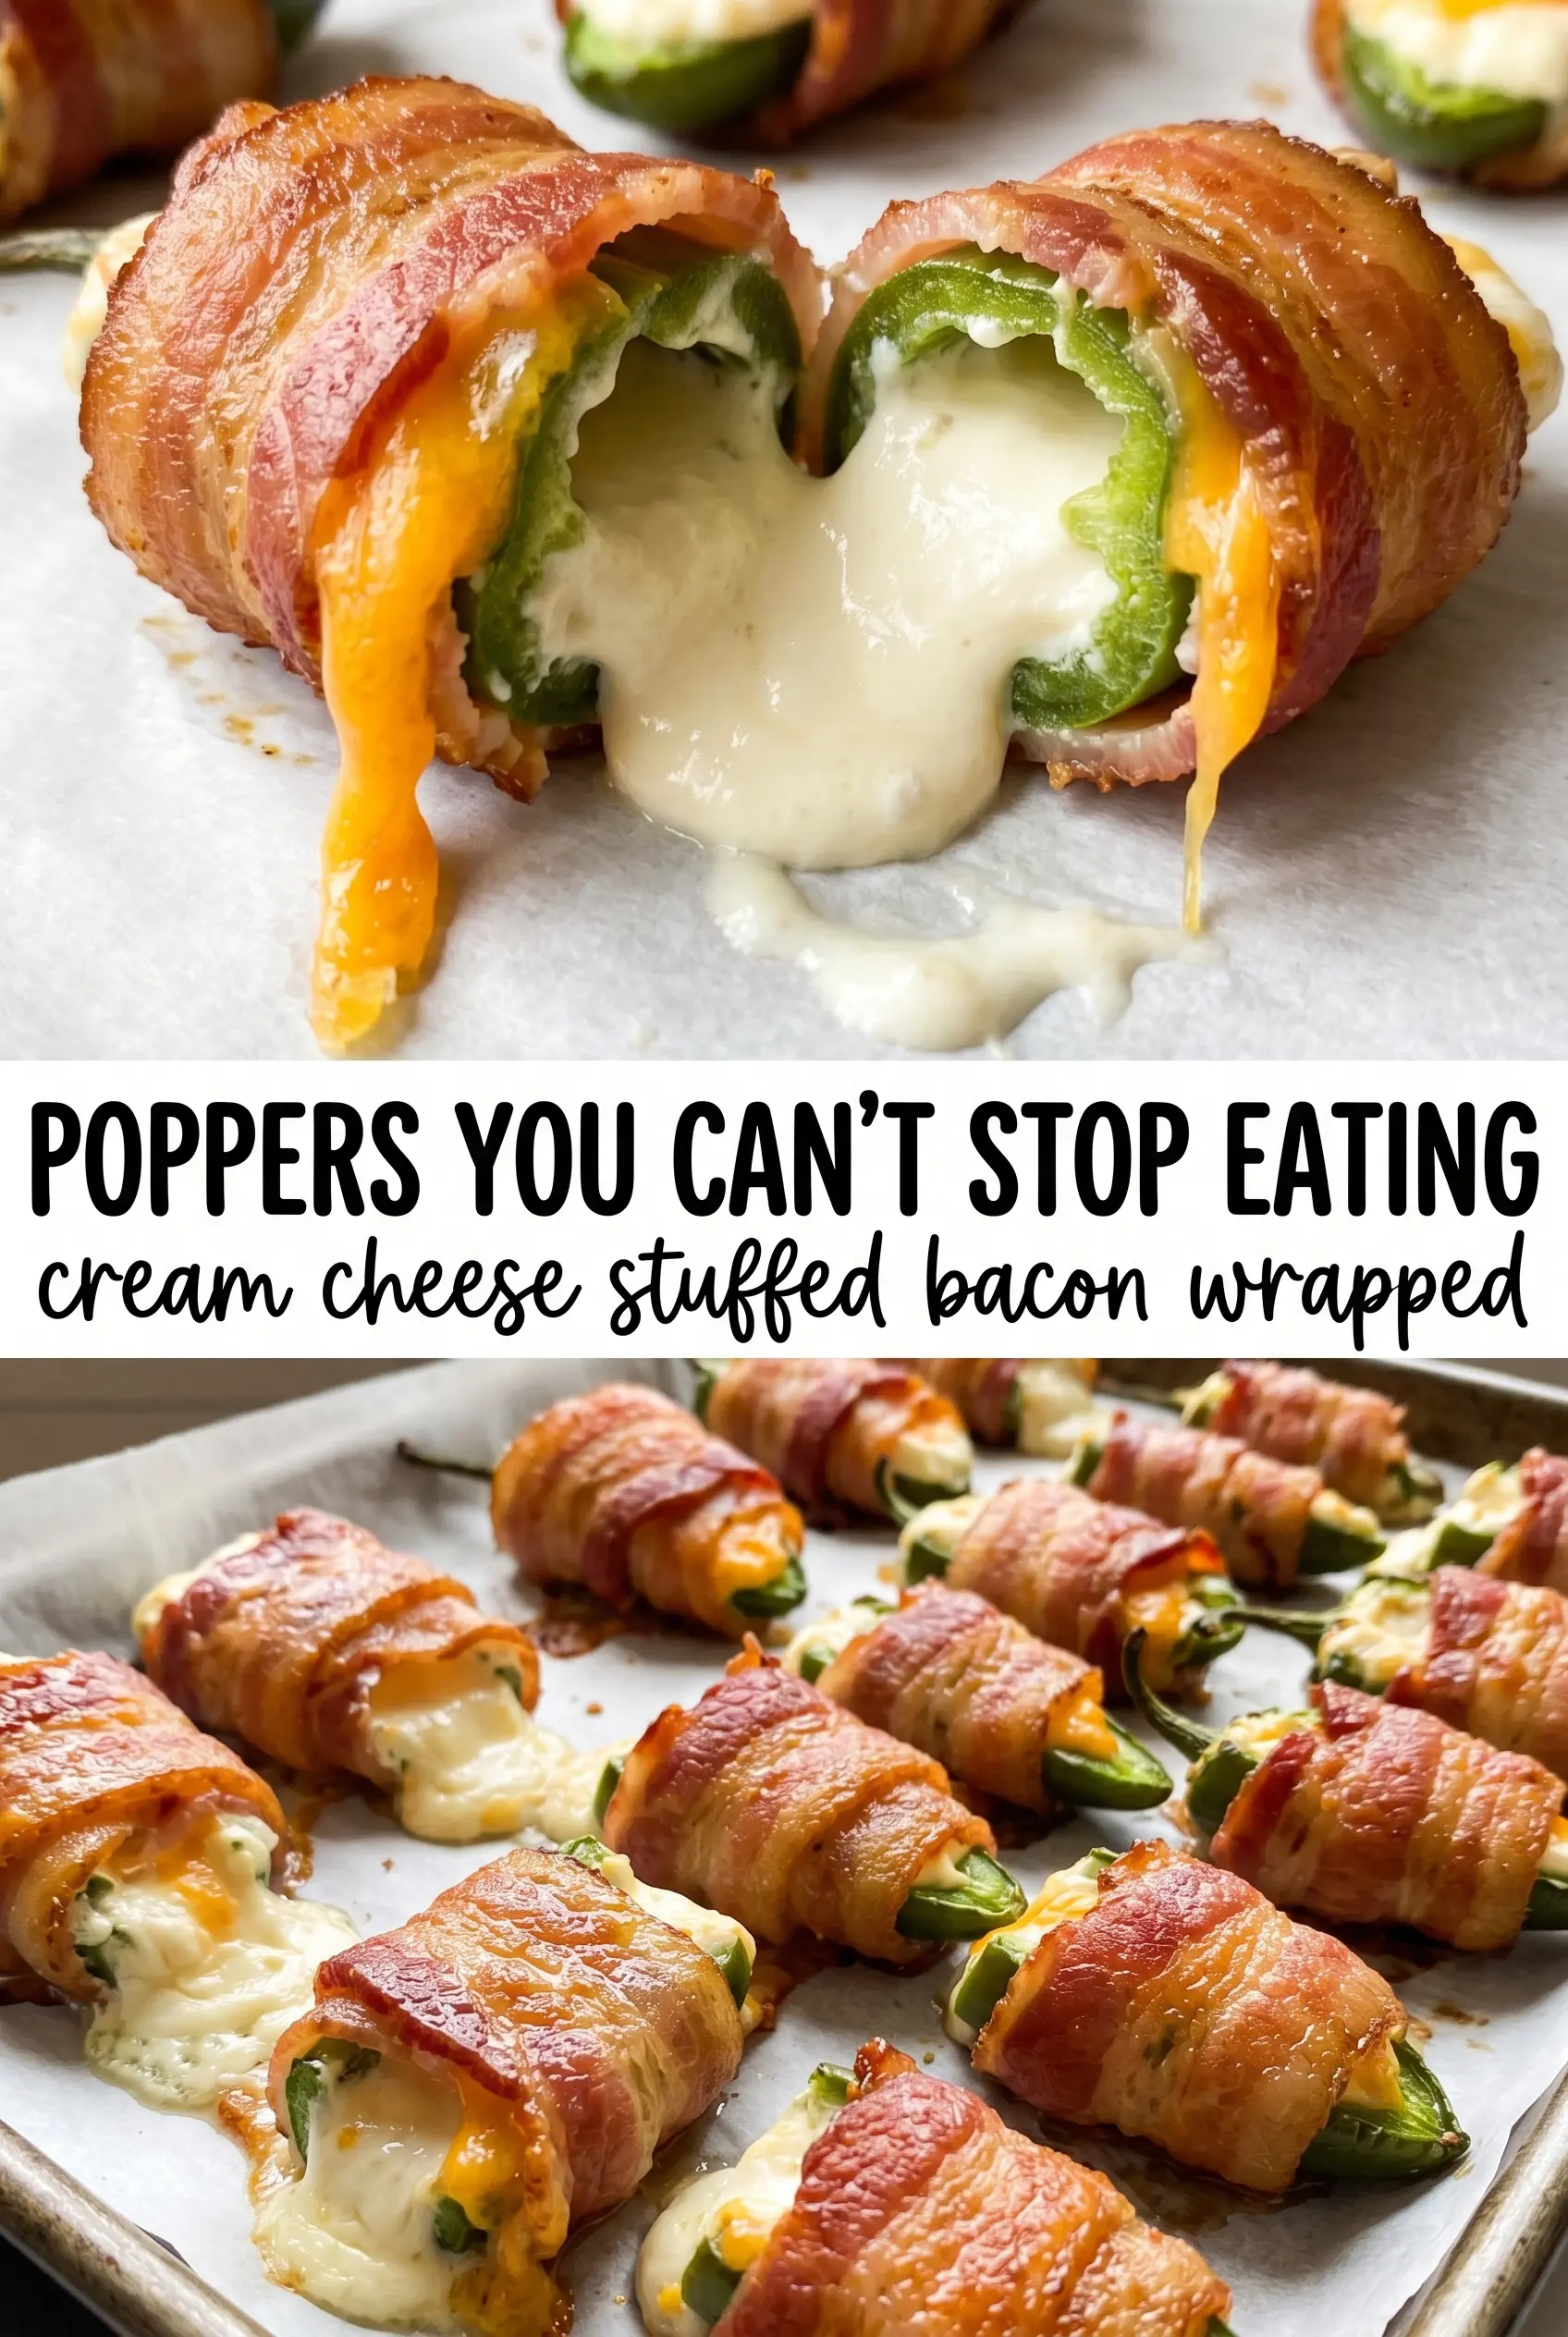
Golden bacon-wrapped jalapeño bites disappear fast because they hit every note people want from an appetizer: crisp bacon, molten cheese, a little heat, and just enough salt to keep you reaching for another one. The jalapeños soften in the oven without losing their shape, and the filling stays creamy instead of turning greasy or grainy. When they come out with the bacon rendered and the edges a little blistered, they look like the kind of party food that should take more effort than it does.
The trick is balancing the filling and the bacon so nothing leaks or overcooks before the rest is ready. Thin-cut bacon matters here because thick slices stay chewy longer and can leave the jalapeños underdone. A wire rack helps the fat drip away, which keeps the bottoms from steaming and gives you more of that crisp, wrap-around finish people expect from a proper popper.
Below, I’ll show you the one prep step that keeps the jalapeños from going too fiery, plus a few ways to change the filling without losing the texture that makes these bites work.
The bacon got crisp all the way around and the cheese stayed in the peppers instead of running all over the pan. I did the honey drizzle at the end and it was the perfect sweet-salty finish.
Like this bacon jalapeño popper bites recipe? Save it to Pinterest for the next party when you want crisp bacon, creamy filling, and a little kick in every bite.
The Reason Bacon and Cheese Don’t Turn These Soggy
Most jalapeño poppers fail in one of two ways: the bacon stays soft, or the cheese leaks out before the peppers finish cooking. The fix is to keep the filling thick and the bacon thin, then give the fat somewhere to go. A wire rack isn’t just a nice extra here. It keeps the poppers lifted so the bacon can render on all sides instead of sitting in its own grease.
Softened cream cheese gives you a filling that spreads cleanly and bakes into a smooth center. Sharp cheddar adds enough punch that the peppers don’t taste flat, even after the heat from the jalapeños mellows in the oven. If your filling seems loose, it usually means the cream cheese was too warm or the cheddar was too fine and packed tightly; mix just until combined and stop there.
What the Filling and Bacon Are Each Doing Here

- Jalapeños — These need to be halved lengthwise and seeded well so the heat stays pleasant instead of overwhelming. Leave a little membrane if you want more kick, but scrape it clean if you’re serving a mixed crowd.
- Cream cheese — This is the structure of the filling, and it needs to be softened before mixing so it blends without lumps. Cold cream cheese leaves streaks and makes it harder to fill the peppers neatly.
- Sharp cheddar — Sharp cheddar brings salt and bite, which keeps the bites from tasting heavy. Pre-shredded works in a pinch, but freshly shredded melts smoother because it doesn’t carry the same anti-caking coating.
- Thin-cut bacon — Thin-cut bacon cooks through at the same pace as the peppers. Thick-cut bacon often needs longer, which can leave the filling overbubbled before the wrap crisps.
- Honey — Optional, but a light drizzle at the end adds a sweet finish that plays well with the smoke and heat. Use it after baking so it stays bright instead of caramelizing onto the pan.
Wrapping and Baking So the Bacon Crisps Before the Filling Breaks
Mix the Filling Until It’s Smooth, Not Loose
Stir the cream cheese, cheddar, garlic powder, and smoked paprika until the mixture looks even and thick. You want it scoopable, not runny. If you beat it too long, the cream cheese can soften further and the filling starts sliding out of the peppers during wrapping. A spoon or small piping bag works well because it lets you fill each half without smearing cheese all over the cut edges.
Wrap Each Pepper Tight Enough to Hold, Not So Tight It Splits
Fill each jalapeño half generously, then wrap it with a half-strip of bacon and secure it with a toothpick. The bacon should hug the pepper, but it shouldn’t be stretched so hard that it tears or pulls the filling out. Place the seam side down when you can; that helps the bacon settle into place as it cooks. If the bacon overlaps too much, the wrapped section may stay pale and chewy, so keep the overlap minimal.
Bake Until the Bacon Is Crisp and the Cheese Is Bubbling
Set the poppers on a wire rack over a lined baking sheet and bake at 400°F for 18 to 22 minutes. You’re looking for rendered bacon with browned edges and filling that has started to bubble at the center. If the bacon is still soft but the cheese is already puffing hard, the pan is running too hot or the bacon was too thick. Let them rest for a couple of minutes before serving so the filling settles and doesn’t burn anyone’s mouth.
How to Change These Without Losing the Good Parts
Make Them Spicier
Leave some of the jalapeño membrane in place or add a pinch of cayenne to the filling. That increases the heat without changing the texture. Don’t add hot sauce to the filling, since extra liquid makes it harder for the cheese to stay put.
Dairy-Free Version
Use a thick dairy-free cream cheese and a melting-style plant-based cheddar. The result is still creamy, but it usually won’t brown quite the same way, so lean on the bacon for the crisp finish. If your substitute is softer than regular cream cheese, chill the filled peppers for 10 minutes before wrapping.
Make Them Gluten-Free Without Changing the Recipe
This recipe is naturally gluten-free as written, so the main job is checking that your bacon and seasonings are certified gluten-free if that matters for your kitchen. The texture and bake time stay the same.
Add a Smokier Finish
Swap half the cheddar for smoked gouda or add a touch more smoked paprika. That deepens the savory side of the filling and gives the bites a more barbecue-style edge. Keep the amount modest so the cheese still melts smoothly.
Storage and Reheating
- Refrigerator: Store leftovers in an airtight container for up to 4 days. The bacon softens a bit after chilling, but the flavor stays strong.
- Freezer: These freeze best after baking. Cool completely, freeze on a tray, then transfer to a bag. The texture won’t be quite as crisp after thawing, but they hold up better than most cream cheese appetizers.
- Reheating: Reheat on a wire rack in a 375°F oven until hot and the bacon tightens back up, about 8 to 10 minutes. The microwave will make the bacon rubbery and can push the filling out of the pepper halves.
Answers to the Questions Worth Asking
Bacon Jalapeño Popper Bites
Ingredients
Equipment
Method
- Preheat the oven to 400°F and line a baking sheet with a wire rack to help the bacon crisp as it renders.
- Halve the jalapeños lengthwise and seed them so the poppers hold their shape and the filling stays creamy.
- Mix the softened cream cheese, shredded cheddar, garlic powder, and smoked paprika until fully combined and smooth.
- Fill each jalapeño half generously with the cream cheese mixture using a spoon or piping bag.
- Wrap each filled jalapeño half tightly with a half-strip of bacon and secure with a toothpick.
- Arrange the bacon-wrapped jalapeño halves on the wire rack, leaving space for airflow and even browning.
- Bake at 400°F for 18–22 minutes until the bacon is crispy and the filling is bubbling with a hint of char at the edges.
- Drizzle with honey if desired right after baking, then serve hot while the cheese is still molten.