Apple crisp cheesecake lands in that sweet spot where a silky cheesecake, tender cinnamon apples, and a crumbly oat topping all show up in one clean slice. The crust stays sturdy, the filling bakes up creamy instead of dense, and the crisp layer gives every bite that buttery, toasted finish that keeps you going back for one more forkful.
The part that makes this version work is balance. The apples get cooked first, which pulls off some moisture before they hit the cheesecake, so the filling doesn’t turn watery. The topping is built with cold butter and scattered over the apples instead of packed down, which lets it bake into a rough, craggy crumble instead of a heavy lid. The water bath matters here too; it buffers the heat and keeps the cheesecake from cracking while the center sets gently.
Below you’ll find the small details that matter: how soft the cream cheese should be, why the apples get pre-cooked, and what to look for when the center is done even though it still has a slight wobble.
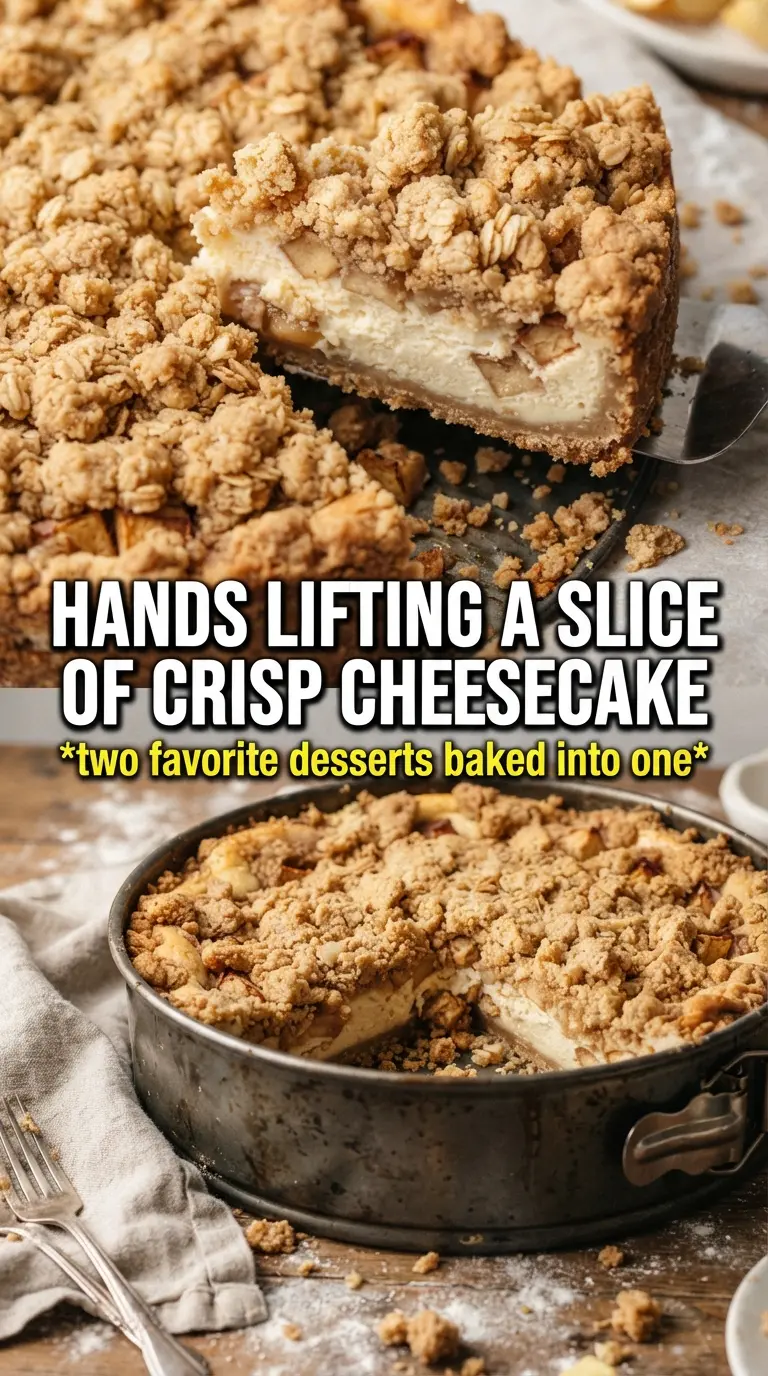
The apple layer stayed put, the cheesecake baked up smooth, and the oat topping got that perfect crunch on top without sinking in. I chilled it overnight and the slices came out clean.
Save this Apple Crisp Cheesecake for the dessert table — it keeps the creamy center, spiced apples, and oat crumble in every slice.
The Trick to Keeping the Cheesecake Layer Smooth Under the Apples
Cheesecake with fruit on top can go wrong in two easy ways: the filling gets lumpy, or the fruit layer bleeds into the custard and makes everything loose. This version avoids both by cooking the apples first and cooling them before they go onto the batter. That keeps the fruit tender without releasing a puddle into the pan.
The other thing that matters is temperature. Softened cream cheese beats smooth fastest, and cold cream cheese leaves tiny lumps that never fully disappear once the eggs go in. If the batter looks thick or grainy after the eggs are added, the mixture was too cold or mixed too long after the eggs went in.
- Cream cheese — Full-fat cream cheese gives the filling its body and tang. Use block-style cream cheese, not the whipped tub kind, or the cheesecake can bake up loose.
- Sour cream — This lightens the filling and adds a little extra moisture without making it runny. Full-fat sour cream gives the best texture, but plain Greek yogurt works in a pinch if you want a sharper edge.
- Apples — A firm baking apple holds its shape better after the quick stovetop cook. If all you have are softer apples, cut them a little larger so they don’t disappear.
- Rolled oats — Old-fashioned oats give the crisp topping its chew and structure. Quick oats can work, but the topping turns finer and less craggy.
- Cold butter for the topping — This is what creates the crumble instead of a paste. If the butter starts softening while you mix, pop the bowl into the fridge for a few minutes before scattering it over the apples.
What Each Ingredient Is Actually Doing in This Recipe
- Primary ingredient (the star) — Quality matters most. Choose the best you can find.
- Cooking medium (oil, butter, or broth) — This carries flavors and prevents dryness.
- Seasonings (salt, pepper, spices, herbs) — Layer flavors so nothing overpowers. Build depth gradually.
- Aromatics (garlic, onion, herbs) — Cook with fat to bloom flavors. Become the foundation.
- Supporting ingredients — Complement the main ingredient without overpowering it.
- Sauce or liquid (if applicable) — Brings flavors together. Balance richness with acid.
- Acid (lemon, vinegar, wine, or other) — Brightens and prevents flat-tasting results.
- Final finish (garnish, glaze, or sauce) — Prevents one-dimensional taste and adds visual appeal.
Building the Layers So Nothing Sinks, Splits, or Gets Soggy
The Crust Gets a Head Start
Press the graham mixture firmly into the springform pan so it looks compact and even, then bake it long enough to set before the filling goes in. That short bake keeps the crust from turning sandy under the cheesecake. If the crust is loose at the edges, the slices will fall apart when you release the pan.
The Apples Need to Cool Before They Touch the Batter
Cook the diced apples with butter, brown sugar, and cinnamon until they just start to soften, then spread them out to cool. Hot apples can start warming the cheesecake batter before it goes into the oven, and that can make the filling bake unevenly. You want them tender and glossy, not collapsed.
The Filling Stays Smooth by Staying Calm
Beat the cream cheese and sugar until the mixture looks satiny before the eggs go in, then add the eggs one at a time. Once the eggs are added, mix only until combined. Overmixing after the eggs go in adds too much air, which can puff the cheesecake and then make it crack as it cools.
The Water Bath Does the Quiet Work
Set the pan in a water bath and bake until the center still has a slight wobble in a small circle. The edges should look set while the middle moves like soft gelatin, not liquid. If you wait until the whole top looks firm, the cheesecake will overbake and lose its creamy middle.
How to Adjust the Crumble, the Fruit, and the Pan for Different Kitchens
Dairy-Free Version
Use dairy-free cream cheese, plant-based butter, and a dairy-free sour cream alternative with some body. The texture will be a little softer and the tang can be less pronounced, but the apple and oat layers still carry the dessert well. Chill it a full day if you want the cleanest slices.
Gluten-Free Swap
Use gluten-free graham-style crumbs for the base and a 1:1 gluten-free flour blend in the topping. The oat crisp still gives you that same rustic finish, but the crust will be a little more delicate, so let the cheesecake chill completely before unclasping the pan.
Extra-Spiced Apple Layer
Add a pinch of nutmeg or a little apple pie spice to the apples if you want a warmer, deeper finish. Keep the cinnamon modest in the filling so the cheesecake doesn’t turn muddy tasting. The fruit layer should taste bright and spiced, not like potpourri.
Storage and Reheating
- Refrigerator: Cover and chill for up to 4 days. The crumble softens a little after day one, but the flavor stays excellent.
- Freezer: Freeze individual slices tightly wrapped for up to 1 month. Thaw overnight in the refrigerator; the topping loses some crunch, but the cheesecake itself freezes well.
- Reheating: Cheesecake is best served cold or just slightly cool. If you want to soften a slice, let it sit at room temperature for 15 to 20 minutes. Microwaving can make the filling weep and turn the crumble soggy.
Answers to the Questions Worth Asking
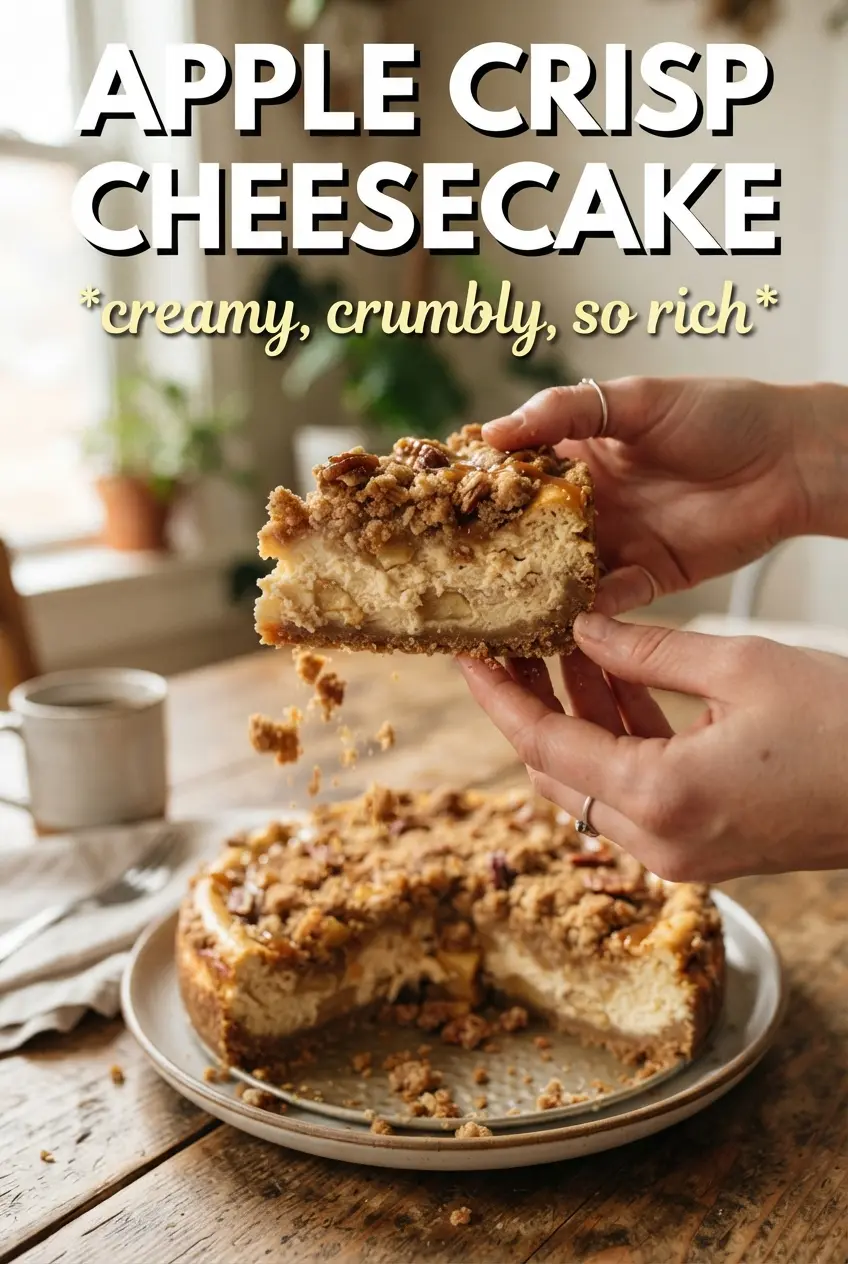
Apple Crisp Cheesecake
Ingredients
Equipment
Method
- Preheat the oven to 325F, then press graham cracker crumbs into a 9-inch springform pan and bake for 8 minutes, until lightly set.
- Remove the pan and let the crust cool briefly while you prepare the filling.
- In a Dutch oven, cook the diced apples with 1 tablespoon butter, brown sugar, and cinnamon over the appropriate heat for 5 minutes until softened.
- Set the apple mixture aside to cool completely.
- Beat the softened cream cheese and granulated sugar until smooth, scraping the bowl as needed.
- Add the eggs one at a time, mixing just until combined after each addition.
- Mix in the sour cream, vanilla, and cinnamon until the batter is smooth and uniform.
- Pour the cheesecake filling over the cooled crust and top with the cooked apples.
- Make the oat crisp topping by combining rolled oats, flour, brown sugar, and cinnamon, then cut in cold butter until the mixture forms clumpy crumbs.
- Scatter the oat crisp topping over the apple layer evenly.
- Place the springform pan on a sheet pan and bake in a water bath at 325F for 60-65 minutes, until the center is just set.
- Cool the cheesecake completely before chilling.
- Refrigerate the cheesecake for 6 hours before releasing from the springform pan and slicing.