Apple crisp baked apples give you the best parts of two desserts at once: tender baked fruit and a buttery oat crumble that stays crunchy on top while the apple underneath turns soft and fragrant. The whole thing feels old-fashioned in the best way, but the texture contrast makes it special enough for a dinner party and easy enough for a weeknight when you want something warm from the oven.
The trick is building the crisp topping separately, then packing some of it into the cored apples and the rest over the top. That way the filling seasons the fruit from the inside, and the crumble on top gets enough heat to brown instead of melting into the apples. A little cider or water in the baking dish keeps the bottoms from scorching and gives you a bit of steam so the apples cook through without collapsing.
Below, you’ll find the small details that matter most: how to core the apples without punching through the bottom, why cold butter makes the topping better, and a couple of smart swaps if you need to work with what you’ve got.
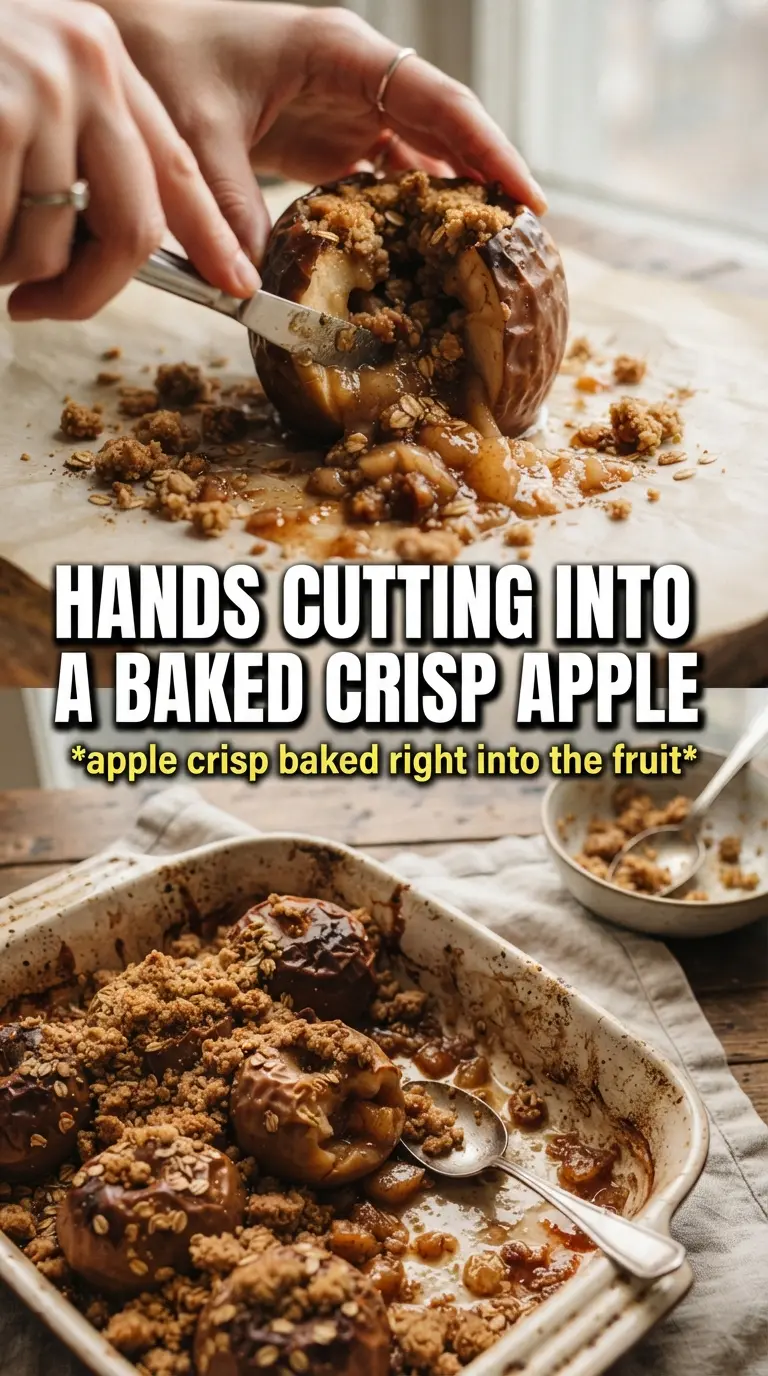
The topping stayed crisp even after baking, and the apples softened all the way through without turning mushy. I added a scoop of vanilla ice cream on top and the caramel sauce pooled into the crumble just enough.
Save these apple crisp baked apples for the night you want warm cinnamon apples, a crunchy oat topping, and melting vanilla ice cream in one pan.
The Reason the Apples Hold Their Shape While the Crisp Gets Golden
Apple crisp baked apples can go wrong in two different ways: the apples turn to sauce before the topping browns, or the topping turns damp while the fruit is still firm. This version avoids both by using sturdy apples, a shallow layer of liquid in the pan, and a topping that starts with cold butter. The apples steam gently from the bottom while the top gets direct oven heat, which is what gives you tender fruit with edges that still look like apples instead of collapsing into puree.
Honeycrisp and Braeburn are the safest choices here because they hold their structure and still turn sweet in the oven. Softer apples can work, but they’ll lose shape faster, especially if they’re on the large side. The key is stopping the bake when a knife slips into the apple with only slight resistance. If you wait until they feel completely soft in the pan, they’ll be past the point where they can hold that neat crisp-filled shape.
What Each Ingredient Is Doing in the Pan
- Honeycrisp or Braeburn apples — These hold up better than softer baking apples and keep their shape after 35 to 40 minutes in the oven. If you use something more delicate, the centers can cave in before the topping is finished.
- Rolled oats — Old-fashioned oats give the crumble that craggy, toasty texture. Quick oats will work in a pinch, but the topping gets denser and less defined.
- All-purpose flour — This helps the topping clump instead of turning sandy. If you need a gluten-free version, use a 1:1 gluten-free flour blend with a similar texture.
- Brown sugar — It sweetens the apples and the topping while adding a little molasses depth. White sugar will sweeten, but it won’t give you the same warm, caramel note.
- Cold unsalted butter — Cold butter is what keeps the crumble pebbly and crisp. If it softens before it goes into the flour mixture, the topping turns paste-like and bakes up flatter.
- Apple cider or water — Cider adds a light apple flavor to the pan juices, but water works fine if that’s what you have. The liquid keeps the bottoms from drying out and gives the apples just enough steam to finish evenly.
Building the Crisp So It Bakes, Browns, and Holds Together
Starting with the Apples
Core each apple from the top and stop before you cut through the bottom. You want a deep cavity, not a tunnel, because the filling needs a little wall of fruit to stay tucked inside while the apples bake. A melon baller or a small paring knife works well here. If the cavity gets too thin at the base, the butter and sugar leak out and the apple can split as it softens.
Mixing the Oat Crumble
Combine the oats, flour, brown sugar, cinnamon, nutmeg, and salt, then cut in the cold butter until the mixture looks like damp pebbles and coarse crumbs. Bigger clumps are good. They bake into the crisp texture people actually want. If the butter starts smearing instead of cutting in, chill the bowl for a few minutes and keep going. That small pause can be the difference between a crisp top and a sandy one.
Filling and Topping the Apples
Put a pinch of the brown sugar-cinnamon mixture into each cavity, then tuck in a piece of butter before piling the crumble over the tops. Press the topping lightly so it stays put, but don’t pack it hard or it turns dense. Let some crumble spill over the edges and into the baking dish; those bits bake up extra crunchy and give you the best bites at the end.
Baking Until Tender, Not Mushy
Pour the cider or water into the dish before the apples go in, then bake until the topping is golden and the apples yield when pierced with a knife. The top should look toasted, not pale, and the fruit should smell deeply apple-cinnamon sweet. If the topping browns before the apples soften, cover the dish loosely with foil for the last stretch. If the apples are done but the topping still looks blond, leave the dish in for a few extra minutes and watch it closely.
How to Adapt These Baked Apples for Different Diets and Pantry Swaps
Gluten-Free Crumble
Swap the all-purpose flour for a 1:1 gluten-free baking blend. You’ll still get a crumbly topping, though it may be a little more delicate than the original. Use certified gluten-free oats if cross-contamination matters.
Dairy-Free Version
Use a firm plant-based butter that bakes well in place of the unsalted butter. The flavor stays close, but the crumble may brown a touch faster, so start checking a few minutes early. Serve with a dairy-free vanilla ice cream if you want the same hot-and-cold contrast.
When You Don’t Have Apple Cider
Water works fine in the baking dish. You’ll lose the slight apple flavor in the pan juices, but the texture of the fruit and crumble stays the same. If you want a little more depth, stir a pinch of cinnamon into the liquid before it goes in.
Making Them Ahead for Dessert Night
You can prep the apples and crumble separately a few hours ahead, then assemble and bake right before serving. Don’t fill the apples too early or the cut surface can start to brown and soften before it hits the oven. This is the best move if you want them hot when the ice cream goes on top.
Storage and Reheating
- Refrigerator: Store leftovers covered for up to 3 days. The topping softens a bit, but the flavor stays good.
- Freezer: These freeze better after baking than before, but the texture of the apples softens further after thawing. Wrap tightly and freeze for up to 1 month if you don’t mind a softer result.
- Reheating: Warm in a 325°F oven until heated through and the topping wakes back up, about 10 to 15 minutes. The microwave will heat the center faster, but it turns the crumble soft instead of crisp.
Questions I Get Asked About This Recipe
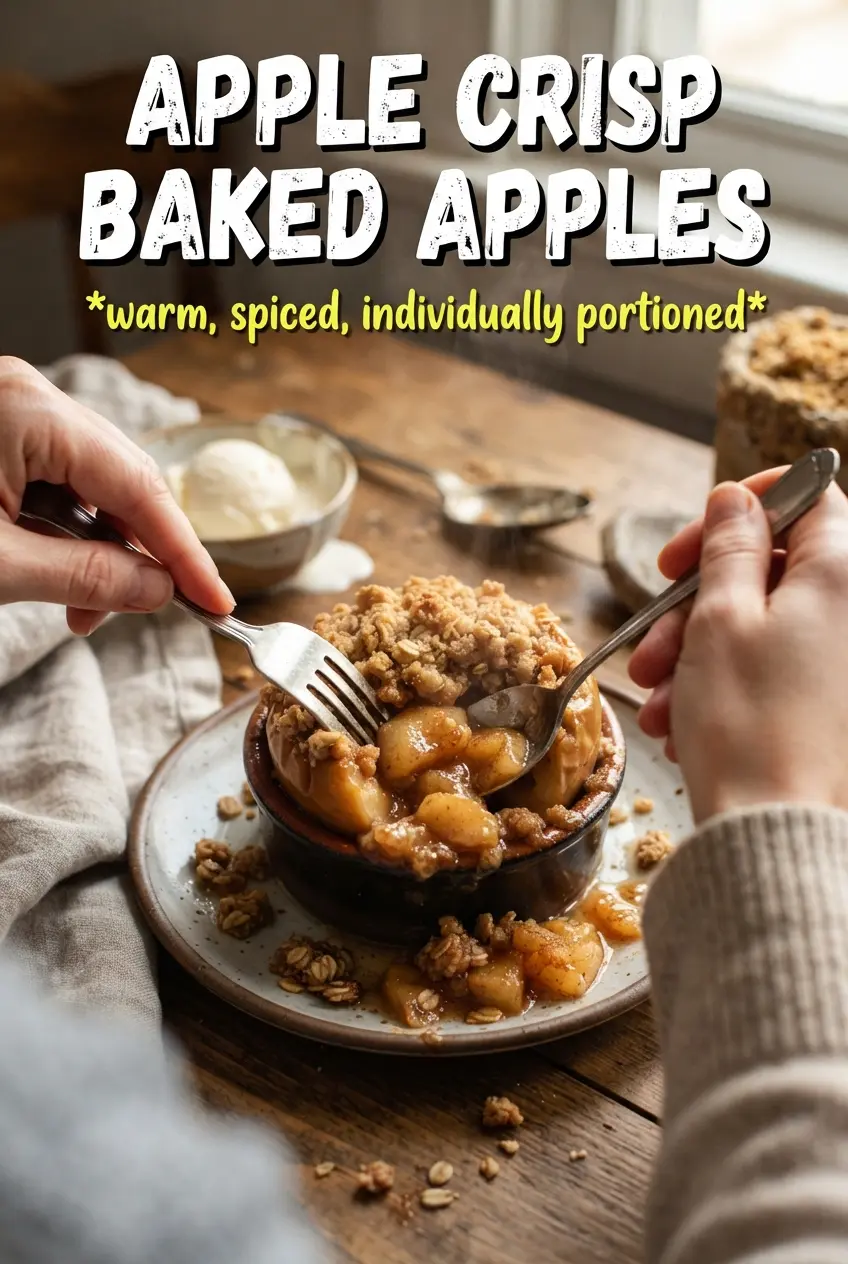
Apple Crisp Baked Apples
Ingredients
Equipment
Method
- Preheat oven to 375°F, then pour apple cider into the bottom of a baking dish for moisture as the apples bake.
- Core apples from the top, leaving the bottom intact, creating a cavity about 1-1/2 inches wide to hold the filling.
- Mix brown sugar and cinnamon for the cavity filling, then place a pinch into each apple.
- Add a piece of butter to each filled cavity so it melts into the apples while they bake.
- Combine rolled oats, all-purpose flour, brown sugar, cinnamon, nutmeg, and salt, then cut in cold cubed butter until the mixture is clumpy.
- Pack the crumble into and over the top of each apple so it bakes into a crisp, golden topping.
- Bake 35-40 minutes at 375°F until the apples are tender and the crumble is golden, with caramelized edges visible.
- Serve immediately with vanilla ice cream and caramel sauce for warm-and-cold contrast.