Apple cider cheesecake lands in that sweet spot between familiar and special: a silky, tangy filling with a gentle cider note that doesn’t get lost under all the cream cheese. The crust stays crisp under the custard-like center, and the cider syrup on top gives each slice a clean apple finish instead of the muddy, over-spiced flavor that happens when cider is thrown in too heavily.
The key is reducing the cider before it ever touches the filling. That concentrates the apple flavor without adding extra liquid that would loosen the batter and make the cheesecake bake up soft in the wrong way. A water bath helps the edges bake gently, and sour cream keeps the texture plush without turning it heavy. The result is a cheesecake that slices cleanly, tastes balanced, and still feels like a dessert you’d save room for.
Below, I’ve included the trick that keeps the filling smooth, the best way to handle the cider reduction, and a few swaps that still keep the dessert on track if you need to adjust for what’s in your kitchen.
The cider flavor came through without making the cheesecake runny, and the topping set up into the prettiest syrup. I chilled it overnight and the slices came out clean the next day.
Save this apple cider cheesecake for the dessert that needs a smooth cider filling and a glossy spiced topping.
The Trick to a Cheesecake That Stays Creamy Instead of Dense
Cheesecake gets heavy when the batter is overmixed after the eggs go in. That whips in too much air, and the cake rises, then settles into a tighter, sometimes cracked top. For this one, the cream cheese and brown sugar need to be beaten until they’re completely smooth before anything else goes in, but once the eggs are added, mix just until the batter looks uniform.
The water bath matters here too. It slows the bake at the edges so the center can finish gently, which is what gives you that slight wobble in the middle instead of a dry, overbaked ring. Pull it when the center still quivers a little when you nudge the pan. It will finish setting as it cools.
What the Cider, Sour Cream, and Spices Are Really Doing

- Apple cider — Reducing the cider first is non-negotiable. Fresh cider on its own brings flavor, but the reduction gives you apple intensity without watering down the filling. If you skip this step, the cheesecake can bake up looser and taste faintly diluted.
- Cream cheese — Use full-fat blocks, not tub spread. The block style gives you the dense, clean slice you want in cheesecake. It also blends smoother once softened, which keeps the batter from looking grainy.
- Sour cream — This adds a little tang and softens the richness of the cream cheese. Greek yogurt can work in a pinch, but it brings a slightly sharper edge and a firmer set.
- Brown sugar — Brown sugar deepens the apple and cinnamon notes in a way white sugar doesn’t. It also helps the filling taste rounder, especially once chilled.
- Spices — Cinnamon and nutmeg should stay in the background, not dominate. You want the cider to read as apple first, spice second.
Building the Filling, Baking It Slowly, and Knowing When to Stop
Pressing the crust until it holds together
Mix the graham crumbs, sugar, cinnamon, and melted butter until every crumb looks evenly moistened, then press it firmly into the springform pan. The goal is a compact base that won’t crumble when sliced, so use the bottom of a measuring cup to pack it down, especially around the edges. A loose crust turns sandy under the filling and falls apart on the plate.
Reducing the cider before it goes into the batter
Simmer the 1/2 cup cider in a small saucepan until it looks syrupy and measures about 1/4 cup. That concentrated reduction is what gives the cheesecake its apple flavor without thinning the batter. Let it cool before adding it to the cream cheese, or it can soften the mixture too much and make the eggs cook unevenly later.
Mixing the filling without overworking it
Beat the cream cheese and brown sugar until the mixture looks smooth and glossy, with no lumps hiding on the bottom of the bowl. Add the reduced cider, then the eggs one at a time, mixing only until each one disappears. Once the sour cream, spices, and vanilla go in, stop as soon as the batter looks even; a beaten, airy batter is what leads to cracks and a spongy texture.
Baking to the exact wobble
Pour the batter over the crust and bake in a water bath for 55 to 60 minutes. The edges should look set, but the center should still jiggle slightly when you gently tap the pan. If the whole surface looks firm, it’s already gone too far, and the cheesecake will turn dry after chilling.
Cooling before the syrup goes on top
Let the cheesecake cool completely before refrigerating it for at least 6 hours or overnight. That chill time is where the texture sets up into clean, creamy slices. The topping gets simmered separately until syrupy, then drizzled over each slice so it stays glossy instead of soaking into the cake.
How to Adapt This Apple Cider Cheesecake Without Losing the Texture
Gluten-Free Crust Swap
Use gluten-free graham-style crumbs in the same amount. The filling stays unchanged, and the texture of the finished cheesecake stays nearly identical. Just pack the crust firmly, since some gluten-free crumbs are a little more fragile once baked.
Dairy-Free Version That Still Slices Cleanly
Use a dairy-free cream cheese that’s meant for baking, plus a thick unsweetened dairy-free yogurt in place of the sour cream. The flavor shifts a little tangier, and the texture is slightly softer, but reducing the cider still keeps the filling from becoming loose.
Extra-Spiced Filling
If you want the cheesecake to lean more into warm spice, add a pinch of cloves or allspice to the filling. Go light. Too much spice will bury the cider, and this dessert works best when the apple stays at the front.
Storage and Reheating
- Refrigerator: Store covered for up to 5 days. The crust softens slightly by day 2, but the texture stays creamy and clean.
- Freezer: Freeze slices without the topping for up to 2 months. Wrap them tightly, then thaw overnight in the refrigerator so the filling doesn’t turn watery.
- Reheating: Cheesecake is best served cold or just slightly cool. If you want to take the chill off, let a slice sit at room temperature for 15 to 20 minutes; microwaving will melt the structure and make the topping slide off.
Questions I Get Asked About This Apple Cider Cheesecake
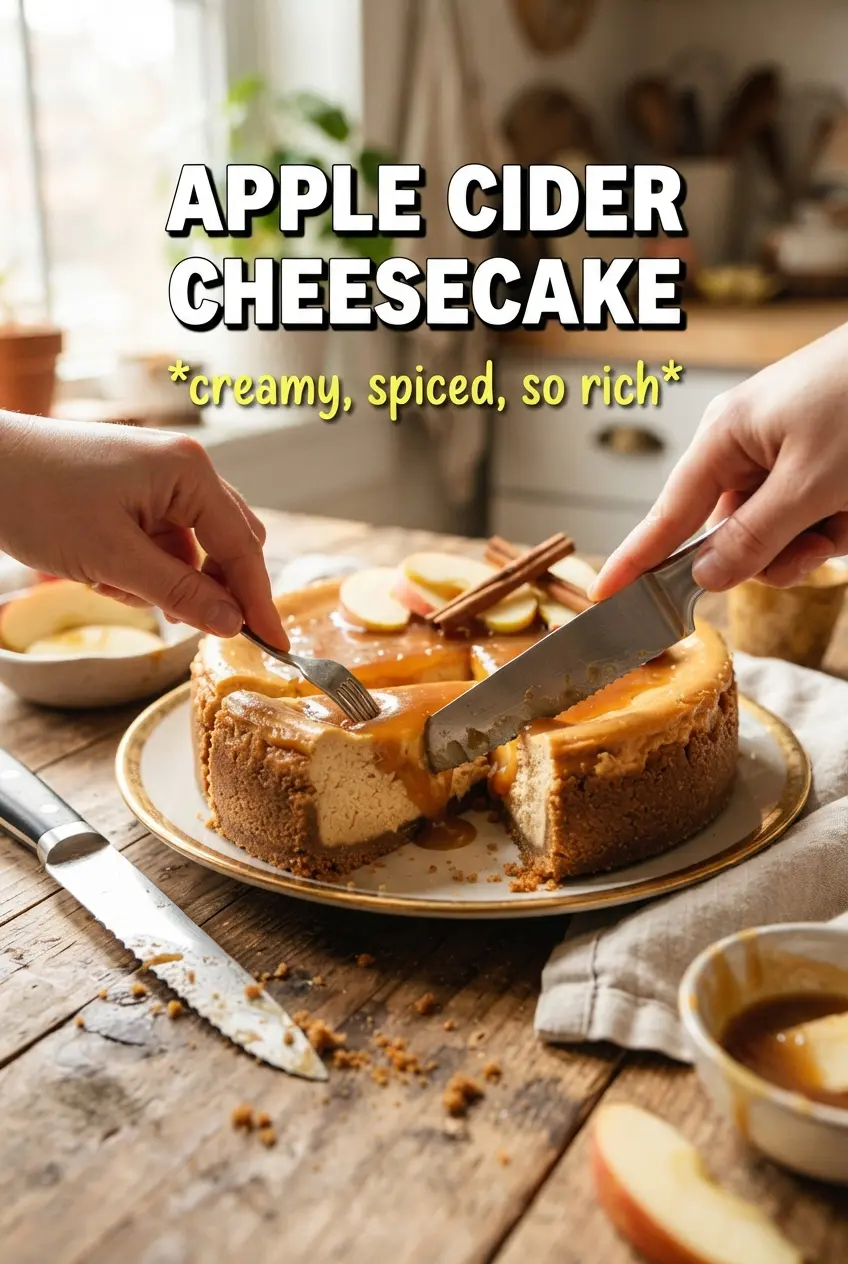
Apple Cider Cheesecake
Ingredients
Equipment
Method
- Preheat the oven to 325F. Combine graham cracker crumbs, sugar, cinnamon, and melted unsalted butter, then press into a 9-inch springform pan.
- Reduce 1/2 cup apple cider in a small saucepan over medium heat until syrupy. This should take just a few minutes, then cool completely.
- Beat cream cheese and brown sugar until completely smooth. Mix only until no lumps remain for a silky texture.
- Mix in the reduced apple cider. Beat just to combine so the batter stays smooth.
- Add eggs one at a time, mixing after each addition. Stop mixing as soon as each egg disappears into the batter.
- Mix in sour cream, cinnamon, nutmeg, and vanilla extract until fully incorporated. The batter should look cohesive and glossy.
- Pour the cheesecake batter over the crust. Smooth the top so it bakes evenly.
- Bake in a water bath at 325F for 55-60 minutes. Look for a center that is just set with a slight wobble when the pan is gently shaken.
- Cool the cheesecake completely. Refrigerate for 6 hours or overnight until firm.
- Simmer remaining apple cider with brown sugar and cinnamon until syrupy. It should thicken enough to coat the back of a spoon.
- Drizzle the spiced syrup over slices when serving. Use a spoon for an even glossy coat across the top.