Warm fruit, a deep golden crumble, and those little pockets of bubbling juice around the edges are what make a good crisp disappear fast. This walnut pear apple crisp lands somewhere between rustic and special enough for company, with tender fruit under a nubby oat topping that stays crisp instead of going soggy. The pears soften into the apples and give the filling a softer, almost floral sweetness that keeps the whole dessert from tasting one-note.
The trick is balancing moisture and structure. Apples bring body, pears bring perfume, and the cornstarch thickens the juices just enough so the filling sets after a short rest. The walnuts aren’t just there for crunch; they add a toasted, slightly bitter note that keeps the topping from leaning too sweet. Cold butter matters here too. If it melts before the crumble goes into the oven, you’ll lose those craggy bits that bake up into the best part.
Below, I’ve included the small details that keep the fruit from turning watery and the topping from baking into a sandy layer. If you’ve ever had a crisp come out pale or soupy, the fixes are in the process notes.
The filling thickened up beautifully and didn’t run all over the plate, and the walnuts in the topping gave it the best crunch after baking. I served it with vanilla ice cream and everyone went back for a second scoop.
Save this walnut pear apple crisp for the night you want bubbling fruit, a buttery oat crumble, and a dessert that bakes up with real crunch.
The Reason This Crisp Stays Juicy, Not Soupy
Apple crisp can go wrong in two places: the filling turns thin and watery, or the topping bakes before the fruit gets tender. This version avoids both because the fruit is sliced evenly, coated with enough cornstarch to catch the juices, and baked long enough for the filling to bubble all the way through. Once that bubbling starts, you know the thickener has activated and the fruit juices have moved from loose to spoonable.
Peaches and berries can get by with very little help. Apples and pears need a little more structure because they release moisture at different rates. The pears soften faster and perfume the filling, while the apples hold their shape a bit longer, which gives you that mix of tender chunks and soft slices instead of a uniform mash.
- Cornstarch — This is what turns the fruit juices into a glossy filling instead of a puddle. Flour can work in a pinch, but it takes more of it and the texture comes out a little duller.
- Lemon juice — It keeps the fruit tasting bright and keeps the apples from looking flat once sliced. Bottled lemon juice works here if that’s what you have.
- Equal slicing — The apples and pears should be cut to a similar thickness so they finish baking at the same time. Thick wedges leave you with hard pieces in a soft filling.
What Each Ingredient Is Actually Doing in the Crumble
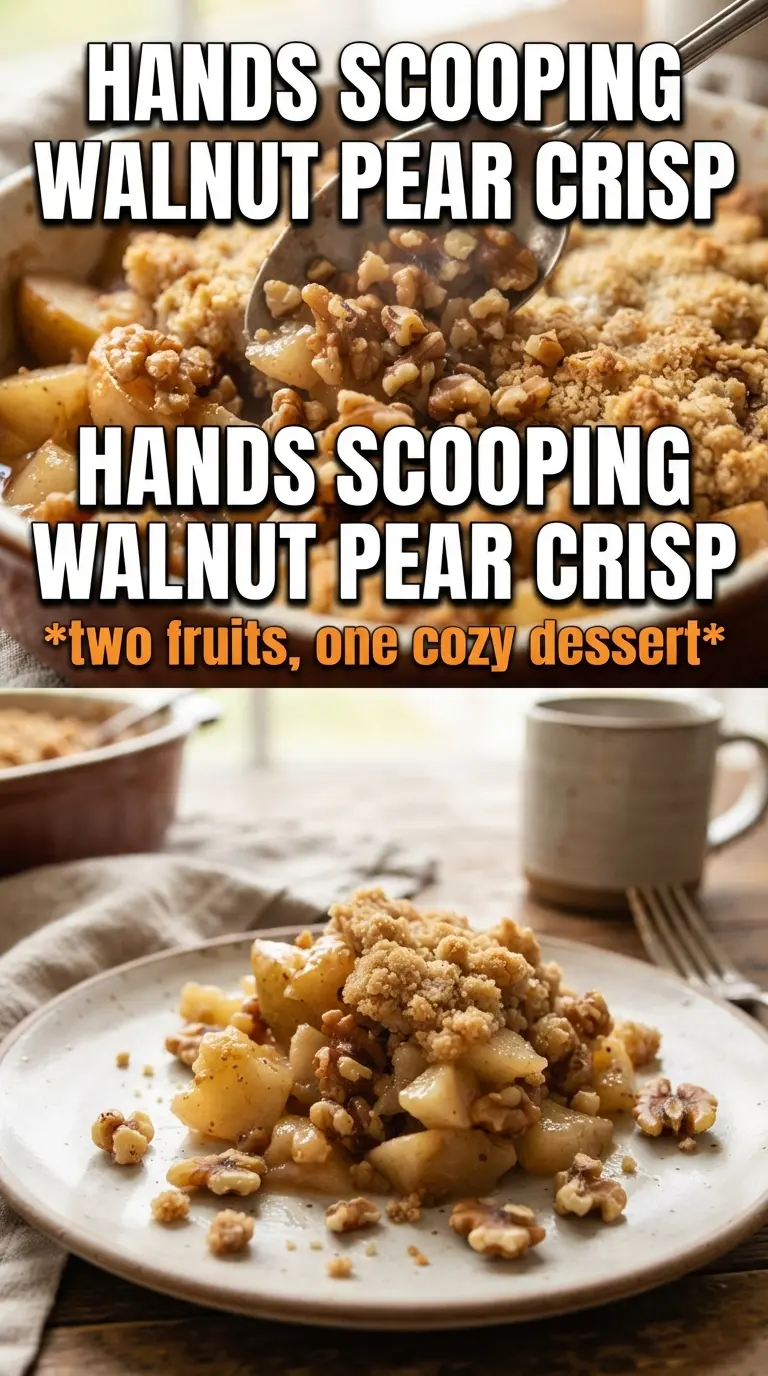
The topping needs to hold together in clumps, toast deeply, and stay crunchy after it hits the warm fruit. That’s why the walnuts, oats, brown sugar, and cold butter all matter in different ways. Skip one, and the texture shifts more than you’d expect.
- Rolled oats — These give the crumble its rough, craggy texture. Quick oats will work, but the topping comes out finer and less textured.
- Brown sugar — It melts into the butter and helps the crumble bake into clusters. The molasses note also matches the pears nicely.
- Walnuts — They toast in the oven and add a deep, earthy crunch. If you want a softer nut, pecans work too, but the flavor will be sweeter and a little less bold.
- Cold butter — This is the difference between a sandy topping and one with crisp little nuggets. Cube it straight from the fridge and cut it in until the mixture holds together when squeezed.
Getting the Fruit Bubbling and the Topping Deeply Golden
Coating the Fruit Evenly
Toss the apples and pears with the sugars, spices, cornstarch, and lemon juice until every slice looks lightly glossy. If you see dry pockets of cornstarch at the bottom of the bowl, keep mixing. Those dry spots turn into chalky clumps in the baked filling. Spread the fruit in the dish in an even layer so the top doesn’t brown before the center starts to bubble.
Building a Chunky Crumble
Mix the oats, flour, brown sugar, cinnamon, salt, and walnuts first, then cut in the butter until you get uneven clumps, some the size of peas and some larger. That uneven texture is what bakes into a crisp topping instead of a paste. If the mixture starts to look greasy or smooth, the butter has softened too much. Chill it for a few minutes before sprinkling it over the fruit.
Baking Until the Center Shows You It’s Done
Bake until the top is a deep golden brown and the fruit is actively bubbling around the edges and through the center. Pale topping usually means the crisp came out early, even if the fruit looks soft. Let it rest for 10 minutes before serving so the juices thicken and the slices hold their shape on the plate.
How to Adapt This Crisp for Different Diets and Different Pantries
Make it dairy-free without losing the crumble
Use a plant-based butter block that behaves like regular butter, not a tub spread. You’ll still get those buttery clumps and a crisp finish. Softer spreads tend to melt too fast and can make the topping greasy.
Swap the walnuts if you need a nut-free topping
Leave out the walnuts and add an extra 1/2 cup oats plus 1/4 cup flour to keep the topping thick and crunchy. You lose the toasted nut flavor, but the crisp still bakes up with good texture.
Use all apples if your pears aren’t ripe
If the pears are hard, use more apples instead of forcing underripe pears into the dish. Ripe pears add softness and aroma, but firm pears can stay oddly grainy after baking.
Make it gluten-free with a direct swap
Replace the all-purpose flour with a cup-for-cup gluten-free flour blend. The topping will still clump and bake nicely, though it may brown a little faster, so watch it during the last 10 minutes.
Storage and Reheating
- Refrigerator: Store covered for up to 4 days. The topping softens a bit, but the flavor stays great.
- Freezer: Freeze baked crisp in a tightly wrapped dish for up to 2 months. Thaw overnight in the refrigerator before reheating for the best texture.
- Reheating: Warm in a 325F oven until the filling is hot and the topping re-crisps, usually 15 to 20 minutes. The microwave will heat the fruit, but it softens the crumble fast.
Questions I Get Asked About This Recipe
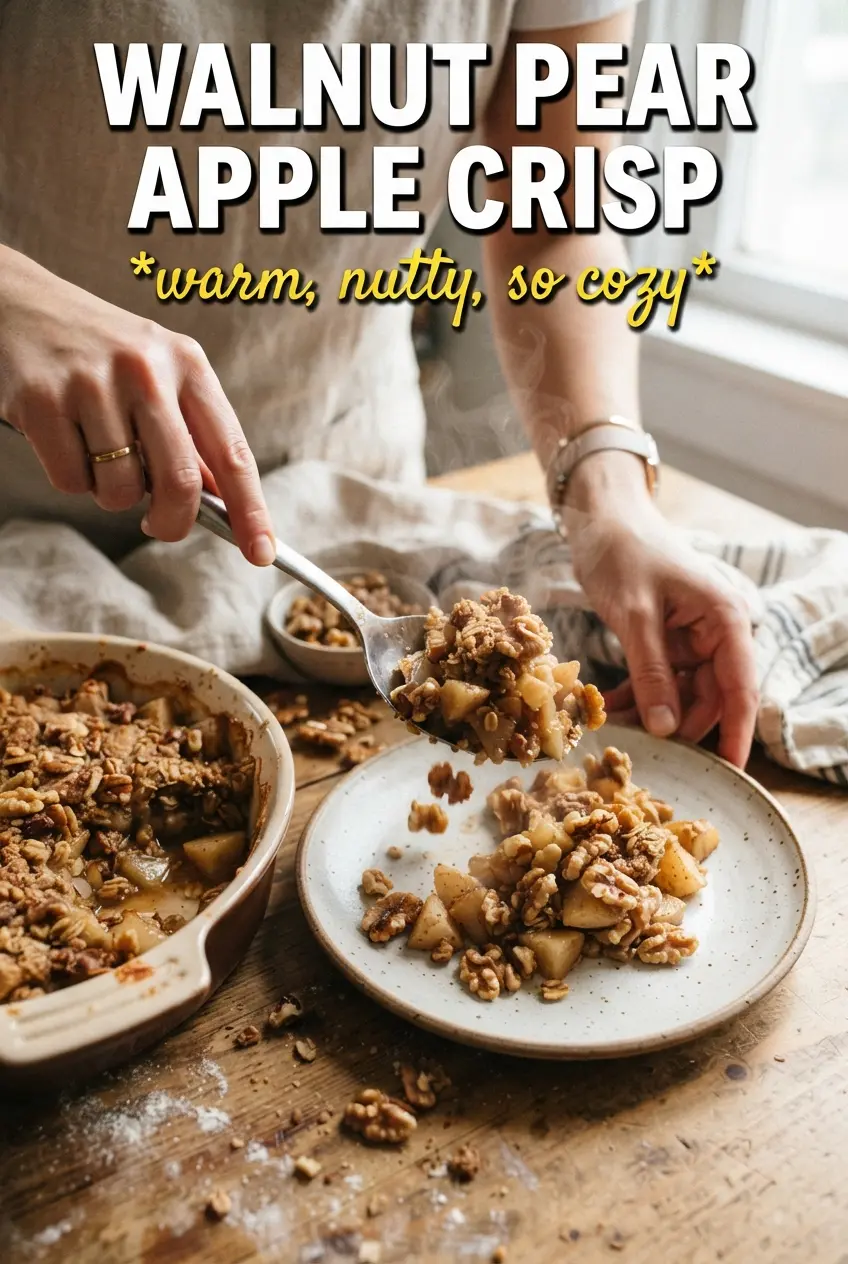
Walnut Pear Apple Crisp
Ingredients
Equipment
Method
- Preheat the oven to 375F, then grease a 9x13 baking dish with a light coating so the crisp doesn’t stick.
- Toss apple slices and pear slices with granulated sugar, brown sugar, cinnamon, ginger, cornstarch, and lemon juice until the fruit is evenly coated and looks lightly dusted.
- Spread the coated apples and pears into the greased baking dish in an even layer, smoothing the top for consistent bubbling.
- Combine rolled oats, all-purpose flour, brown sugar, cinnamon, and salt, then add roughly chopped walnuts and toss to distribute.
- Cut in cold unsalted butter until chunky clumps form, with some larger bits that will stay crisp as they bake.
- Scatter the walnut crumble evenly over the fruit so it covers most of the surface.
- Bake at 375F for 40-45 minutes, until the topping is deeply golden and the fruit is actively bubbling around the edges.
- Rest the crisp for 10 minutes to help the juices thicken slightly before serving.