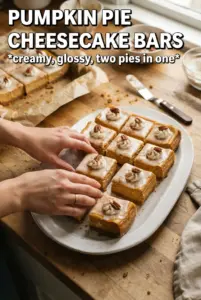
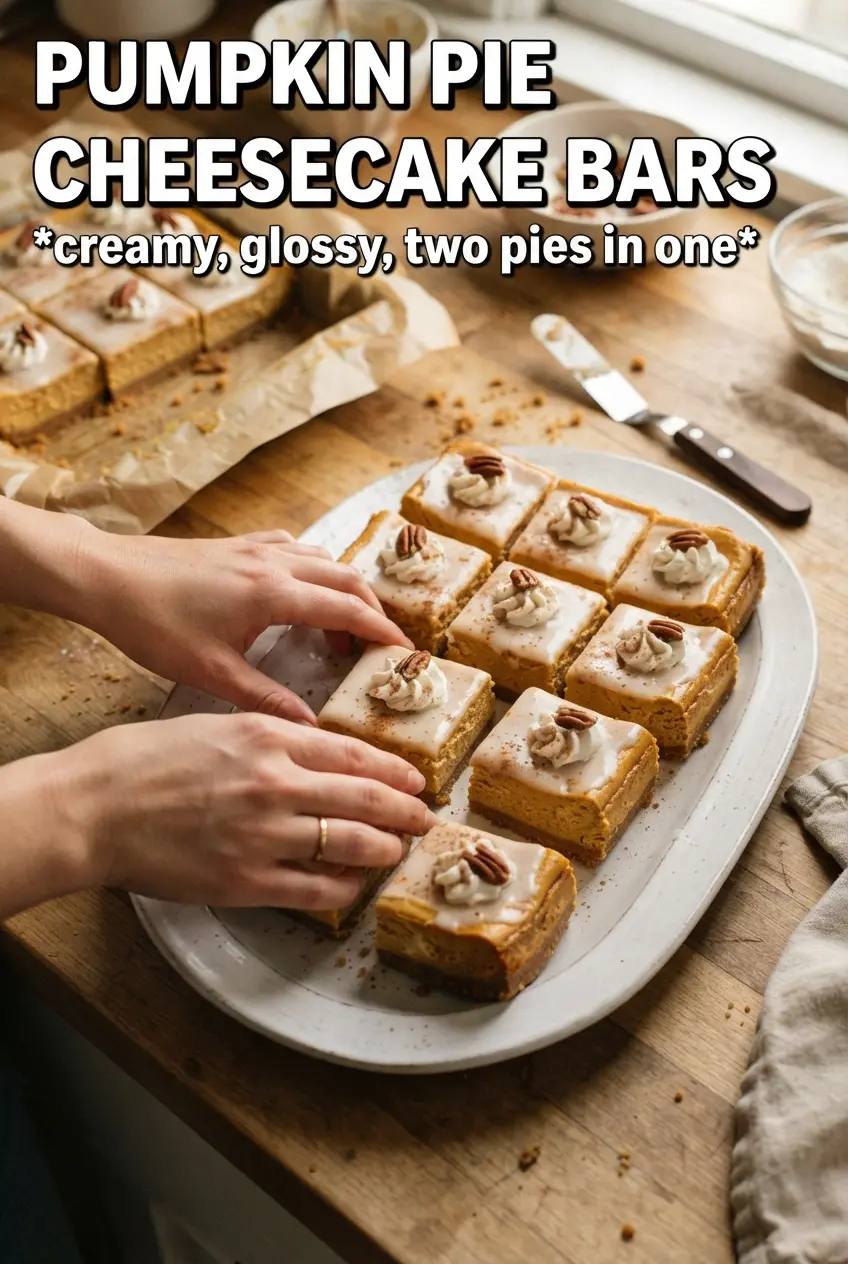
Pumpkin pie cheesecake bars give you the best parts of two desserts in one square: a crisp, spiced crust, a rich vanilla cheesecake layer, and that unmistakable pumpkin filling swirled right through the middle. The texture lands somewhere between silky cheesecake and a clean-slicing holiday bar, which means you get neat pieces instead of a messy pie slice collapsing on the plate.
What makes these work is the layering method. The crust gets a quick bake first so it stays crisp under the creamy filling, and the batter is divided after the sour cream and vanilla go in so both halves stay equally smooth. The pumpkin layer only needs to be swirled lightly; overmixing turns the bars muddy instead of marbled.
Below, you’ll find the small details that keep the cheesecake from cracking, plus a couple of smart swaps if you need a different cookie crust or want to make these ahead for a crowd.
The crust stayed crisp even after chilling overnight, and the pumpkin swirl baked up smooth instead of grainy. I got clean slices with a warm knife and the bars held their shape perfectly.
Save these pumpkin pie cheesecake bars for when you want a swirled dessert with a crisp gingersnap crust and a clean, creamy slice.
The Part That Keeps Cheesecake Bars From Getting Dense
Cheesecake bars go heavy when the batter is overbeaten after the eggs go in. That traps air, which puffs in the oven and then collapses as the bars cool. The result is a filling that looks fine at first and then turns tight or cracked once it sets.
These bars stay softer because the cream cheese and sugars are beaten until smooth first, then the eggs are added one at a time and stopped as soon as they disappear. After that, the sour cream loosens the batter without thinning it out, so the finished bars bake up creamy instead of cakey. The pumpkin layer gets its own seasoning boost, which keeps the swirl from tasting flat against all that dairy richness.
What Each Ingredient Is Doing in These Pumpkin Pie Cheesecake Bars
- Gingersnap crumbs — These bring the spice and crunch that a plain graham crust just doesn’t have. They also stand up better to the moist cheesecake layer, so the base stays crisp after chilling.
- Cream cheese — This is the backbone of the filling, so it needs to be fully softened before mixing. Cold cream cheese leaves tiny lumps that never disappear once baked.
- Sour cream — This gives the cheesecake a softer, tangier finish and keeps the texture from turning stiff. Full-fat sour cream works best here because it blends smoothly and bakes evenly.
- Pumpkin puree — Use pure pumpkin puree, not pumpkin pie filling. Pie filling is already sweetened and spiced, which throws off both the texture and the balance of the bars.
- Pumpkin pie spice and cinnamon — The pumpkin layer needs both. The spice blend gives the familiar pie note, while the extra cinnamon keeps the pumpkin half from tasting muted once it bakes into the cheesecake.
- Whipped cream — This is the finishing touch, not just decoration. A small swirl on top softens the spice and makes each bar taste like a proper dessert instead of a slab of filling.
Building the Swirl Without Mixing It Into One Color
Press and Par-Bake the Crust
Mix the gingersnap crumbs, sugar, and melted butter until every crumb looks evenly moistened, then press the mixture firmly into a lined 9×13 pan. A flat-bottomed cup helps pack it down into the corners so the bars cut cleanly later. Bake it for 10 minutes until it smells toasty and the top looks set; that quick bake keeps the crust from turning sandy under the filling.
Whip the Filling Until It Turns Smooth
Beat the softened cream cheese with both sugars until the mixture looks glossy and has no visible lumps. Add the eggs one at a time and stop the mixer as soon as each one disappears. If you keep beating after the eggs go in, the batter picks up too much air and the bars can crack or fall in the center.
Split the Batter and Season the Pumpkin Half
Stir the sour cream and vanilla into the full bowl first, then divide the batter evenly between two bowls. Mix the pumpkin puree, pumpkin pie spice, and cinnamon into one half until it looks fully uniform and a deeper orange. Don’t overwork it once the pumpkin goes in; the goal is a smooth second batter, not a whipped one.
Layer, Swirl, and Bake Until Just Set
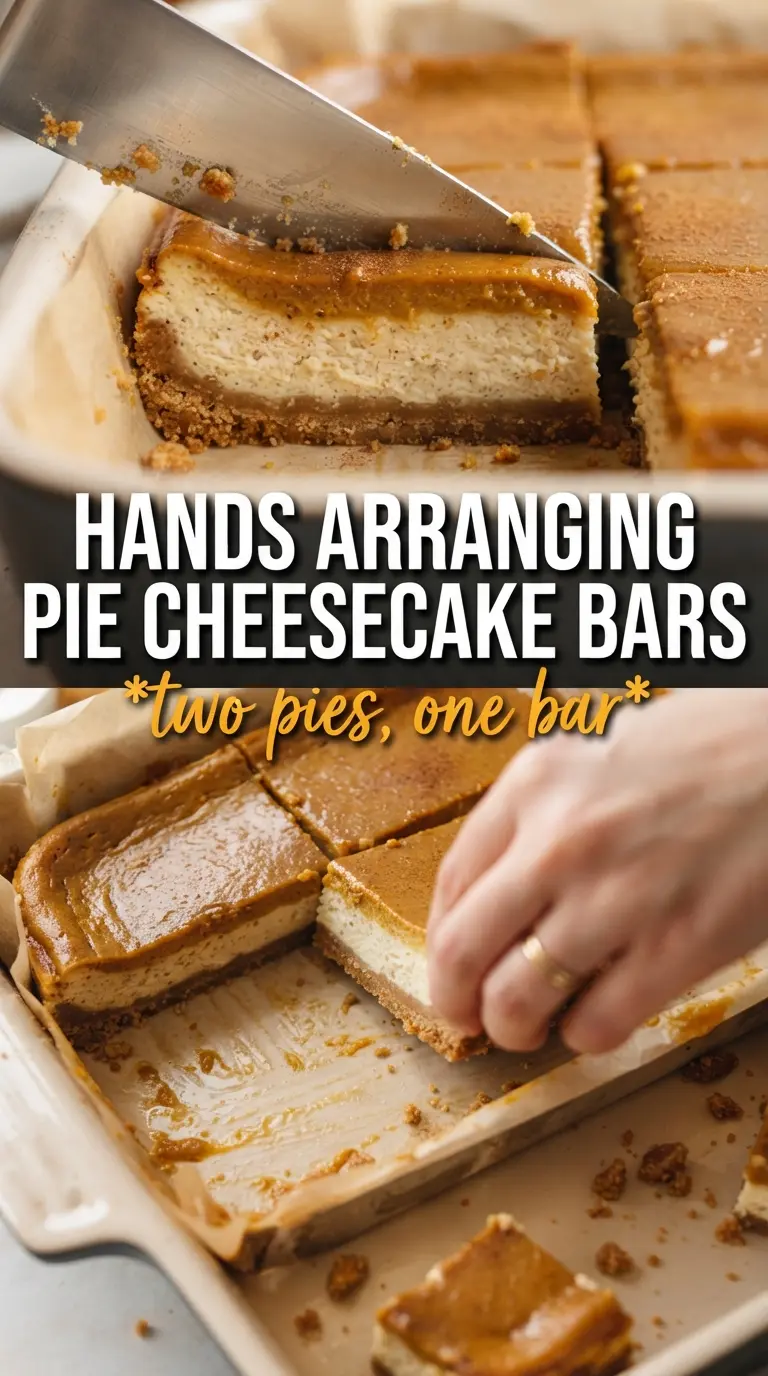
Alternate spoonfuls of the vanilla and pumpkin batters over the crust, then drag a knife through the surface in wide, lazy swirls. You’re looking for ribbons, not a fully blended filling. Bake until the edges are set and the center still has a slight wobble when you nudge the pan; if it looks firm all the way through, it has gone too far and will bake dry as it cools.
Cool Completely Before Cutting
Let the pan cool to room temperature, then chill it for at least 4 hours before slicing. Warm cheesecake bars smear when you cut them, no matter how carefully you use the knife. For the cleanest squares, wipe the blade between cuts and top each piece with whipped cream right before serving.
How to Adapt These Bars for Different Crusts, Dietary Needs, or a Bigger Crowd
Swap the gingersnaps for graham crackers
A graham crust gives you a milder, more classic cheesecake base. It still works well, but you’ll lose the deeper spice and darker color that make the gingersnap version stand out.
Make it gluten-free with gluten-free gingersnaps
Use a sturdy gluten-free cookie that crushes finely and holds together with butter. A crumbly cookie won’t cut it here, because the crust needs to support a dense filling without falling apart when sliced.
Use full-fat dairy for the creamiest texture
Low-fat cream cheese and sour cream will work in a pinch, but the bars won’t set as smoothly and can taste a little sharp. Full-fat dairy gives you the richest slice and the cleanest texture after chilling.
Bake ahead for a party dessert
These bars are actually better after a long chill, which makes them ideal for making the day before. Hold the whipped cream until serving so the tops stay neat and the bars don’t soften around the edges.
Storage and Reheating
- Refrigerator: Store covered for up to 5 days. The crust stays firmer on day one and two, then softens slightly as the bars sit.
- Freezer: These freeze well without the whipped cream. Wrap slices tightly and freeze for up to 2 months, then thaw overnight in the refrigerator.
- Reheating: These are meant to be served chilled, not warmed. If you want a softer bite, let a slice sit at room temperature for 10 to 15 minutes instead of heating it, which can make the filling weep.
Questions I Get Asked About This Recipe
Pumpkin Pie Cheesecake Bars
Ingredients
Equipment
Method
- Preheat oven to 325F, and line a 9x13 pan for easy removal. Press gingersnap crumbs mixed with sugar and melted butter into an even layer in the pan, then bake for 10 minutes until set at the edges. (Visual cue: crust looks lightly firm and fragrant.)
- Beat cream cheese with both sugars until smooth, then add eggs one at a time. Mix just until each egg is fully incorporated and the batter looks glossy. (Visual cue: no lumps and smooth consistency.)
- Stir in sour cream and vanilla, then divide the batter in half. Keep one half plain and set it aside while you season the other half. (Visual cue: two separate batters ready to be combined.)
- Stir pumpkin, pumpkin pie spice, and cinnamon into one half until evenly colored. Stop mixing when the pumpkin batter is uniform with no spice streaks. (Visual cue: consistent warm orange-brown swirl base.)
- Alternately pour both batters over the crust in streaks, then swirl with a knife to create a marbled top. (Visual cue: visible swirls across the surface.)
- Bake at 325F for 40-45 minutes until the cheesecake is just set. Cool at room temperature, then refrigerate for 4 hours until firm. (Visual cue: edges set with a slight jiggle in the center.)
- Cut into bars and top each with whipped cream right before serving. (Visual cue: a tiny whipped-cream swirl on top of each bar.)