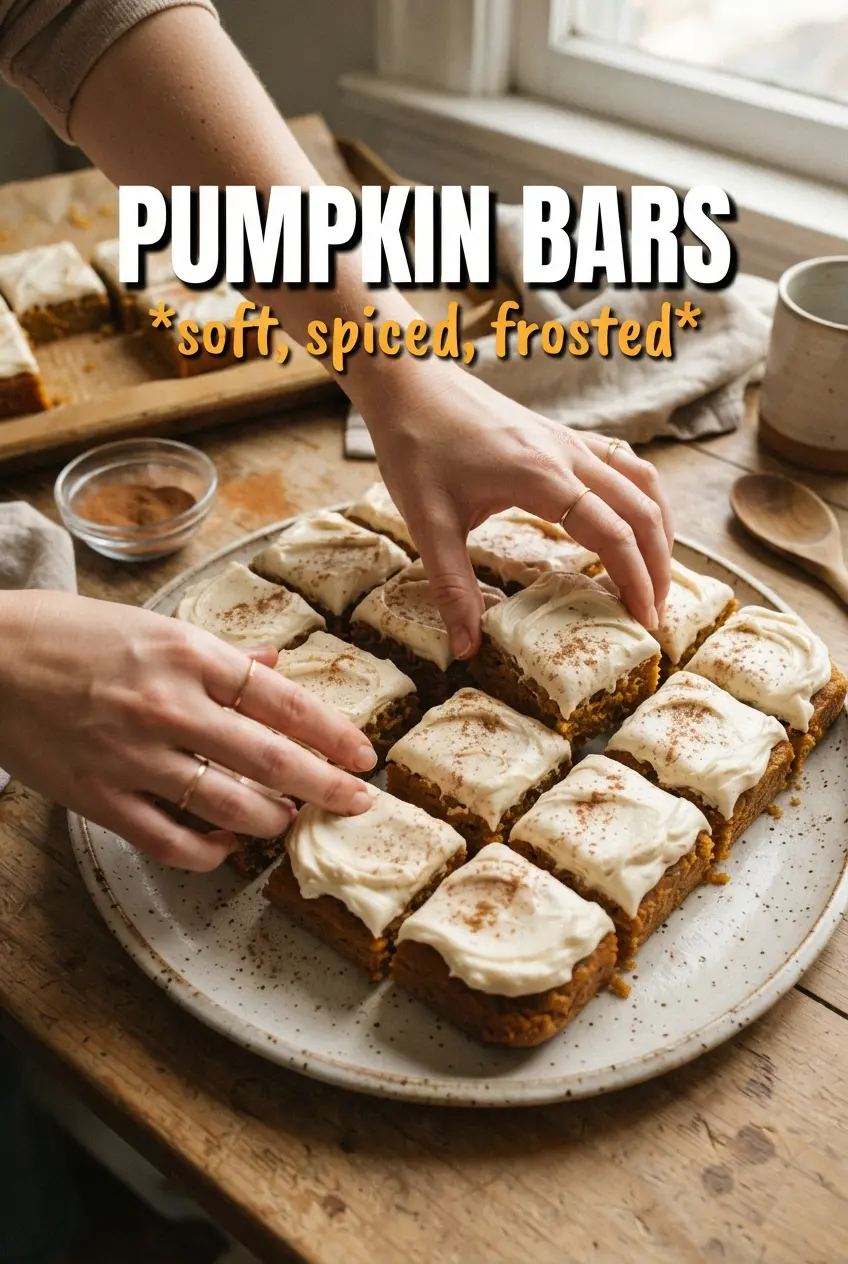
Pumpkin bars land in that perfect middle ground between cake and snackable dessert: tender, moist, and sturdy enough to slice cleanly once the frosting sets. The texture stays soft for days, and the cream cheese layer on top gives each bite a cool, tangy finish that keeps the sweetness in check.
What makes this version work is the balance. Pumpkin puree brings moisture, but the structure comes from enough flour and eggs to keep the bars from collapsing into a dense slab. The spice blend is warm without taking over, and the frosting is thick enough to swirl but soft enough to spread without tearing the crumb.
Below you’ll find the small details that matter, from the pan size that keeps the bars from baking up too thick to the best way to cut them cleanly after chilling. If you’ve ever had pumpkin bars that turned gummy in the center or frosting that slid right off, this version fixes both problems.
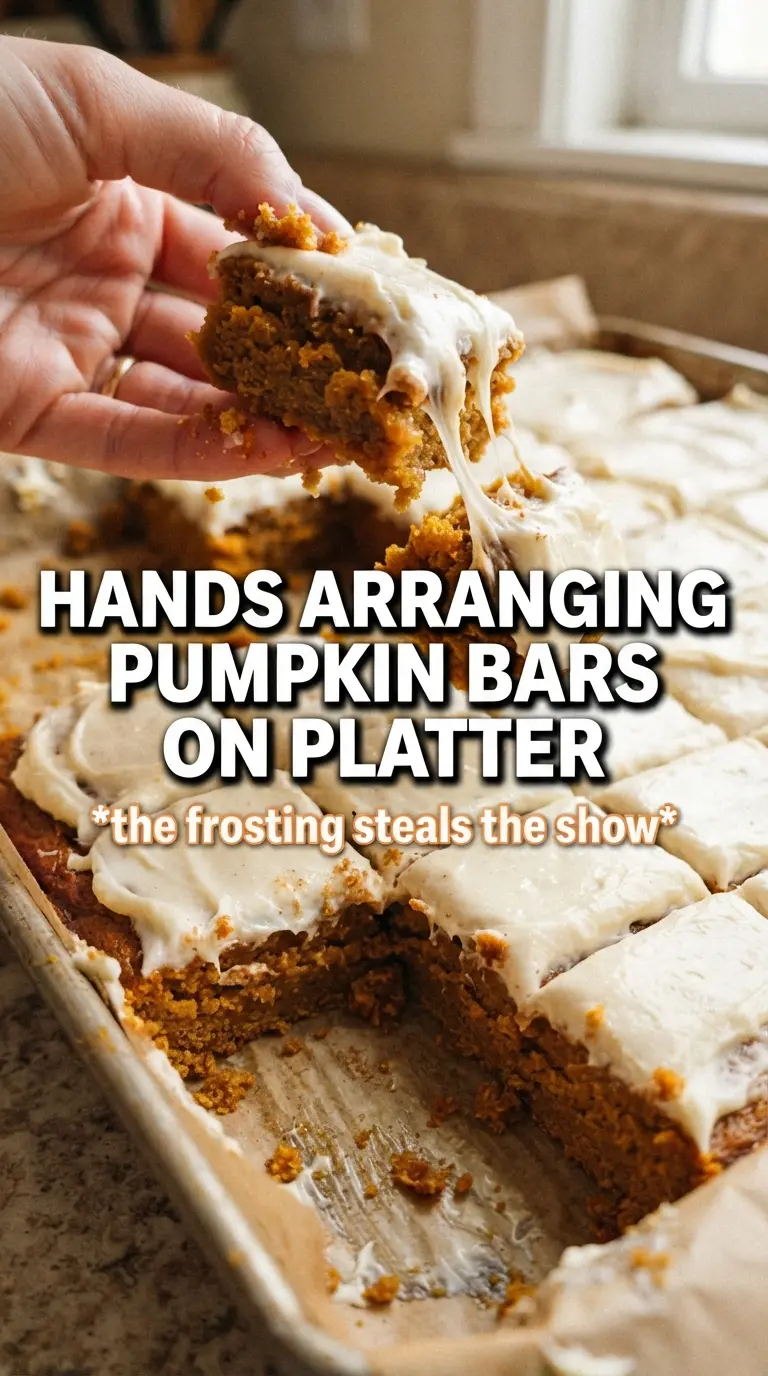
The bars baked up moist and cake-like, and the frosting set just enough after chilling that I could cut neat squares without it dragging across the top.
Save these pumpkin bars with cream cheese frosting for the dessert table, bake sale, or anytime you want a thick, sliceable pumpkin treat.
The Reason Pumpkin Bars Stay Tender Instead of Gummy
Pumpkin bars go wrong when the batter gets overmixed or the pan is too small. Pumpkin puree brings a lot of moisture, and if you keep stirring after the flour goes in, the bars can bake up tight and bouncy instead of soft and cakey. A 15×10 jelly roll pan matters here because it spreads the batter thin enough to bake through in the middle before the edges dry out.
The other place people miss is doneness. These bars are ready when a toothpick comes out clean or with a few moist crumbs, and the edges start pulling away from the pan. If the center still looks wet and glossy, give it a few more minutes; if you wait for the whole surface to look dry, they’ll bake too far and lose that tender crumb.
What Each Ingredient Is Doing In These Pumpkin Bars
- Pumpkin puree — This brings moisture, color, and that soft pumpkin flavor. Use plain pumpkin puree, not pumpkin pie filling, or the bars will come out overly sweet and spiced in a way you can’t control.
- Vegetable oil — Oil keeps the bars tender even after they chill. Butter gives more flavor, but it firms up as it cools; oil is what keeps these bars soft and plush.
- Eggs — Four eggs give the bars structure so they slice cleanly. They also help the crumb stay springy instead of dense.
- Pumpkin pie spice and cinnamon — The spice blend builds the warm background flavor, and the extra cinnamon keeps the pumpkin from tasting flat. Fresh spices matter more here than in heavily frosted cakes because the batter itself carries so much of the flavor.
- Cream cheese frosting — The tang cuts the sweetness and makes the bars taste finished. If your cream cheese or butter is too cold, the frosting will go lumpy; if it’s too warm, it’ll slide right off the bars.
How to Keep the Frosting Smooth and the Bars Easy to Cut
Mix the Batter Just Until It Comes Together
Whisk the dry ingredients first so the baking powder, baking soda, and spices are evenly distributed. When you add the flour mixture to the pumpkin base, stop as soon as you no longer see dry streaks. Overmixing tightens the crumb and makes the bars bake up dense instead of soft.
Bake in a Shallow Pan for Even Texture
Spread the batter all the way to the corners of the prepared pan so it bakes at the same rate across the sheet. The top should look set and lightly golden, and the center should spring back when touched. If the pan is deeper than recommended, the middle stays wet while the edges dry out.
Cool Completely Before Frosting
Let the bars cool all the way to room temperature before you spread on the cream cheese frosting. If the bars are even slightly warm, the frosting softens and turns slippery instead of sitting in a thick, clean layer. This is the step that keeps the final squares neat.
Chill, Then Cut Cleanly
After frosting, chill the pan for about 30 minutes so the topping firms up just enough to slice without smearing. Use a sharp knife and wipe it between cuts if you want tidy edges. If you skip the chill, the frosting drags and the bars lose that bakery-style finish.
How to Adapt These Pumpkin Bars Without Losing the Good Part
Dairy-Free Frosting That Still Spreads Well
Use a dairy-free cream cheese and plant-based butter with a firm texture. The frosting will be a little softer and less tangy than the original, so chill it before spreading if it seems loose. The bars themselves are already dairy-free, so this swap keeps the texture close to the classic version.
Gluten-Free Bars With a 1:1 Baking Blend
A good 1:1 gluten-free flour blend works here, especially one that already contains xanthan gum. The bars will be a touch more delicate, so let them cool completely before lifting or cutting. Don’t swap in almond flour alone; it won’t give you the same sheet-cake structure.
Extra Spice for a Deeper Pumpkin Flavor
Add another 1/2 teaspoon cinnamon or a pinch of cloves if you want the bars to taste more holiday-forward. This doesn’t change the texture, only the warmth of the finished bars. Go slowly with cloves, since it can take over fast.
Storage and Reheating
- Refrigerator: Store covered for up to 5 days. The frosting stays best chilled, and the bars actually slice more cleanly after a few hours in the fridge.
- Freezer: Freeze unfrosted bars for up to 2 months, tightly wrapped. Frosting doesn’t thaw as neatly, so add it after defrosting for the best texture.
- Reheating: These are best served chilled or at cool room temperature, not reheated. If you want the bars softer, let a piece sit out for 15 to 20 minutes so the frosting relaxes without melting.