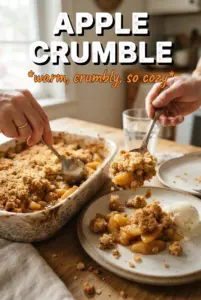
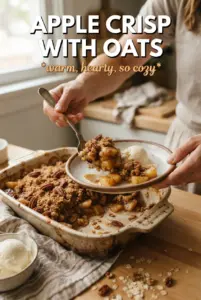
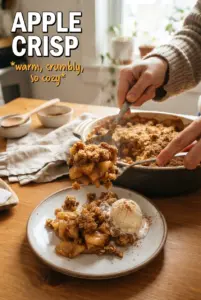
Warm apple crisp earns its place in the rotation because it gives you two textures that never get old: tender, cinnamon-scented apples underneath and a thick oat crumble on top that bakes into crisp, sandy pockets with buttery edges. When it comes out of the oven with the fruit bubbling around the sides, it smells like the kind of dessert people drift toward before you even call them to the table.
This version works because the apples are lightly tossed with flour before baking, which helps the juices turn syrupy instead of running thin. The topping also uses cold butter cut in by hand, and that matters more than people think. Cold butter melts in the oven in little pockets, which is what gives you those craggy, golden clumps instead of a flat, dry layer.
Below, I’ll walk through the one part that keeps apple crisp from turning soupy, plus the ingredient swaps that still give you a sturdy crumble and a warm, spoonable filling.
The topping baked up with those big buttery clumps I was hoping for, and the apples held their shape instead of turning to mush. I served it with vanilla ice cream and it disappeared fast.
Love a thick, buttery Pioneer Woman apple crisp? Save this one for the nights when you want bubbling apples and a big oat crumble.
The Secret to Keeping the Apples Tender, Not Watery
Apple crisp usually goes wrong in one of two places: the fruit turns soupy, or the topping melts into a sandy layer. The fix starts before the dish even hits the oven. Tossing the apples with a little flour helps catch the juices as they bake, and baking at 350°F gives the fruit time to soften without collapsing before the topping sets.
The other detail that matters is the apple choice. Granny Smith apples stay firm, and their tartness keeps the crisp from tasting flat once the brown sugar and oats get involved. If you use a softer apple, the filling can go mealy before the crumble is done.
What the Apples and Oats Are Each Doing Here
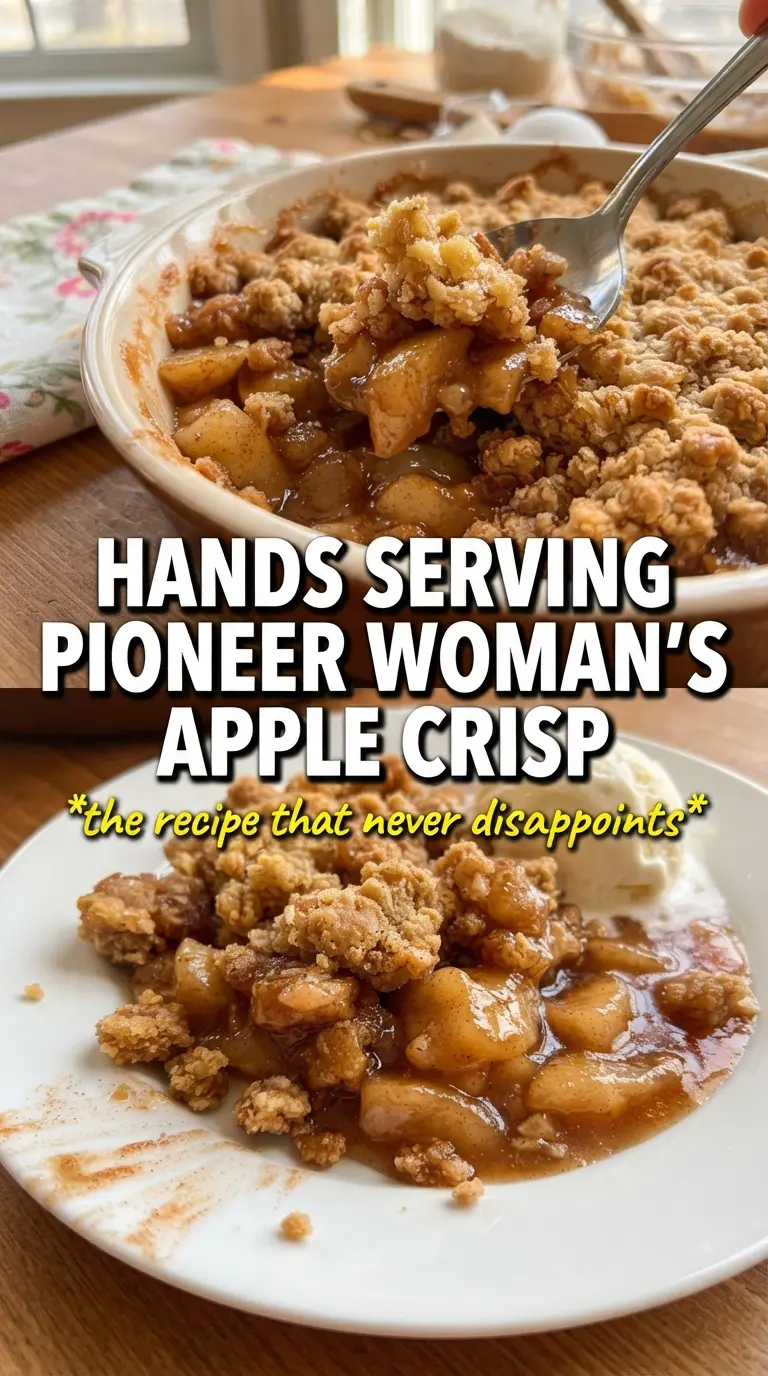
- Granny Smith apples — Their tart bite keeps the dessert balanced, and their firm texture holds up through the full bake. They’re the best choice here because they give you distinct apple slices instead of soft sauce.
- All-purpose flour in the filling — Just a tablespoon is enough to thicken the juices. Skip it and the fruit can leak too much liquid, which makes the topping soggy from underneath.
- Rolled oats — These are what give the topping its crumble and chew. Quick oats can work in a pinch, but they bake finer and lose some of that hearty, rustic texture.
- Cold butter — This is the difference between a real crisp and a dry streusel. Keep it cold and work it in until you have clumps; if the butter melts too early, the topping bakes up flat.
Building the Crumble So It Bakes Into Clumps
Coating the Apples First
Toss the sliced apples with the sugar, flour, and cinnamon until every piece looks lightly coated. You want the fruit evenly dressed, not drowned, because that coating turns into the syrupy filling as it bakes. Spread the apples in a generously buttered 9×13 dish so they heat evenly and the juices have room to bubble.
Mixing the Topping
Combine the flour, oats, both sugars, cinnamon, baking powder, and salt before the butter goes in. That dry mix needs to be uniform so the topping bakes evenly, and the baking powder helps keep the crumble from turning too dense. If the butter gets warm while you work, stop and chill it for a few minutes before continuing.
Cutting in the Butter by Hand
Work the cold butter into the dry ingredients with your fingers until you have large, butter-streaked clumps. Those clumps are what crisp and brown in the oven. If everything looks like fine sand, the butter was worked in too far; squeeze a handful, and it should hold together in rough pieces.
Baking Until the Edges Bubble
Spread the topping over the apples in an even layer, then bake until the top is deep golden brown and the filling is bubbling at the edges, 55 to 60 minutes. That bubbling is your cue that the apples are cooked through and the juices have thickened. Pull it too early and the filling will taste loose and underdone, even if the topping looks ready.
How to Adapt This Apple Crisp for Different Kitchens and Crowds
Dairy-Free Apple Crisp
Swap the butter for a plant-based stick butter that bakes like real butter. The topping will still clump and brown, but use a brand that stays solid when cold; tub-style spreads can make the crumble greasy instead of crisp.
Gluten-Free Version
Use a good 1:1 gluten-free flour blend in both the filling and topping, then check that your oats are certified gluten-free. The texture stays close to the original, though the topping may bake a touch more delicately and need a few extra minutes to brown.
Extra-Crunchy Oat Topping
If you want a heavier crumble, add another 1/4 cup oats and keep the butter in visible chunks instead of blending it too smoothly. The result is a more rugged topping with bigger, crunchier pieces that hold their texture after cooling.
Storage and Reheating
- Refrigerator: Store covered for up to 4 days. The topping softens a little as it sits, but the flavor stays good.
- Freezer: It freezes well after baking. Cool completely, wrap tightly, and freeze for up to 2 months. Thaw in the refrigerator before reheating.
- Reheating: Warm in a 325°F oven until heated through and the topping perks back up, about 15 to 20 minutes for a pan of leftovers. Microwaving works in a pinch, but it softens the crumble and takes away the crisp edge.
Questions I Get Asked About This Apple Crisp
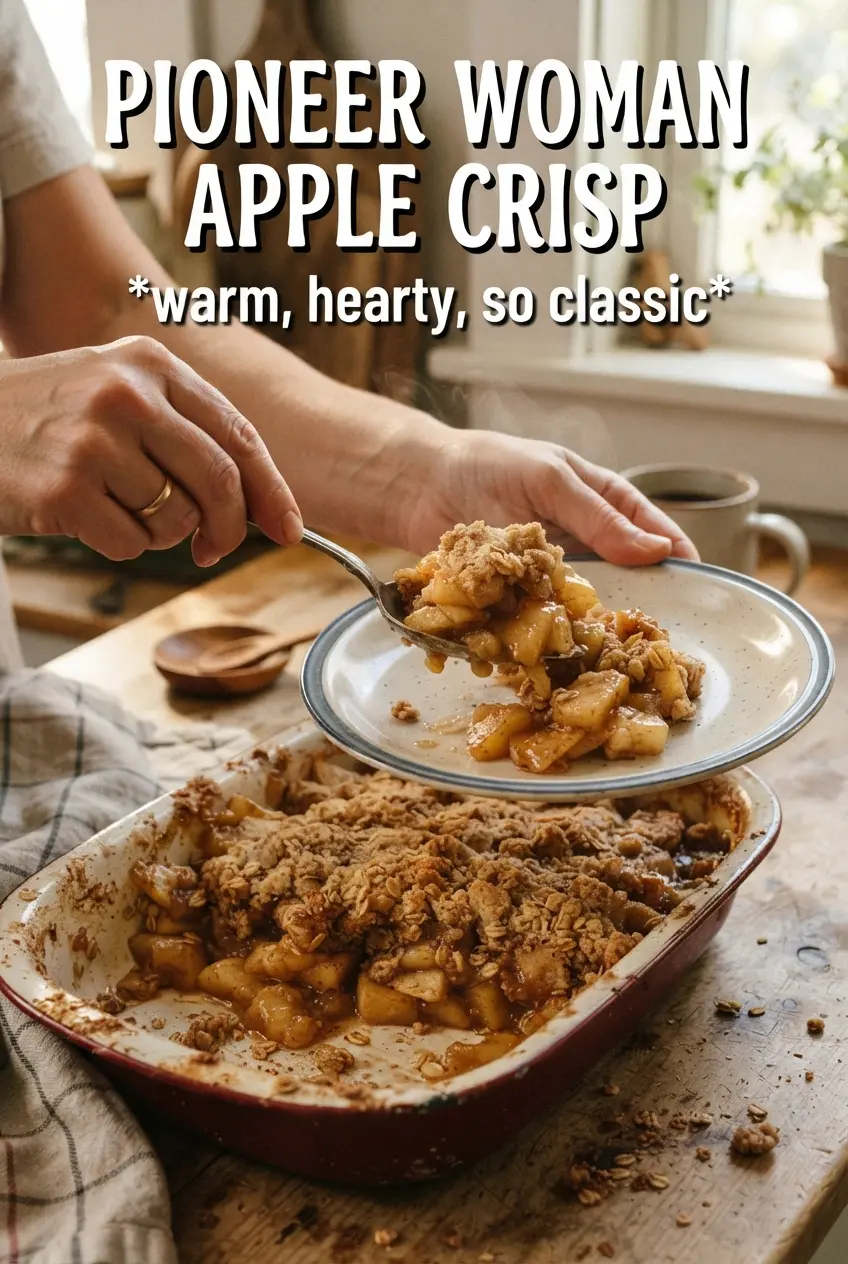
Pioneer Woman Apple Crisp
Ingredients
Equipment
Method
- Preheat the oven to 350F and generously butter a 9x13 baking dish.
- Toss the apple slices with granulated sugar, flour, and cinnamon, then pour into the baking dish.
- Combine the flour, rolled oats, brown sugar (packed), granulated sugar, cinnamon, baking powder, and salt in a bowl.
- Cut in the cold, cubed butter with your hands until the mixture forms large, butter-streaked clumps.
- Pour and spread the crumble topping over the apples to cover evenly.
- Bake for 55-60 minutes, until the topping is golden brown and the apple filling bubbles at the edges.
- Serve warm with whipped cream or ice cream on the side.