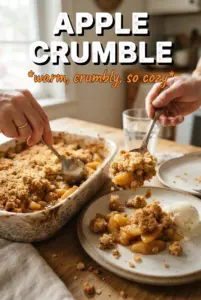
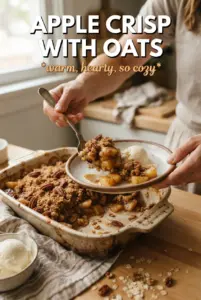
Sandy, buttery crumble over soft baked apples is the kind of dessert that disappears fast at the table. The topping stays crisp in spots, the edges turn deeply golden, and the filling underneath turns syrupy without collapsing into mush. It’s the contrast that keeps you going back for another spoonful.
This version keeps the apple filling simple on purpose. Cooking apples bring enough sharpness to balance the sugar, and a little lemon juice keeps the flavor bright while helping the fruit hold its shape. The topping uses cold butter and a mix of white and brown sugar, which gives you both crunch and those caramel notes that make crumble taste finished instead of plain.
Below, I’ve included the one detail that matters most for the topping, plus a few useful swaps if you want to adjust the fruit or make it gluten-free. If you’ve ever had crumble come out dusty, dense, or watery, the notes here will help you avoid that.
The topping baked up sandy and crisp instead of heavy, and the apples underneath were soft but still held their shape. I served it with custard and my dad went back for seconds before I’d even cleared the dishes.
Save this apple crumble for the nights when you want soft cinnamon apples and a crisp, buttery topping with almost no fuss.
The Part That Keeps the Crumble Crisp Instead of Dull
The biggest mistake with apple crumble is packing the topping down or letting the butter melt before it hits the oven. You want uneven crumbs, not a paste. Those little butter pockets steam as the crumble bakes, which is what gives you a light, sandy texture instead of a heavy lid.
The apples matter too. Cooking apples soften into a plush filling without turning sweet and bland, so the crumble still tastes like apples rather than sugar and spice. If you use a sweeter eating apple, the filling can go soft faster and taste flatter, which is why a tart cooking apple gives you a better result here.
What Each Ingredient Is Actually Doing in This Dish
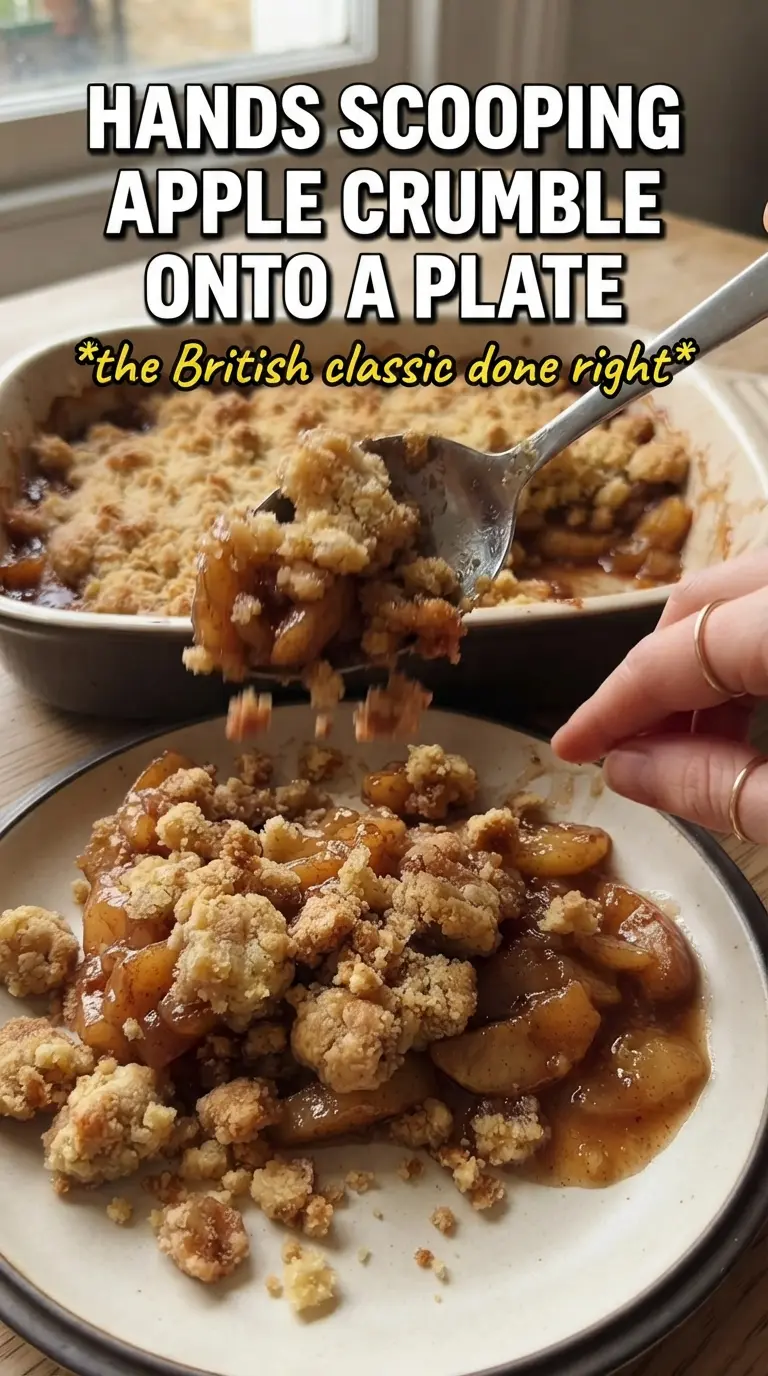
- Cooking apples — These break down into a soft, spoonable filling without disappearing completely. Bramley is the classic choice in the UK, but any sharp cooking apple will work well.
- Cold unsalted butter — Cold butter is what creates the crumbly texture. If it softens too much before baking, the topping turns dense instead of crisp.
- Plain flour — This gives the crumble its structure. Self-raising flour isn’t needed here and can make the topping puff oddly instead of baking into clean crumbs.
- Brown sugar — The white sugar helps the crumble crisp, while the brown sugar adds a deeper caramel note and a slightly more tender finish.
- Lemon juice — Just enough to keep the apples tasting fresh and balanced. It also helps keep the filling from going dull during baking.
How to Build the Layers So the Filling Bubbles and the Topping Browns
Preparing the Apples
Toss the sliced apples with sugar, cinnamon, and lemon juice until every piece is lightly coated, then spread them in an even layer in the dish. Uneven slicing is the quickest way to end up with some apples collapsing before others soften, so keep the pieces close in size. The filling should look loose in the dish; it will settle as it bakes and release juice. If the apples are piled too high, the center steams instead of baking.
Rubbing in the Butter
Work the cold butter into the flour with your fingertips until the mixture looks like coarse breadcrumbs with a few larger pebbly bits. Those larger bits matter because they bake into crisp, craggy patches. Stop before the mixture turns sandy and uniform, or you’ll lose the texture that makes crumble worth making. If the butter starts to smear, the room is too warm; chill the bowl for a few minutes and carry on.
Baking Until the Edges Bubble
Spread the crumble over the apples without pressing it down. A packed topping bakes up dense and stops the apples from venting properly. Bake until the top is pale gold and you can see the fruit bubbling at the edges of the dish. That bubbling is your cue that the apples are cooked through and the juices have thickened enough to serve.
Make It Gluten-Free with a 1:1 Flour Blend
Swap the plain flour for a good 1:1 gluten-free baking blend. The topping will still bake up crisp, though it may be a touch more delicate when you scoop it. Don’t use almond flour on its own here; it won’t give the same sandy crumble.
Use Pears Instead of Apples
Firm pears can replace some or all of the apples for a softer, floral filling. Choose pears that still hold their shape, and keep the lemon juice in the mix so the fruit doesn’t taste flat. The crumble topping stays exactly the same.
Make It Dairy-Free
Use a block-style plant butter that stays solid when cold. Spreadable margarine won’t hold the crumbly texture as well, and the topping can bake up greasy. The flavor stays close to the original if you keep the sugar and cinnamon the same.
Storage and Reheating
- Refrigerator: Store covered for up to 4 days. The topping softens a little, but the flavor stays good.
- Freezer: Freeze baked crumble in portions for up to 2 months. Wrap well and thaw in the fridge before reheating.
- Reheating: Warm in a 180C (350F) oven until hot through and the topping firms up again. The microwave will heat the filling, but it softens the crumble, so use the oven if you want the texture back.
Answers to the Questions Worth Asking
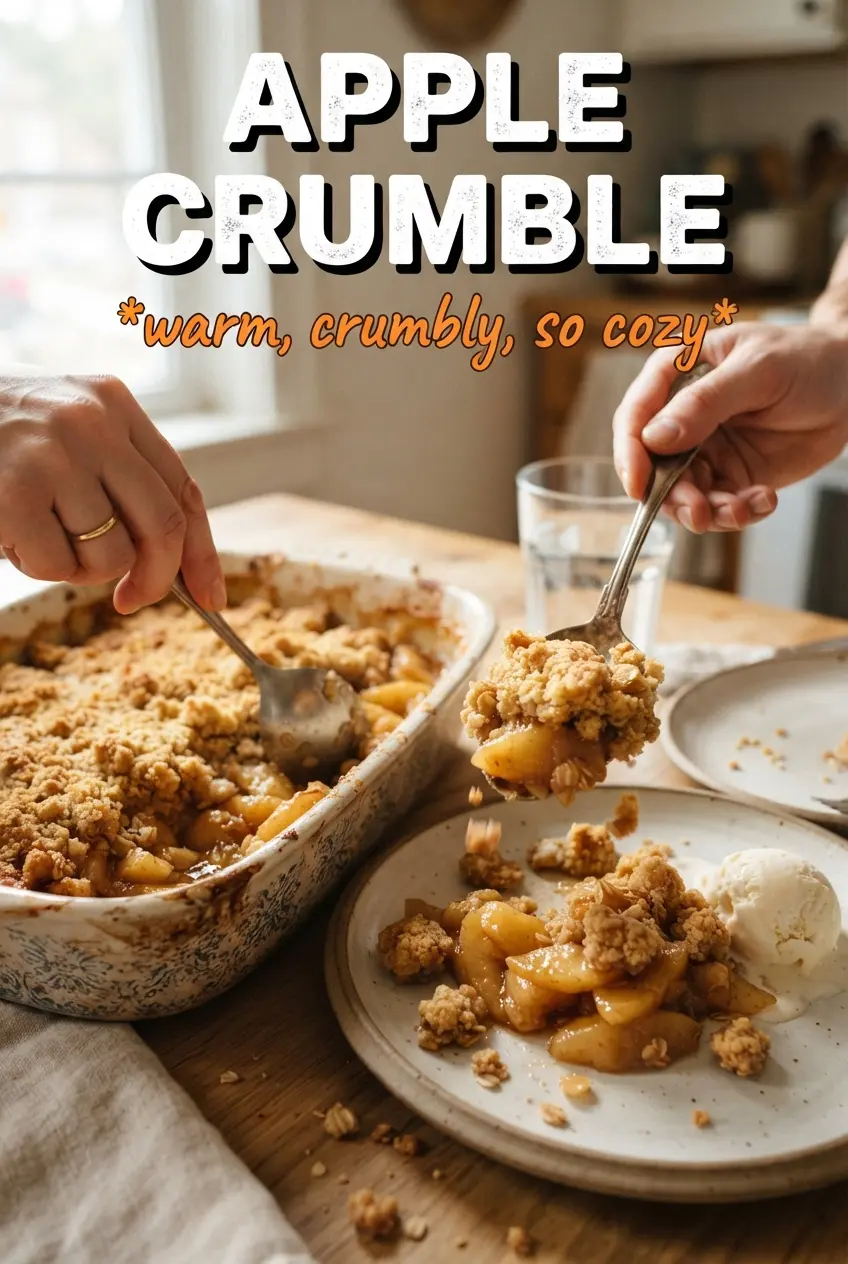
Apple Crumble
Ingredients
Equipment
Method
- Preheat oven to 190C (375F) and grease a large baking dish.
- Toss the apple slices with granulated sugar, cinnamon, and lemon juice, then spread them in the prepared dish.
- Place flour and cold unsalted butter in a bowl, then rub together with your fingertips until the mixture resembles coarse breadcrumbs with some larger pieces.
- Stir in granulated sugar, light brown sugar, cinnamon, and salt until evenly mixed.
- Spread the crumble evenly over the apples without packing it down.
- Bake for 35-40 minutes at 190C (375F) until the topping is pale golden and the apple filling bubbles at the edges.
- Serve warm with custard, double cream, or vanilla ice cream.