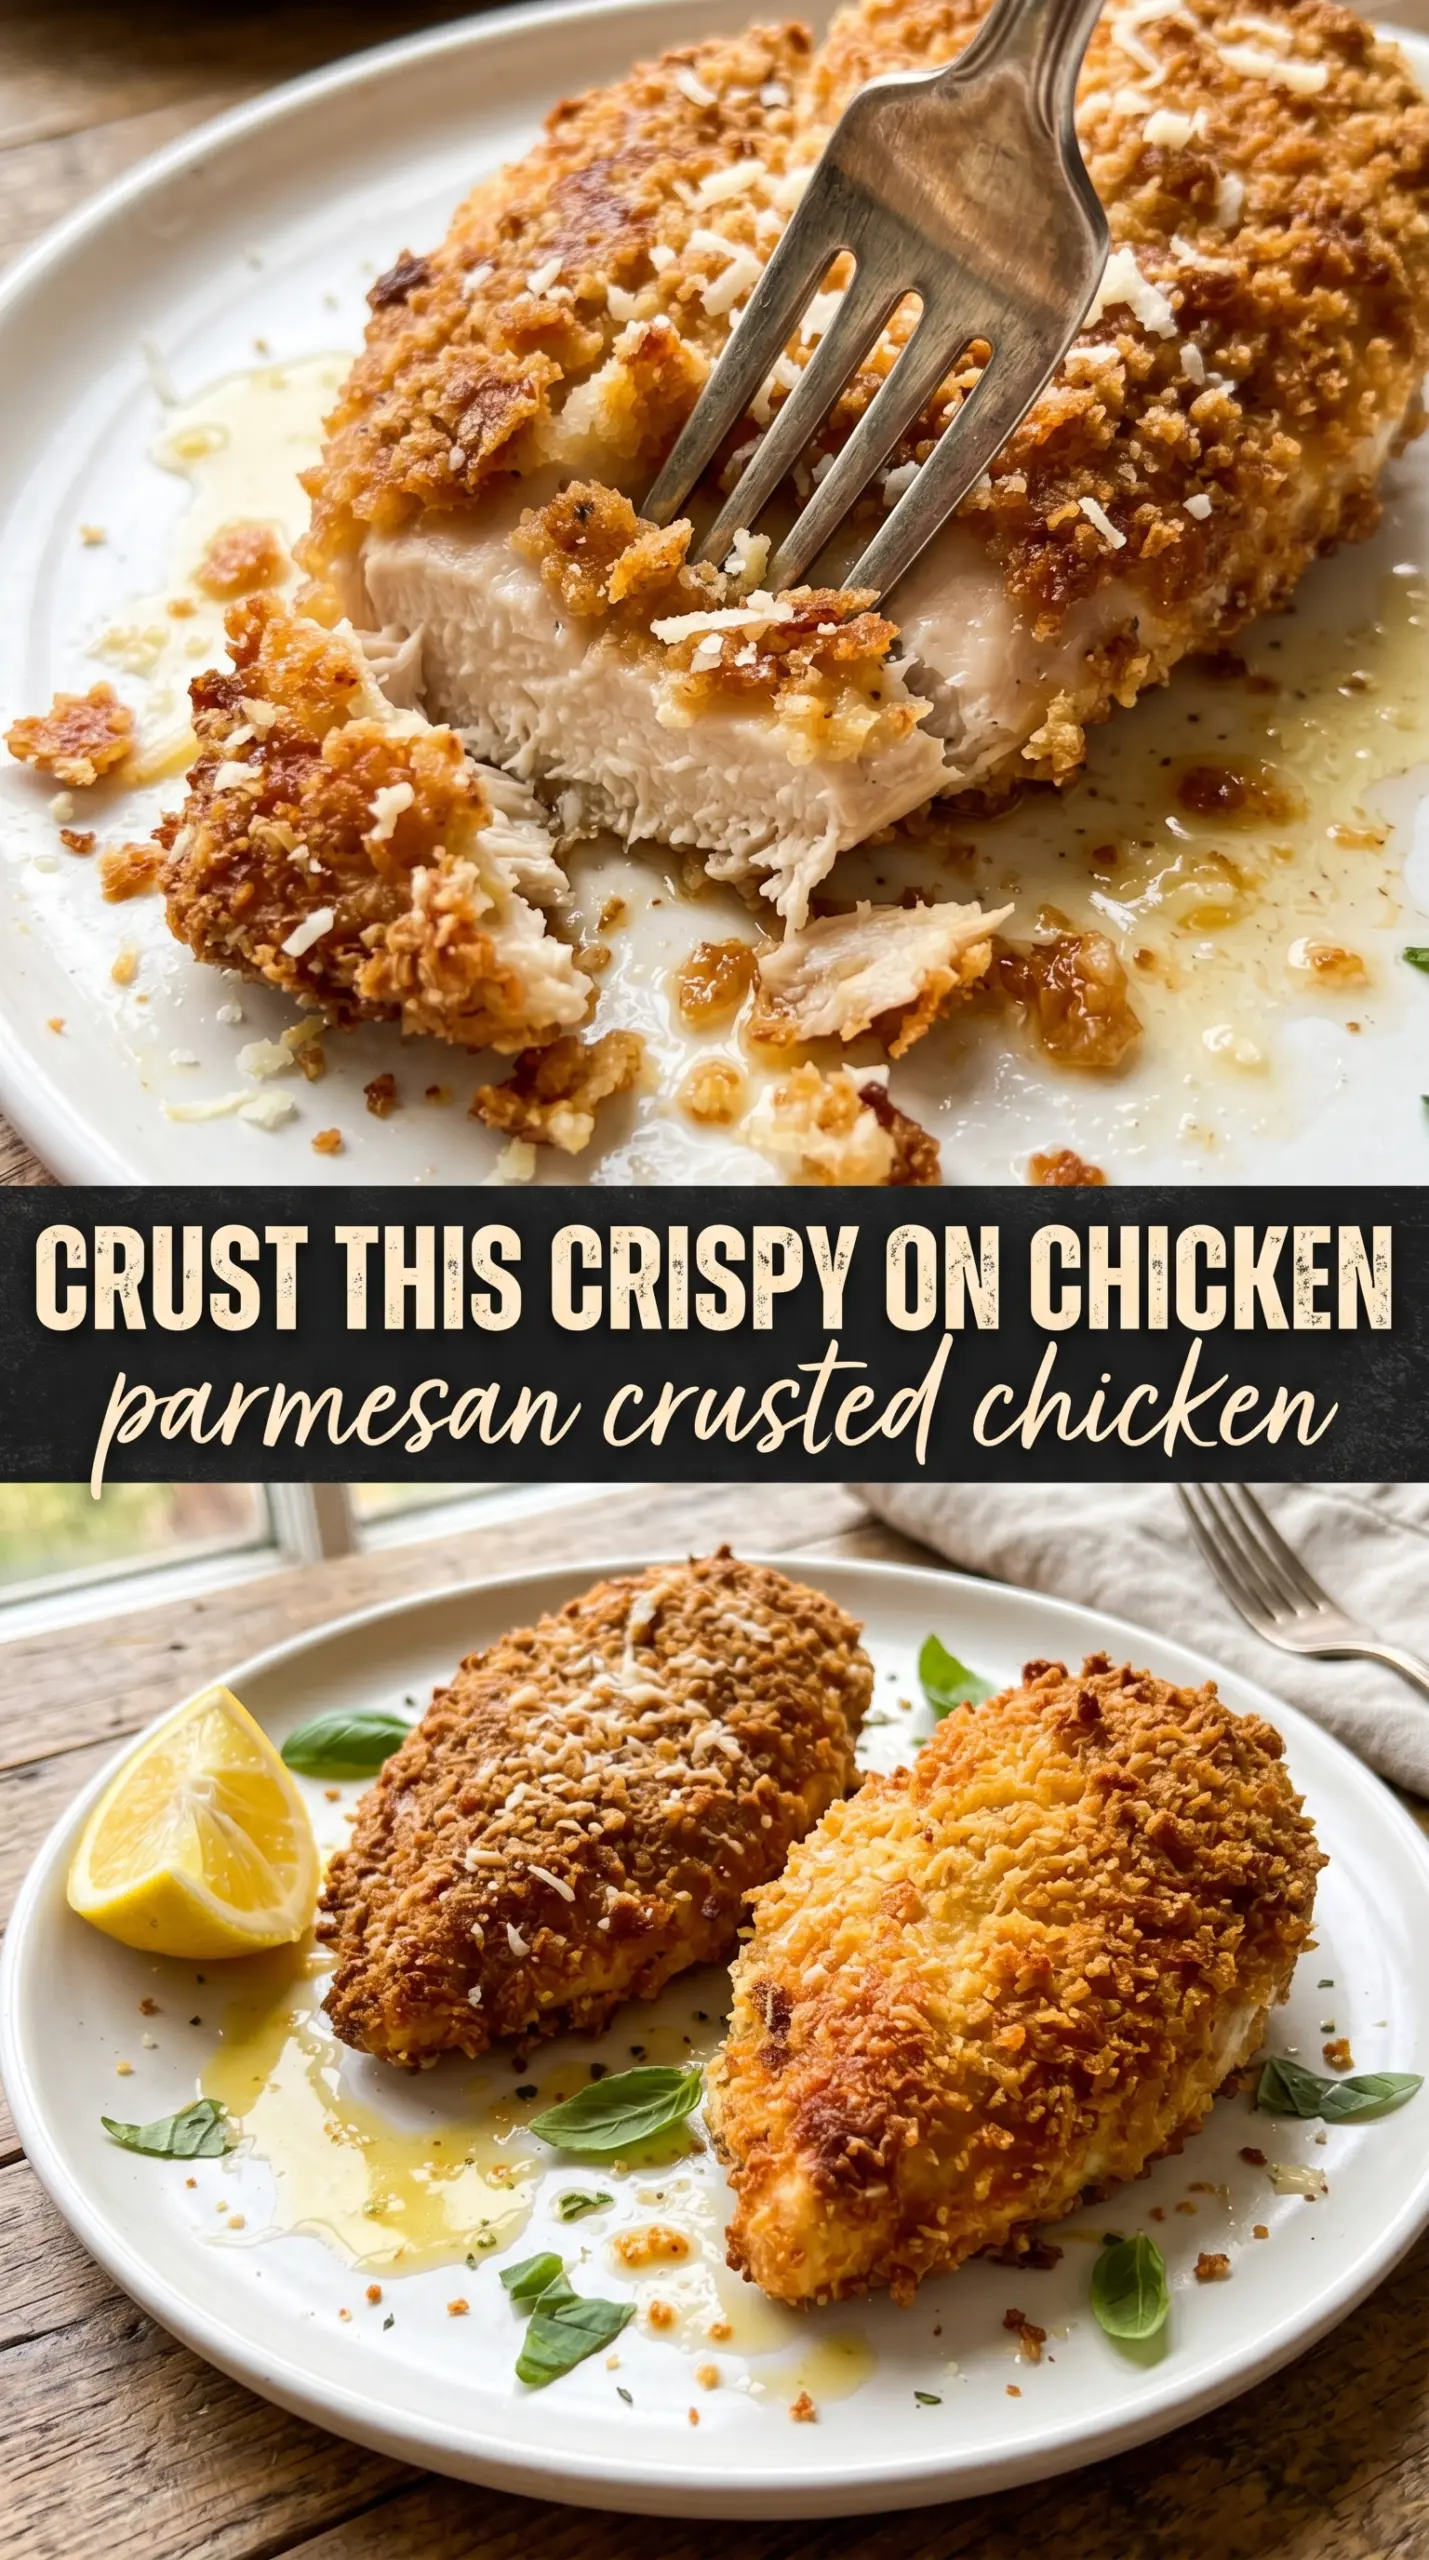
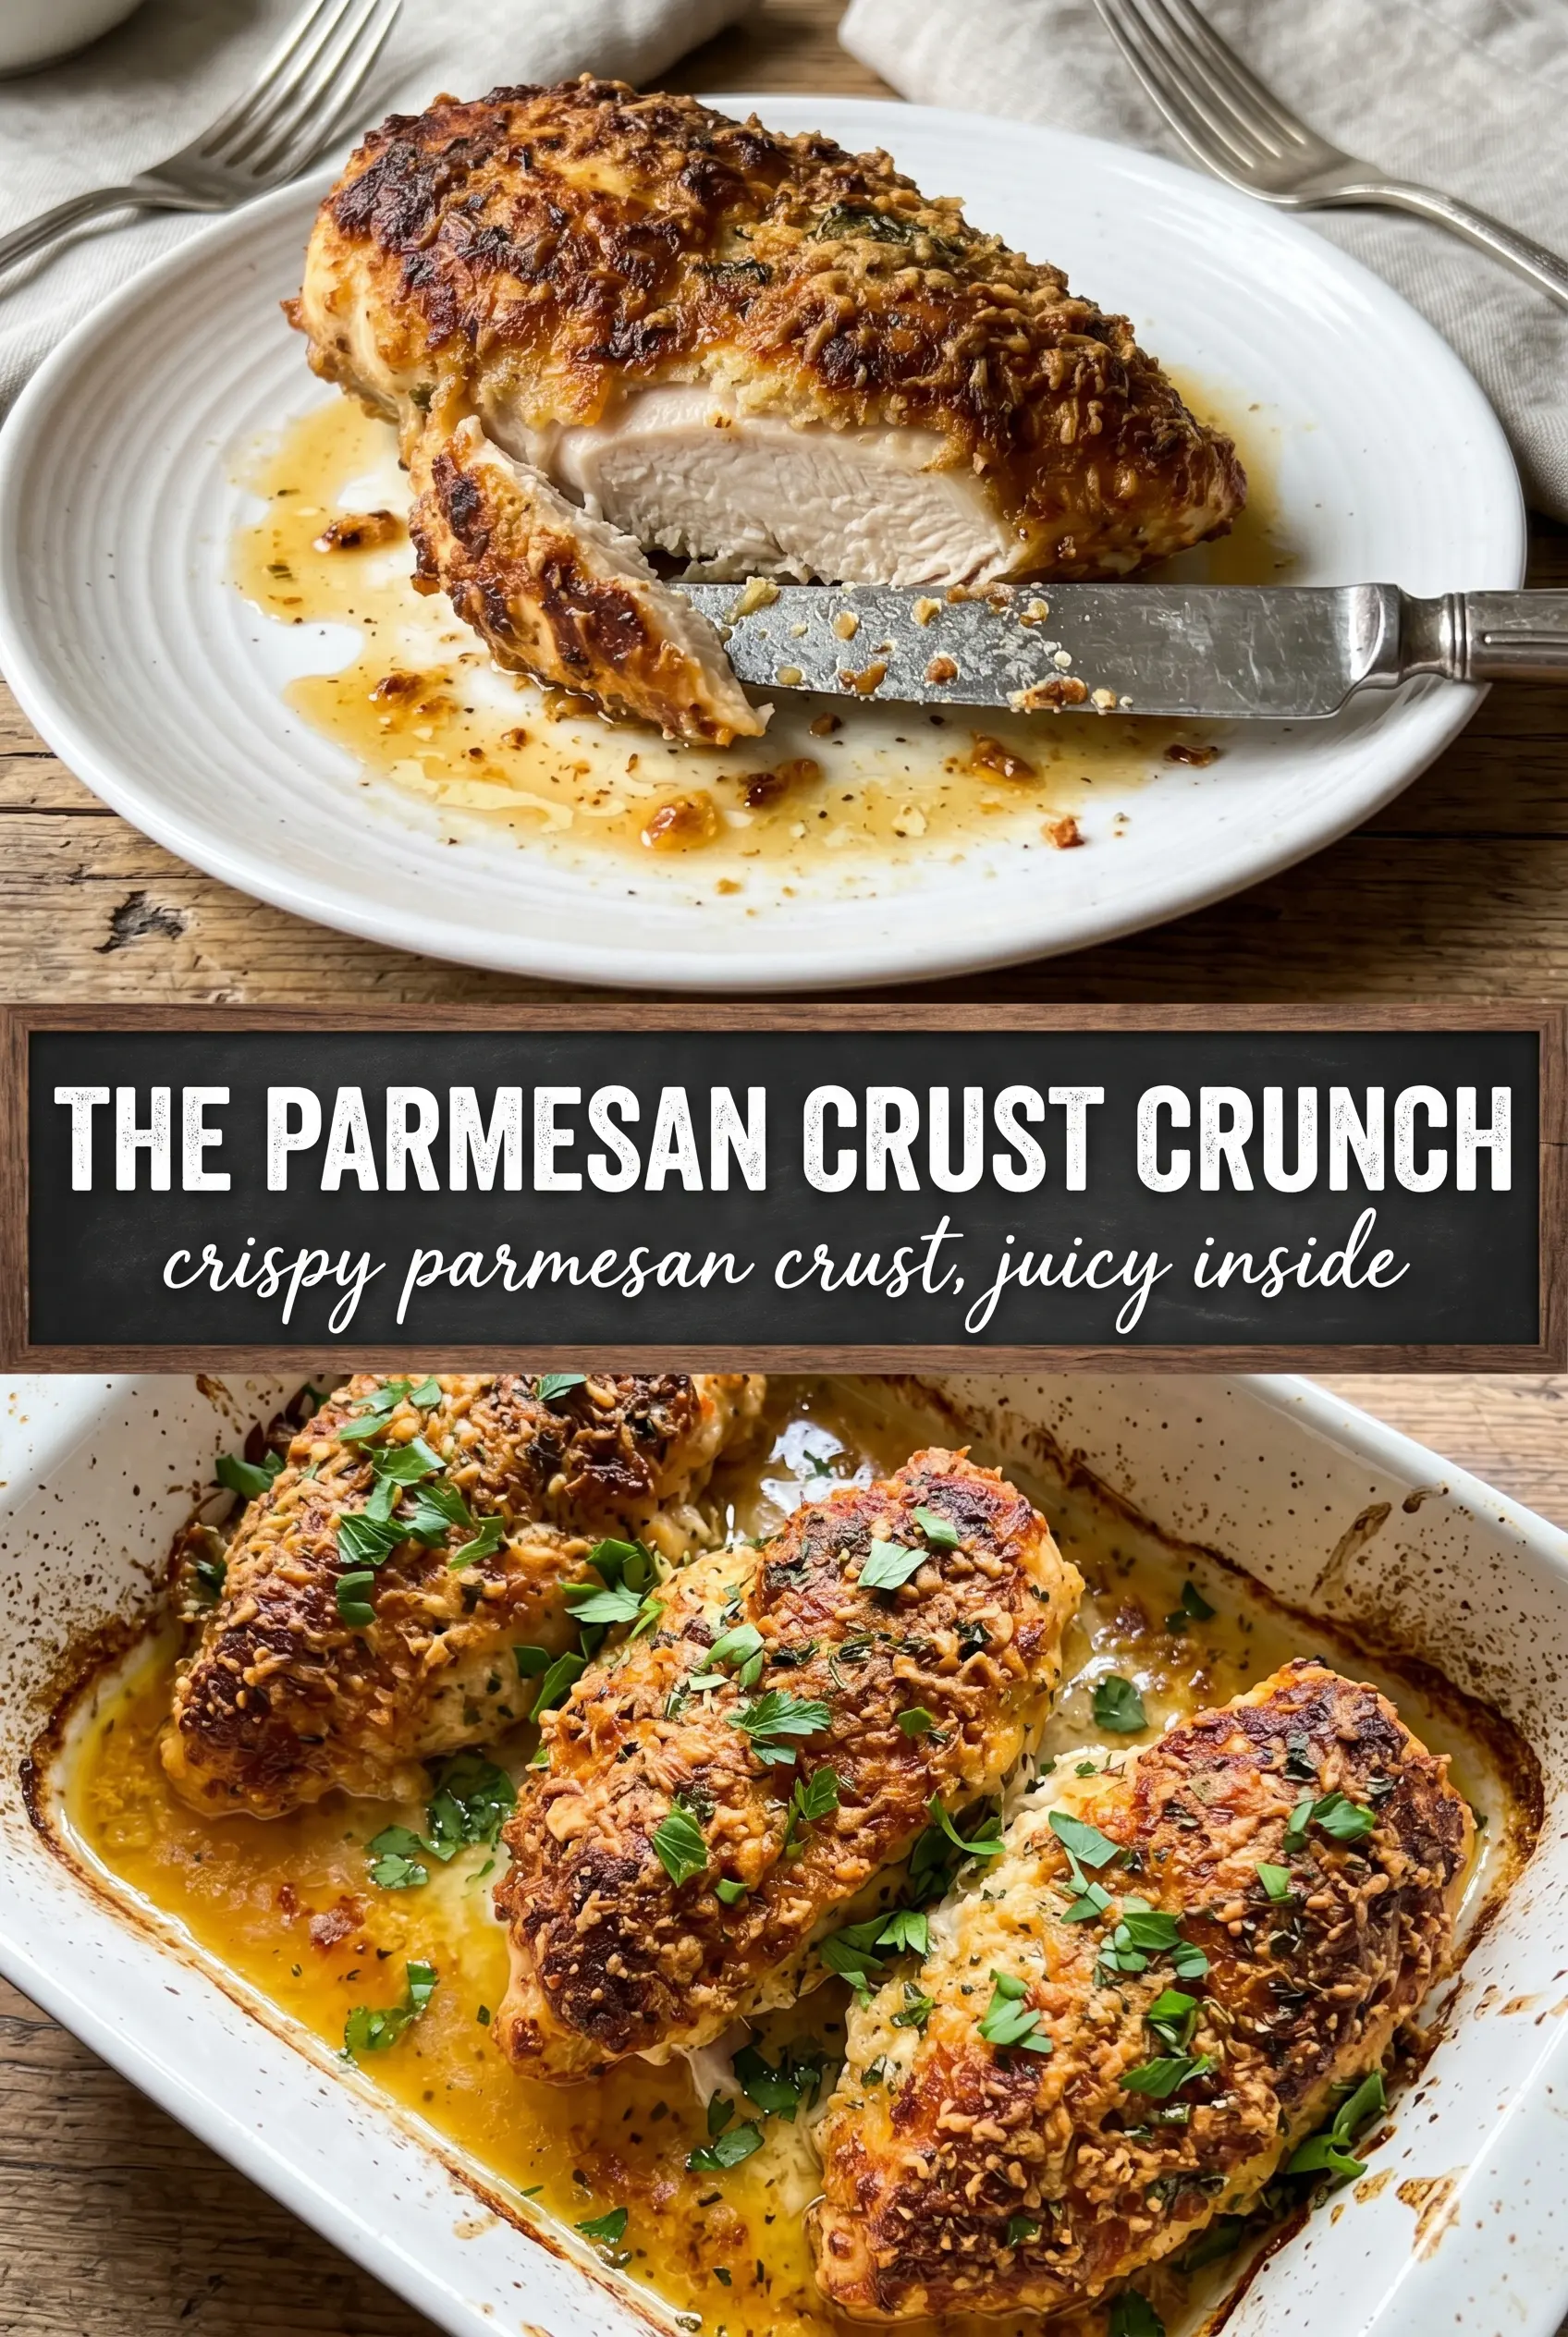
Thick chicken breasts with a crackly Parmesan crust are one of those dinners that disappears fast because the contrast is exactly right: juicy meat underneath, a shatteringly crisp coating on top, and just enough sharp cheese to keep every bite interesting. Baking instead of pan-frying keeps the crust light and evenly browned without the mess of hot oil splatter, and the wire rack helps the underside stay crisp instead of turning soft on the baking sheet.
The trick here is in the breading order and the way the crumb mixture is packed onto the chicken. Flour gives the egg something to cling to, the egg acts like glue, and the Parmesan-panko blend needs firm pressure so it actually stays put in the oven. Freshly grated Parmesan matters more than the pre-shredded kind because it melts and browns in a way that feels cohesive instead of dusty.
Below, I’ve included the small details that keep the crust crisp, the easy swaps that still work, and the one reheating method that keeps leftovers from going limp.
The crust came out deeply golden and stayed on the chicken instead of sliding off, and the rack kept the bottom just as crisp as the top. I added the lemon at the end like you suggested and it cut through the richness perfectly.
Love the shatteringly crisp Parmesan crust? Save this baked chicken dinner for the nights when you want a golden breadcrumb coating without frying.
The Reason the Crust Stays Crisp in the Oven
Baked breaded chicken usually goes soft for two reasons: the coating never gets enough direct heat, or the chicken releases moisture before the crust has time to set. The wire rack solves the first problem by letting hot air circulate all around the cutlets. The olive oil solves the second by helping the crumbs brown before they dry out.
The other detail that matters is thickness. Pounding the chicken to an even level keeps the outside from overcooking before the center is done. If one end is much thicker than the other, the thin side will dry out while you wait for the middle to reach 165°F.
- Chicken breasts — Even thickness is the difference between juicy and dry here. If your breasts are especially large, slice them horizontally into cutlets before pounding.
- Panko breadcrumbs — Regular breadcrumbs won’t give you the same light, jagged crunch. Panko stays drier and bakes up with better texture.
- Fresh Parmesan — This is one place where the finer, fresher cheese matters. Pre-shredded cheese often has anti-caking agents that keep it from melting and crisping the same way.
- Olive oil — A little on top encourages browning and keeps the crust from looking pale. You can spray it for more even coverage, or drizzle it if that’s easier.
What Each Ingredient Is Actually Doing in This Chicken
- Flour — This first layer dries the surface just enough for the egg to grab on. Skip it and the breading can slide off in patches.
- Eggs — The beaten egg is the glue that holds the Parmesan and panko in place. A quick dip is enough; a long soak makes the coating heavy.
- Italian seasoning, garlic powder, smoked paprika — These season the crust all the way through, not just the chicken itself. Paprika adds color and a little warmth without making the crust taste smoky in an obvious way.
- Parsley and lemon — These aren’t garnish for garnish’s sake. The herbs add freshness, and the lemon wakes up the cheese so the dish doesn’t feel heavy.
Building the Breading So It Stays Put
Season the chicken first
Start with the chicken itself, not just the coating. Salt, pepper, and garlic powder on the meat give every bite some seasoning even if a little crust flakes off later. Pat the chicken dry before you season it, because excess moisture is what makes the flour layer gummy instead of tacky.
Set up the breading line in the right order
Move the chicken through flour, then egg, then the Parmesan-panko mixture. That order matters because each layer depends on the one before it to hold steady. Use one hand for dry ingredients and the other for wet if you can; otherwise your fingers turn into clumps of breading fast.
Press, don’t just coat
When the chicken hits the crumb mixture, press firmly on both sides and along the edges. The coating needs a little pressure to lock onto the egg layer, especially around the thicker middle of the breast. If you’re too gentle, the crust will look coated but shed in the oven.
Bake on a rack until deeply golden
Place the chicken on the prepared rack and bake until the crust is deep golden and the thickest part hits 165°F. If the top browns too fast before the center is done, your oven runs hot and the rack may be too close to the upper element. In that case, lower the pan one level and keep baking until the thermometer reads correctly.
Make it gluten-free with a crisp crumb
Swap the all-purpose flour for a gluten-free blend and use gluten-free panko. The method stays the same, and the olive oil still helps the crust brown, but choose a crumb that lists a coarse texture so the coating doesn’t turn sandy.
Use chicken cutlets for a faster dinner
If you want a quicker bake and more crust per bite, slice the breasts into cutlets before breading them. They’ll cook in less time, brown more evenly, and stay easier to serve, but they’ll lose the thick, dramatic presentation of whole breasts.
Swap in part-skim mozzarella for a milder finish
You can replace a small portion of the Parmesan with finely grated mozzarella if you want a softer, less sharp crust. The tradeoff is less nutty flavor and a slightly less crisp finish, so keep the Parmesan as the main cheese and use mozzarella only as a background note.
Storage and Reheating
- Refrigerator: Store leftovers in an airtight container for up to 3 days. The crust softens a bit in the fridge, but it still reheats well.
- Freezer: Freeze after baking and cooling completely. Wrap each piece tightly and freeze for up to 2 months; the crust won’t be as crisp after thawing, but it’s still usable for a second meal.
- Reheating: Reheat in a 375°F oven or air fryer until hot and re-crisped. Skip the microwave if you want any crunch at all, since it steams the coating and turns the breading soft.
Questions I Get Asked About This Recipe
Parmesan Crusted Chicken
Ingredients
Equipment
Method
- Preheat oven to 425°F and line a baking sheet with a wire rack; spray with cooking spray.
- Set up a three-station breading line with flour, beaten eggs, and the panko-Parmesan mixture.
- Season chicken with salt, pepper, and garlic powder to taste.
- Dredge chicken in flour, dip in egg, then press firmly into the Parmesan panko to coat all sides.
- Drizzle or spray olive oil over the breaded chicken and place it on the prepared rack.
- Bake for 20-22 minutes at 425°F until the crust is deep golden and internal temperature reaches 165°F.
- Rest chicken for 3 minutes before serving to help the crust set.
- Garnish with fresh parsley and serve with lemon wedges.