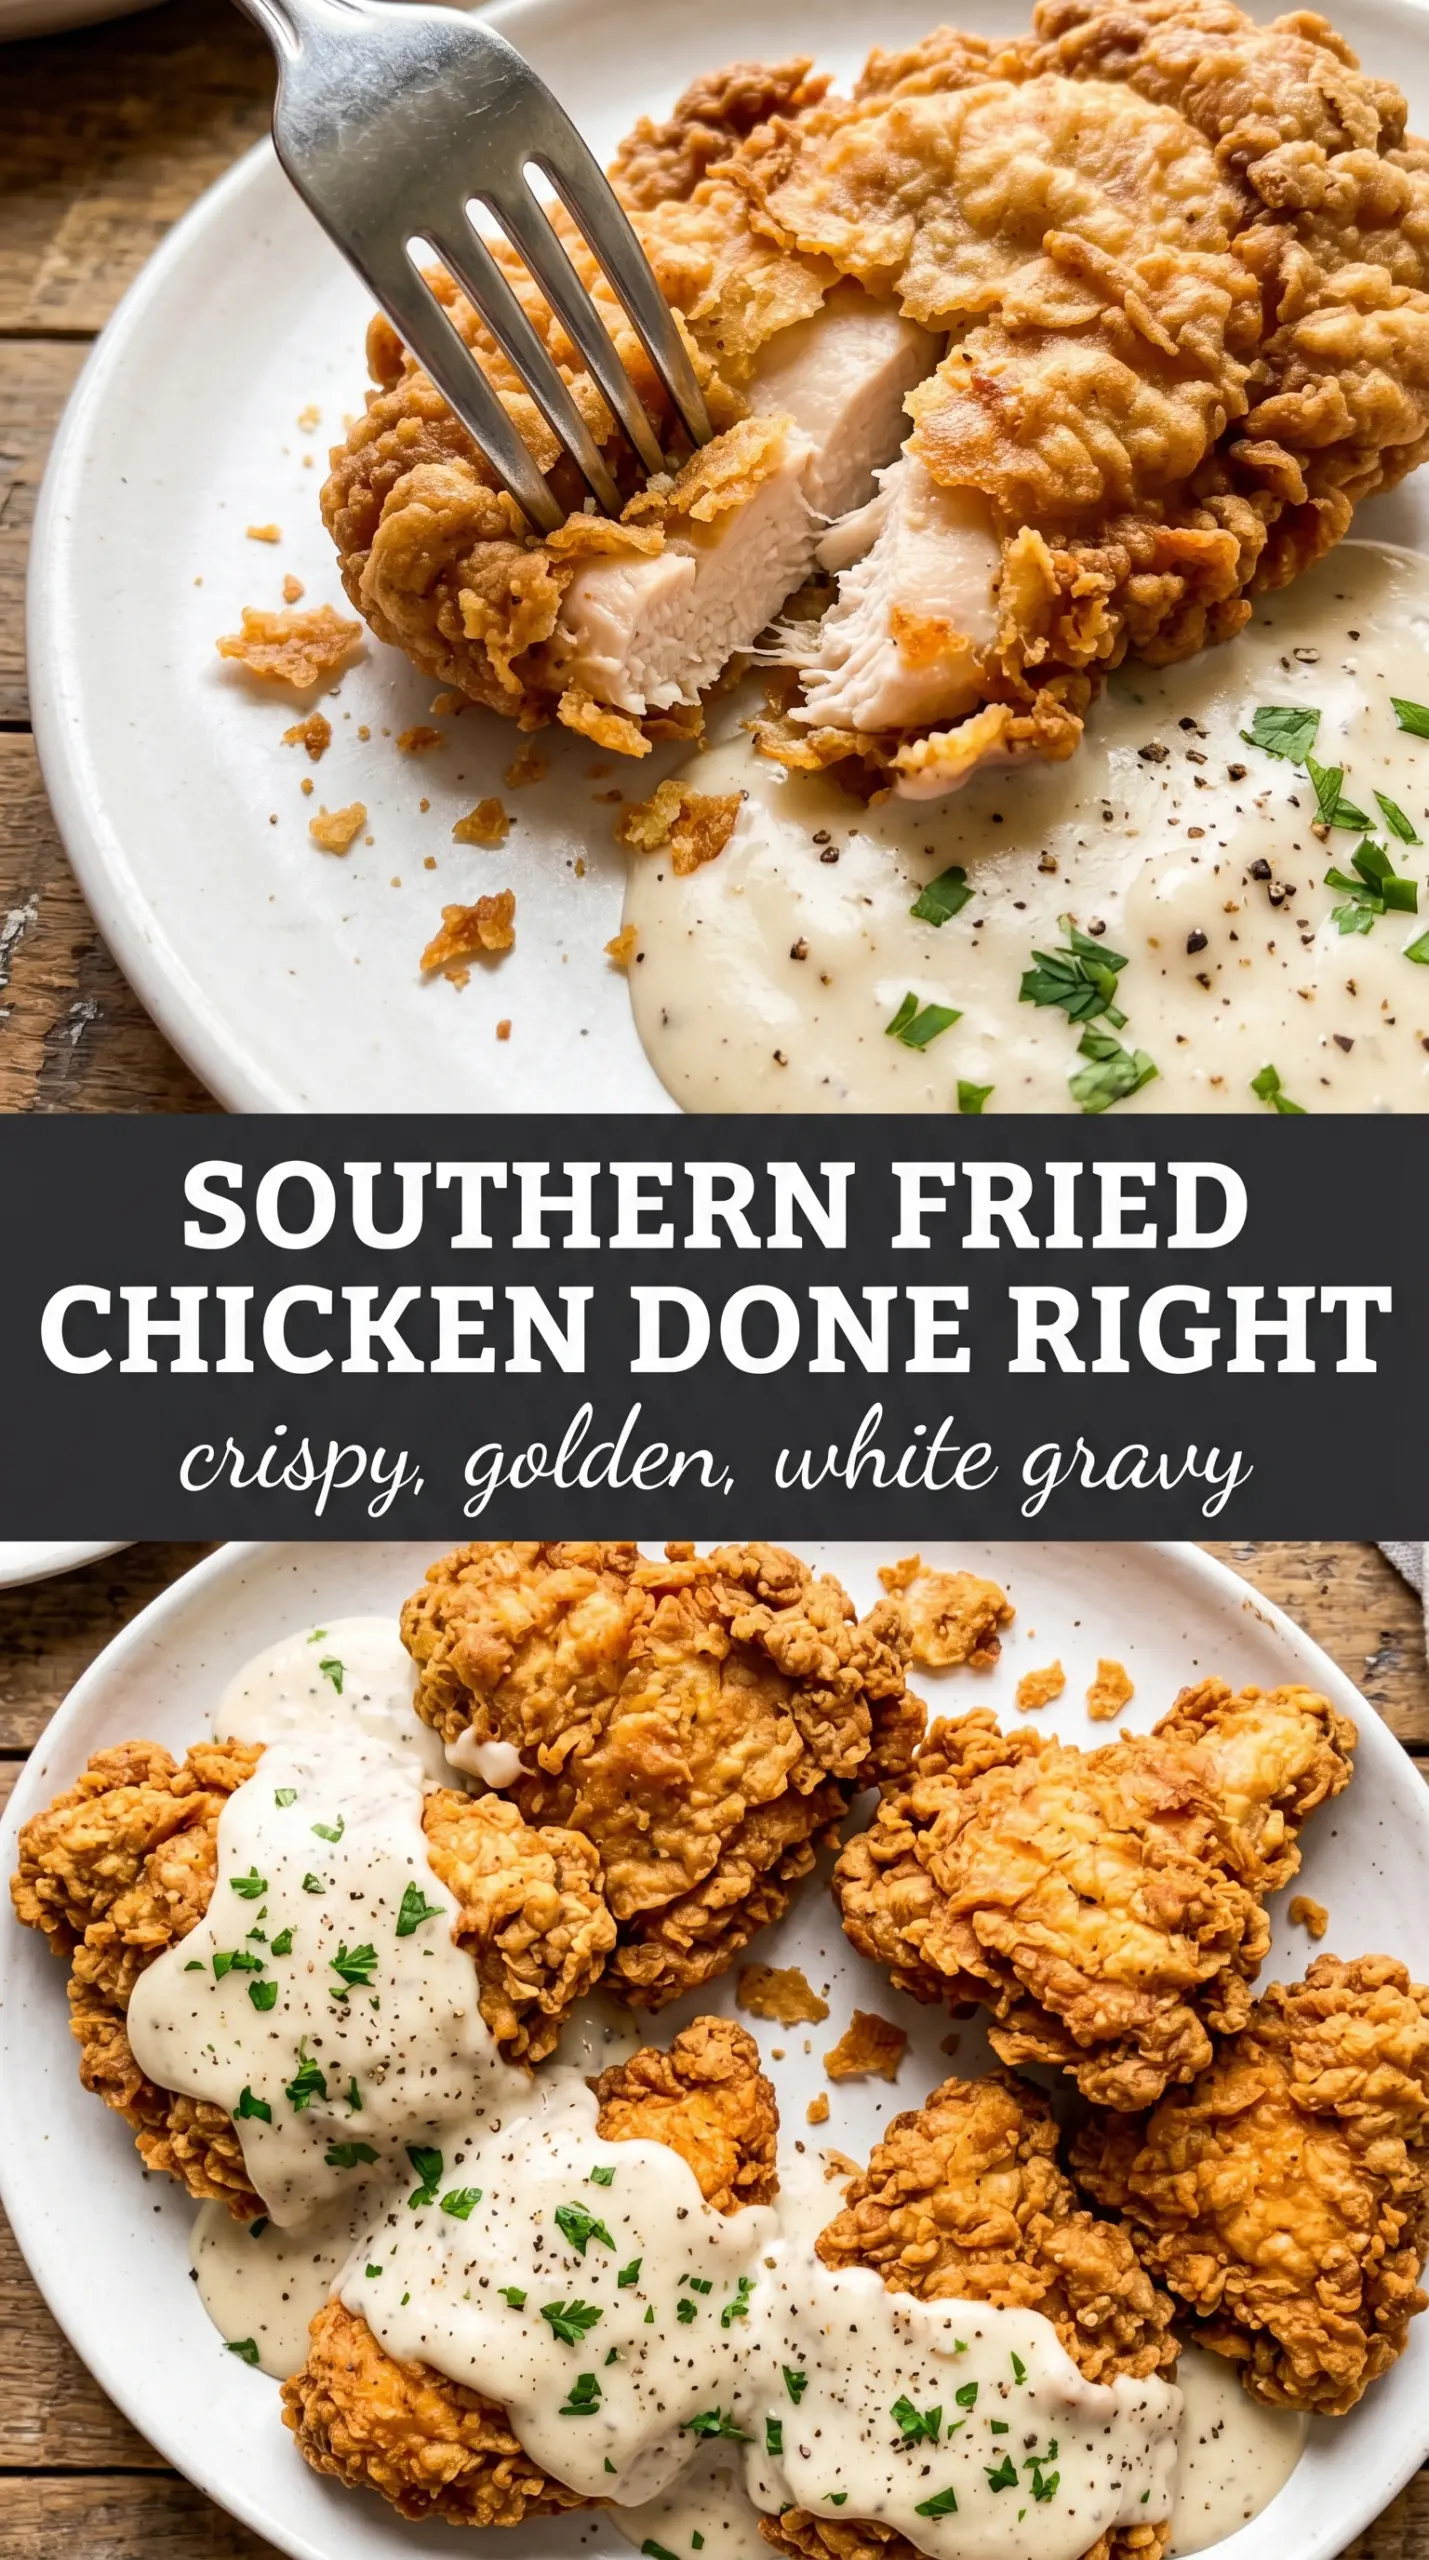
Country fried chicken earns its place in the rotation when you want a shatteringly crisp crust, juicy meat, and that peppery white gravy pooling underneath every piece. The coating fries up thick and craggy instead of thin and dusty, and the buttermilk soak gives the chicken enough seasoning from the inside that each bite tastes like more than just breading.
The difference here is in the dredge and the heat control. Pressing the flour on firmly, then repeating the dip-and-dredge, builds those rough ridges that fry into the best kind of crunch. Keep the oil at 350°F and the crust will set before the chicken has a chance to soak up grease; let it drift too low and the coating turns heavy instead of crisp.
Below, I’ll walk you through the little details that keep the breading from sliding off, how to get the gravy smooth from the pan drippings, and the one reheating method that won’t wreck the crust.
The coating stayed on beautifully and the crust came out thick and crunchy instead of greasy. I made the gravy from the drippings and it thickened up fast without a single lump.
Like this country fried chicken? Save it to Pinterest for the nights when you want a crunchy crust, juicy meat, and peppery gravy all on one plate.
The Reason the Coating Stays Crunchy Instead of Falling Off
The crust on country fried chicken fails for one of two reasons: the chicken is too wet when it hits the flour, or the flour layer never gets a chance to cling and hydrate before frying. The buttermilk needs time to coat the surface and loosen the outer layer of the meat a little. Then the flour has to be pressed on firmly enough that it sticks in uneven ridges, not a smooth dusting.
That second dip-and-dredge matters. It creates a thicker shell, and that shell fries into those jagged edges people expect from a proper country fried chicken. If your breading looks pasty or starts sliding in the oil, the chicken went into the fryer with too much excess buttermilk still clinging to it.
What Each Ingredient Is Actually Doing in This Chicken and Gravy
- Buttermilk — This is doing more than tenderizing. It seasons the chicken all the way through and gives the flour something slightly sticky to grab onto. Whole milk with a splash of lemon can work in a pinch, but the texture won’t be quite as plush.
- Hot sauce — You’re not adding heat for the sake of heat. It sharpens the buttermilk and disappears into the background once the chicken is fried, so don’t skip it unless you need the mildest possible version.
- Garlic powder, onion powder, smoked paprika, cayenne, salt, and black pepper — This is the flavor backbone of the crust. Fresh garlic or onion won’t work here because they can burn before the coating is done; the dry spices stay balanced and cook cleanly.
- Bone-in chicken pieces — Bone-in pieces stay juicier during frying and give you a little more insurance against overcooking. Thighs are more forgiving than breasts, but both work if you watch the temperature.
- Pan drippings — These make the gravy taste like it belongs on the plate. If you don’t have enough drippings, add a spoonful of the fried chicken oil and a little butter so the gravy still has depth.
- Whole milk — Whole milk makes the gravy smooth and rich without feeling heavy. Lower-fat milk will thicken, but the sauce tastes thinner and can look a little less silky.
Frying the Chicken So the Crust Sets Before the Meat Overcooks
Soaking and Dredging
Start by soaking the chicken in buttermilk and hot sauce for at least 30 minutes, or overnight if you want the most seasoned result. When it comes out, let the excess drip off before it hits the flour; a puddled coating turns gummy instead of crisp. Press the flour on with real intent, then repeat the dip-and-dredge so the surface gets those rough, crunchy edges that fry up best.
Keeping the Oil at the Right Heat
Heat the oil to 350°F in a cast iron skillet with enough depth to come halfway up the chicken. If the oil is too cool, the coating absorbs it and turns heavy before it browns. If it’s too hot, the crust darkens before the inside reaches 165°F, which is how you end up with perfect-looking chicken that’s still underdone in the middle.
Frying Until Deeply Golden
Lay the chicken in carefully and give each piece space. Crowding the pan drops the temperature fast and makes the crust steam instead of fry. Turn the pieces halfway through and watch for a deep golden color with crisp ridges; if you’re guessing by color alone, check the thickest part with a thermometer so you don’t pull it too early.
Building the White Gravy
Whisk the flour into the pan drippings and cook it for a minute before adding the milk slowly. That short cook takes the raw edge off the flour and keeps the gravy from tasting pasty. Whisk steadily as it thickens, and if it starts to look lumpy, pull the pan off the heat and keep whisking before adding more milk.
How to Adapt Country Fried Chicken Without Losing the Crunch
Make It Without Dairy
Use unsweetened dairy-free milk mixed with a little lemon juice or vinegar in place of the buttermilk. The coating won’t have quite the same tang, but it will still cling well and fry up crisp if you let the chicken rest after dredging.
Gluten-Free Version
Swap the all-purpose flour for a 1:1 gluten-free flour blend that includes starch. The crust will still get crunchy, though it may brown a little faster, so watch the color closely and keep the oil steady.
Extra-Thick Crust
For a heavier, more craggy crust, let the dredged chicken sit on a rack for 10 minutes before frying. That rest gives the flour time to hydrate and form little pastey nubs that fry into an even rougher shell.
Storage and Reheating
- Refrigerator: Store leftovers in an airtight container for up to 3 days. The crust softens a little, especially once gravy is added.
- Freezer: Freeze the fried chicken without gravy for up to 2 months. Wrap pieces well and thaw in the refrigerator before reheating so the coating doesn’t steam.
- Reheating: Reheat on a wire rack in a 375°F oven until hot and crisp again. Avoid the microwave if you want the crust to stay crunchy, because it softens the coating fast.
Answers to the Questions Worth Asking

Country Fried Chicken
Ingredients
Equipment
Method
- Soak the bone-in chicken pieces in buttermilk and hot sauce for at least 30 minutes or overnight, keeping them chilled as needed.
- Let the chicken sit at the end of soaking so the coating will cling, with the marinade ready for dip-and-dredge.
- Whisk together all-purpose flour, garlic powder, onion powder, smoked paprika, cayenne pepper, salt, and cracked black pepper in a shallow dish until evenly colored.
- Remove the bone-in chicken pieces from buttermilk, letting excess drip off back into the bowl.
- Dredge the chicken firmly in the seasoned flour coating, then press to help it adhere.
- Repeat the dip-and-dredge for extra crunch so the coating stays thick.
- Heat 2-3 inches of vegetable oil to 350°F in a large cast iron skillet.
- Fry the chicken for 10-12 minutes per side until deeply golden and the internal temperature reaches 165°F.
- Drain the fried chicken on paper towels immediately to keep the crust crisp.
- Whisk pan drippings and flour in the skillet over medium heat for 1 minute.
- Gradually whisk in whole milk and cook until thickened.
- Season the gravy with salt and pepper to taste, adjusting for a smooth, pourable consistency.
- Serve the chicken immediately with white country gravy poured over the top so it pools around the base.