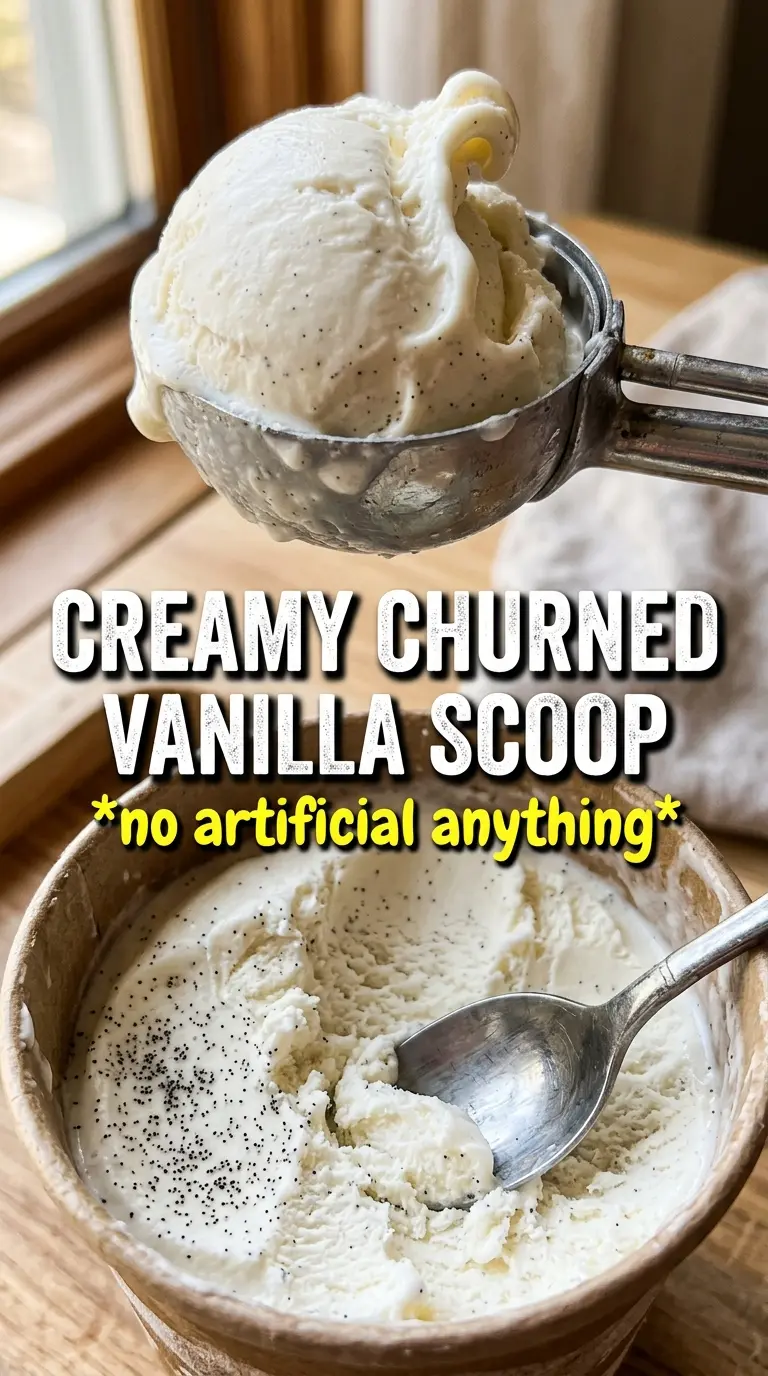
Pale, rich vanilla ice cream earns its keep when the scoop comes out dense and creamy instead of icy, with that deep custard flavor you only get from egg yolks and real cream. This version freezes up with a smooth body, a clean vanilla finish, and tiny bean specks running all the way through every spoonful.
The difference is in the custard base. Egg yolks give the ice cream its old-fashioned texture, and cooking the mixture just enough to coat a spoon keeps it thick without turning it eggy or scrambled. Steeping the vanilla in the hot dairy before the yolks go in pulls more flavor out of the bean, and that long chill before churning helps the base freeze faster and smoother.
Below, I’ve included the exact cue I use for checking the custard, what to do if you’re using extract instead of a bean, and the small details that keep homemade ice cream creamy instead of hard and chalky.
The custard thickened exactly at 175°F and churned into the creamiest vanilla ice cream I’ve ever made. The vanilla bean specks looked gorgeous, and it scooped like store-bought after an overnight freeze.
Save this old-fashioned vanilla ice cream for the nights when you want a custard-style scoop with real vanilla bean flavor and that classic creamy churned finish.
The Custard Has to Be Cooked Just Enough, Not Faster
Old-fashioned ice cream gets its body from egg yolks, and that means the base needs gentle heat, not hurry. If you crank the burner, the eggs can curdle before the custard thickens, and once that happens you’ll feel little grainy bits in the finished ice cream. The goal is a smooth base that lightly coats the back of a spoon and leaves a clean line when you drag a finger through it.
The other place people go wrong is chilling. A warm custard churns poorly, freezes unevenly, and tends to turn hard instead of creamy. Give it time in the fridge until it’s cold all the way through. That rest is part of the recipe, not a suggestion.
What the Vanilla Bean and Yolks Are Actually Doing Here
- Heavy cream — This is where the lush, scoopable texture comes from. You need the fat for that dense custard feel, and there isn’t a substitute that gives quite the same finish. Half-and-half makes a thinner ice cream; lower-fat milk makes it icier.
- Whole milk — The milk keeps the base from tasting too heavy and helps the custard freeze with a cleaner bite. Use whole milk here, not reduced-fat milk. The lower the fat, the more the ice crystals show up.
- Egg yolks — These thicken the custard and give it that old-fashioned, almost French-style richness. Whisk them with the sugar until pale before adding the hot dairy, and pour slowly so you don’t scramble them. If you want the best texture, don’t skip the yolks.
- Vanilla bean — A split bean gives you the deepest flavor and the little black specks that make the ice cream look as good as it tastes. Pure vanilla extract works in a pinch, but add it after the custard comes off the heat so the aroma stays bright. If you only have extract, use 2 teaspoons.
- Sugar — Sugar doesn’t just sweeten the ice cream; it also helps keep the texture softer straight from the freezer. The full amount matters here because too little sugar makes the finished ice cream firm and dull-tasting.
How to Build the Base Without Scrambling the Eggs
Steeping the Dairy with Vanilla
Warm the cream and milk until they’re steaming and just beginning to show small bubbles around the edge, then pull the pan off the heat. Drop in the scraped bean and the pod, and let it steep for 15 minutes so the vanilla can infuse the dairy instead of only sitting on the surface. If you’re using extract, skip the steeping step and stir it in later, after the custard is cooked.
Tempering the Yolks Slowly
Whisk the yolks and sugar until the mixture looks paler and a little thicker. Then drizzle in the warm dairy in a slow stream while whisking constantly. That step raises the temperature of the yolks gradually, which is what keeps the custard smooth. Dumping in the hot cream all at once is the fastest way to get sweet scrambled eggs.
Cooking to the Spoon-Coating Stage
Return everything to the saucepan and cook over medium-low heat, stirring constantly with a spatula or wooden spoon. Watch for the custard to thicken enough to coat the back of a spoon; at 175°F, it’s ready to come off the heat. The pan should never boil. If you see steam getting aggressive or the mixture starts to look grainy, lower the heat immediately and keep stirring.
Straining, Chilling, and Churning
Push the custard through a fine mesh sieve to catch any little bits of cooked egg and remove the vanilla pod. Stir in the salt, then chill the base over an ice bath before moving it to the refrigerator. It needs to be cold before it hits the ice cream maker. Churn until it looks like soft-serve, then freeze it until firm enough to scoop cleanly.
Ways to Change the Flavor Without Losing the Creamy Texture
Vanilla Bean or Pure Extract
The bean gives the deepest flavor and the prettiest specks, but pure vanilla extract still makes a fine batch. If you use extract, stir it in after the custard is off the heat so the aroma stays strong. You’ll lose the visual flecks, but the ice cream will still taste classic and clean.
Dairy-Free Version
This recipe doesn’t convert cleanly to dairy-free without changing the texture, but full-fat coconut milk can stand in for the cream and milk if you’re okay with a coconut note. The custard will still need yolks for body, and the finished ice cream won’t taste like classic vanilla anymore. It’ll be richer and softer, but the flavor shifts noticeably.
Turning It Into Vanilla Bean Ice Cream with Mix-Ins
Fold in chopped chocolate, crushed cookies, or toasted nuts after churning, not before. Adding them early makes the churn slower and can break up the texture of the base. Keep mix-ins cold so they don’t melt the ice cream as you stir them through.
Storage and Reheating
- Refrigerator: The churned ice cream itself shouldn’t be stored in the fridge, but the chilled custard base can sit there for up to 2 days before churning.
- Freezer: Store in an airtight container with parchment pressed onto the surface for up to 2 weeks. After that, it starts to pick up ice crystals and lose flavor.
- Reheating: Not applicable. For the best scoop, let the container sit at room temperature for 5 to 10 minutes before serving so the texture softens instead of cracking under the spoon.
Questions I Get Asked About This Recipe
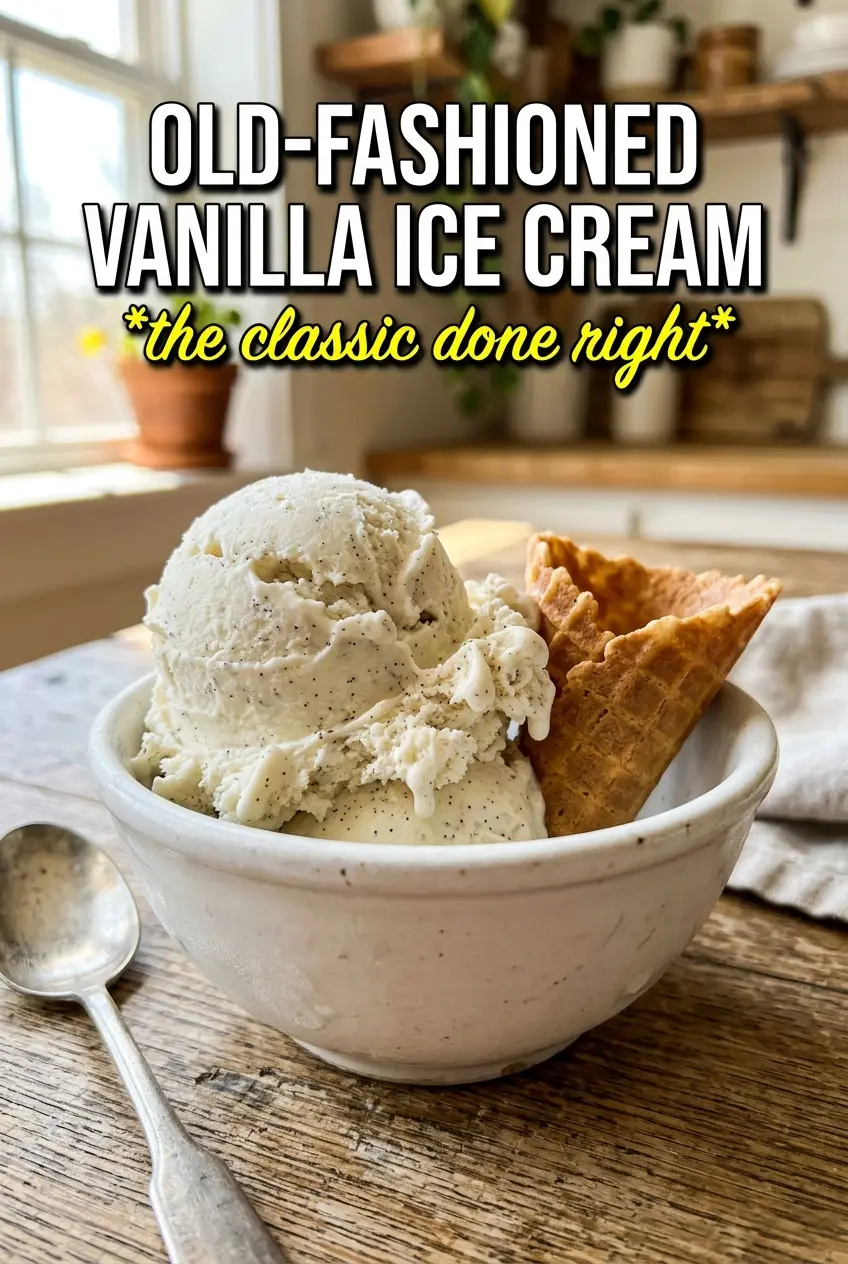
Old-Fashioned Homemade Vanilla Ice Cream
Ingredients
Equipment
Method
- Split the vanilla bean lengthwise and scrape the seeds. Add the pod and seeds to the heavy cream and whole milk in a saucepan.
- Heat the cream mixture over medium heat until steaming and just beginning to simmer. Remove from the heat and let steep for 15 minutes, then remove the vanilla pod.
- Whisk the egg yolks and granulated sugar together until pale and thick. Keep whisking until the mixture looks lighter in color.
- Slowly pour the warm cream into the yolks while whisking constantly. Stream it in gradually so the yolks don’t scramble.
- Return the mixture to the saucepan and cook over medium-low heat, stirring constantly. Cook until the custard thickens to coat the back of a spoon, reaching 175F.
- Strain the custard through a fine-mesh sieve into a clean container. Stir in the salt until fully combined.
- Cool the custard by setting it over an ice bath. Stir occasionally until it’s no longer hot.
- Refrigerate the custard at least 4 hours or overnight. Chill completely before churning.
- Churn the chilled custard in an ice cream maker. Then freeze until firm.