Cold, creamy cheesecake layered over a buttery oat crumble crust gives this dessert the kind of contrast people remember. The filling sets up sliceable and smooth, the apple topping adds that spiced pie flavor, and the extra crumble on top keeps every bite from feeling soft all the way through. It eats like cheesecake and apple crumble at the same time, which is exactly why it disappears fast.
The trick is keeping each layer distinct. The crust needs enough melted butter to hold together once chilled, but not so much that it turns greasy. The filling depends on cream cheese that’s fully softened and whipped cream that’s folded in gently, because that’s what gives the cheesecake its airy but stable texture without baking. Using apple pie filling keeps the topping simple, but a little cinnamon and nutmeg wake it up and make it taste homemade.
Below, I’ll walk through the one step that keeps the crust from crumbling apart when sliced, plus a few easy variations if you want to lean the dessert richer, lighter, or gluten-free.
The crust held together beautifully after chilling, and the cinnamon in the filling kept it from tasting too sweet. I cut clean slices after overnight chilling and the crumble on top stayed crisp.
Save this no-bake apple crumble cheesecake for the dessert table when you want clean slices, a creamy filling, and a spiced apple topping without turning on the oven.
The Part That Keeps the Crust From Falling Apart When You Slice It
The crust in this dessert has to do more work than a standard cookie base. It needs to press into a springform pan, chill firm, and still hold up under a thick cheesecake layer plus a soft apple topping. The biggest mistake is leaving it too loose in the pan. If the crust is only lightly packed, it will crumble when you lift the first slice.
Reserve part of the crust mixture before pressing it in. That gives you a topping with the same flavor and texture, and it keeps the finished dessert from tasting flat. The butter should moisten every oat and flour bit evenly; if you see dry patches, the crust won’t set into one cohesive layer. Press it down firmly, especially around the edges, because that edge is what keeps the filling from creeping under the base.
What Each Layer Is Doing in This Cheesecake
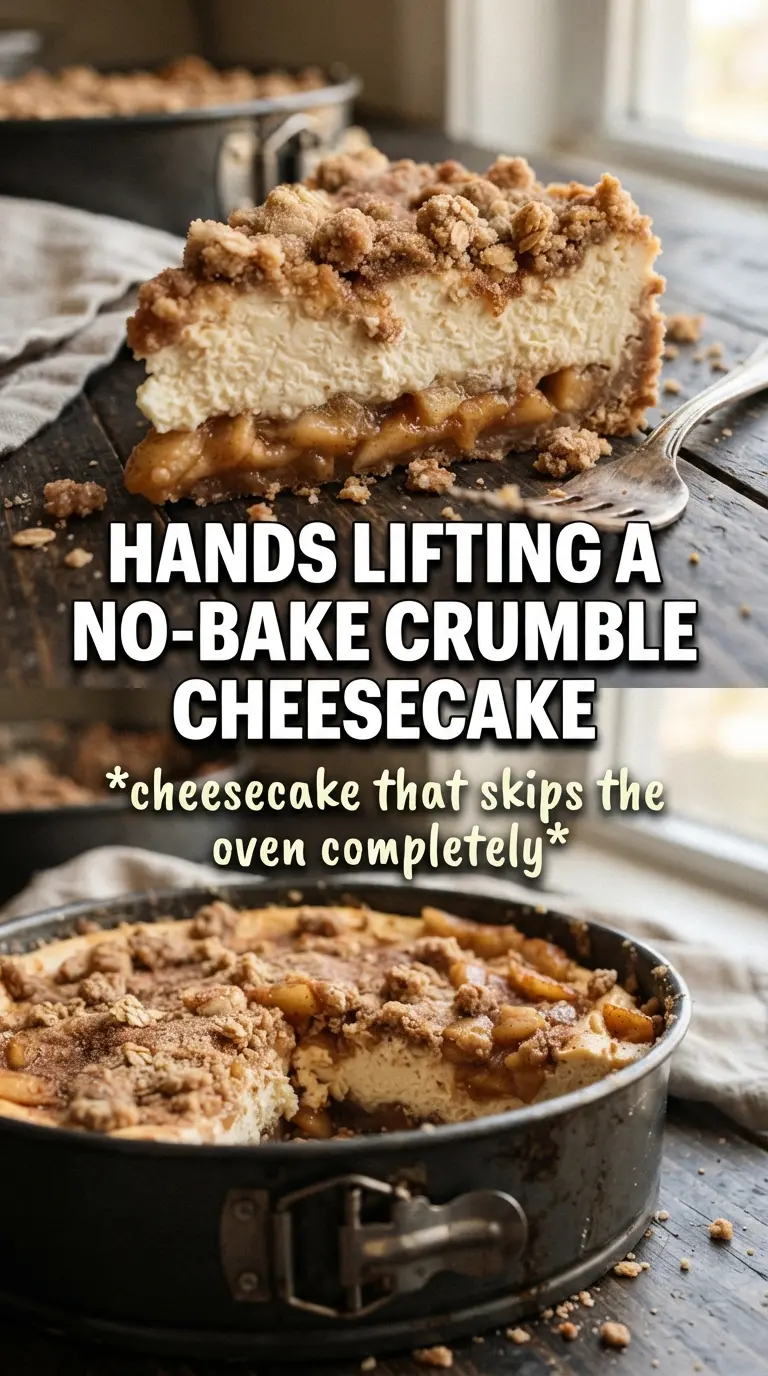
The image block appears before the ingredient notes as required. The crust depends on rolled oats for chew and flour for structure; quick oats can work in a pinch, but they give a finer, less craggy texture. Brown sugar adds the molasses note that makes the base taste like crumble instead of plain graham crust. Melted butter is what binds everything, so don’t cut it back.
- Cream cheese — Use full-fat cream cheese here. Lower-fat blocks can work, but the filling won’t set as firmly and can taste thin. Soften it fully before beating; cold cream cheese leaves little lumps that never smooth out completely.
- Heavy cream — Whip it to stiff peaks before folding it in. That’s what gives the cheesecake height and structure without baking. If it’s underwhipped, the filling can turn soft and slide when sliced.
- Apple pie filling — This is the easiest shortcut that still tastes right. The canned filling gives you tender apples and syrupy coating fast, and the added cinnamon and nutmeg make it taste closer to a homemade apple topping. If you use homemade apple filling, cook it down first so extra moisture doesn’t seep into the cheesecake.
- Reserved crumble — Don’t skip it. That final handful adds contrast against the soft filling and keeps the top from looking bare.
Building the Layers So the Cheesecake Sets Cleanly
Pressing and Chilling the Crust
Mix the oats, flour, brown sugar, cinnamon, and melted butter until every dry bit looks damp and sandy. Press the mixture firmly into the bottom of a 9-inch springform pan, using the flat bottom of a measuring cup to compact it evenly. Chill it for 20 minutes so the butter firms up before the filling goes in. If the crust goes in warm, the cheesecake layer can soften the base and make slicing messy later.
Whipping the Filling Until It’s Silky
Beat the cream cheese with both sugars, vanilla, and cinnamon until the mixture looks completely smooth and a little lighter in color. Scrape the bowl well, especially along the bottom, where stubborn lumps like to hide. Fold in the whipped cream gently, using a spatula and broad turns so you keep the air in the mixture. If you stir hard, the filling gets dense and loses the mousse-like finish that makes no-bake cheesecake work.
Layering the Apples Without Soaking the Center
Stir the cinnamon and nutmeg into the apple pie filling before spooning it over the cheesecake. That small step wakes up the flavor and spreads the spice through the apples instead of leaving it concentrated in one bite. Spread the apples in an even layer, but don’t mash them down into the filling. The cheesecake needs a clean boundary so the top stays distinct when you slice it.
Finishing and Chilling for Clean Slices
Scatter the reserved crumble over the apple layer, then refrigerate the whole pan for at least 6 hours or overnight. That chill time is what turns the filling from soft and spoonable into a slice that stands up on the plate. If you rush it, the center will slump as soon as the knife goes in. Run a thin knife around the edge of the springform before unlatching it for the cleanest release.
How to Adapt This Cheesecake When You Need a Different Version
Gluten-Free Crust Swap
Use certified gluten-free oats and a 1:1 gluten-free flour blend in the crust. The texture stays close to the original, though the edges may be a little more delicate when sliced. Pack the crust firmly and chill it well so it still holds its shape.
Lighter Cinnamon Filling
You can reduce the brown sugar slightly if your apple pie filling is already very sweet, but don’t cut the powdered sugar too far or the filling loses body. The cheesecake will still taste rich, but the apple topping will stand out more. The texture stays the same as long as the cream cheese and whipped cream amounts stay unchanged.
Homemade Apple Topping
Swap the canned filling for peeled apples cooked with butter, sugar, cinnamon, and a pinch of nutmeg until just tender. Cook off the excess liquid before layering it on the cheesecake, or the moisture will soften the top. This version tastes a little fresher and less syrupy, with more texture in the fruit.
Storage and Reheating
- Refrigerator: Store covered for up to 4 days. The crust softens a little over time, but the cheesecake still slices well.
- Freezer: Freeze slices tightly wrapped for up to 1 month. Thaw in the refrigerator overnight; the texture stays better this way than at room temperature.
- Reheating: Don’t reheat this dessert. It’s meant to be served cold, and warmth will loosen the filling and melt the structure.
Answers to the Questions Worth Asking
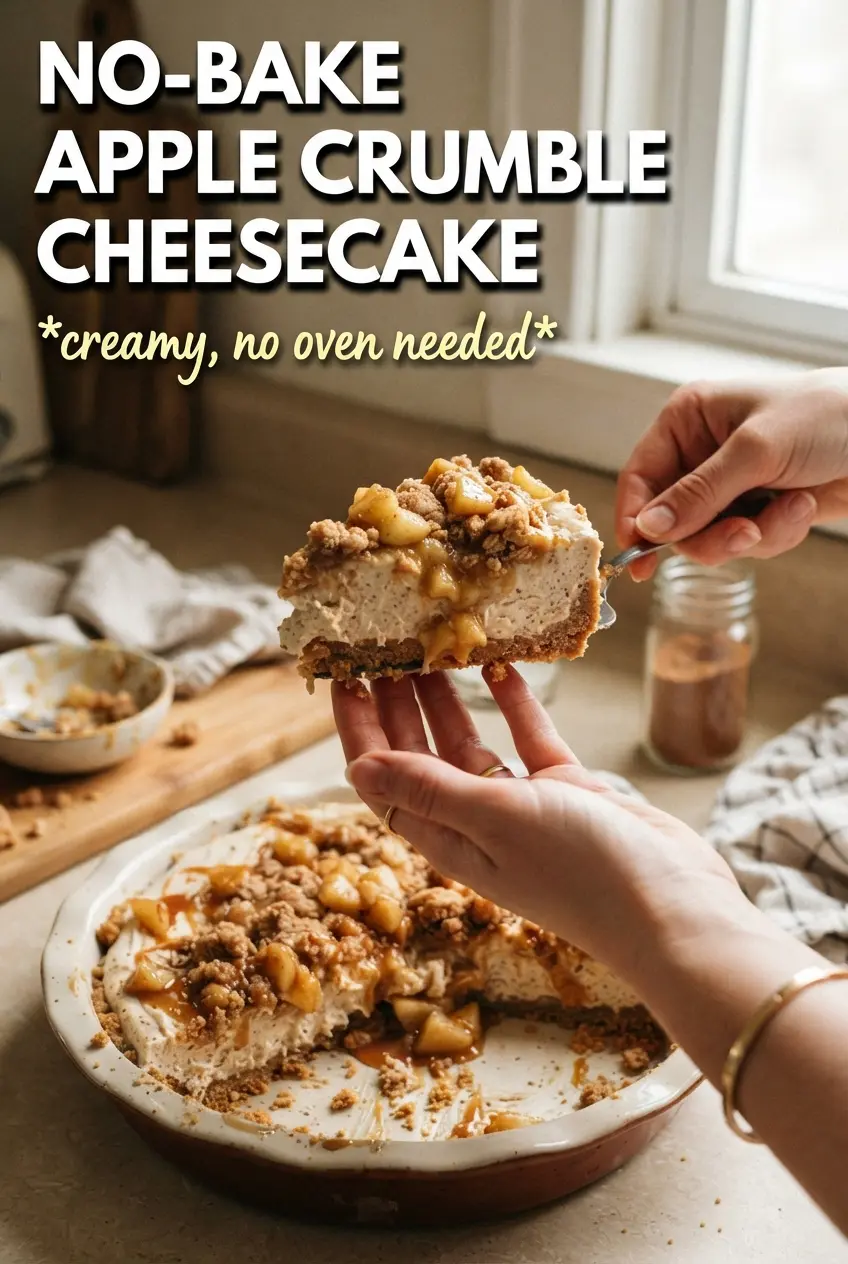
No-Bake Apple Crumble Cheesecake
Ingredients
Equipment
Method
- Combine rolled oats, flour, brown sugar, and cinnamon, then drizzle in melted unsalted butter and toss until evenly moistened. Press the mixture firmly into a 9-inch springform pan.
- Refrigerate the pressed crust for 20 minutes to firm it up, then reserve 1/2 cup of the crust mixture for the crumble topping.
- Beat cream cheese, powdered sugar, brown sugar, vanilla, and cinnamon until completely smooth with no lumps.
- Fold in whipped heavy cream until no streaks remain, then spread the filling over the chilled crust.
- Stir cinnamon and nutmeg into apple pie filling, then spoon it evenly over the cheesecake.
- Scatter the reserved crumble over the apple topping for an even crunchy layer.
- Refrigerate for 6 hours or overnight before releasing from the springform, until fully set.