Moose Tracks ice cream cake lands right in that sweet spot between nostalgic and over-the-top: a chocolate cookie crust, vanilla ice cream laced with fudge, and pockets of peanut butter cup pieces in every slice. It cuts clean once it’s frozen through, but still gives you those soft, creamy layers that make people go back for a second piece before the first one is gone.
The trick is keeping the ice cream soft enough to mix, but not melted. Fold in the peanut butter cups and fudge sauce just until marbled, then get it into the crust fast so the layers stay distinct. A springform pan makes serving much easier, and the extra freeze at the end is what gives you those sharp slices instead of a slumping mess.
Below, I’ve included the one step that matters most for a clean cut, plus a few swaps that make this cake easier to adapt when you need a different crust or a dairy-free version.
The ice cream layer stayed creamy, and the fudge swirls didn’t disappear when I sliced it. I froze it overnight and the peanut butter cups stayed nice and chewy instead of turning icy.
Save this Moose Tracks ice cream cake for the days when you want fudge ribbons, peanut butter cups, and a slice that comes out perfectly clean.
The Freeze Time Is What Gives You Clean Slices
The crust needs that first short freeze so it sets before the ice cream goes on. If you skip it, the butter-softened Oreos can shift when you spread the filling, and the base ends up mixing into the ice cream instead of holding a crisp layer. A springform pan helps, but the real difference is patience: the cake has to freeze long enough for the center to turn fully firm, not just cold on the edges.
- Press the crust firmly. The cookie crumbs need to be compact enough to hold together when you cut the cake. Loose crumbs turn into a sandy bottom instead of a sliceable base.
- Soften the ice cream, don’t melt it. You want it spreadable, not runny. Melted ice cream freezes with a grainier texture and tends to swallow the fudge swirl.
- Use the second freeze as a finishing step. The whipped topping layer and decorations need time to harden onto the surface so they don’t slide off when you slice.
What Each Layer Is Really Doing Here
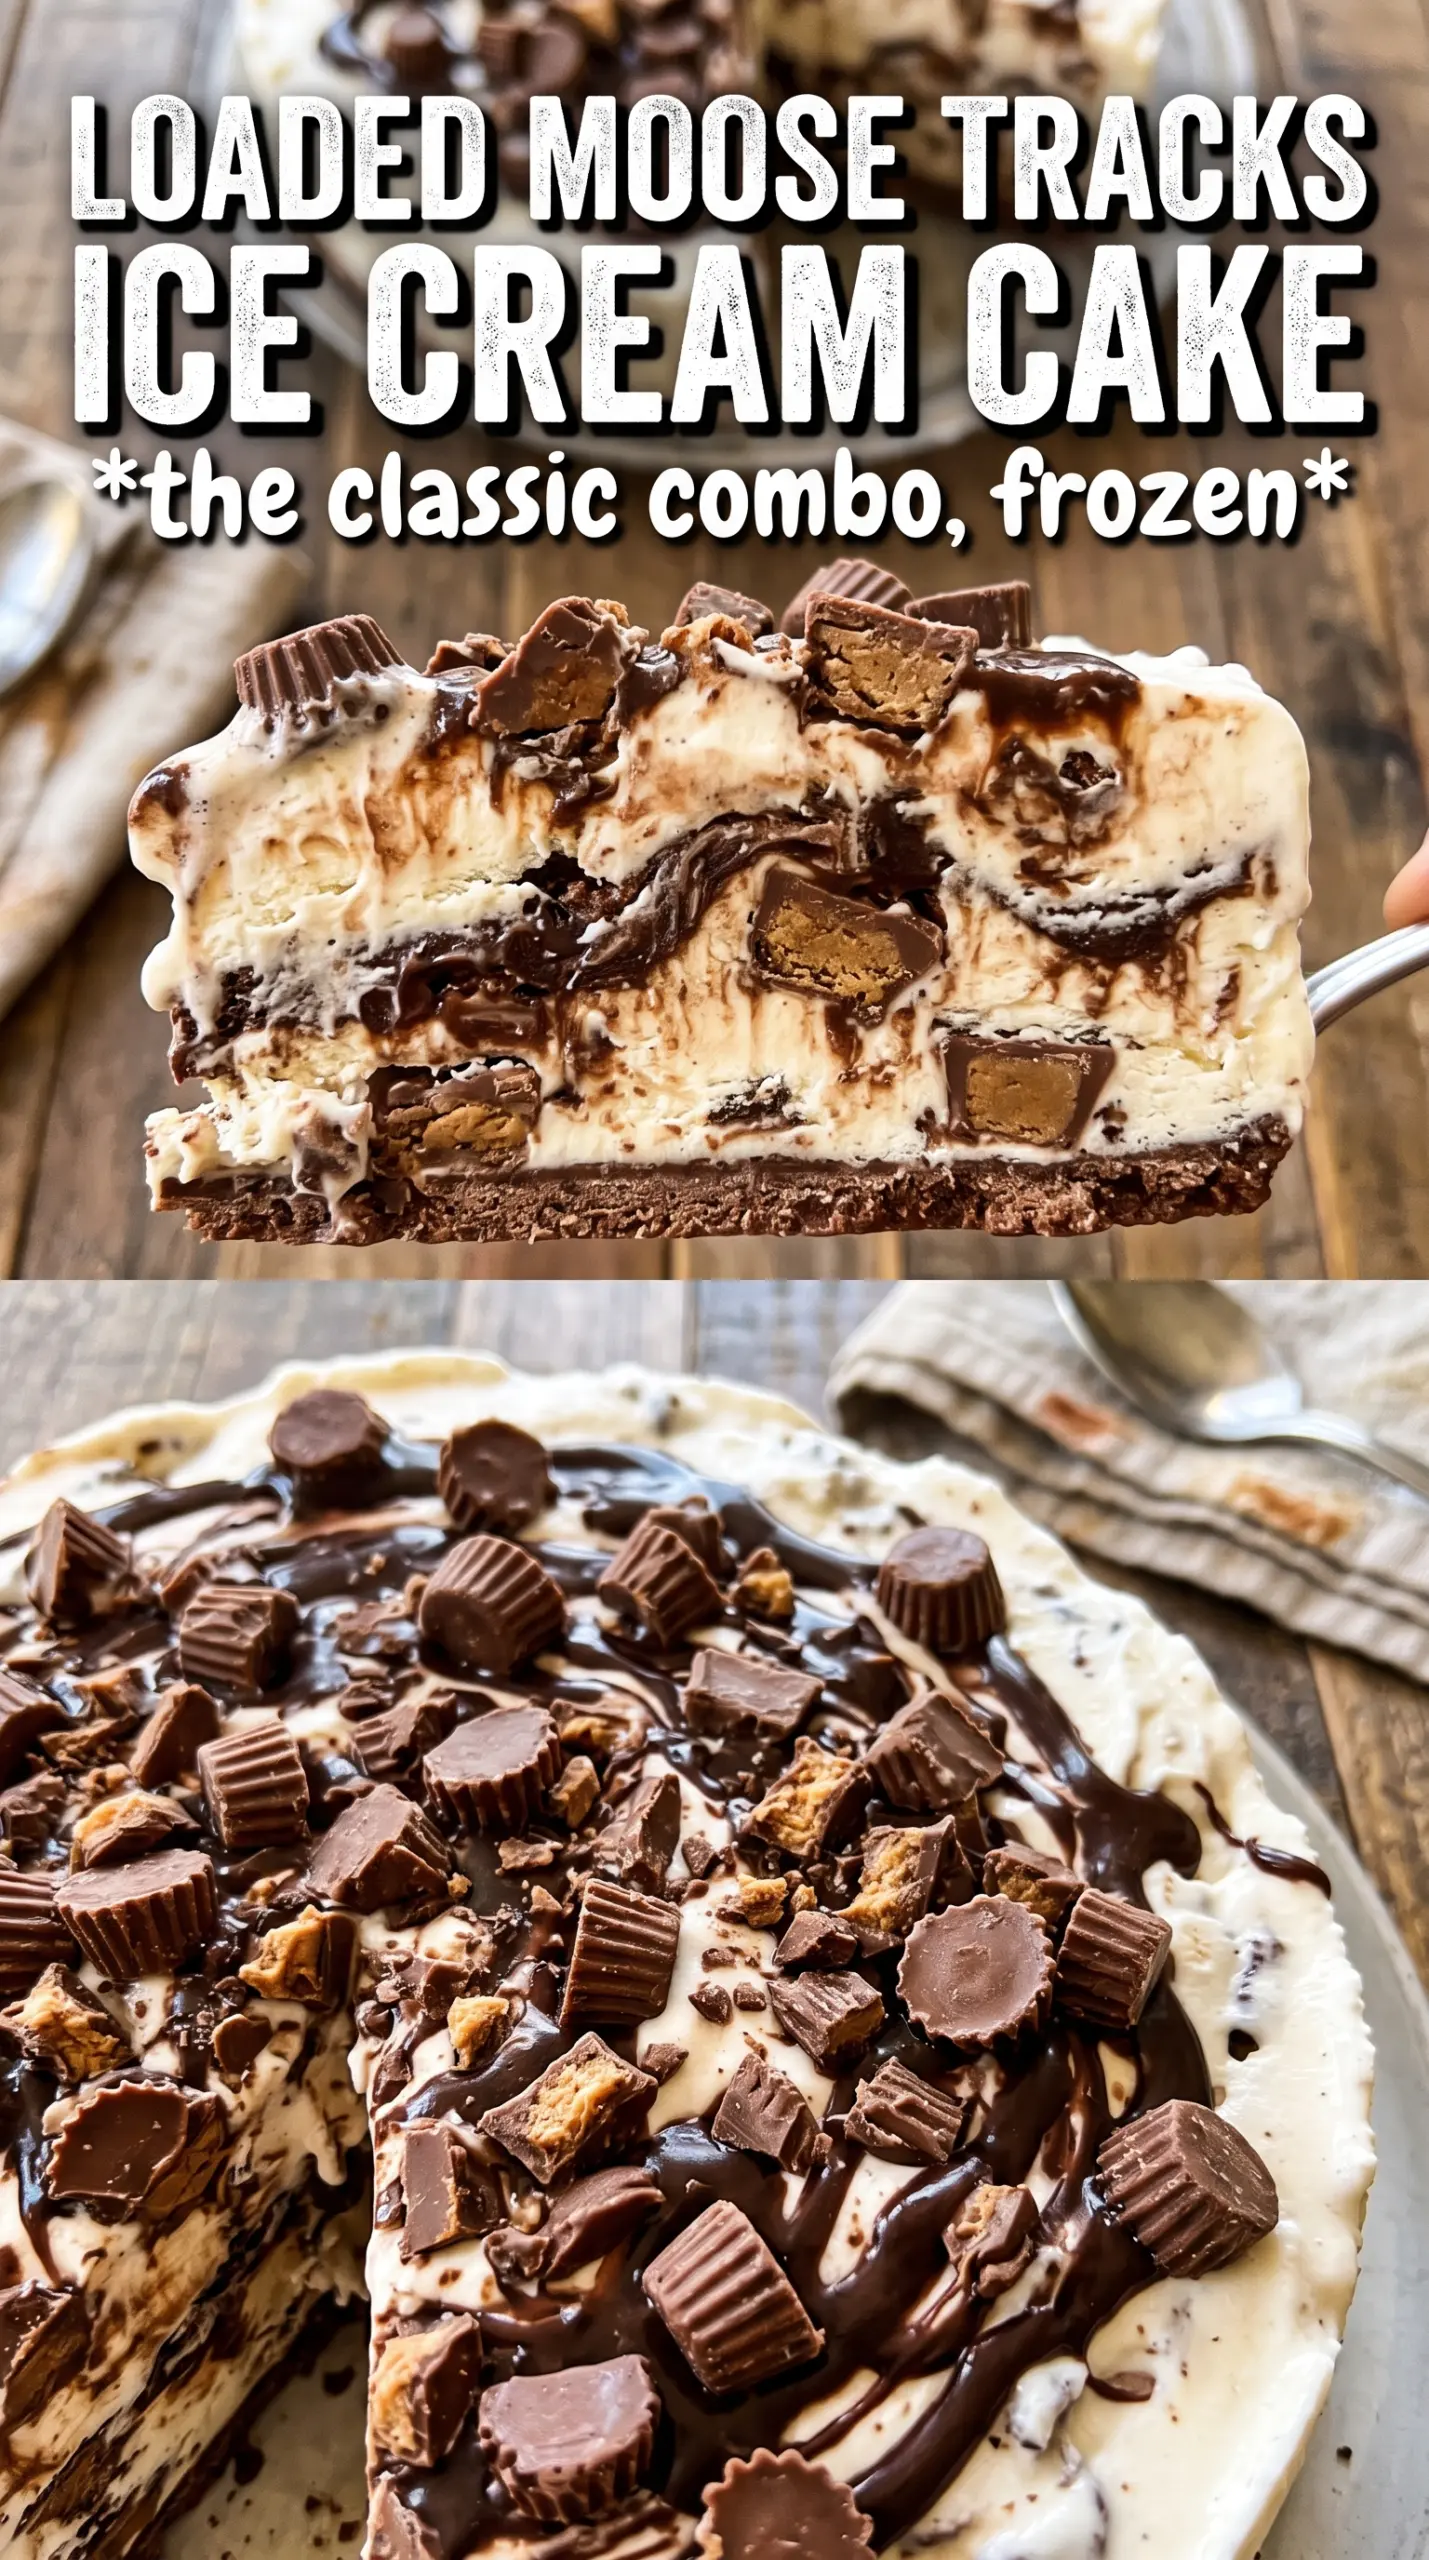
- Oreos create a dark, sturdy crust that plays well with the fudge and peanut butter cups. Regular chocolate sandwich cookies work best here because they give you that classic ice cream cake crunch.
- Unsalted butter binds the crumbs. Salted butter will work in a pinch, but unsalted keeps the flavor clean and lets the frozen filling stay front and center.
- Vanilla ice cream is the base that carries the whole cake. Use a good-quality carton with a rich dairy flavor; cheaper ice cream can taste icy once it’s frozen and refrozen.
- Moose Tracks fudge sauce or hot fudge gives you the ribbons that make each slice look dramatic. If your sauce is very thick, warm it just enough to loosen it so it swirls instead of clumping.
- Miniature peanut butter cups bring texture and that salty-sweet bite. Halving them keeps the pieces distributed through the cake instead of sinking into one heavy layer.
- Whipped topping makes the finish light and easy to spread over a frozen surface. Real whipped cream can work, but it softens faster and is harder to keep neat if you’re decorating ahead.
Building the Layers Without Losing the Swirl
Setting the Cookie Base
Mix the crushed Oreos with melted butter until every crumb looks damp, then press the mixture firmly into the bottom of a 9-inch springform pan. Use the bottom of a measuring cup to pack it down; a loose crust breaks apart the moment you serve. Freeze it for 15 minutes so it firms up before the filling goes in.
Folding the Filling
Let the vanilla ice cream soften just enough that a spoon can move through it, then fold in the halved peanut butter cups and half the fudge sauce. Stop as soon as the pieces are distributed and streaked through the ice cream. If you overmix, you’ll lose the contrast and end up with a muddy filling instead of distinct swirls and chunks.
Layering and Swirling the Fudge
Spoon the filling over the crust and spread it into an even layer. Drizzle the remaining fudge sauce over the top and use a knife to make a few slow figure-eight swirls. Don’t stir aggressively; you want visible ribbons of fudge, not a fully blended chocolate layer.
Finishing the Cake
Freeze the cake for 4 hours until it’s completely firm, then spread the whipped topping over the top and decorate with extra peanut butter cups and a final drizzle of fudge. Return it to the freezer for 2 more hours so the topping sets and the decorations lock into place. If you slice too early, the center will slouch and the fudge will smear instead of cutting cleanly.
How to Adapt This Cake When You Need a Different Shortcut
Make It Gluten-Free
Swap in gluten-free chocolate sandwich cookies for the crust. The texture stays nearly the same, but check the cookie package because some gluten-free versions bake up a little softer, so press the crust extra firmly before freezing.
Dairy-Free Version
Use a dairy-free vanilla ice cream, dairy-free chocolate sandwich cookies, and a plant-based whipped topping. The cake still works, but the filling will freeze a little harder, so let it sit at room temperature for 10 to 15 minutes before slicing.
Swap the Peanut Butter Cups
Use chopped chocolate-covered peanut butter bites or peanut butter chips if that’s what you have. You’ll lose some of the little cup-shaped pockets, but the peanut butter flavor still comes through and the pieces distribute evenly through the ice cream.
Storage and Reheating
- Refrigerator: Don’t store it in the fridge; it will melt and lose its structure within minutes.
- Freezer: Wrap the cake tightly and keep it frozen for up to 2 weeks. The crust stays best if the pan is covered well so it doesn’t pick up freezer odors.
- Reheating: There’s no reheating here. For neat slices, let the cake sit at room temperature for 10 to 15 minutes before cutting, then wipe the knife between cuts so the fudge doesn’t smear.
Questions I Get Asked About This Recipe
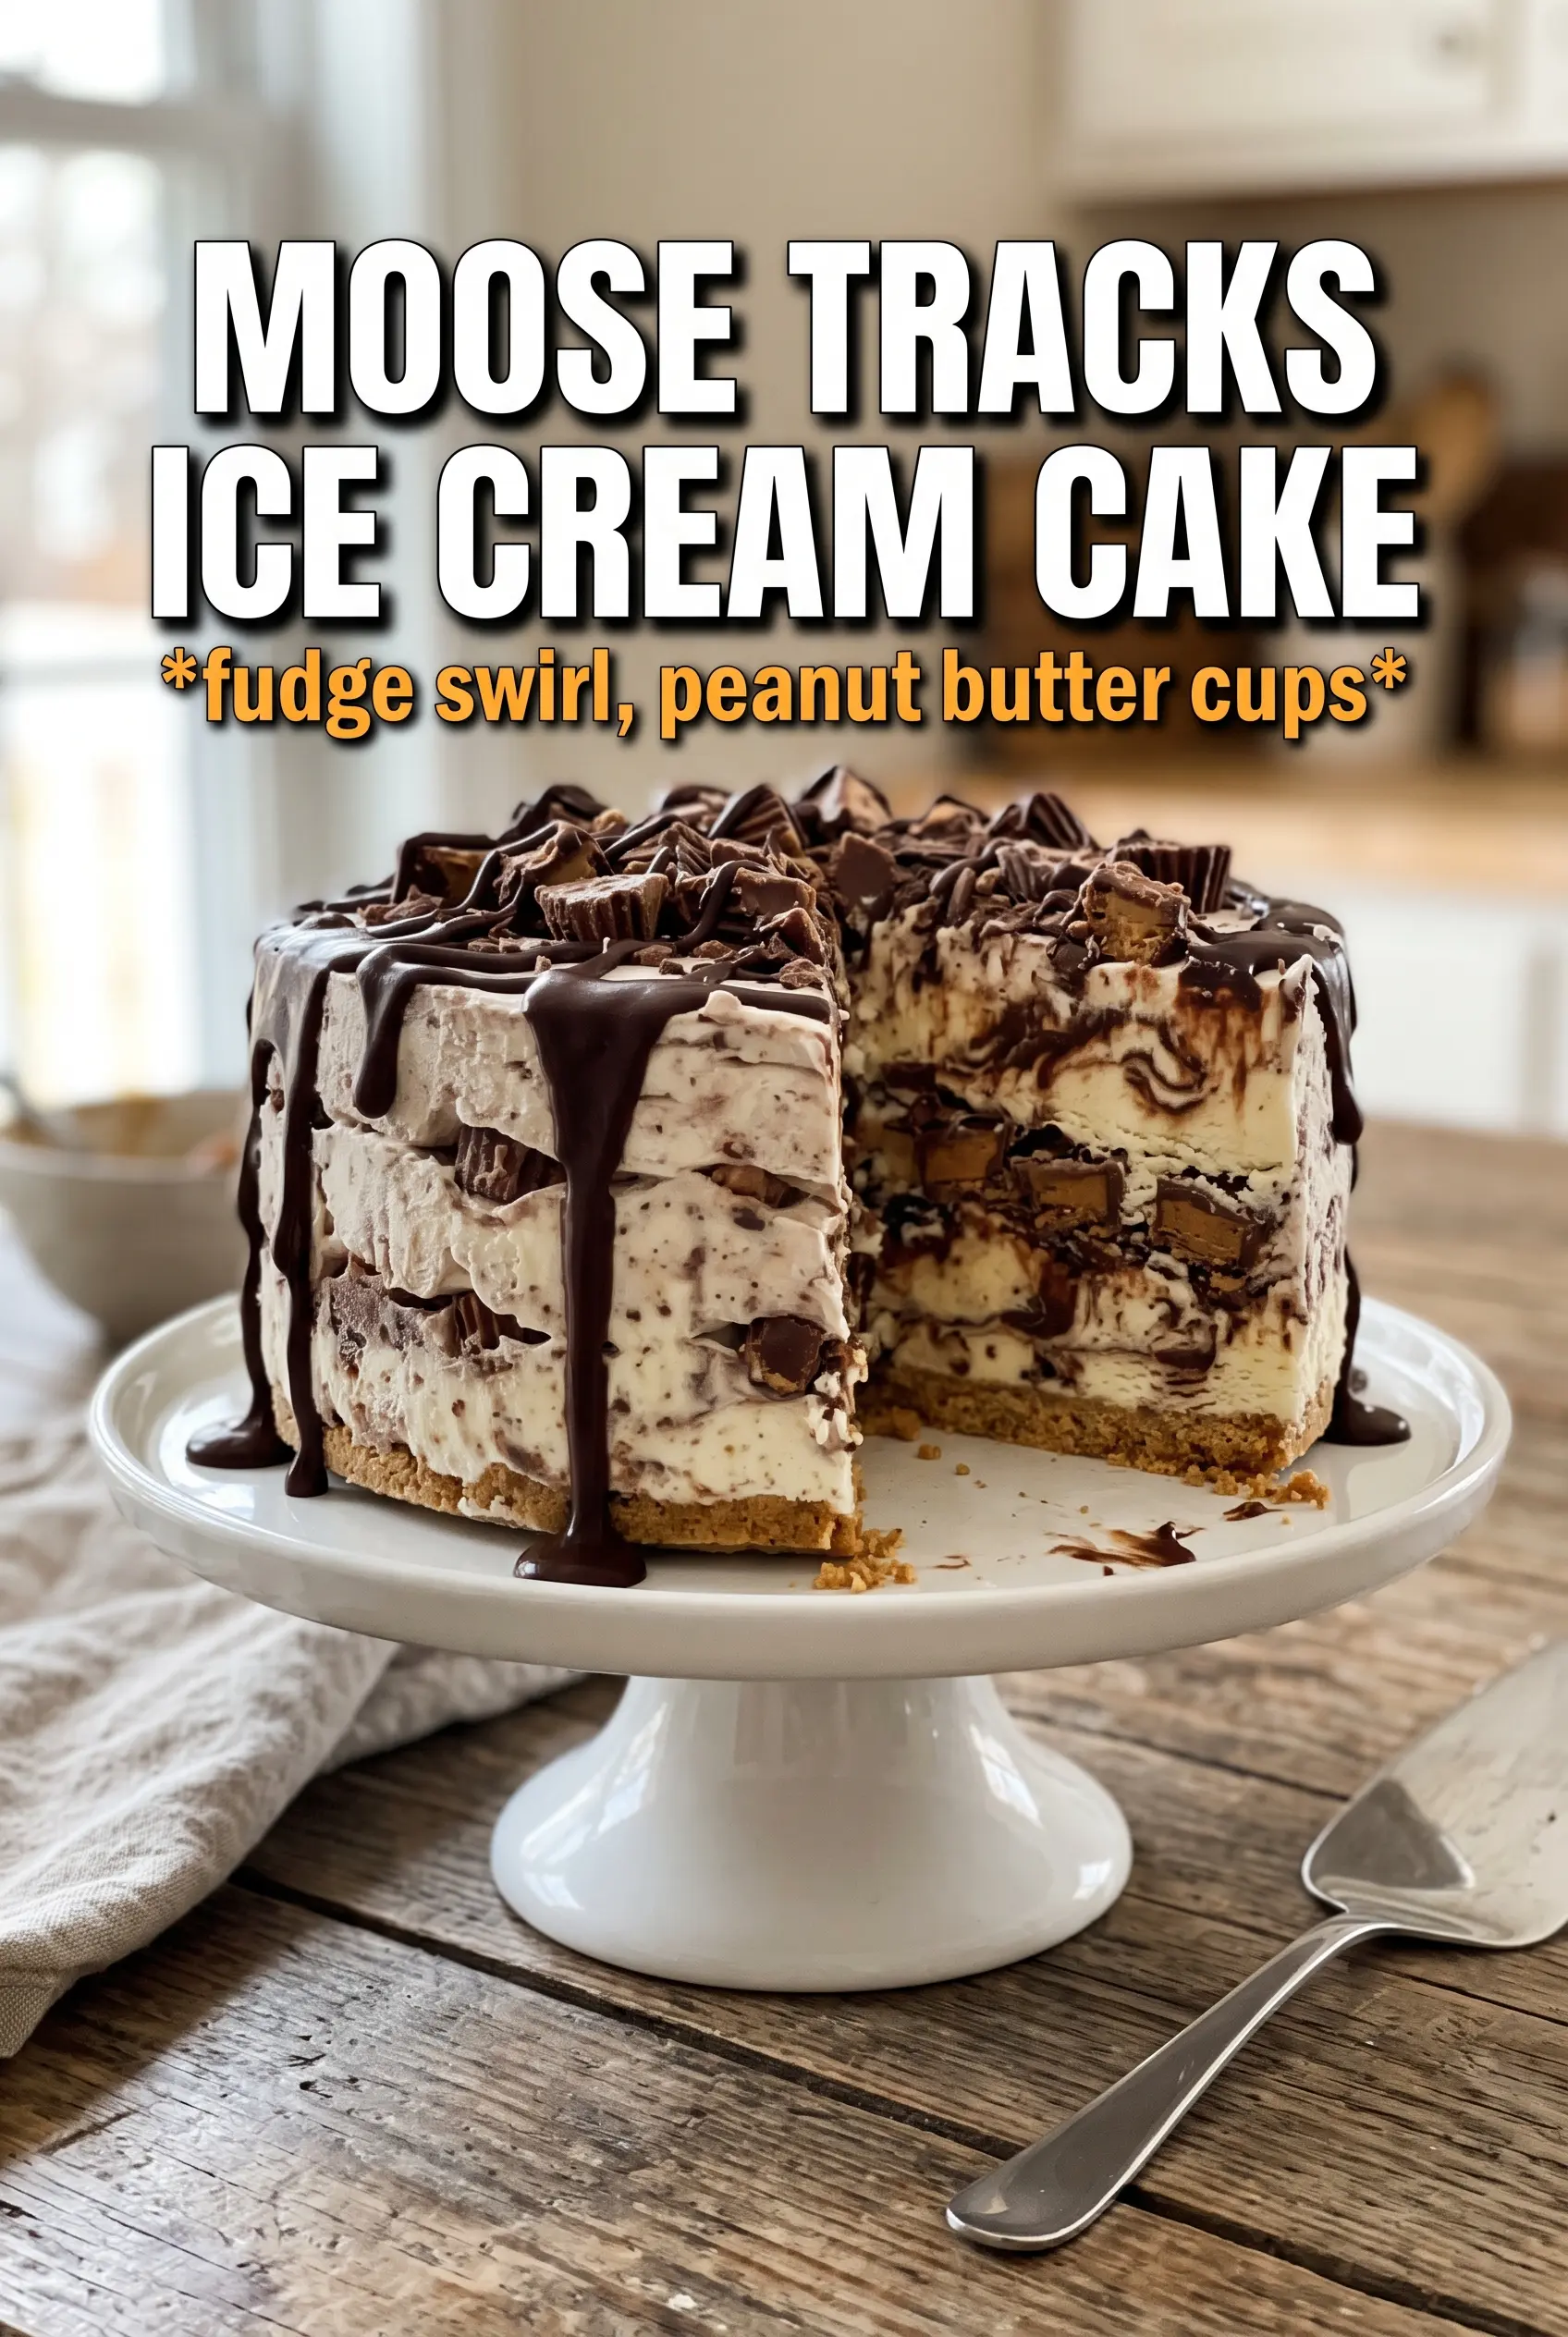
Moose Tracks Ice Cream Cake
Ingredients
Equipment
Method
- Combine the crushed Oreo cookies with the melted unsalted butter until evenly moistened, then press firmly into a 9-inch springform pan. Freeze for 15 minutes with the crust tightly packed and level.
- Fold the halved miniature peanut butter cups and half the Moose Tracks fudge sauce into the softened vanilla ice cream until streaky. Spread the mixture over the frozen Oreo crust in an even layer.
- Drizzle the remaining Moose Tracks fudge sauce over the top and swirl with a knife to create dark ribboning. Freeze for 4 hours until completely firm.
- Top the cake with the whipped topping and spread it to cover the surface. Decorate with extra peanut butter cups and drizzle more fudge over the top.
- Freeze for 2 more hours before serving so the layers slice cleanly.