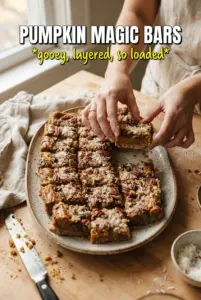
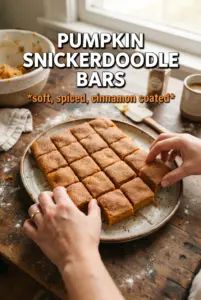
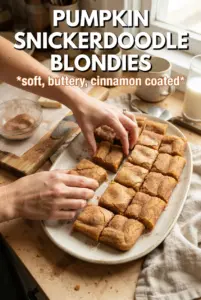
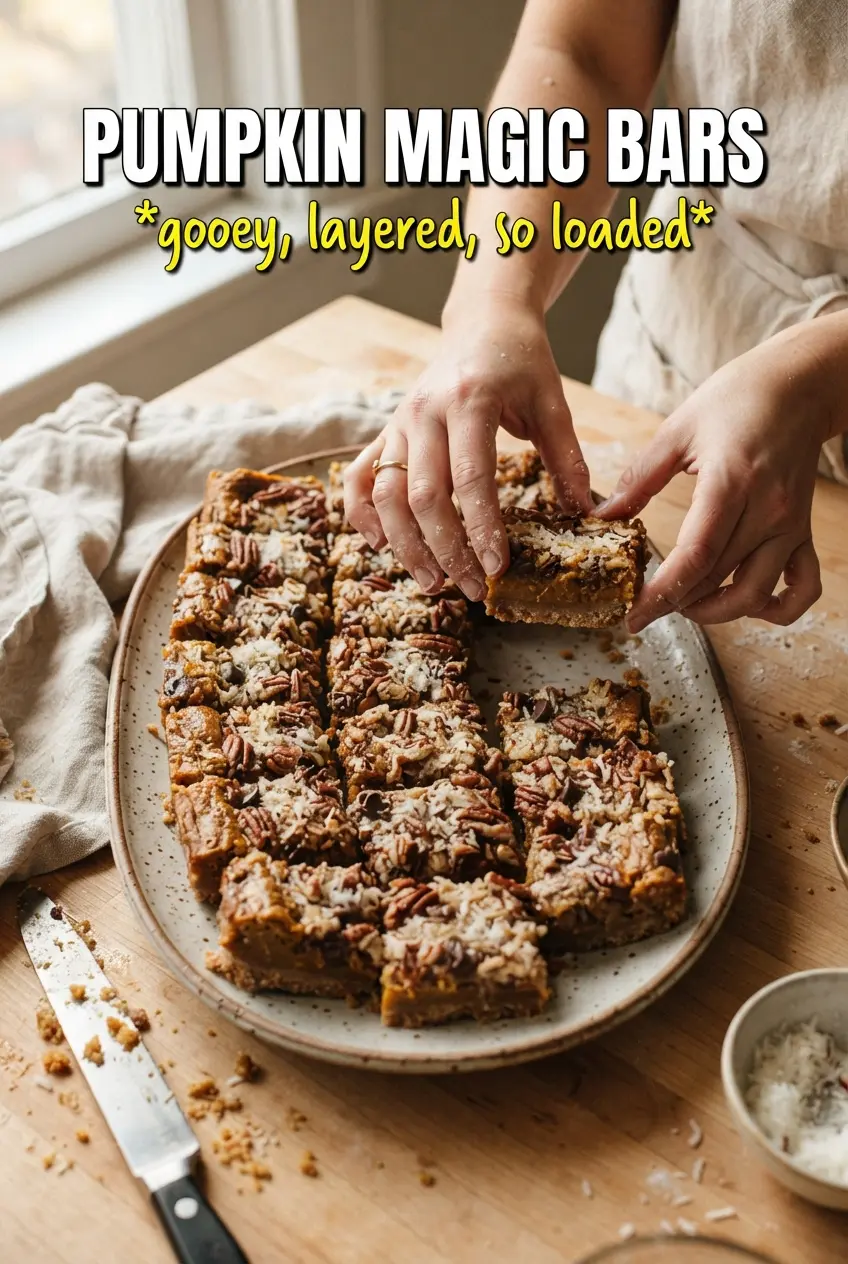
Pumpkin Magic Bars bake up into a chewy, layered dessert with a spiced cookie crust, a silky pumpkin filling, and a top that turns golden and crisp at the edges. The magic here is in the contrast: the condensed milk and pumpkin settle into the crumbs underneath, while the coconut, chips, pecans, and toffee bits toast on top and give every bite a mix of creamy, crunchy, and sticky-sweet.
What makes this version work is the way the pumpkin is used. It’s whisked into sweetened condensed milk instead of being mixed straight into the dry layers, which keeps the bars rich and sliceable instead of wet and heavy. Gingersnap crumbs bring more spice and better structure than a plain graham crust, and that little bit of butter underneath helps the base hold together once it cools.
You’ll find a few practical notes below on how to keep the layers even, how to tell when the center is set, and what to change if you want to make them nut-free or swap the crust for something different.
The pumpkin layer set up beautifully and the gingersnap crust stayed firm instead of turning soggy. I baked mine right at 34 minutes and the edges were caramelized while the center cut cleanly after chilling.
Love the layered gingersnap crust and pumpkin filling? Save these Pumpkin Magic Bars for the next time you want an easy pan dessert with chewy, crunchy, spiced layers.
The Trick to Keeping the Pumpkin Layer Set, Not Soupy
Magic bars can turn greasy or wet when the filling gets too heavy for the crust, and pumpkin makes that risk even higher if it’s used like a pie filling. Here, the pumpkin is only a small part of the custard-style layer, with sweetened condensed milk doing the heavy lifting. That gives you a bar that bakes into a soft, cohesive middle instead of a slice that slumps apart.
The other piece that matters is the crust. Gingersnap crumbs bring structure and spice, and pouring the melted butter directly into the pan before adding the crumbs helps the base get evenly coated without needing a separate bowl. Pressing the top layer down lightly matters too; if you pack it hard, the bars get dense. If you don’t press at all, the topping can burn off the edges and fall loose when you cut them.
What Each Layer Is Doing in These Bars
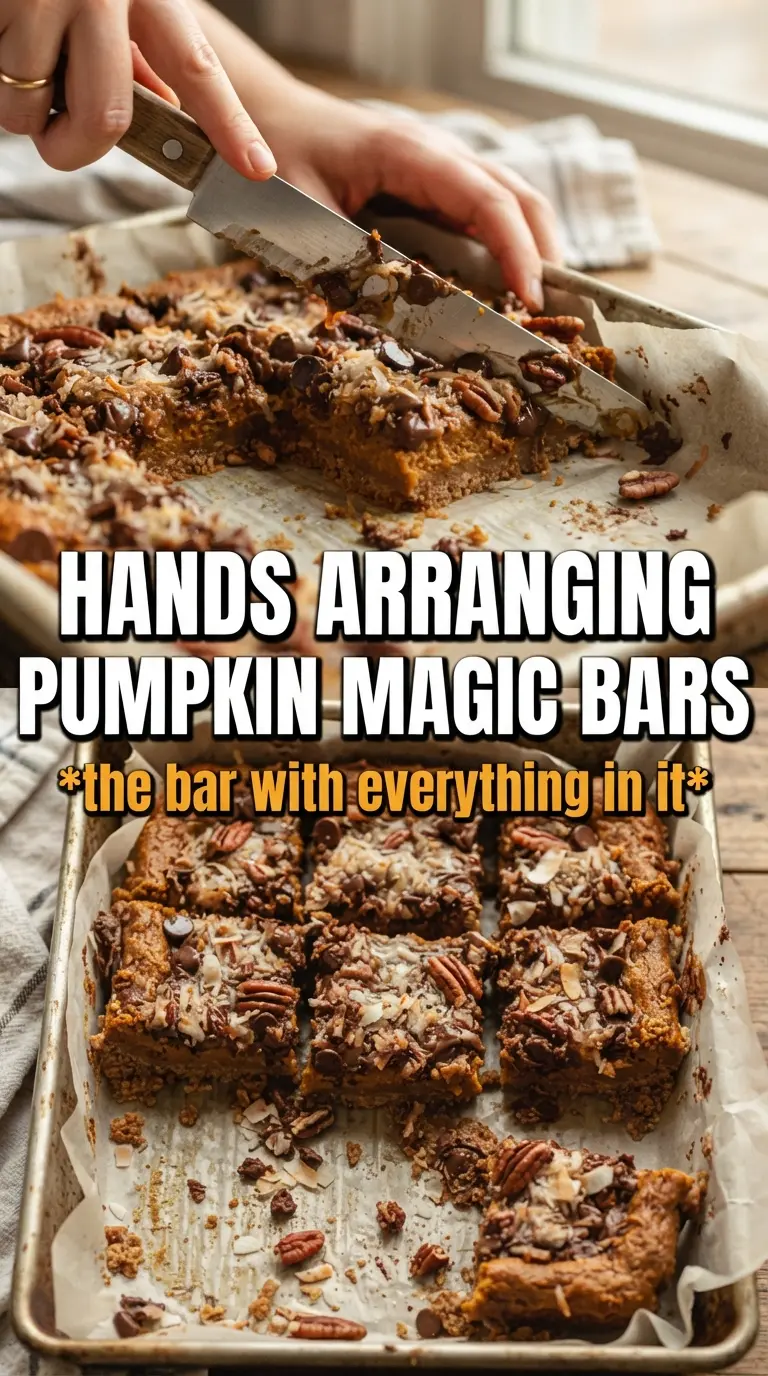
- Gingersnap cookie crumbs — These give the bars a spiced, sturdy base that stands up to the pumpkin layer better than graham crackers. Use store-bought crumbs if you have them, or crush the cookies finely so the crust compacts evenly.
- Sweetened condensed milk — This is what binds the layers and sets into that chewy, rich middle. There isn’t a clean substitute here; evaporated milk won’t thicken the same way and the bars won’t slice cleanly.
- Pumpkin puree — Use plain pumpkin puree, not pumpkin pie filling. Pie filling already has sugar and spices added, which throws off the balance and can make the bars too loose.
- Sweetened shredded coconut — This toasts on top and helps create those chewy edges. If you only have unsweetened coconut, the bars will be less candy-like and a little drier, but they’ll still work.
- White chocolate chips, butterscotch chips, pecans, and toffee bits — These are the texture layer. They don’t just add flavor; they help the top brown in little spots and give each square a different bite. If you skip the nuts, add a little more coconut or chips so the top still has enough coverage.
How to Layer and Bake Them So They Cut Cleanly
Build the base in the pan
Pour the melted butter straight into a 9×13 pan, then scatter the gingersnap crumbs over it and spread them into an even layer. The butter keeps the crumbs from blowing around and helps the crust firm up as it bakes. If some spots look dry, leave them alone; the filling will seep down and finish the job. What you don’t want is a thick pile of crumbs in one corner, because that bakes into a gummy patch instead of a proper crust.
Whisk the pumpkin layer until it’s completely smooth
Stir the sweetened condensed milk, pumpkin puree, pumpkin pie spice, and cinnamon until the mixture looks uniform and glossy. If you see streaks of pumpkin, keep whisking; pockets of puree can bake into uneven, damp spots. Pour it evenly over the crumbs and tilt the pan if needed so the layer reaches the corners. That even coverage matters because dry edges are the first place these bars crack when you cut them.
Top lightly, then bake until the center just sets
Sprinkle the coconut, white chocolate chips, butterscotch chips, pecans, and toffee bits over the top, then press down gently with your hands so everything sticks. You’re not trying to compress the bars, only anchor the toppings into the filling. Bake until the edges are golden and the center no longer looks wet or jiggly when you nudge the pan. If the middle still sloshes, give it a few more minutes; underbaked magic bars never cut cleanly.
Cool all the way before slicing
Let the pan cool completely before cutting. Warm magic bars look set on top but collapse at the center when the knife goes in. For the neatest squares, chill them after cooling and use a sharp knife wiped clean between cuts. A parchment sling helps too, but even without one, fully cooled bars should lift out in solid pieces.
How to Adapt Pumpkin Magic Bars Without Losing the Texture
Gluten-Free Crust Swap
Use certified gluten-free gingersnap cookies and crush them the same way. The texture stays nearly identical because the crust depends on crumbs and butter, not flour structure. Skip cookies that are soft or cakey; you want a dry, crisp crumb that can soak up the butter and still hold shape.
Nut-Free Version
Leave out the pecans and replace them with extra coconut, chips, or even crushed pretzels if you want more crunch. The bars will be a little sweeter and less earthy without the nuts, but the structure stays the same. Watch the top closely near the end of baking, since nuts usually slow browning a bit.
Less-Sweet, More-Spiced Bars
Swap the white chocolate chips for extra pecans or more coconut, and cut the butterscotch chips by half if you want the pumpkin and spice to lead. The bars still bake up chewy, but the flavor leans more warmly spiced and less candy-like. That’s the best route if you’re serving them after a heavy meal.
Storage and Reheating
- Refrigerator: Store in an airtight container for up to 5 days. The bars firm up in the fridge and the layers slice even cleaner the next day.
- Freezer: These freeze well. Cut into bars, wrap tightly, and freeze for up to 2 months; thaw in the fridge so the topping doesn’t get sticky.
- Reheating: These are best served at room temperature, not warmed. Heat softens the chips and makes the crust lose its clean edge, so let refrigerated bars sit out for 15 to 20 minutes before serving.
Questions I Get Asked About This Recipe
Pumpkin Magic Bars
Ingredients
Equipment
Method
- Preheat your oven to 350F, then pour the melted unsalted butter into a 9x13 baking pan (you should see a thin, glossy coating over the bottom).
- Sprinkle the gingersnap cookie crumbs evenly over the butter (use a light, uniform layer so no spots look bare).
- Whisk together the sweetened condensed milk, pumpkin puree, pumpkin pie spice, and cinnamon until smooth, then pour evenly over the crumbs (the surface should look speckled and evenly covered).
- Layer the sweetened shredded coconut, white chocolate chips, butterscotch chips, pecans, and toffee bits evenly over the top (aim for consistent coverage all the way to the edges).
- Press down gently with your hands so the layers adhere slightly (the top should look compacted, not loose).
- Bake for 30-35 minutes at 350F until the edges are golden and the center is set (it should not jiggle when you gently tap the pan).
- Cool completely before cutting into bars (a fully cooled top helps the layers slice cleanly).