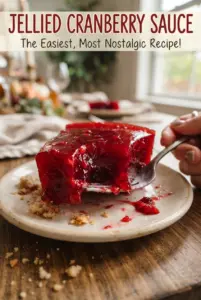
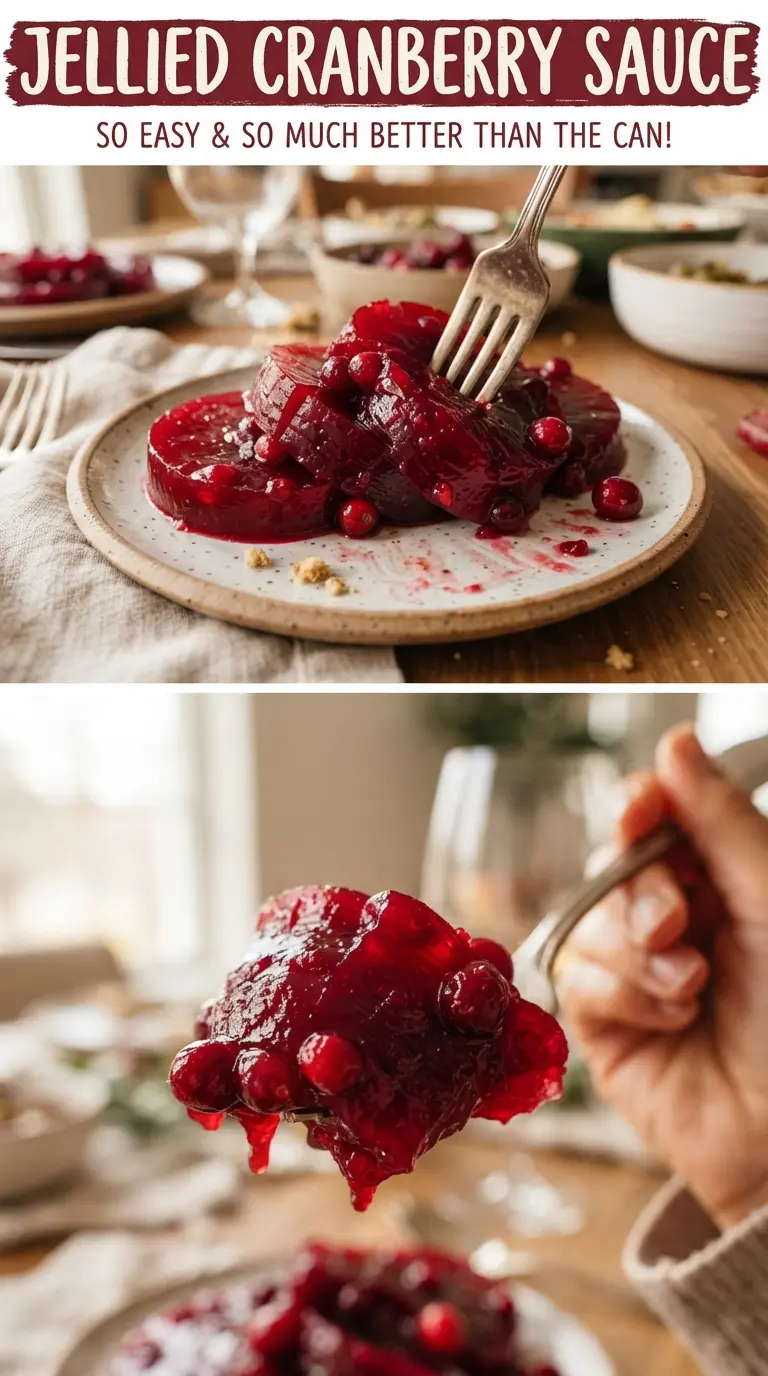
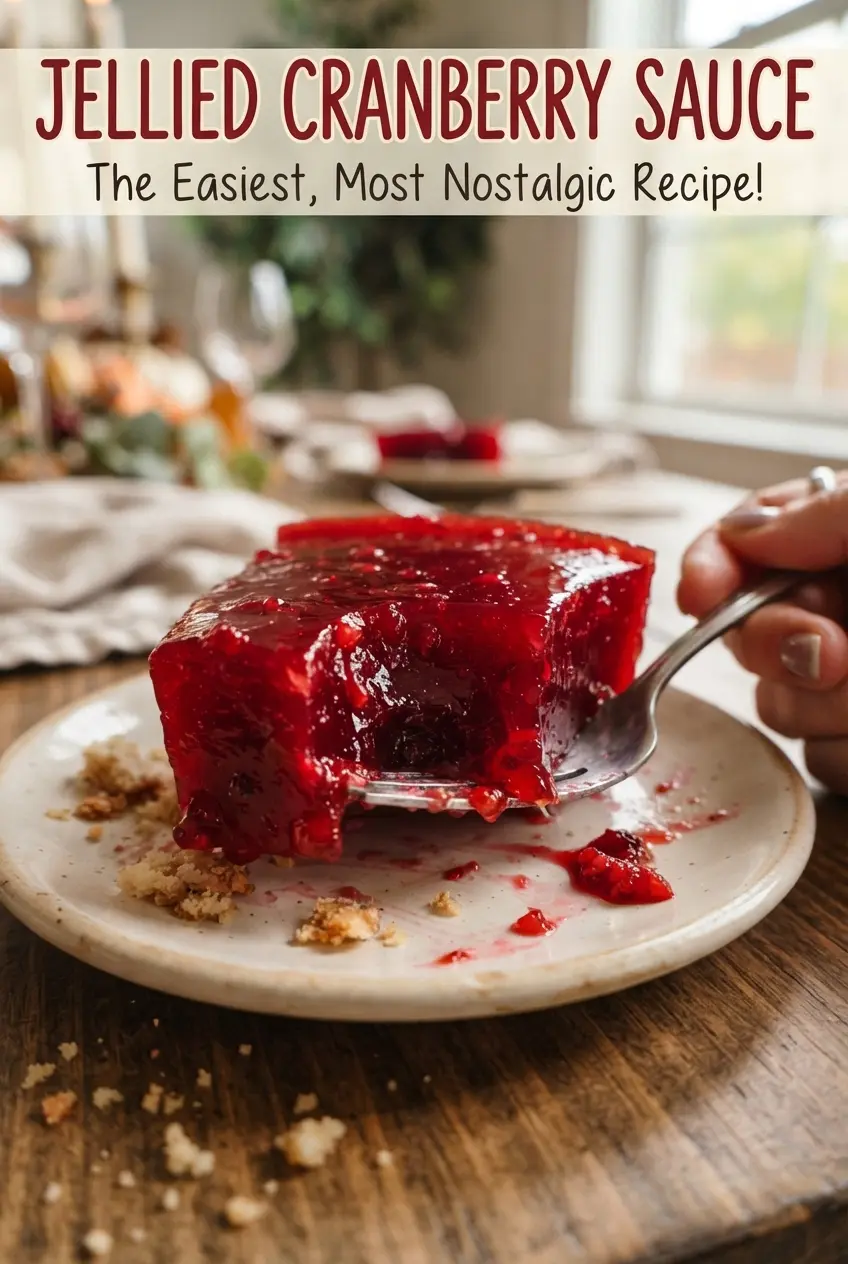
Jellied cranberry sauce sets up into that glossy, sliceable mold that slides onto a plate in one clean piece, and when it’s done right, it tastes bright instead of cloying. The texture is the whole point here: smooth, ruby red, and firm enough to hold the ridges from the can or mold while still cutting into tidy rounds.
The trick is cooking the berries until every single one bursts, then pressing the mixture through a fine-mesh strainer while it’s still hot. That step gives you the silky finish people expect from jellied cranberry sauce, and it also keeps the final texture from turning grainy or loose. A short second boil with lemon juice helps the sauce tighten before it goes into the mold.
Below, I’ve included the one step that matters most if you want clean slices, plus a few smart swaps and storage notes for making it ahead without losing that glossy finish.
I’d never gotten cranberry sauce to set this neatly before. Pressing it through the strainer made all the difference, and it sliced cleanly after chilling overnight with that perfect shiny finish.
Jellied cranberry sauce slices best after an overnight chill, so it’s the one thing I always make ahead for the holiday table.
The Secret to Getting It to Set Instead of Staying Sauce
The mistake most people make is stopping the boil too early. Cranberries need to fully burst before the pectin can do its job, and that hot fruit puree needs a second short boil after straining to concentrate enough to slice cleanly later. If you pour it into a mold while it still tastes loose and watery, it may never firm up the way you want.
The other thing that matters is how hard you press the mixture through the strainer. Don’t leave the pulp behind in the sieve; that’s where a lot of the body lives, and if you’re too timid with the spoon, the final result can be thin and shy of that classic jellied texture. The puree should look thick, glossy, and already a little reluctant to pour.
What the Cranberries and Sugar Are Doing Here
- Fresh cranberries — These bring the natural pectin that helps the sauce set. Frozen cranberries work too, and you can use them straight from the freezer, but the flavor is a little softer and the boil may take an extra minute or two.
- Sugar — This isn’t just for sweetness; it helps the sauce gel and gives the finished slice that clean, shiny look. Cutting it much lower usually means a looser set and a sharper, tarter finish.
- Lemon juice — A small amount wakes up the cranberry flavor and helps the set along by adding acidity. Fresh is best here because bottled juice can taste dull in such a simple recipe.
- Water — This creates enough steam and liquid for the berries to break down evenly. Don’t add more than the recipe calls for, or you’ll spend extra time reducing the puree back down later.
Getting the Purée Smooth, Then Letting It Firm Up
Cooking Until Every Berry Bursts
Bring the cranberries, sugar, and water to a full boil, then keep them at a lively simmer until the berries have split open and the pot looks thick and jammy. You’ll hear the popping soften as the skins give way. If some berries are still intact, the mixture won’t strain smoothly and you’ll end up with uneven texture in the finished mold.
Straining for That Signature Jelly Texture
Press the hot mixture through a fine-mesh strainer and scrape the pulp through with the back of a spoon. This is where the silkiness happens. If you skip the scraping, too much of the thick fruit stays behind, and the sauce won’t have the body or color depth that makes jellied cranberry sauce look right on the plate.
The Final Boil Before the Mold
Return the strained puree to the pot with the lemon juice and salt, then boil it for 3 to 4 minutes while stirring. You’re looking for a glossy mixture that thickens slightly and mounds for a second on the spoon. Pour it into a lightly oiled mold, loaf pan, or clean can while it’s still pourable, because once it cools, it starts setting fast.
Chilling Until It Releases Cleanly
Let it chill at least 6 hours, though overnight gives the neatest slice. If it’s under-chilled, the center can slump when you turn it out. Run a thin knife around the edge, dip the bottom of the mold briefly in warm water if needed, then invert onto a plate and slice with a sharp knife.
How to Adapt the Mold for Different Tables and Diets
Less Sweet, Still Sliceable
You can trim the sugar a little, but don’t cut it aggressively. Sugar helps the sauce set and keeps the tart cranberry flavor balanced; reduce it by about 1/4 cup if you want a sharper finish, knowing the texture may be a touch softer.
Using Frozen Cranberries
Frozen cranberries work without thawing. They can take a little longer to burst, but the final flavor is just as bright, and the set is usually just as good because the fruit still brings the pectin needed to firm up.
Dairy-Free and Gluten-Free by Design
This recipe already fits both dairy-free and gluten-free tables as written. The only thing to watch is your mold or loaf pan, since some old holiday pans have finishes that can cling; a light film of neutral oil keeps the cranberry gel releasing cleanly.
A Looser Spoonable Version
If you want cranberry sauce that still holds a soft mound instead of a firm slice, pull it from the stove a minute earlier and chill it in a shallow dish instead of a deep mold. It won’t turn out as neatly, but it’ll stay glossy and easier to spoon.
Storage and Reheating
- Refrigerator: Store covered for up to 7 days. It holds its shape well, though the edges can soften slightly after a day or two.
- Freezer: Freezing isn’t ideal for a clean jellied slice. The texture can turn a little watery after thawing, so I’d only freeze it if you plan to use it stirred back into yogurt or as a sauce.
- Reheating: This is best served cold or cool, not reheated. If it was too firm in the fridge, let it sit at room temperature for 15 to 20 minutes before slicing so the knife moves through without cracking the gel.
Answers to the Questions Worth Asking
Jellied Cranberry Sauce
Ingredients
Equipment
Method
- Bring fresh cranberries, sugar, and water to a boil in a saucepan over medium-high heat. Simmer for 10 minutes until all the berries burst, keeping the mixture at a steady simmer (about 1–2 bubbles per second).
- Press the hot mixture through a fine-mesh strainer, scraping to push all the pulp through. Discard the skins and keep the smooth puree.
- Return the strained puree to the saucepan with lemon juice and salt. Boil for 3-4 minutes, stirring continuously until slightly thickened and glossy, then remove from heat.
- Pour the hot cranberry mixture into a lightly oiled mold, loaf pan, or clean can and smooth the top. Let it cool briefly at room temperature for about 15 minutes before chilling.
- Chill at least 6 hours or overnight until firm. The surface should feel fully set with no wobble when nudged.
- Run a knife around the edge of the mold, invert onto a plate, and slice. Cut straight, even rounds for clean slices.