Golden, bubbling apple crumble with a crisp, sandy topping is one of those desserts that disappears fast and never needs dressing up. The best versions hit that perfect balance: soft spiced fruit underneath, crunchy crumble on top, and just enough syrup from the fruit to turn everything glossy at the edges. This one gets there without fuss, which is exactly why it earns a repeat spot.
What makes this crumble work is the mix of apples and pears. The pears melt down and bring sweetness, while the apples keep a little structure so the filling doesn’t turn to mush. Ground almonds in the topping add a deeper, nubbier crunch, and cold butter rubbed into the flour keeps the crumble loose instead of dense. Bake it until the fruit is actively bubbling around the sides; that bubbling tells you the filling has thickened properly and the topping has had time to turn crisp.
Below you’ll find the little details that matter most here, including how to keep the topping sandy, when to stop cooking the fruit, and the best swaps if you’re working with what you already have in the kitchen.
The fruit softened just enough before baking, and the topping stayed crumbly instead of turning pasty. I loved that the pears made the filling juicy without getting watery, and the almonds in the crumble gave it a proper bakery-style crunch.
Save this apple crumble for the nights when you want bubbling fruit, a crisp almond topping, and custard on the side.
The Secret to a Crumble That Stays Crisp on Top
The mistake that ruins most crumbles is packing the topping down like pastry. That squeezes out the air pockets that help it bake into little crunchy clusters. You want the mixture loose and irregular, with some bigger crumbs and some finer bits, because that gives you a topping with contrast instead of a flat, sandy lid.
The fruit matters just as much. If the apples and pears go into the dish raw, they can release too much liquid in the oven and leave you with a watery base. Cooking them first in butter, sugar, and spice takes the edge off the fruit, starts the syrup, and gives you a head start on a thick filling. By the time the crumble comes out of the oven, the fruit should be soft but still holding shape under the surface.
What the Apples, Pears, and Almonds Are Each Doing Here
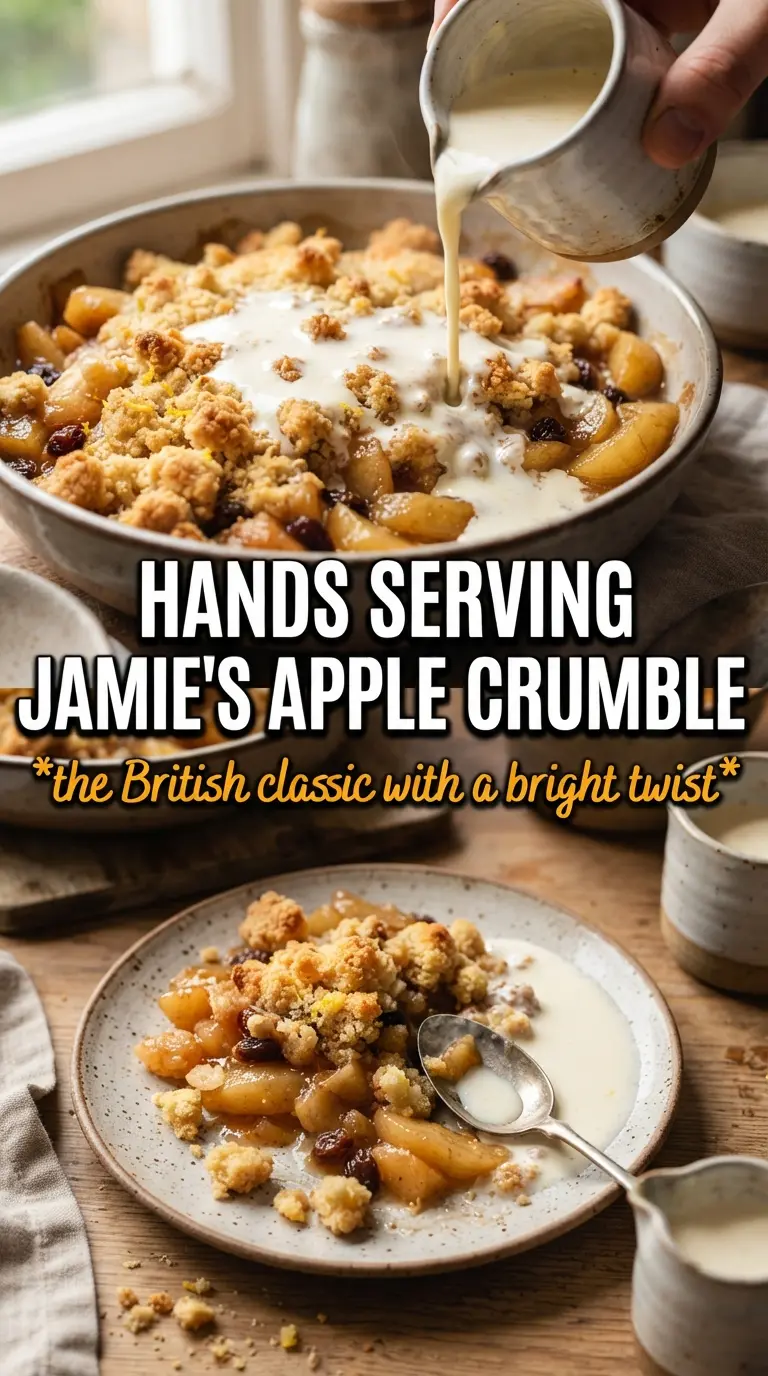
- Apples — Use apples that hold some shape when cooked. That keeps the filling from turning into sauce. If yours are very tart, the sugar in the pan balances them; if they’re already sweet, don’t reduce the lemon zest, because the brightness keeps the dessert from tasting flat.
- Pears — Pears soften faster than apples and help create that jammy, spoonable middle. They also add natural sweetness, which is why this crumble doesn’t need a heavy hand with sugar. If you only have apples, the crumble still works, but the filling will be firmer and a little less fragrant.
- Cold butter for the topping — Cold butter is what gives you a crumbly, sandy texture instead of a greasy paste. Rub it in until the mixture looks like rough breadcrumbs with a few larger pieces. Those uneven bits bake into the best crunchy patches.
- Ground almonds — These add richness and a slightly nubbier texture that plain flour alone can’t give. They also help the topping brown with a deeper, more toasted edge. If you need a nut-free version, replace them with an equal amount of flour, but expect a lighter, less nutty crumble.
- Demerara and brown sugar — The mix of sugars matters. Demerara gives you crunch, while brown sugar adds a soft caramel note. Using only white sugar makes the topping sharper and less rounded.
Building the Fruit Base and Baking It Until It Bubbles
Softening the Fruit First
Melt the butter in a large ovenproof pan, then add the apples, pears, sugar, cinnamon, mixed spice, and lemon zest. Cook them for 5 to 7 minutes, just until the fruit starts to relax and the pan looks glossy with juices. You are not trying to fully cook them through at this stage. If you let them collapse completely, they’ll lose their shape in the oven and the filling will go slack.
Rubbing the Crumble to the Right Texture
Put the flour and cold cubed butter in a bowl and rub them together with your fingertips until the mixture resembles rough breadcrumbs. Stop before it turns into a paste; a few pea-sized bits of butter are a good thing because they create pockets of steam as they bake. Stir in the sugars, ground almonds, and cinnamon briefly, just until combined. Overmixing makes the topping heavy.
Watching for the Bake That Tells You It’s Done
Spread the crumble over the fruit without pressing it down. That loose layer is what bakes into a crisp top. Bake at 190C (375F) for 35 to 40 minutes, until the top is deeply golden and you can see the fruit bubbling at the edges. If the top looks pale but the fruit is already soft, give it a few more minutes; the bubbling is the better clue than the clock.
Make it dairy-free
Use a firm dairy-free butter block in both the filling and the crumble. Soft tub-style spreads can work in a pinch, but they tend to make the topping less crisp. The result will still be comforting and rich, just a little less toasted at the edges.
Make it nut-free
Swap the ground almonds for the same weight of plain flour. You lose some of the buttery depth and crunch, but the crumble still bakes up nicely. A handful of oats can bring back a little texture if you want more bite.
Use all apples instead
If pears aren’t in the fruit bowl, use six medium apples instead of four apples and two pears. The filling will be a little firmer and less juicy, so choose an apple that softens well, like Bramley or another cooking variety. Add a splash of water if the pan looks dry while the fruit softens.
Storage and Reheating
- Refrigerator: Store covered for up to 3 days. The topping softens a little as it sits, but the flavor stays good.
- Freezer: It freezes well after baking. Cool completely, wrap tightly, and freeze for up to 2 months. Thaw overnight in the fridge before reheating.
- Reheating: Warm in a 180C (350F) oven until the fruit is hot and the top crisps again. The microwave will heat it, but it turns the topping soft, which is the main thing to avoid.
Questions I Get Asked About This Apple Crumble
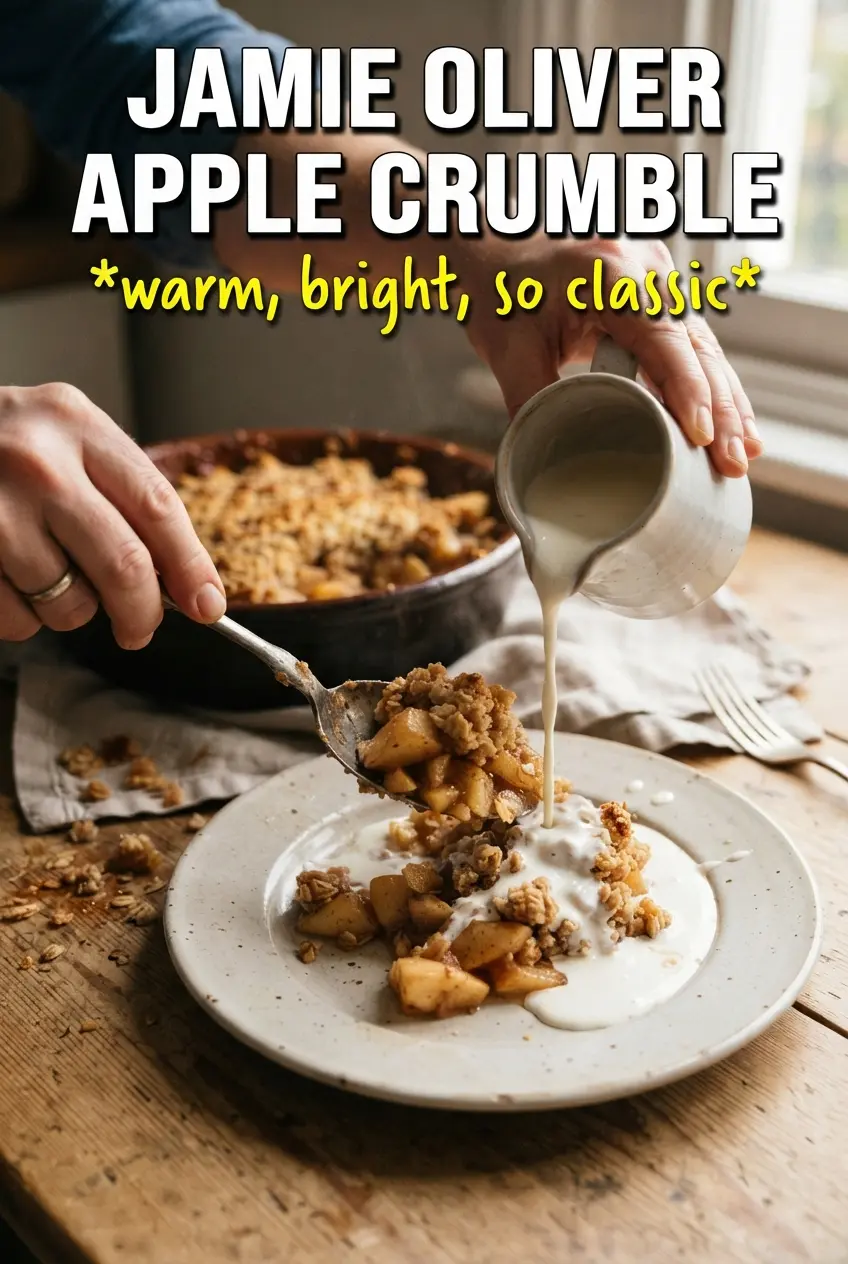
Jamie Oliver Apple Crumble
Ingredients
Equipment
Method
- Preheat the oven to 190C (375F). This ensures the crumble bakes evenly from the start.
- Melt the butter in a large ovenproof pan, then add apples, pears, sugar, cinnamon, mixed spice, and lemon zest. Cook for 5-7 minutes until slightly softened, then place the fruit in a baking dish with bubbling edges.
- In a bowl, put the flour and cold butter, then rub with your fingertips until it resembles rough breadcrumbs. You should see small butter-coated crumbs with no big lumps.
- Stir in both sugars, ground almonds, and cinnamon, then mix briefly to distribute evenly. The topping should look sandy and speckled.
- Spread the crumble over the fruit without packing it down. Leave an even, airy layer so it bakes crisp and golden.
- Bake for 35-40 minutes at 190C (375F) until golden and the fruit bubbles. Look for caramelized spots on top and active bubbling at the edges.
- Serve warm with homemade custard or pouring cream. Spoon it on so the crumble stays crisp at the top.