Ice cream sheet cake hits the sweet spot between party cake and frozen dessert: enough slices for a crowd, easy to decorate, and no oven required. The Oreo crust stays firm enough to cut cleanly once it’s frozen, while the vanilla and chocolate ice cream layers give each square that classic birthday-cake feel with a little more fun in every bite.
What makes this version work is the layering order. The crust gets a short freeze first so it doesn’t mix into the ice cream, and the fudge goes on after the ice cream has had time to settle. That keeps the layers distinct instead of turning into a soft, swirled mess when you slice it. Softened ice cream matters here too — not melted, just spreadable enough to press into an even layer without tearing up the crust.
Below, I’ve included the few details that matter most when you’re making a cake this big: how to soften the ice cream without making soup, how to decorate it so it still looks good after a long freeze, and what to do if you want to swap flavors for a different party theme.
The Oreo crust sliced cleanly after freezing, and the chocolate and vanilla layers stayed separate instead of blending together. I made it the night before a birthday party and the whipped topping held up beautifully.
Save this Oreo-crust ice cream sheet cake for birthdays, cookouts, and any party that needs a make-ahead frozen dessert.
The Trick to Keeping the Layers Clean in a Frozen Sheet Cake
The part that trips people up is rushing the build. If the crust isn’t firm before the ice cream goes in, the whole bottom layer gets muddy and hard to slice later. If the ice cream is too soft, it sinks into the crust instead of sitting on top of it, and the cake loses that neat, striped look when you cut into it.
The other thing worth respecting is the freeze time between layers. This dessert needs those pauses. They’re what give you clean edges, a slice that stands up on the plate, and a top that can take whipped topping and decoration without turning sloppy. Think of each freeze as part of the recipe, not dead time.
What the Oreos, Ice Cream, and Fudge Are Each Doing Here
- Oreo cookies — These make the crust without any extra baking or fuss. The filling helps the crumbs bind, which is why plain chocolate sandwich cookies won’t behave quite the same way. Crush them fine enough that the crust presses together, but don’t powder them into dust or the texture gets dense.
- Unsalted butter — This is what turns the cookie crumbs into a sliceable base. Salted butter works in a pinch, but the finished dessert can taste a little flat or slightly salty against the fudge and whipped topping. Melt it fully so every crumb gets coated.
- Vanilla and chocolate ice cream — Softened ice cream is the whole trick here. You want it spreadable, not runny. Premium ice cream gives you a richer, smoother slice, but any good tub-style ice cream works if you let it soften just enough to press into an even layer.
- Hot fudge sauce — Use a thick sauce, not a pourable chocolate syrup. Fudge gives you that dense, candy-shop stripe in the middle of the cake and keeps the flavor anchored when the whipped topping goes on. Warm it just enough to drizzle easily, then let it cool a little so it doesn’t melt the ice cream underneath.
- Whipped topping — This is the frosting layer, and it needs to be cold and spreadable. Homemade whipped cream can work if you stabilize it, but frozen whipped topping holds up better for decorating and for a cake that may sit out a few minutes at serving time.
Building the Cake So It Freezes Neatly and Slices Cleanly
Pressing the Crust
Mix the crushed Oreos and melted butter until every crumb looks evenly damp, then press the mixture into the sheet pan in a thin, even layer. Use the bottom of a measuring cup or glass to pack it down firmly, especially into the corners. If the crust is loose, the first slice will break apart and drag crumbs through the filling. A quick freeze gives it the structure it needs before the ice cream goes on.
Spreading the Ice Cream Layers
Let the ice cream soften until it bends under a spoon but still holds its shape. Spread the vanilla over one half of the crust and the chocolate over the other half, then meet them in the middle without overmixing if you want that clean Neapolitan look. Work fast so the ice cream doesn’t melt into the crust. If it starts to look glossy and soupy, stop and freeze it before continuing.
Adding the Fudge Middle
Drizzle the hot fudge over the ice cream in an even layer, then spread it lightly if needed. The fudge should sit on top, not disappear into the ice cream, so let it cool slightly if it’s hot from the jar. A thick layer gives you a neat contrast in the center of each slice. Freeze this layer until it’s firm before moving on, or the whipped topping will smear into it.
Finishing and Freezing the Top
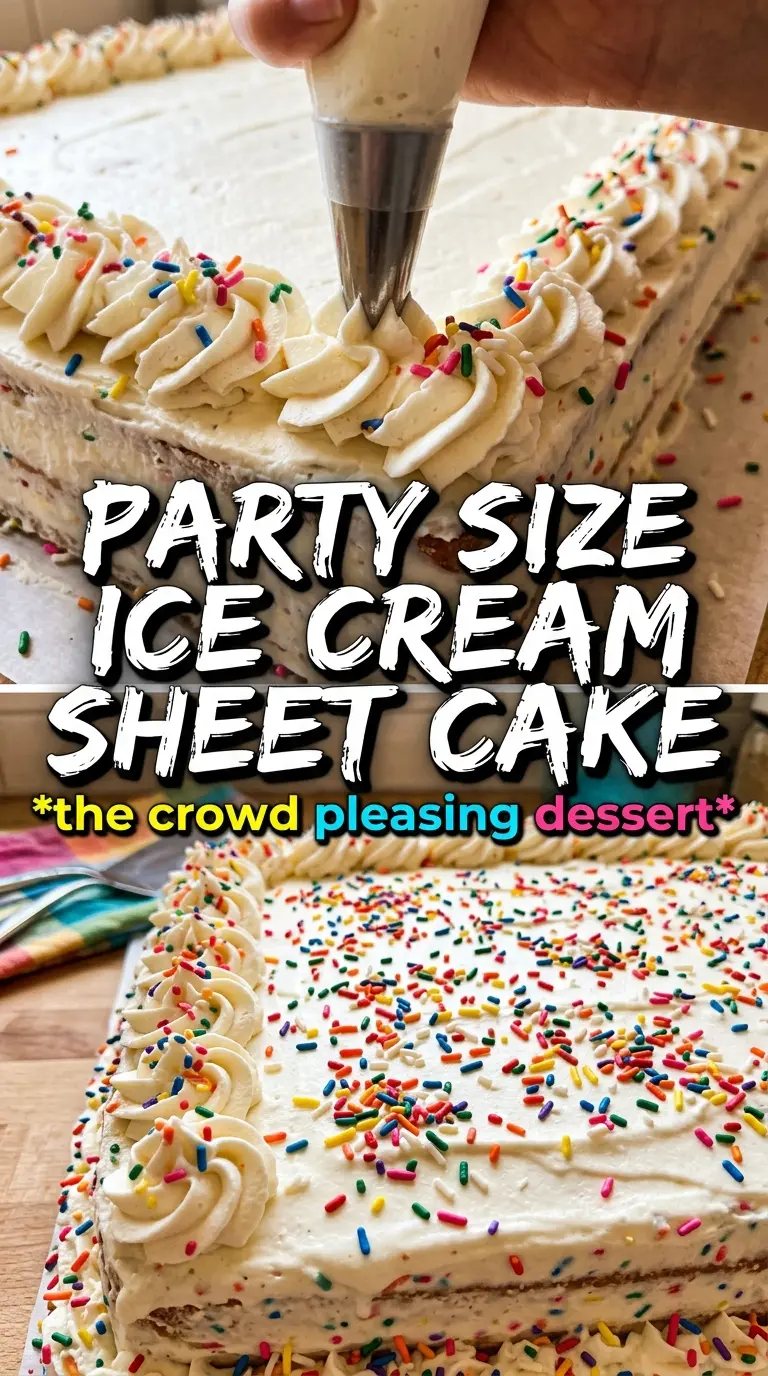
Cover the cake fully with whipped topping, smoothing it into an even blanket right to the edges. Add sprinkles and frosting piping after the topping is on, because once the ice cream starts freezing again, the surface firms up and holds decoration better. Give the finished cake at least two more hours in the freezer before slicing. If you cut it too soon, the layers will slump instead of standing in neat squares.
How to Change the Flavor Without Losing the Party Cake Effect
Gluten-Free Crust With the Same Frozen Crunch
Use certified gluten-free chocolate sandwich cookies in place of the Oreos. The crust behaves almost the same way and still packs tightly, but it may be a touch more crumbly depending on the brand. Press it firmly and freeze it well so the base doesn’t crumble when you slice.
Dairy-Free Version That Still Slices Well
Swap in dairy-free sandwich cookies, dairy-free ice cream, vegan whipped topping, and a dairy-free fudge sauce. The texture will be a little softer than the original, so keep the cake frozen solid right up until serving. This version works best when you serve it straight from the freezer after a short rest on the counter.
Different Flavor Pairings for a New Birthday Theme
Swap the vanilla and chocolate ice creams for cookies and cream plus strawberry, mint chip plus chocolate, or vanilla plus caramel swirl. Keep one lighter flavor and one richer flavor so the cake still tastes balanced, not one-note sweet. If the mix-in flavor is already very soft, reduce the fudge layer slightly so the slices don’t get overly rich.
Storage and Serving Window
- Refrigerator: Don’t store this in the refrigerator. It softens too quickly and the crust turns mushy.
- Freezer: Keep it covered in the pan for up to 1 week. For longer storage, wrap the pan well so the whipped topping doesn’t pick up freezer odor.
- Serving: Let it sit at room temperature for 8 to 12 minutes before slicing. If you wait too long, the layers start to slide and the whipped topping gets soft.
Answers to the Questions Worth Asking
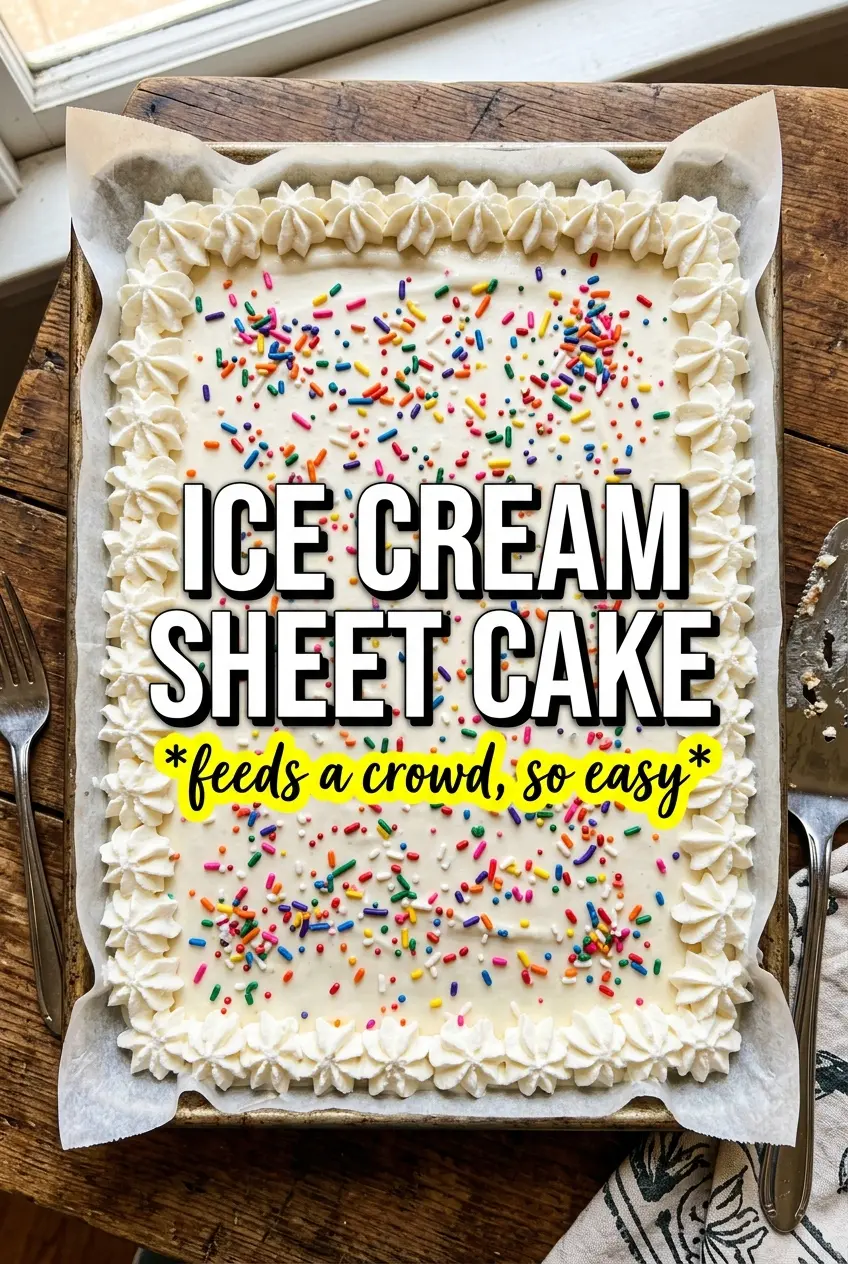
Ice Cream Sheet Cake
Ingredients
Equipment
Method
- Combine crushed Oreos and melted butter, then press into a 12x18 sheet pan to form an even layer.
- Freeze the crust for 20 minutes until firm.
- Spread vanilla ice cream over half the crust, then spread chocolate ice cream over the other half, meeting in the middle for a neapolitan effect.
- Drizzle hot fudge sauce over the ice cream in an even layer, then freeze for 4 hours.
- Cover the entire top completely with whipped topping.
- Decorate with colorful sprinkles and gel frosting piping to mimic a decorated birthday cake.
- Freeze at least 2 more hours before slicing into squares so the layers hold cleanly.