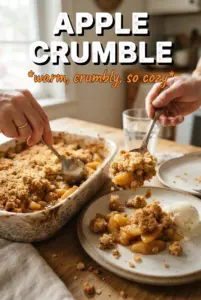
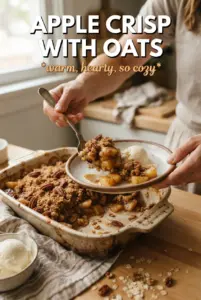
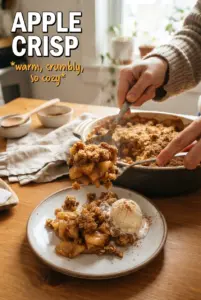
Golden oat crumble over tender baked apples is one of those desserts that disappears fast because it gets the texture balance exactly right: soft, jammy fruit underneath and a crisp, toasty topping on top. This gluten-free apple crisp doesn’t lean on any one flour trick to hold it together. It works because the apples are tossed with just enough starch to turn the juices into a glossy sauce, and the crumble is built from a mix of oats, almond flour, and a gluten-free blend that bakes into real clumps instead of sandy crumbs.
The difference between a crisp that tastes homey and one that turns soggy usually comes down to two things: the apple juices and the butter. The fruit needs cornstarch so the filling thickens as it bakes, and the butter needs to stay cold so the topping holds its shape long enough to brown. Once you know those two pieces, the rest is just getting the ratio right.
Below, you’ll find the small details that keep the topping crunchy, the best apples to use if you want a tart-sweet filling, and a few ways to adapt this for different diets without losing that classic crisp texture.
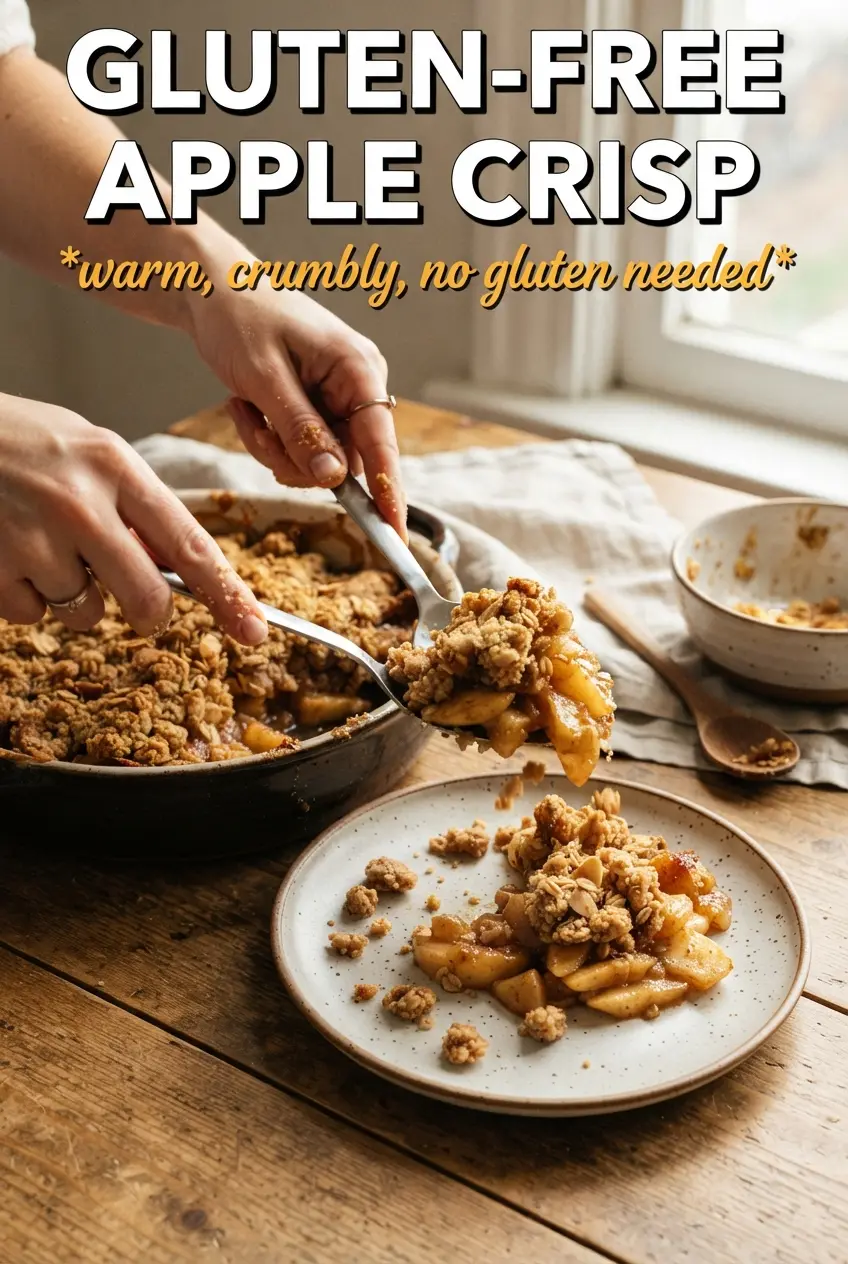
The topping baked up with those big crunchy clumps I always hope for, and the apple layer thickened instead of turning watery. I served it after dinner and there wasn’t a spoonful left.
Save this gluten-free apple crisp for the nights when you want bubbling cinnamon apples and a crunchy almond-oat topping without anyone missing the flour.
The Part That Keeps the Crisp Crunchy Instead of Watery
Apple crisp goes wrong when the fruit releases a flood of juice before the topping has a chance to brown. That’s why the cornstarch matters here. It catches the apple juices as they heat, so the filling turns thick and spoonable instead of running across the pan when you serve it.
The other place people lose texture is the topping. If the butter melts too early, you get a sandy layer instead of those crumbly bits that toast at the edges. Cold butter cut into the dry ingredients keeps the crumble loose at first, then it sets into golden clumps in the oven.
- Apples — Use firm baking apples that hold their shape, like Granny Smith, Honeycrisp, or a mix of tart and sweet varieties. Softer apples collapse faster and can make the filling mushy.
- Cornstarch — This is what thickens the juices without making the filling gummy. Arrowroot works too, but use a little less because it thickens faster.
- Certified gluten-free oats — Regular oats are often cross-contaminated, so certification matters if you’re cooking for someone sensitive. They also give the topping that classic crisp chew.
- Almond flour — This adds richness and helps the crumble bake into fat, crunchy clusters. You can’t swap it one-for-one with more oat flour and expect the same texture.
- Cold butter — Butter straight from the fridge is what gives you those uneven nuggets that melt into crisp edges. If it softens too much, chill the bowl for 10 minutes before baking.
Building the Filling and Topping in the Right Order
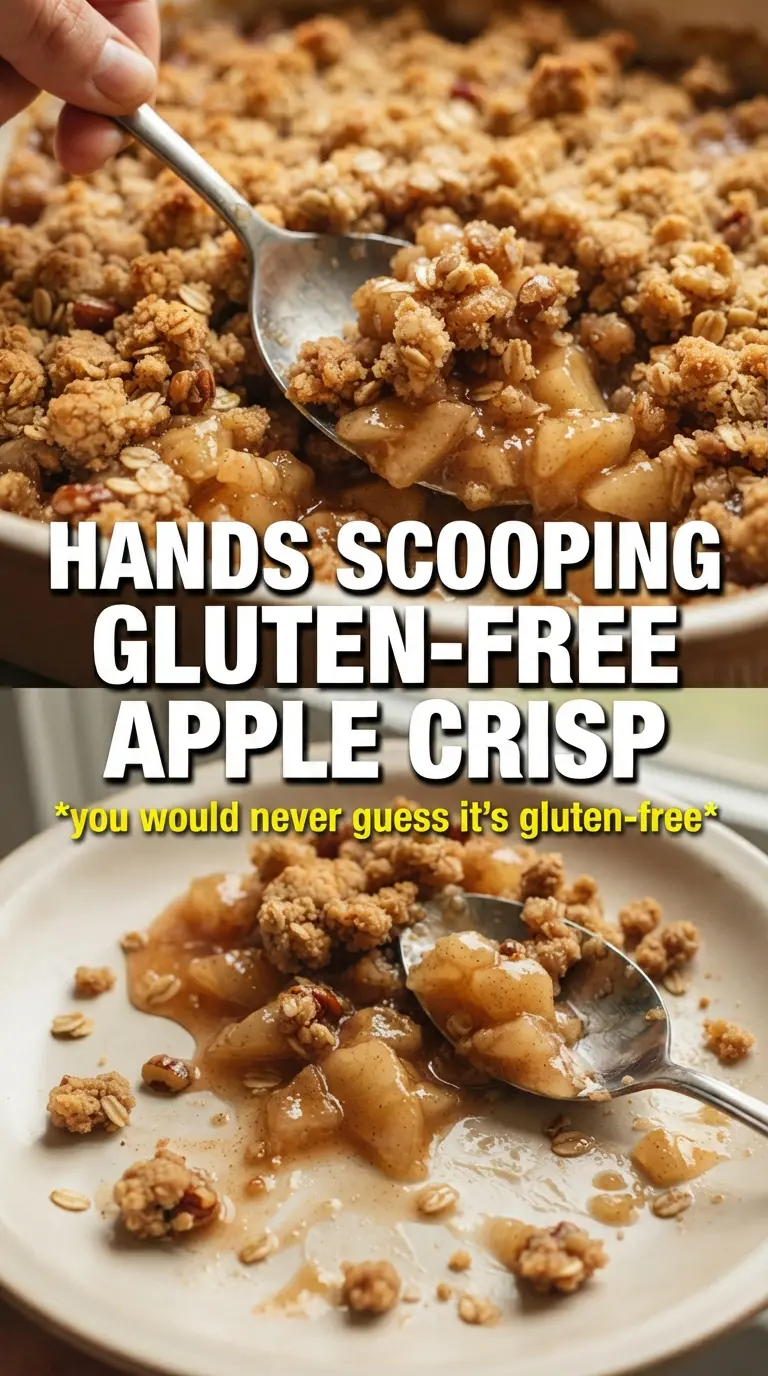
- Apples first, because they need time to settle — Toss the sliced apples with sugar, cinnamon, nutmeg, cornstarch, and lemon juice until every slice looks lightly coated. The lemon juice keeps the fruit tasting bright, and the sugar starts pulling out juice right away, which is exactly what the cornstarch needs to thicken later.
- Don’t overwork the crumble — Stir the oats, almond flour, gluten-free flour blend, brown sugar, cinnamon, and salt together, then cut in the cold butter until the mixture looks like uneven pebbles and fat crumbs. Stop before it turns paste-like; the loose bits are what bake into a crisp top.
- Use a 9×13 dish with some headroom — This dessert bubbles a lot, especially if your apples are extra juicy. Spreading the filling in a roomy dish helps it cook evenly instead of steaming in a tight pile.
Getting the Bake to the Point Where the Edges Brown First
Coating the apples evenly
Once the apples are in the dish, spread them into an even layer so the heat reaches every slice at the same pace. If some pieces are piled higher than others, the top layer can dry out before the bottom layer softens. The coating should look glossy, not wet.
Cutting in the butter without melting it
Work the cold butter into the dry topping with a pastry cutter, fork, or your fingers until you have a mix of small crumbs and a few larger clumps. Those bigger clumps are what give you the best texture after baking. If the butter starts to smear, pause and chill the bowl for a few minutes.
Baking until the filling bubbles through
The crisp is done when the top is deep golden and you can see the filling actively bubbling around the edges and in the center. That bubbling matters. It tells you the cornstarch has heated enough to thicken the juices. Pull it too early and the filling will stay loose.
Letting it rest before serving
Give the pan at least 10 minutes on the counter after baking. The filling thickens as it cools, and that short rest keeps the spoonfuls from running apart. It still tastes warm, but it holds together much better with a scoop of vanilla ice cream on top.
How to Adapt This Apple Crisp Without Losing the Texture
Dairy-Free Apple Crisp
Swap the butter for a solid plant-based baking butter that stays firm when cold. Coconut oil will work in a pinch, but the topping will taste different and can brown faster, so watch the oven closely. The texture will still be crisp, just a little less rich.
Nut-Free Version
Replace the almond flour with an equal amount of additional gluten-free all-purpose flour blend. The topping will be a little less buttery and less nubby, but it still bakes up with good crunch. Don’t add more oats to make up the difference or the crumble can turn dry and dusty.
Less Sweet Apple Crisp
Cut the granulated sugar in the filling to 2 tablespoons if your apples are naturally sweet, and reduce the brown sugar in the topping by a couple of tablespoons. The filling will taste brighter and more apple-forward, but it won’t be as syrupy, so it works best with tart apples.
Storage and Reheating
- Refrigerator: Store covered for up to 4 days. The topping softens a little as it sits, but the flavor stays great.
- Freezer: Freeze the baked crisp tightly wrapped for up to 2 months. Thaw in the fridge before reheating, or the center will warm unevenly.
- Reheating: Warm in a 325F oven until heated through and the topping firms back up, about 15 to 20 minutes for individual portions or longer for the full pan. The mistake to avoid is microwaving it until the fruit turns loose and the crumble goes soggy.
Answers to the Questions Worth Asking
Gluten-Free Apple Crisp
Ingredients
Equipment
Method
- Preheat the oven to 375°F, then grease a 9x13 baking dish. Keep it ready for the apples so the crumble can go on right away.
- Toss the apple slices with granulated sugar, cinnamon, nutmeg, cornstarch, and lemon juice, then spread them evenly in the dish. Scrape in any dry pockets so the filling stays thick and glossy.
- Combine the certified gluten-free rolled oats, almond flour, gluten-free all-purpose flour blend, brown sugar, cinnamon, and salt. Add the cold butter and cut in until chunky clumps form, with visible pieces of butter.
- Scatter the crumble over the apples in an even layer. Press lightly so the topping stays put while baking.
- Bake for 40-45 minutes at 375°F until the topping is golden and the filling is bubbling. Watch for bubbling around the edges as the fruit mixture thickens.
- Rest the apple crisp for 10 minutes before serving. Let the bubbling settle so each scoop holds together, then serve with vanilla ice cream.