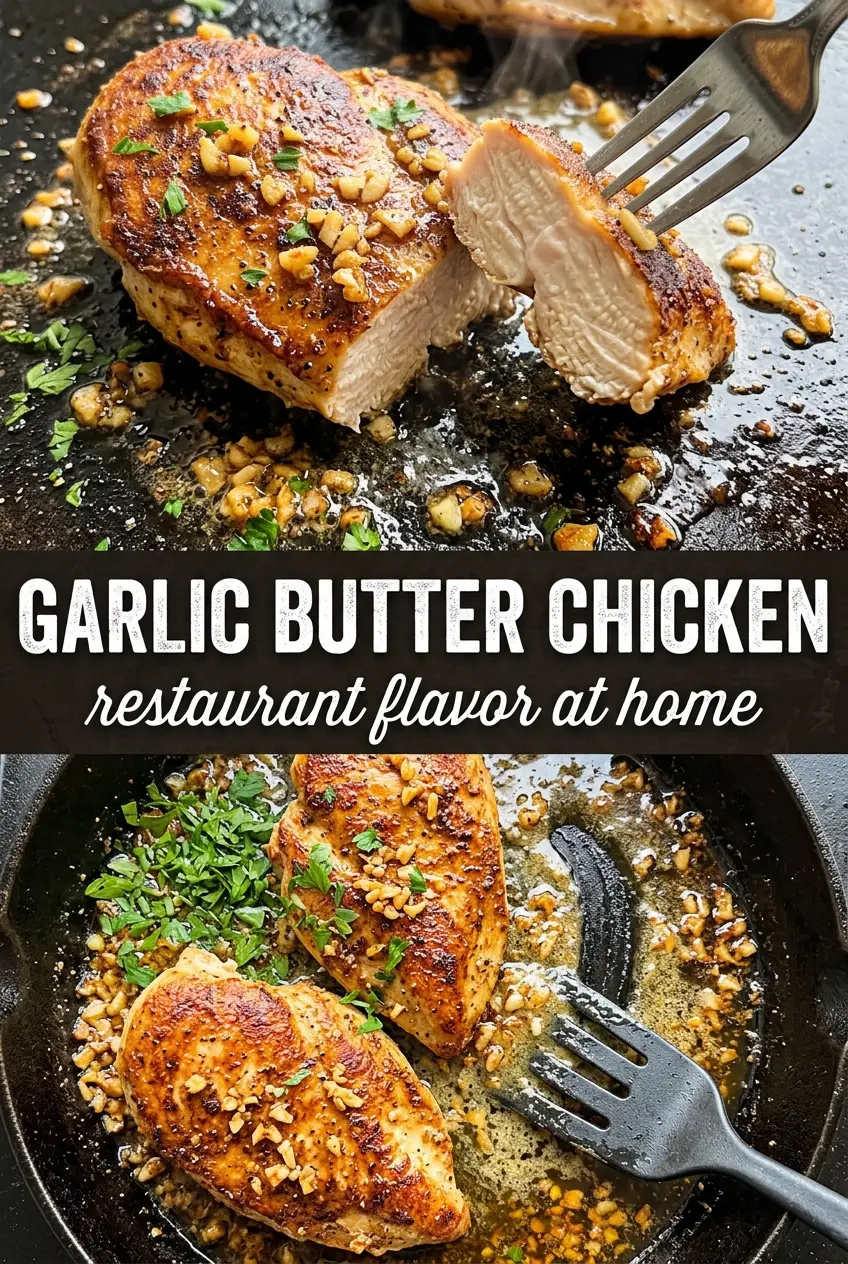
Golden, pan-seared chicken breasts bathed in garlic butter are the kind of dinner that gets attention the second they hit the table. The outside stays deeply savory and lightly crisp from the sear, while the sauce turns glossy and fragrant without feeling heavy. It’s the sort of skillet meal that looks like you spent far more time on it than you did.
What makes this version work is the order of operations. The chicken gets a proper sear first, which builds flavor in the pan and keeps the meat juicy. Then the garlic goes in after the heat drops, so it turns fragrant instead of bitter, and the broth loosens every browned bit left behind. A small hit of lemon at the end keeps the butter from tasting flat.
Below, I’ve included the timing cues that matter most, plus the little adjustments that help the sauce stay silky and the chicken stay tender. If you’ve ever had garlic butter sauce taste dull or separate, the notes here will help fix that.
The sauce turned out glossy and full of garlic flavor, and the chicken stayed juicy even after simmering in it for a few minutes. My husband kept going back for more bread just to mop up the pan.
Like this garlic butter chicken? Save it to Pinterest for a fast skillet dinner with a glossy pan sauce and plenty of garlic.
The Trick to Keeping Garlic Butter Sauce Fragrant, Not Burnt
The biggest mistake in garlic butter chicken is letting the garlic cook too long or too hot. Garlic goes from fragrant to bitter fast, and once it scorches, the whole sauce tastes harsh. Pull the heat down before the garlic goes in, and give it just enough time to turn soft and aromatic in the butter.
The other thing that matters is the fond left in the pan. Those browned bits from searing the chicken are what give the sauce depth, so when the broth goes in, scrape the pan well and let it simmer for a minute or two. That step keeps the sauce from tasting like melted butter with garlic floating in it.
- Chicken breasts — Boneless breasts work well here because they sear quickly and slice cleanly. If yours are thick, pound them to an even thickness so the outside doesn’t overcook before the center reaches temperature.
- Olive oil — A little oil helps the chicken brown before the butter enters the picture. Don’t swap straight to butter for the sear; butter can brown too fast and leave you with uneven color.
- Butter — This is the base of the sauce, so use the real thing. Salted or unsalted both work, but if you use salted butter, ease up slightly on the seasoning at the start.
- Garlic — Fresh minced garlic matters here. Jarred garlic won’t give the same bright punch, and it can taste muddy once it hits the pan.
- Chicken broth — Broth loosens the butter into a spoonable sauce and lifts the browned bits from the pan. Water will work in a pinch, but the sauce loses body and depth.
- Lemon juice — The final squeeze wakes everything up. Add it at the end, not earlier, so the sauce stays smooth and the citrus stays fresh instead of cooked down.
How to Build the Skillet So the Chicken Stays Juicy
Getting a Deep Sear First
Season the chicken generously, then get it into a hot skillet with olive oil and leave it alone long enough to build color. You’re looking for a deep golden crust that releases from the pan without sticking when it’s ready to turn. If the heat is too low, the chicken steams and turns pale; if it’s too high, the outside burns before the center cooks through.
Warming the Garlic in Butter
After the chicken comes out, lower the heat before adding the butter and garlic. The butter should melt and foam gently, and the garlic should smell sweet and sharp, not toasted or harsh. If you see the garlic darkening fast, the pan is still too hot and the sauce will turn bitter.
Finishing the Pan Sauce
Stir in the broth and thyme and scrape the pan until the browned bits dissolve into the liquid. Let it simmer just long enough to reduce slightly, then return the chicken and spoon the sauce over the top. Finish with lemon juice and parsley off the heat or right at the end so the sauce stays bright and the herbs don’t lose their color.
Make It Dairy-Free Without Losing the Pan Sauce
Swap the butter for a good dairy-free butter alternative that melts cleanly, then keep the heat low when you add the garlic. The sauce will still be glossy and rich, though it won’t have quite the same round dairy finish that real butter gives.
Use Chicken Thighs for a More Forgiving Cut
Boneless thighs work well if you want a juicier, less delicate option. They take a little longer to cook, but they’re harder to dry out and they handle the simmer in the sauce beautifully.
Make It Gluten-Free Without Any Special Tricks
This dish is naturally gluten-free as written as long as your broth is certified gluten-free. The sauce thickens from reduction, not flour, so nothing about the texture needs to change.
Add Mushrooms or Spinach for a One-Pan Dinner
Sauté sliced mushrooms after the chicken comes out, before the garlic goes in, or wilt spinach into the sauce at the very end. Mushrooms deepen the savory flavor, while spinach adds color and bulk without changing the cooking method.
Storage and Reheating
- Refrigerator: Store leftovers in an airtight container for up to 3 days. The sauce will thicken as it chills.
- Freezer: It freezes, but the butter sauce may separate a little when thawed. For the best texture, freeze the chicken and sauce together only if you don’t mind whisking the sauce back together when reheated.
- Reheating: Warm gently in a covered skillet over low heat with a splash of broth. High heat is what dries out the chicken and makes the sauce break.
Questions I Get Asked About This Recipe
Garlic Butter Chicken
Ingredients
Equipment
Method
- Season the boneless chicken breasts generously with salt and pepper.
- Heat the olive oil in a large skillet over medium-high heat and sear the chicken for 6-7 minutes per side until golden and cooked through to 165°F, turning once for a good crust.
- Remove the chicken and set aside, then reduce the heat to medium.
- Add the butter and garlic to the skillet and cook for 1-2 minutes until fragrant, stirring so the garlic pieces don’t burn.
- Add the chicken broth and dried thyme, scraping up any browned bits from the pan, then simmer for 2-3 minutes.
- Return the chicken to the pan, spoon the garlic butter sauce over top, and warm it through.
- Add the lemon juice and fresh parsley, then serve immediately.