Golden, chunky fruit crisp topping is the part that turns a pan of baked fruit into a dessert people go back for second spoonfuls of. The best version bakes up with crisp edges, tender oat-filled clumps, and just enough brown sugar and cinnamon to taste warm without drowning out the fruit underneath. It lands somewhere between streusel and crumble, and that texture contrast is what makes it worth keeping in the fridge or freezer.
The trick is keeping the butter cold and not overworking it. You want a mixture that looks uneven, with some sandy bits and some bigger buttery clumps, because those different sizes bake into a better crust. Brown sugar brings moisture and caramel notes, while a small amount of granulated sugar helps the topping brown more evenly. The oats give it structure, and the flour holds everything together just enough to clump instead of turning dusty.
Below, I’ll show you how to judge the crumb before it goes on the fruit, which add-ins actually improve the texture, and how to store extra topping so it’s ready the next time you need dessert in a hurry.
The topping baked into big crunchy clumps instead of disappearing into the fruit, and the little bit of cinnamon and nutmeg made the whole pan smell amazing.
Save this fruit crisp topping for apple, peach, or berry crisps when you want a buttery crumble with real oat clusters.
The Butter Clumps Are the Whole Point
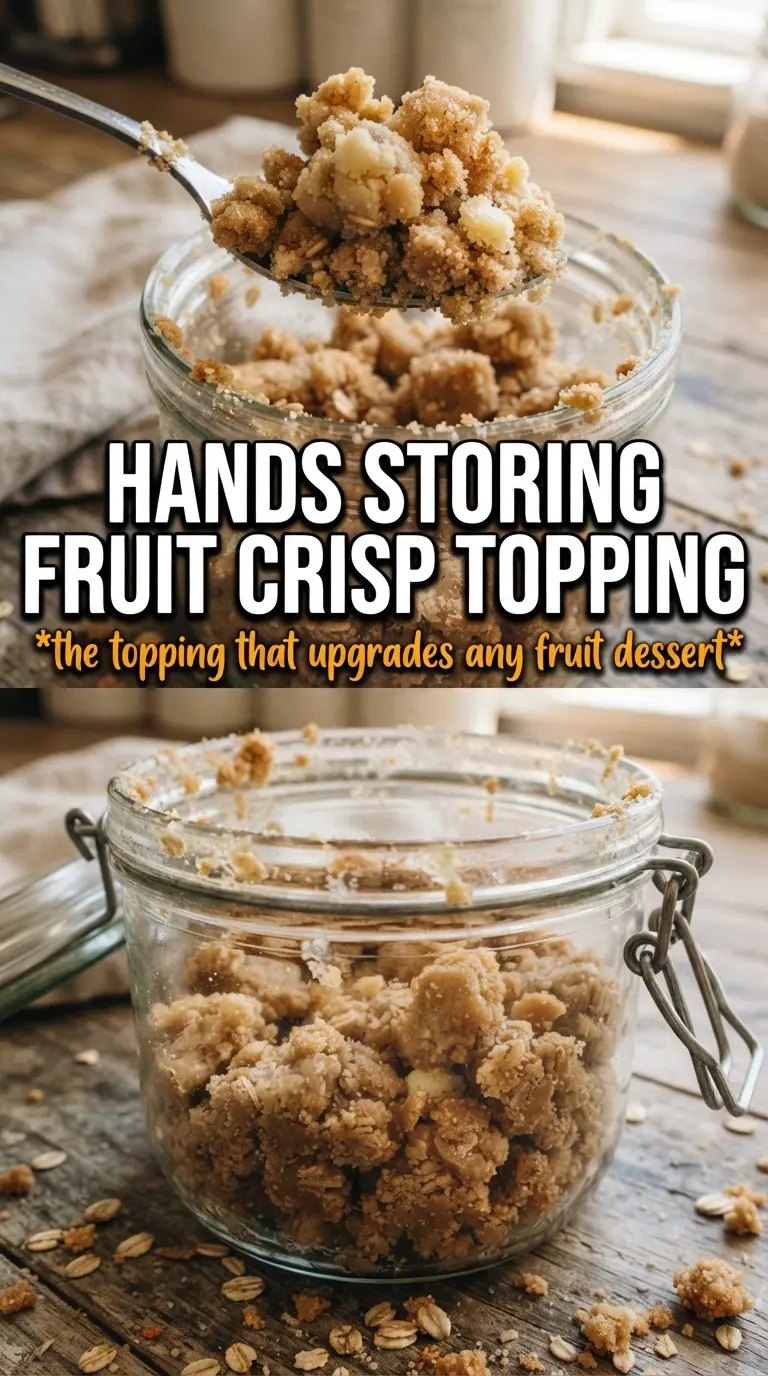
The biggest mistake with crisp topping is trying to make it look evenly mixed before it goes in the oven. That usually means the butter got worked too far into the dry ingredients, and the topping bakes up dense instead of craggy. The best texture comes from stopping when the mixture forms uneven clumps and a few pea-sized pieces of butter are still visible.
Cold butter matters here because it holds its shape long enough to create pockets as it melts. Those pockets are what give you the crisp, nubbly texture on top. If the butter softens while you mix, the topping starts to resemble cookie dough, and it won’t scatter or bake with the same rough edges.
- Rolled oats — These bring chew and structure. Quick oats will work in a pinch, but the topping loses some of its definition and turns softer.
- All-purpose flour — This helps the crumbs cling together. A gluten-free 1:1 flour blend usually works well if you need a gluten-free version.
- Brown sugar — This adds moisture and a deeper caramel note that white sugar can’t replicate. Light or dark brown sugar both work; dark brown sugar gives a bolder molasses flavor.
- Cold unsalted butter — Unsalted butter lets you control the salt level, and cold butter is non-negotiable if you want big clumps. If all you have is salted butter, use it and reduce the added salt a little.
What Each Ingredient Is Actually Doing in This Recipe
- Primary ingredient (the star) — Quality matters most. Choose the best you can find.
- Cooking medium (oil, butter, or broth) — This carries flavors and prevents dryness.
- Seasonings (salt, pepper, spices, herbs) — Layer flavors so nothing overpowers. Build depth gradually.
- Aromatics (garlic, onion, herbs) — Cook with fat to bloom flavors. Become the foundation.
- Supporting ingredients — Complement the main ingredient without overpowering it.
- Sauce or liquid (if applicable) — Brings flavors together. Balance richness with acid.
- Acid (lemon, vinegar, wine, or other) — Brightens and prevents flat-tasting results.
- Final finish (garnish, glaze, or sauce) — Prevents one-dimensional taste and adds visual appeal.
Building the Crumble Without Turning It Into Dust
Mix the Dry Base First
Start with the oats, flour, sugars, cinnamon, nutmeg, and salt in a large bowl. Stir until the color looks even and you don’t see streaks of spice or brown sugar hiding at the bottom. If you’re adding nuts or coconut, toss them in now so they get distributed before the butter goes in.
Cut the Butter Until the Clumps Form
Add the cold cubed butter and work it in with your fingertips, two forks, or a pastry cutter. Stop as soon as the mixture holds together in uneven clumps and still has some smaller buttery bits. If you keep going until it looks smooth, the topping gets pasty and bakes up flat.
Use It or Chill It at the Right Moment
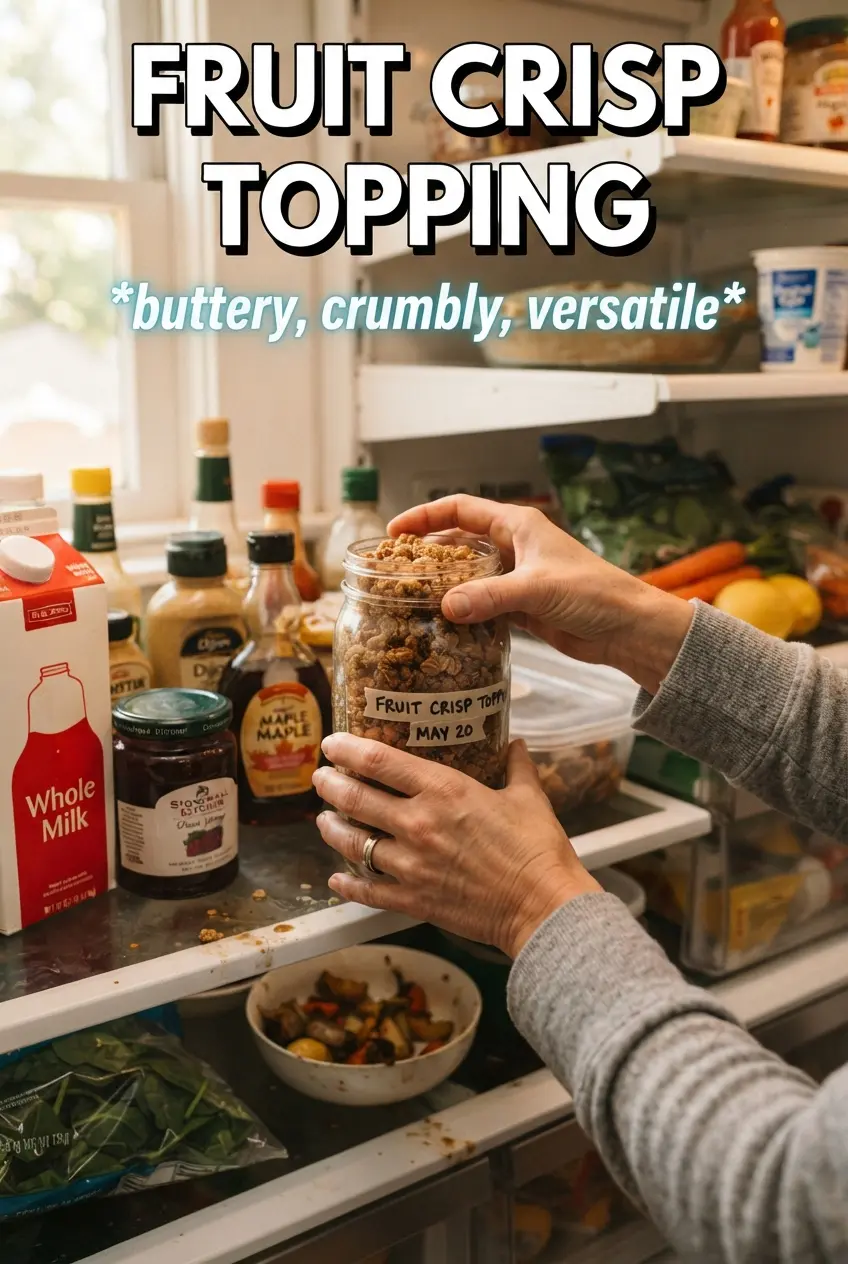
Scatter the topping over fruit filling in a generous layer, pressing only lightly so some pieces stay loose and craggy. Bake at 375°F until it turns deeply golden and you can smell the butter and cinnamon. If you’re making it ahead, refrigerate it in an airtight container for up to 5 days or freeze it for up to 3 months, then use it straight from cold over the fruit.
Make It Nutty and Extra Crunchy
Add chopped pecans or walnuts for a deeper toasted flavor and a firmer bite. They bake into the topping instead of sitting on top of it, which gives you a more layered crunch in every spoonful.
Dairy-Free Crisp Topping
Use a firm plant-based butter block in place of the dairy butter. The texture will still clump well if the substitute stays cold, though the flavor will be a little less rich and a touch more neutral.
Gluten-Free Version
Swap in a certified gluten-free all-purpose flour blend and make sure your oats are certified gluten-free too. The topping still bakes up crisp, but it may be a little more delicate when you scoop it.
Coconut for a Toastier Finish
Add shredded coconut for a sweeter, toastier topping with a little extra chew. It browns faster than the rest of the mixture, so keep an eye on the edges of the crisp near the end of baking.
Storage and Reheating
- Refrigerator: Store the unbaked topping in an airtight container for up to 5 days. It may firm up, but that helps the crumbs stay chunky when baked.
- Freezer: Freeze for up to 3 months in a sealed bag or container. No need to thaw before using if you’re baking it over fruit.
- Reheating: If the baked topping softens after sitting, reheat the crisp in a 325°F oven until the top crisps back up. The oven works better than the microwave, which steams the crumbs and turns them soggy.
Answers to the Questions Worth Asking
Fruit Crisp Topping
Ingredients
Method
- Combine rolled oats, all-purpose flour, brown sugar, granulated sugar, cinnamon, nutmeg, and salt in a large bowl.
- Add the chopped nuts and shredded coconut (if using) and toss to combine evenly.
- Add the cold cubed unsalted butter and work it into the mixture with your fingertips, two forks, or a pastry cutter until large chunky clumps form.
- Stop when some pea-sized butter pieces remain in the crumble for extra crisp texture.
- Use immediately by scattering the topping over your prepared fruit filling.
- Or refrigerate the crumble in an airtight container up to 5 days or freeze up to 3 months before using.
- Bake the fruit crisp at 375F for 35-45 minutes over your fruit filling until deeply golden.