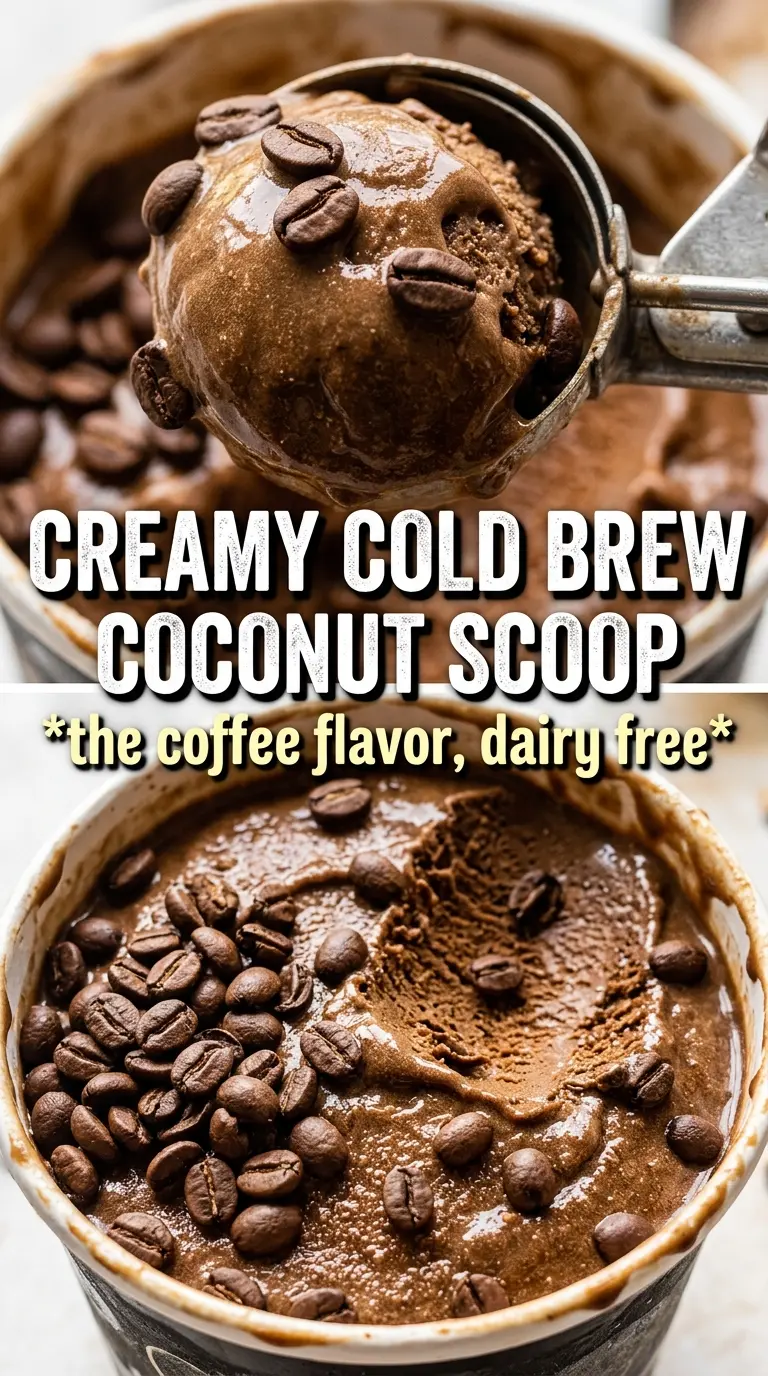
Deep coffee flavor and a creamy, scoopable texture are what make this ice cream worth keeping in the freezer. The cold brew brings a clean, roasted bitterness that stays front and center, while coconut milk adds body without muting the coffee. You get a dessert that tastes bold and grown-up, but still finishes smooth instead of icy.
The trick here is treating the base like a custard without eggs. A little starch gives the coconut milk enough structure to churn well, and heating it briefly dissolves the sugar and activates that thickening power without cooking off the coffee flavor. The result is a base that freezes with a softer, more luxurious scoop than you’d get from coconut milk alone.
Below, I’ll walk you through the small details that matter most, including how to keep the mixture from separating and how to adjust the sweetness depending on whether you use sugar or maple syrup. There’s also a storage note for anyone who likes to keep ice cream on hand for more than one night.
The coconut milk made it scoopable straight from the freezer, and the cold brew flavor stayed bold instead of getting watered down. I also loved that it churned up without any icy bits.
Save this cold brew coffee and coconut milk ice cream for the nights when you want a bold, dairy-free scoop with a silky finish.
The Secret to Keeping Coconut Milk Ice Cream Creamy Instead of Icy
Coconut milk behaves differently from dairy cream. It can freeze up firm and a little brittle if the base is too thin or if the sugar isn’t fully dissolved before churning. That’s why this recipe uses both a brief stovetop heat and a starch thickener: you’re giving the mixture enough structure to stay smooth after freezing.
The other thing that matters is balance. Cold brew concentrate tastes strongest after freezing when some sweetness and fat are present, so the coconut milk isn’t just there for richness — it protects the coffee flavor from tasting sharp or watery. If your base tastes slightly sweeter than you want before churning, that’s normal. Freezing dulls sweetness.
What Each Ingredient Is Actually Doing in This Ice Cream
- Full-fat coconut milk — This is the body of the ice cream. Light coconut milk won’t give you the same rich texture, and the ice cream will freeze harder and taste thinner. Shake the cans well before opening, then whisk the contents until smooth so the cream and liquid are fully combined.
- Cold brew coffee concentrate — Concentrate gives you deep coffee flavor without adding too much water. Regular brewed coffee can work in a pinch, but the ice cream will taste less bold and may freeze icier because of the extra liquid. Use a concentrate you already enjoy drinking, since the flavor carries straight through.
- Sugar or maple syrup — Both sweeten the base, but sugar gives the cleanest frozen texture. Maple syrup adds a deeper, rounder note that works beautifully with coffee, though it can make the finished ice cream a touch softer. If you use maple syrup, keep the rest of the method the same and expect a slightly more scoopable result straight from the freezer.
- Arrowroot or cornstarch — This is the quiet insurance policy. It thickens the base just enough to help the ice cream churn smoothly and hold air, which keeps it from freezing into a hard block. Whisk it in cold before heating so it disperses evenly and doesn’t clump.
- Vanilla extract — Vanilla rounds out the coffee and softens the sharp edge of the cold brew. It doesn’t make the ice cream taste like vanilla; it just makes the coffee taste fuller. Use real vanilla if you have it.
How to Build the Base So It Churns Smoothly
Whisk the starch in before the heat goes on
Start with a cold saucepan and whisk everything together until the coconut milk looks completely even. The starch needs to be dispersed before the mixture heats, or it can form tiny lumps that show up in the finished ice cream. If your coconut milk is separated in the can, whisk harder than you think you need to until it looks smooth and creamy.
Heat just until slightly thickened
Keep the pan over medium heat and whisk constantly until the sugar dissolves and the mixture looks a touch more velvety, about 5 minutes. You’re not cooking this down; you’re just activating the starch and smoothing the base. If it starts to simmer hard or bubble aggressively, pull it off the burner, because high heat can thin the flavor and make the coconut milk look grainy.
Chill it all the way through before churning
Set the pan in an ice bath and cool the base completely, then refrigerate it for at least 4 hours. Cold base churns faster and freezes with a better texture. If you pour in a warm or even lukewarm mixture, the machine works harder, the ice cream takes longer to set, and the texture turns denser and icier.
Freeze after churning until it firms up
Once the ice cream maker does its job, transfer the soft churned ice cream to a container and freeze it until scoopable. It will look like soft serve at first, and that’s exactly what you want. For the cleanest scoops, let it sit on the counter for a few minutes before serving instead of forcing a spoon through it right out of the deep freeze.
Three Ways to Make It Fit Your Kitchen
Maple Sweetened and Deeper in Flavor
Swap the granulated sugar for maple syrup if you want a warmer, more rounded sweetness. The ice cream will taste a little more like a café dessert and may freeze a bit softer, which is an advantage if you like easy scoops straight from the freezer.
Lower-Sugar Version
You can reduce the sugar slightly, but don’t cut it too aggressively or the texture will suffer. Sugar helps keep frozen desserts softer and less icy, so a big reduction makes this churn harder and scoop colder. If you lower the sweetness, expect a firmer finish and serve it after a short rest on the counter.
No Ice Cream Maker
You can freeze the chilled base in a shallow container and stir it every 30 to 45 minutes until thick, but the texture won’t be as airy as churned ice cream. It still works, especially if you’re patient and break up the ice crystals along the edges each time. The result is more rustic, with a firmer scoop and less overrun.
Storage and Reheating
- Refrigerator: Not recommended for storing as a finished dessert; the base can be refrigerated up to 2 days before churning, but the churned ice cream belongs in the freezer.
- Freezer: Freeze in an airtight container for up to 2 weeks for the best texture. After that, it can pick up ice crystals and lose some of the coffee aroma.
- Reheating: No reheating needed. Let the container sit at room temperature for 5 to 10 minutes before scooping so the edges soften first. Don’t microwave it, or the texture around the spoon will melt before the center is usable.
Answers to the Questions Worth Asking
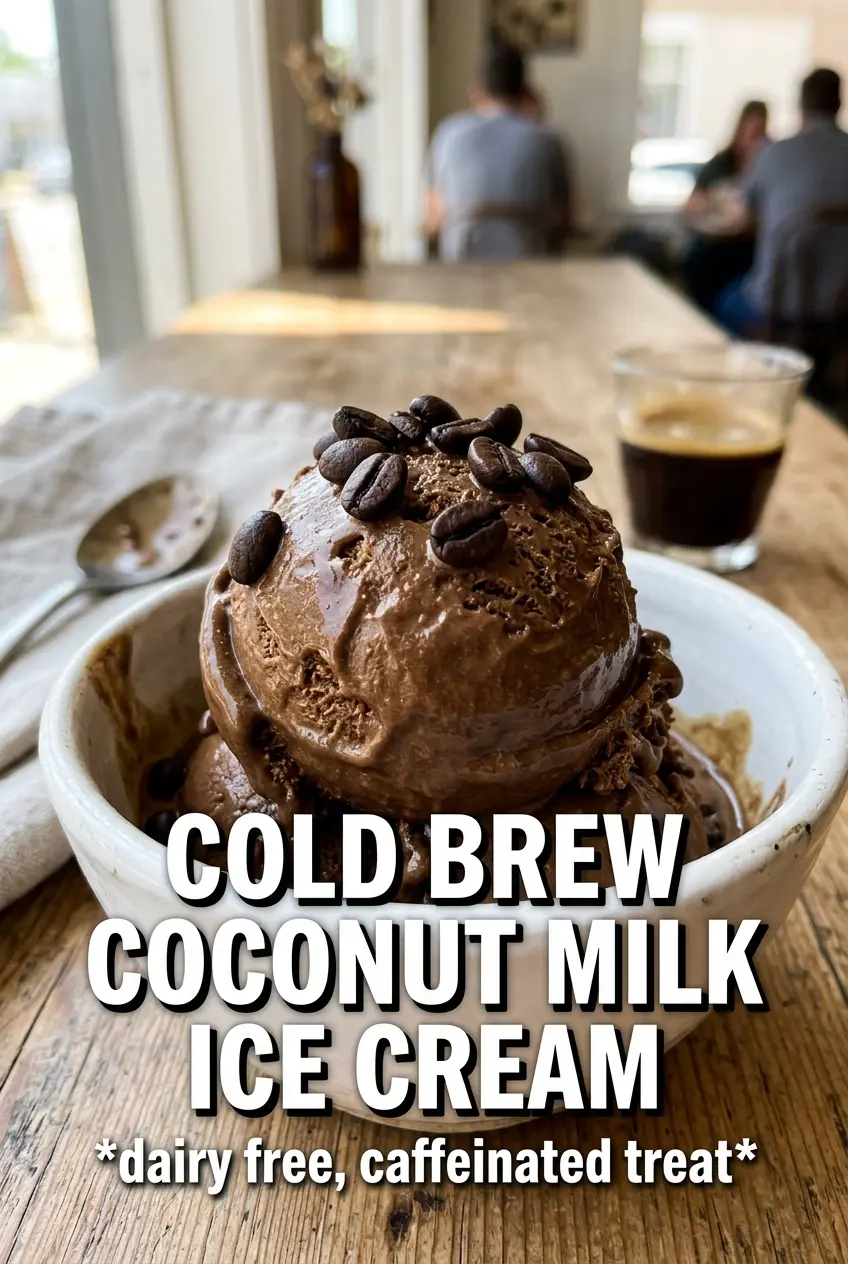
Cold Brew Coffee and Coconut Milk Ice Cream
Ingredients
Equipment
Method
- Whisk full-fat coconut milk, cold brew coffee concentrate, granulated sugar or maple syrup, arrowroot or cornstarch, vanilla extract, and salt together in a saucepan until smooth.
- Heat over medium heat, whisking constantly, until the mixture thickens slightly and the sugar dissolves, about 5 minutes.
- Cool the mixture completely over an ice bath, then refrigerate at least 4 hours until very cold.
- Churn the chilled mixture in an ice cream maker according to the manufacturer’s instructions until it reaches soft-serve consistency.
- Freeze until scoopable, then serve with an extra drizzle of cold brew concentrate.