Flaky pastry, tender spiced apples, and a thick ribbon of apple butter make this pie land somewhere between classic apple pie and the kind of dessert people keep talking about after dinner. The filling bakes up rich and jammy instead of watery, and the cinnamon sugar on top gives the crust a crisp, bakery-style finish that breaks cleanly under a fork.
What makes this version work is the apple butter. It adds deep apple flavor and a natural thickness that helps the filling hold together once it cools, so the slices stay neat instead of slumping apart. The cornstarch does its job too, but it needs the lemon juice and the fruit’s own juices to turn into a glossy, set filling rather than a gummy layer. The apples soften in the oven, but they still keep enough shape to give each bite texture.
Below, I’ve included the details that matter most: how to keep the bottom crust from going soggy, why the filling needs that full cool-down, and a few swaps if you’re working with homemade crust or different apples.
The apple butter made the filling thick and spoonable instead of runny, and the cinnamon sugar crust baked up with the perfect crackly top. I let it cool for an hour like you said and the slices held together beautifully.
Save this cinnamon sugar apple butter pie for the day you want a thick, spiced filling and a crackly sugared crust.
The Trick to Keeping the Bottom Crust Crisp Under a Thick Apple Butter Filling
This pie has a heavy filling, which is good news for flavor and bad news for a limp bottom crust if you rush the assembly. The apple butter sits directly on the pastry and acts like a sticky barrier between the crust and the fruit juices, which helps a lot, but the real difference comes from how you handle the apples. Tossing them with cornstarch before they go in the pie gives the juices something to cling to as they bake, so they thicken in the oven instead of leaking into the crust.
The other thing that matters is oven temperature. At 375°F, the crust has enough heat to start setting before the filling turns loose, and the top browns without burning before the center cooks through. If your pie crust usually comes out pale or soft underneath, that’s usually a sign the filling was too wet or the pie didn’t bake long enough for the center to bubble.
What the Apple Butter, Apples, and Sugars Are Really Doing Here
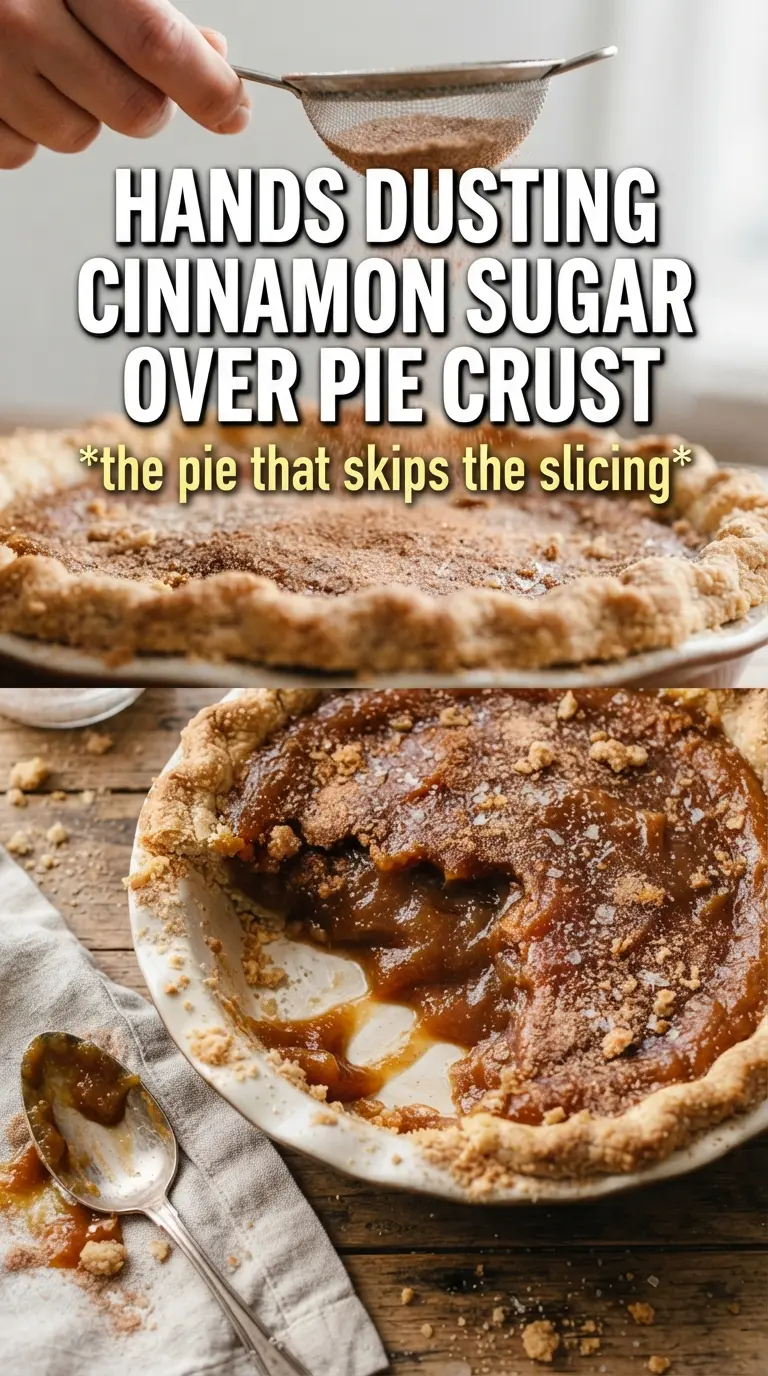
- Apple butter — This is the backbone of the filling. It brings concentrated apple flavor and helps the pie set up with a jammy texture that plain apples alone can’t give you. Use a good store-bought jar or homemade apple butter; either works as long as it’s thick, not loose.
- Apples — Thin slices matter here because they soften fast enough to bake through in the time it takes the crust to brown. Firm apples like Granny Smith, Honeycrisp, or a blend hold their shape better than soft baking apples that collapse into mush.
- Cornstarch — This thickens the juices so the filling slices cleanly once cooled. Flour can work in a pinch, but it won’t give you the same clear, glossy finish, and it can taste a little pasty if the pie is underbaked.
- Lemon juice — It keeps the apples from tasting flat and brightens the whole filling. It also helps prevent the slices from browning before they go into the crust, which matters if you’re working quickly.
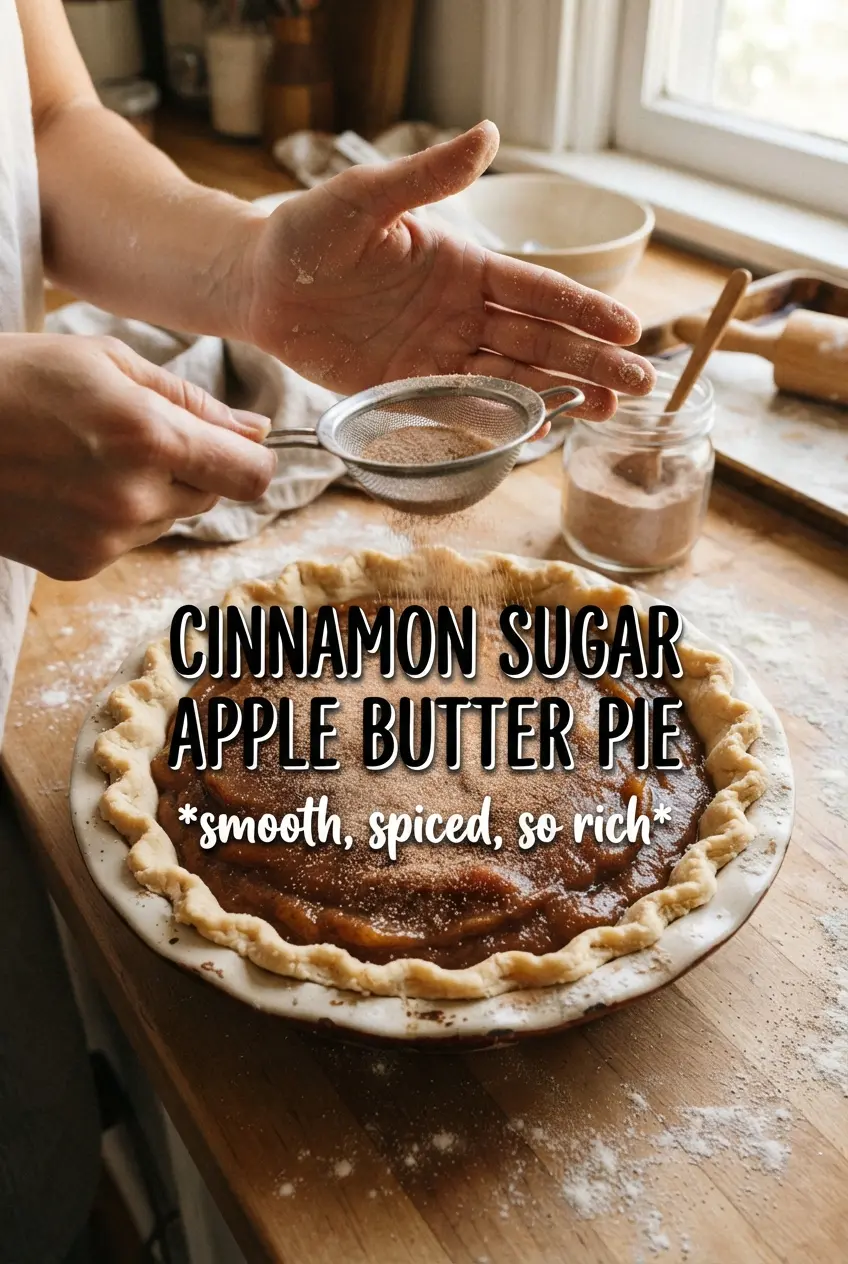
- Egg wash and cinnamon sugar — The egg wash helps the top crust take on that deep golden color, and the sugar mixture turns into a delicate crackly finish instead of just a plain browned lid. Don’t skip the sugar on top if you want that bakery look and texture.
Building the Pie So the Filling Sets, the Crust Browns, and the Slices Hold Together
Mix the apples before they hit the crust
Toss the sliced apples with both sugars, cinnamon, nutmeg, cornstarch, and lemon juice until every slice looks lightly coated. The mixture should look dusty and glossy at the same time, not wet at the bottom of the bowl. If you see a puddle forming right away, the apples were sitting too long after slicing, and you should move fast so the cornstarch doesn’t clump in one spot.
Layer the apple butter first
Spread the apple butter over the bottom crust in an even layer before adding the fruit. That layer does two jobs: it boosts the apple flavor and helps keep the crust from getting soaked by the juices as the pie bakes. If the apple butter is stiff, warm it just enough to spread easily, but don’t make it runny.
Bake until the center is bubbling
Once the top crust is on, crimp the edges tightly, cut steam vents, and brush on the egg wash before you add the cinnamon sugar. Bake until the crust is deeply golden and the filling is bubbling up through the vents, not just hot around the edges. That bubbling is the sign the cornstarch has actually thickened the filling; if you pull the pie early, it will look fine in the pan and turn loose when you slice it.
Let it cool before you cut it
This is the part people skip, and it’s the reason their slices slide apart. The filling needs at least an hour to settle as it cools, and longer is better if you want cleaner wedges. If you cut it while it’s steaming hot, the filling will run, the crust will crumble, and you’ll lose the neat layers you worked for.
How to Adjust This Pie for Different Crusts, Apples, and Make-Ahead Plans
Use homemade crust for a flakier finish
Homemade crust gives you a little more control over flavor and flakiness, especially if you like a more buttery edge. Keep it cold and handle it lightly so it doesn’t shrink in the oven. The filling is rich enough to stand up to a sturdy crust, so this swap improves texture without changing the character of the pie.
Make it gluten-free with a sturdy GF pie crust
A good gluten-free pie crust works here as long as it’s one that can hold a wet filling without cracking. Blind-bake isn’t necessary, but chilling the assembled pie before baking helps the crust set before the filling starts to bubble. The texture will be a little more tender and less shattery than a wheat crust, but the flavor still lands beautifully.
Swap the apples for what you have on hand
Firm, tart apples give the best contrast with the sweet apple butter, but a mix of sweet and tart apples also works well. Softer apples will bake down more, which makes the filling looser and softer, so use them only if you don’t mind a more spoonable slice. Cut everything thin so the bake time stays the same.
Storage and Reheating
- Refrigerator: Store covered for up to 4 days. The crust softens a little after the first day, but the filling stays flavorful and sets even more firmly.
- Freezer: This pie freezes well after baking and cooling. Wrap tightly, then freeze for up to 2 months. Thaw overnight in the refrigerator before reheating.
- Reheating: Warm slices in a 300°F oven until the crust is crisp again and the center is just heated through. The microwave will soften the crust, which is the fastest way to lose the texture that makes this pie worth baking.
Questions I Get Asked About This Recipe
Cinnamon Sugar Apple Butter Pie
Ingredients
Equipment
Method
- Preheat the oven to 375F, then fit one pie crust into a 9-inch pie dish.
- Crimp the idea of your pie edges lightly so the crust can support the filling while baking.
- Toss the sliced apples with both sugars, cinnamon, nutmeg, cornstarch, and lemon juice until evenly coated.
- Spread the apple butter over the bottom crust in an even layer.
- Layer the spiced apple slices over the apple butter, keeping the surface relatively level.
- Dot the filling with diced unsalted butter.
- Top with the second crust and crimp the edges to seal.
- Cut steam vents in the top crust so trapped steam can escape.
- Brush the vents and top with egg wash.
- Mix the remaining cinnamon and sugar, then sprinkle it over the top crust.
- Bake for 45-50 minutes at 375F until the crust is deeply golden and the filling is bubbling through the vents.
- Cool the pie at least 1 hour before slicing so the filling sets.