Caramel apple cheesecake bars hit that sweet spot between cozy and polished: a buttery graham cracker crust, a smooth cheesecake layer, soft cinnamon apples, and a caramel finish that sets them apart from the usual bar dessert. The texture is what keeps you coming back. You get a clean slice, a creamy middle, and just enough apple bite to keep every square from feeling too heavy.
The trick is treating each layer like it has a job. The crust needs to be packed down firmly so it holds when the bars are cut. The cheesecake layer should be beaten only until smooth, not whipped full of air, or it can bake up puffed and crack. And the apples need that quick sauté first so they soften enough to nestle into the filling without turning the bars watery.
Below, you’ll find the timing cues that matter, the best way to keep the cheesecake layer from overbaking, and a few smart swaps if you want to change up the fruit or make the bars ahead.
The apples stayed tender without making the cheesecake layer soggy, and the caramel drizzle set off the cinnamon in the filling perfectly. I chilled them overnight and they sliced into neat little bars the next day.
Save these caramel apple cheesecake bars for the dessert that slices clean, chills beautifully, and finishes with a caramel drizzle.
The Trick to Clean Bars Is in the Chill, Not the Oven
These bars need time in the refrigerator to firm up fully before you cut them. If you slice them while they’re still warm, the cheesecake layer smears and the apple topping slides. That chilling step isn’t optional here; it’s what turns a soft dessert into tidy bars with defined layers.
The other thing people miss is how done the center should look. Pull the pan when the edges are set and the middle still has the slightest wobble. It will finish setting as it cools, and that keeps the cheesecake from going dry or grainy.
- Graham cracker crumbs — The crumbs give you that classic buttery base, and their fine texture helps the crust pack tightly. If you crush whole crackers yourself, aim for very fine crumbs so the crust doesn’t crumble when cut.
- Cream cheese — Full-fat cream cheese gives the filling its dense, creamy structure. Use it softened all the way through; cold cream cheese leaves lumps that won’t beat out later.
- Sour cream — This adds a little tang and keeps the filling from tasting too heavy. Plain Greek yogurt works in a pinch, but it brings a slightly firmer, less plush texture.
- Apples — A firm baking apple holds its shape better than a soft one. If you use a sweeter apple, keep the sauté time short so it doesn’t turn mushy.
- Caramel sauce — Use a thick sauce for the drizzle or it will run off the bars instead of sitting on top. If yours is too thin, let it cool a little before drizzling so it clings better.
Building the Layers So the Bars Slice Cleanly
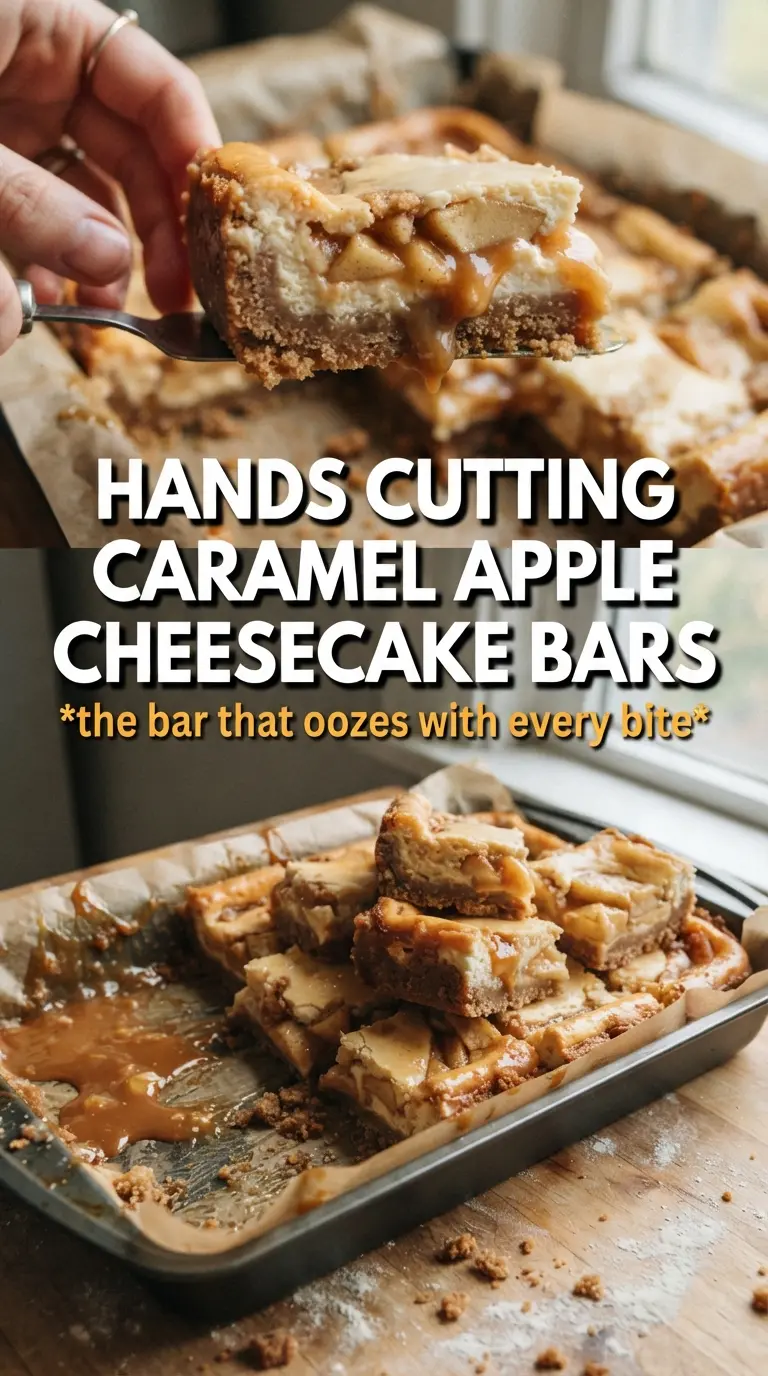
- Graham cracker crust — The melted butter needs to coat every crumb before it goes into the pan. Press it down firmly with the bottom of a measuring cup so the crust bakes into a stable base instead of a loose layer that falls apart.
- Cream cheese filling — Beat the cream cheese and sugar until the mixture looks smooth and glossy, then add the eggs one at a time. If you add the eggs too quickly, the filling can turn uneven and bake with little curds.
- Apple topping — Cooking the apples with butter, brown sugar, and cinnamon softens them and pulls out just enough moisture before they hit the oven. Skip this step and the apples can stay too firm, or worse, release liquid into the cheesecake.
- Caramel sauce — Drizzle it after the bars are fully chilled for the cleanest finish. Warm bars will soak up the caramel and blur the top layer.
The Bake, the Chill, and the Cut That Matter Most
Pressing the Crust into a Solid Base
Line the pan with parchment first so you can lift the bars out cleanly later. After mixing the crumbs, sugar, and melted butter, press the mixture into an even layer with firm pressure, especially in the corners. A loose crust will break apart when you slice the bars, and that happens fast if the butter isn’t distributed evenly.
Making the Cheesecake Layer Smooth
Beat the cream cheese and sugar until the mixture loses all graininess, then add the eggs one at a time. Stop mixing as soon as the batter looks smooth and cohesive. Overbeating adds air, which can cause puffing in the oven and tiny cracks as the bars cool.
Softening the Apples Before Baking
Cook the diced apples with butter, brown sugar, and cinnamon for about five minutes, just until they start to soften and smell like pie filling. You want them tender but still holding shape, not collapsing into applesauce. Let them cool slightly before topping the cheesecake so they don’t melt the filling underneath.
Watching for the Right Set
Bake until the edges are firm and the center barely moves when you nudge the pan. That slight wobble is the sign to stop; the bars will finish setting as they cool. If you bake until the center is fully firm in the oven, the cheesecake layer usually turns dry by the time it chills.
Cooling and Drizzling
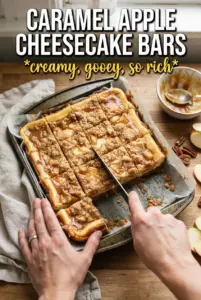
Let the pan cool completely at room temperature before it goes into the refrigerator. Once chilled for at least three hours, lift out the slab, drizzle with caramel, and slice with a sharp knife wiped clean between cuts. Cold bars cut cleanly. Warm bars drag and smear, which ruins that neat layered look.
How to Adapt These Bars Without Losing the Texture
Use pears instead of apples
Firm pears work if that’s what you have, but they soften faster than apples, so cook them for less time. The flavor turns a little more floral and mellow, and the bars will taste less tart.
Make it gluten-free
Swap in gluten-free graham-style crumbs and use the same butter ratio. The crust still holds well as long as the crumbs are fine and the pan is pressed firmly.
Make them a little lighter
Use reduced-fat cream cheese only if you accept a softer set and a less rich filling. The bars will still work, but they won’t slice quite as cleanly and the texture will be looser after chilling.
Storage and Reheating
- Refrigerator: Store covered for up to 4 days. The crust stays crispest in the first two days, then softens slightly from the filling.
- Freezer: These bars freeze well without the caramel drizzle. Wrap individual bars tightly and freeze for up to 2 months, then thaw in the refrigerator overnight.
- Reheating: Serve them cold or let them sit at room temperature for 10 to 15 minutes. Don’t microwave them, or the cheesecake layer will soften too much and the caramel can turn runny.
Questions I Get Asked About These Bars
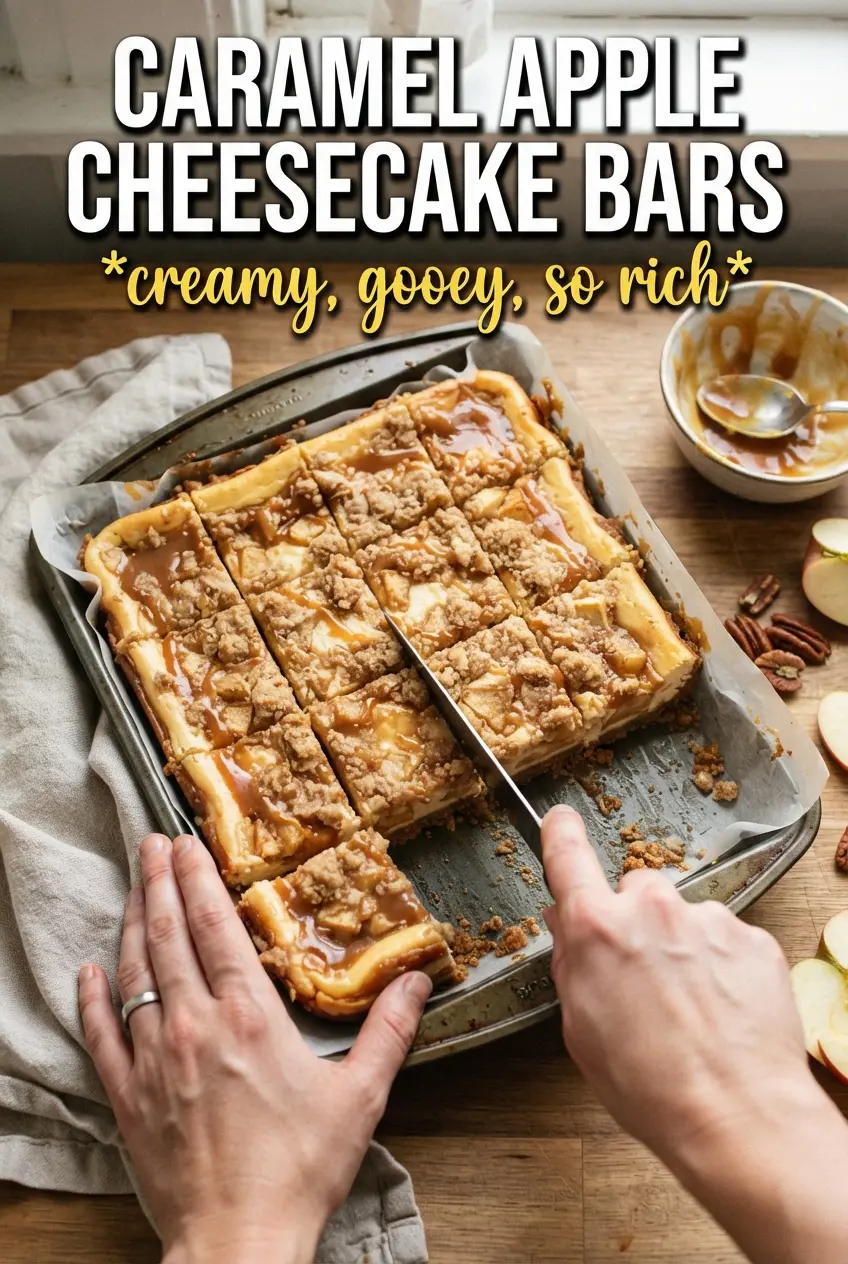
Caramel Apple Cheesecake Bars
Ingredients
Equipment
Method
- Preheat oven to 325F, then line a 9x13 pan with parchment for easy lifting.
- Combine graham cracker crumbs, granulated sugar, and melted unsalted butter, then mix until evenly moistened.
- Press the crumb mixture firmly into the lined pan to form an even crust layer.
- Beat cream cheese and granulated sugar until smooth, scraping the sides as needed.
- Add eggs one at a time, mixing on low just until each egg disappears.
- Mix in vanilla extract and sour cream until the batter looks silky and fully combined.
- Pour the cheesecake filling over the crust, spreading to an even layer.
- In a skillet, sauté diced apples with butter, brown sugar, and cinnamon for 5 minutes until softened.
- Cool the sautéed apples slightly so they don’t sink or loosen the cheesecake layer.
- Scatter the apples over the cheesecake filling in an even distribution.
- Bake at 325F for 35-40 minutes, until the center is just set with a slight jiggle.
- Cool completely at room temperature before chilling.
- Refrigerate for 3 hours until firm and sliceable.
- Drizzle caramel sauce over the chilled bars, then cut into bars to serve.