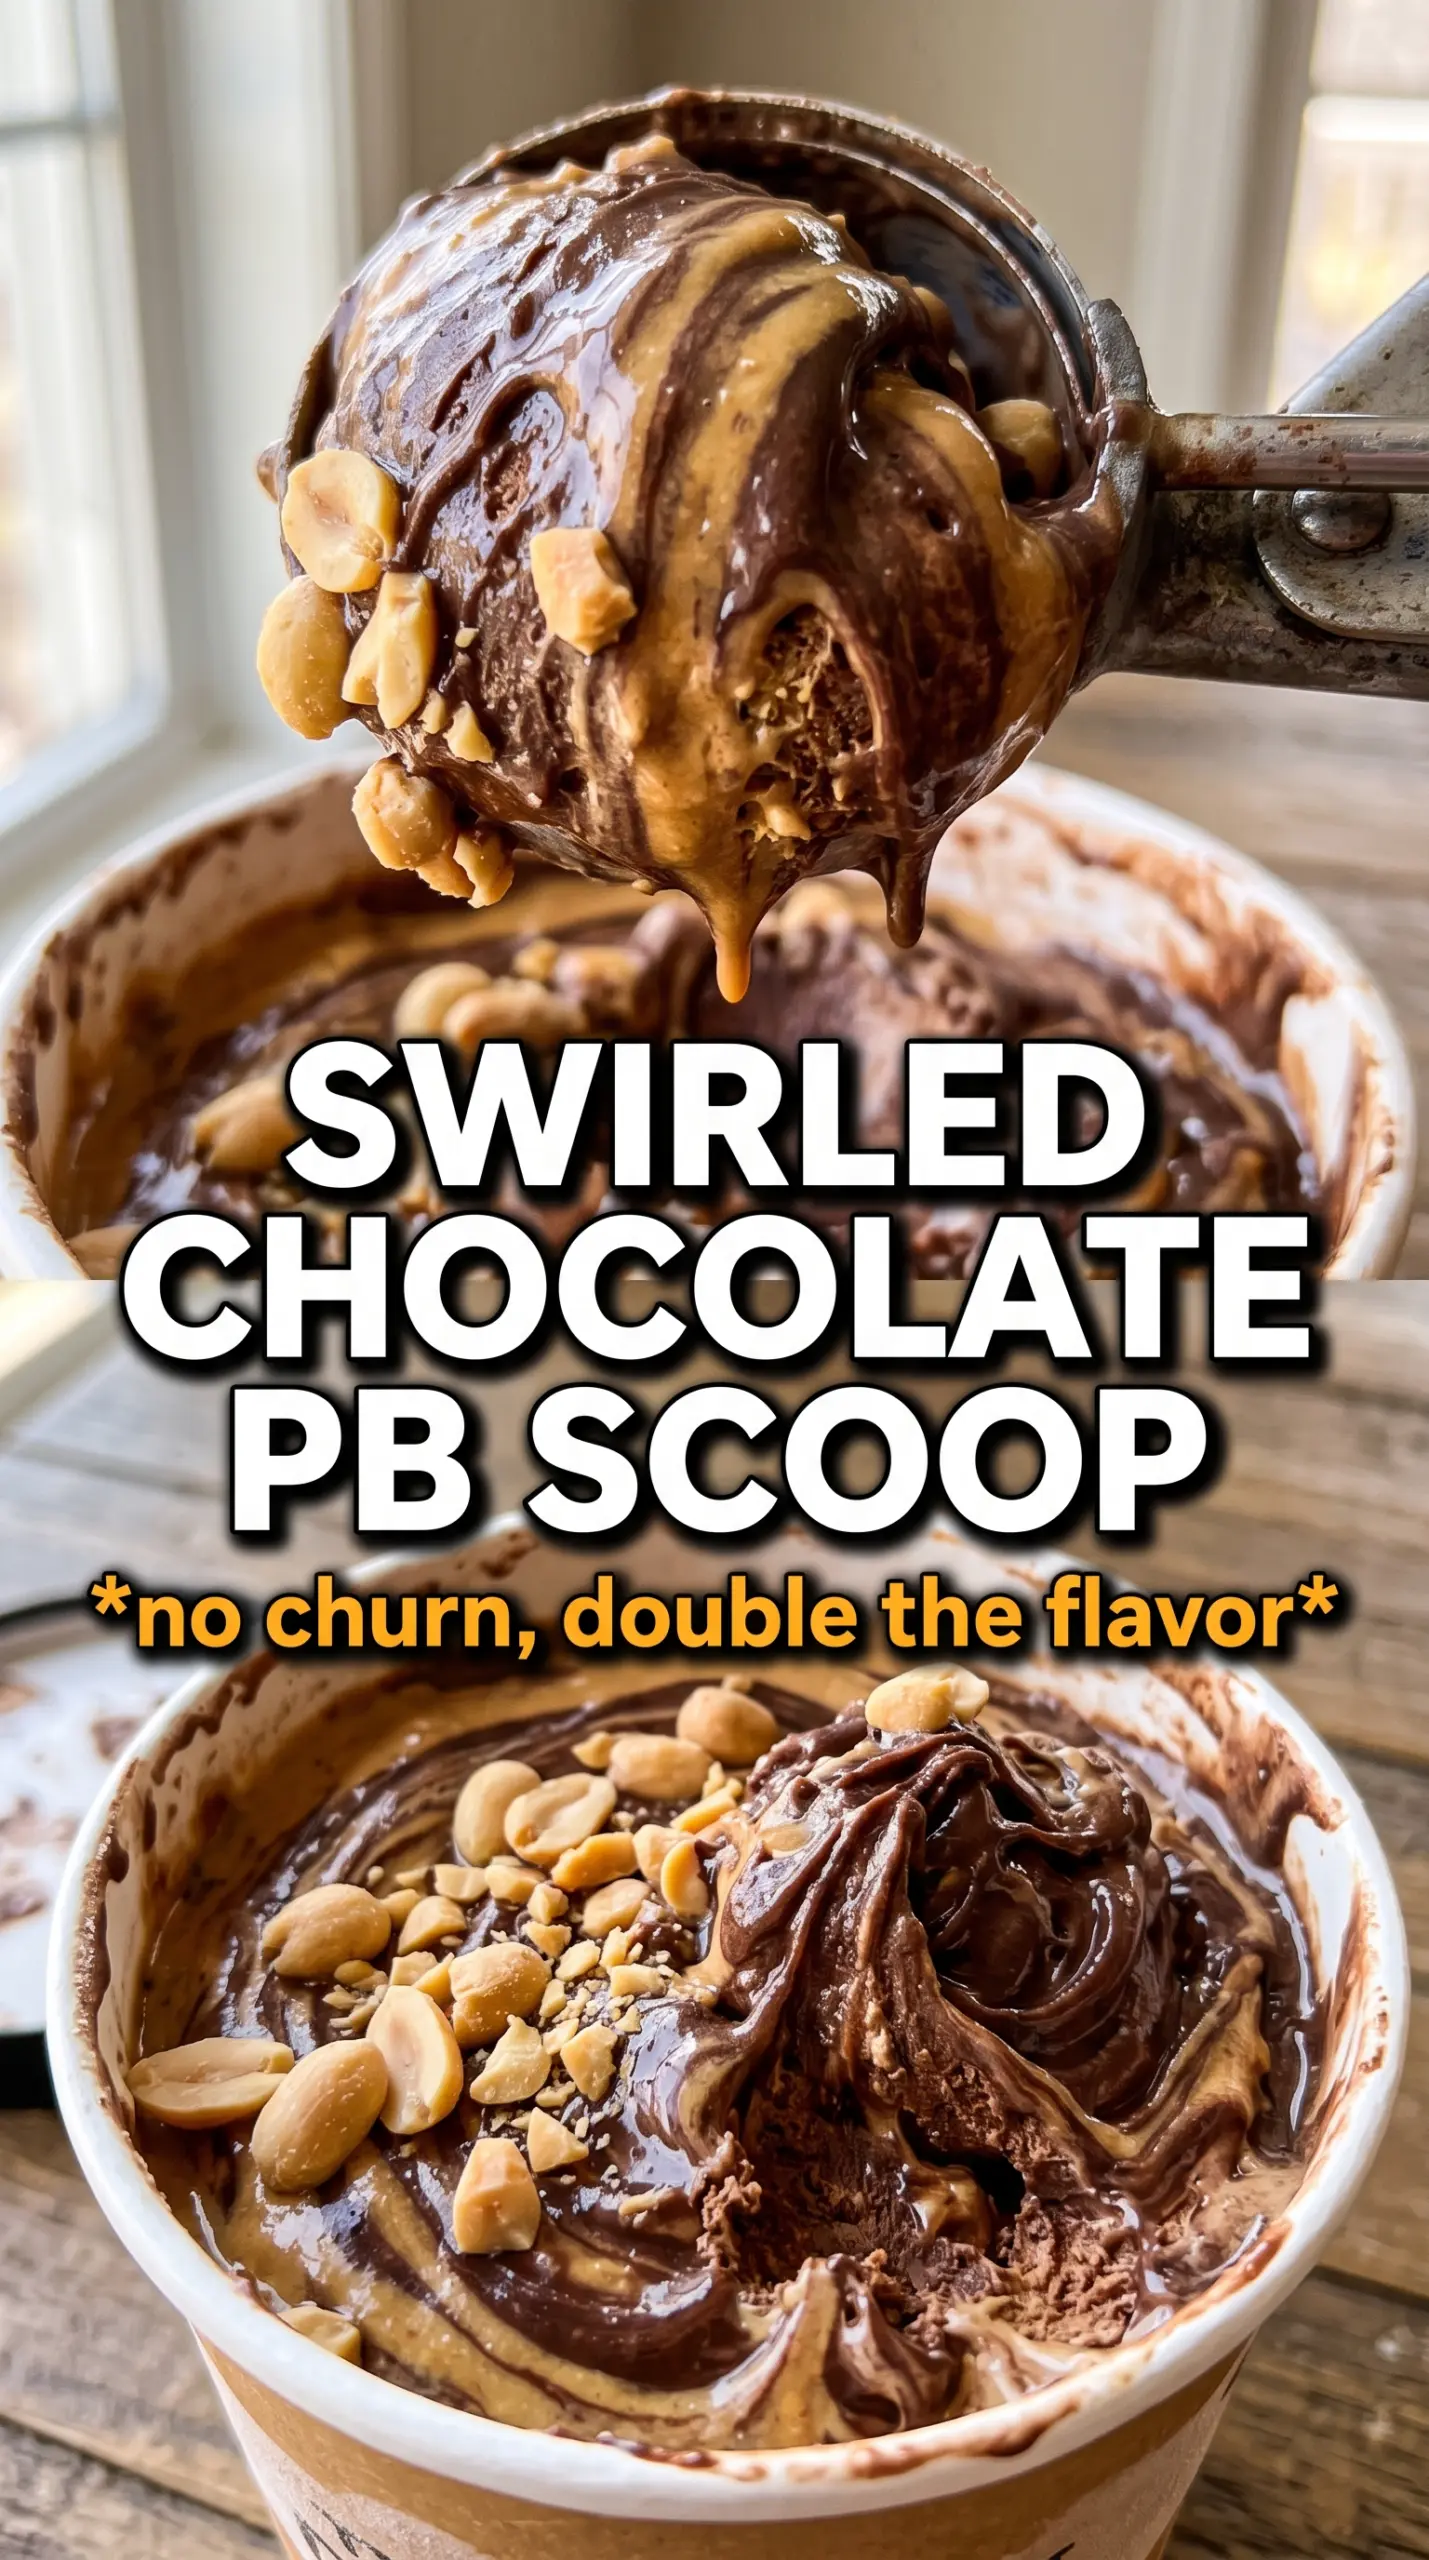
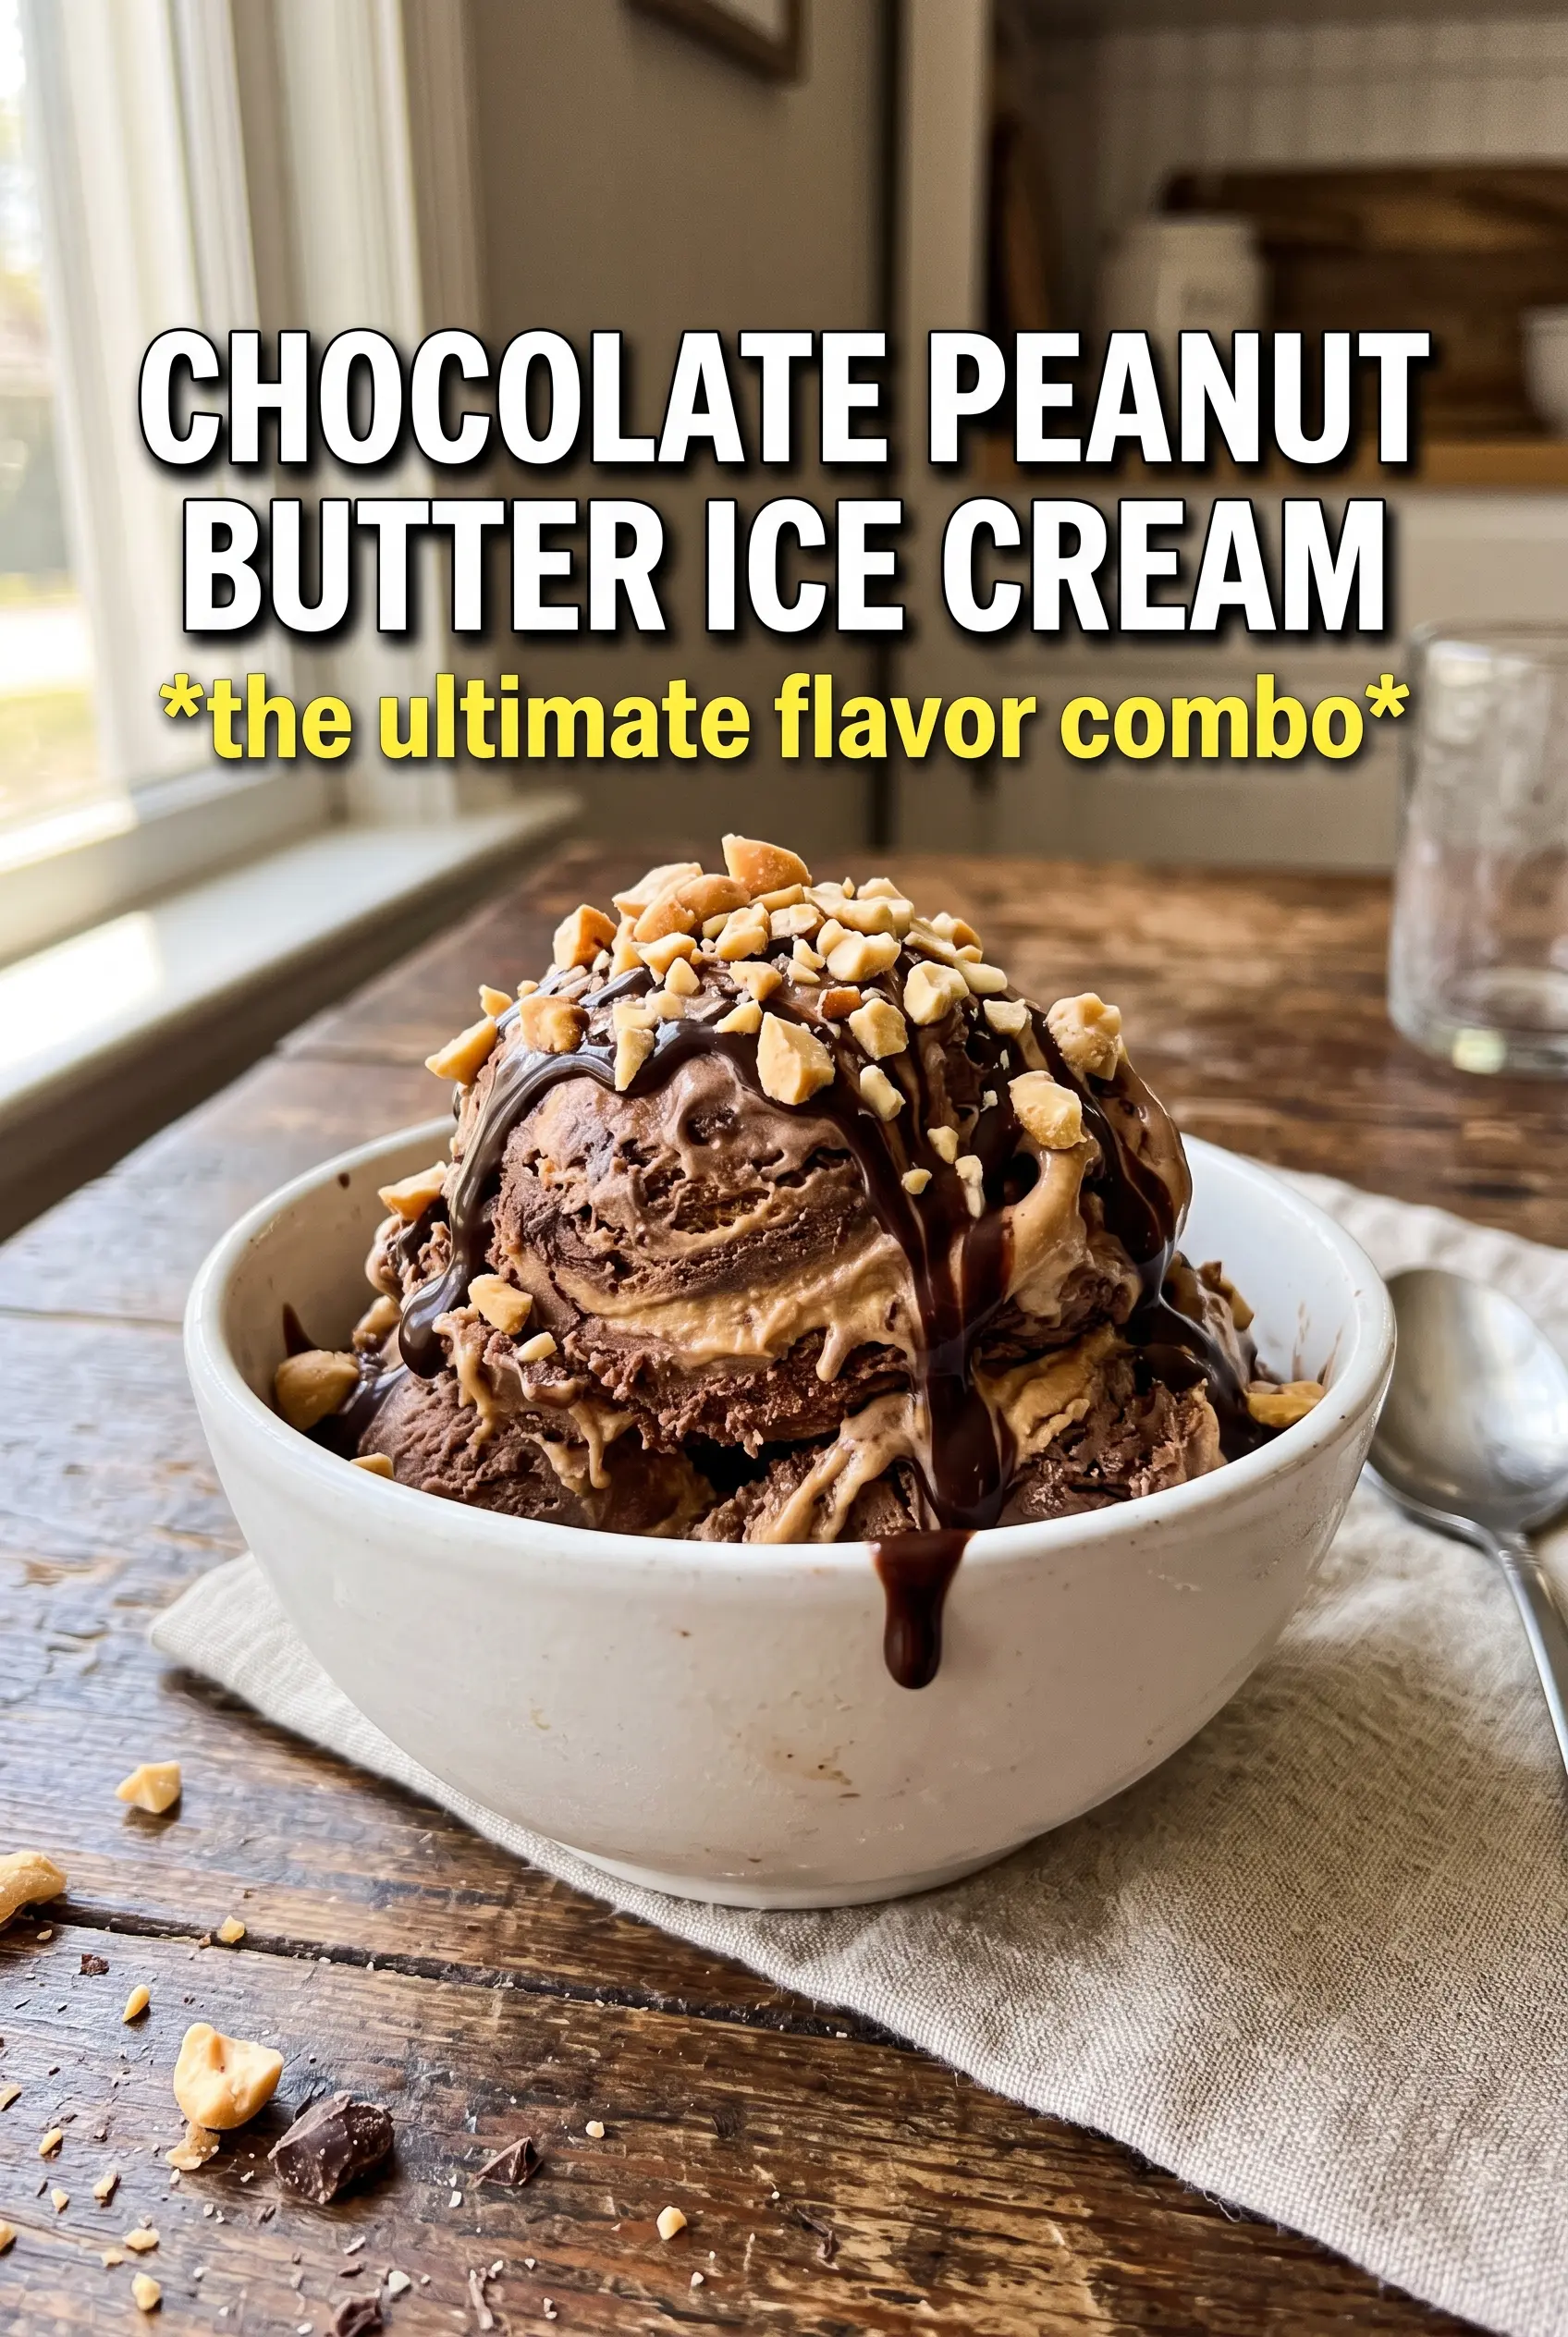
Deep chocolate ice cream with thick ribbons of creamy peanut butter runs through every scoop in a way that feels almost unfair. The chocolate base is bold and smooth, not icy or flat, and the peanut butter stays distinct enough to give you those salty, nutty pockets instead of disappearing into the mix. It’s the kind of homemade ice cream that gets pulled out after dinner “just for a little bowl” and then mysteriously keeps getting scooped until the container is scraped clean.
What makes this version work is the custard-style base. Egg yolks give the ice cream body, cocoa powder lays down the chocolate depth, and chopped dark chocolate melts into the mixture for a richer finish than cocoa alone can manage. The peanut butter goes in warm after churning, which matters more than people think — if it’s too thick, it clumps instead of ribboning through the ice cream, and if it’s too hot, it can melt tunnels through the base.
Below you’ll find the exact point where the custard needs to stop cooking, how to get those swirls instead of muddy streaks, and a few smart swaps if you want to lean darker, sweeter, or a little less rich.
The custard turned out silky and the peanut butter stayed in perfect ribbons instead of sinking. I chilled it overnight and the texture after churning was spot on.
Save this chocolate peanut butter ice cream for the night when you want deep cocoa flavor and a real peanut butter ribbon in every scoop.
The Custard Step That Keeps This Ice Cream Smooth Instead of Grainy
The biggest mistake with chocolate custard ice cream is cooking it like pudding and pushing it too far. Once the mixture reaches 175F, the yolks are set enough to thicken the base without turning it eggy, and that’s the line you want to respect. Go past that point and the texture starts to get sandy or scrambled, especially once the base chills and firms up.
Straining the custard is not optional here. It catches any little bits of cooked egg and any cocoa lumps that didn’t fully dissolve, which is what gives you that polished, scoopable finish instead of a rough one. The other thing that matters is patience during chilling: a warm base churns poorly and freezes less smoothly, so the refrigerator time is doing real work, not just waiting around.
What Each Ingredient Is Actually Doing in This Dish
- Heavy cream — This is what gives the ice cream its plush, scoopable body. You need the fat here; lighter cream substitutes freeze harder and taste thinner.
- Whole milk — It loosens the base just enough so the finished ice cream doesn’t feel dense like fudge. Lower-fat milk will still work, but the texture won’t be as creamy.
- Cocoa powder — This builds the deep chocolate backbone. Use unsweetened cocoa, and whisk it well into the dairy before heating so you don’t end up with dry pockets.
- Dark chocolate — Melted chocolate adds the round, almost truffle-like note that cocoa alone can’t give. A bar with a decent cocoa percentage makes a noticeable difference here.
- Egg yolks — They thicken the custard and keep the finished ice cream smooth instead of icy. There isn’t a good shortcut for that richness if you want this style of ice cream.
- Creamy peanut butter — Warmed until pourable, it forms those thick ribbons through the churned ice cream. Natural peanut butter can work if it’s fully stirred, but a standard creamy jar stays more consistent.
Building the Base, Churning the Texture, and Swirling in the Peanut Butter
Heating the Chocolate Dairy
Whisk the cocoa into the cream and milk before the heat goes on, then warm it until steaming. That step keeps the cocoa from floating in dry clumps and helps the chocolate base taste full instead of dusty. Once the chopped dark chocolate goes in, whisk until it disappears completely and the mixture looks glossy. If it still looks speckled with chocolate bits, keep whisking over low heat until it smooths out.
Tempering the Yolks Without Scrambling Them
Whisk the egg yolks and sugar until the mixture lightens in color, then pour in the hot chocolate dairy in a slow stream while whisking constantly. That gradual addition keeps the yolks from shocking and turning into little flakes. Once everything goes back to the saucepan, cook it gently and stir constantly until it reaches 175F. If you see steam rising hard or the mixture starts to thicken in visible streaks, pull the pan down and keep stirring off the heat for a moment.
Chilling and Churning
Strain the custard into a clean bowl, stir in the vanilla and salt, and cool it completely before it goes into the fridge. Four hours is the minimum, but overnight gives a smoother churn and a cleaner chocolate flavor. Churn only when the base is fully cold; a warm base won’t freeze fast enough in the machine and can come out loose and slushy. It should look like soft-serve when it’s done.
Layering the Peanut Butter Ribbons
Transfer the churned ice cream to a container in layers, drizzling warmed peanut butter between each one. Use a knife to make a few loose turns through the pan, not a full stir, or the swirls will disappear into the base. The peanut butter should be pourable but not hot enough to melt the ice cream on contact. Freeze until firm, at least 2 hours, and the flavor settles even more as it sets.
Three Ways to Adjust the Swirl, the Sweetness, or the Richness
Use crunchy peanut butter for texture
Crunchy peanut butter gives you little peanut pieces scattered through the ribbons, which adds bite but makes the swirl less smooth. Warm it the same way so it still drizzles; otherwise it will clump instead of layering nicely.
Make it dairy-free with full-fat coconut milk
Swap the heavy cream and milk for full-fat canned coconut milk, and the ice cream will still churn into a creamy frozen dessert, though the coconut note will show up in the background. The texture won’t be as custardy, but it will still freeze smooth if you chill the base thoroughly before churning.
Lean darker with extra chocolate and less sugar
If you want a more bittersweet finish, reduce the sugar a little and use a darker chocolate bar. The ice cream will taste less dessert-sweet and more like frozen chocolate ganache, but the base may feel a touch firmer once frozen because sugar helps keep ice cream soft.
Storage and Reheating
- Refrigerator: The base can sit covered in the fridge for up to 2 days before churning. After that, the texture starts to thin and the flavor dulls.
- Freezer: Frozen ice cream keeps well for about 2 weeks in a tightly covered container. Press parchment or plastic wrap directly against the surface to help prevent ice crystals.
- Reheating: Let the container sit at room temperature for 5 to 10 minutes before scooping. If you try to dig in straight from the freezer, the peanut butter ribbons can crack and the chocolate base will feel harder than it should.
Questions I Get Asked About This Recipe
Chocolate Peanut Butter Ice Cream
Ingredients
Equipment
Method
- Whisk cocoa into heavy cream and whole milk, then heat in a saucepan until steaming, stirring constantly for even heating.
- Add chopped dark chocolate and whisk until fully melted and smooth, with no lumps visible.
- In a separate bowl, whisk egg yolks and granulated sugar until pale and slightly thickened, about 1 to 2 minutes.
- Slowly whisk the hot chocolate cream into the egg yolk mixture so the eggs temper without scrambling.
- Return everything to the saucepan and cook, stirring, until the custard reaches 175F on an instant-read thermometer.
- Strain the custard, then stir in vanilla extract and salt, keeping it smooth and glossy.
- Cool the custard completely before chilling to prevent icy texture later.
- Refrigerate the custard at least 4 hours until very cold, then churn in an ice cream maker according to the manufacturer’s instructions.
- Layer the churned ice cream into a container, drizzling warm creamy peanut butter between each layer and swirling with a knife for thick ribbons.
- Freeze at least 2 hours until firm, so the swirl sets and slices cleanly.