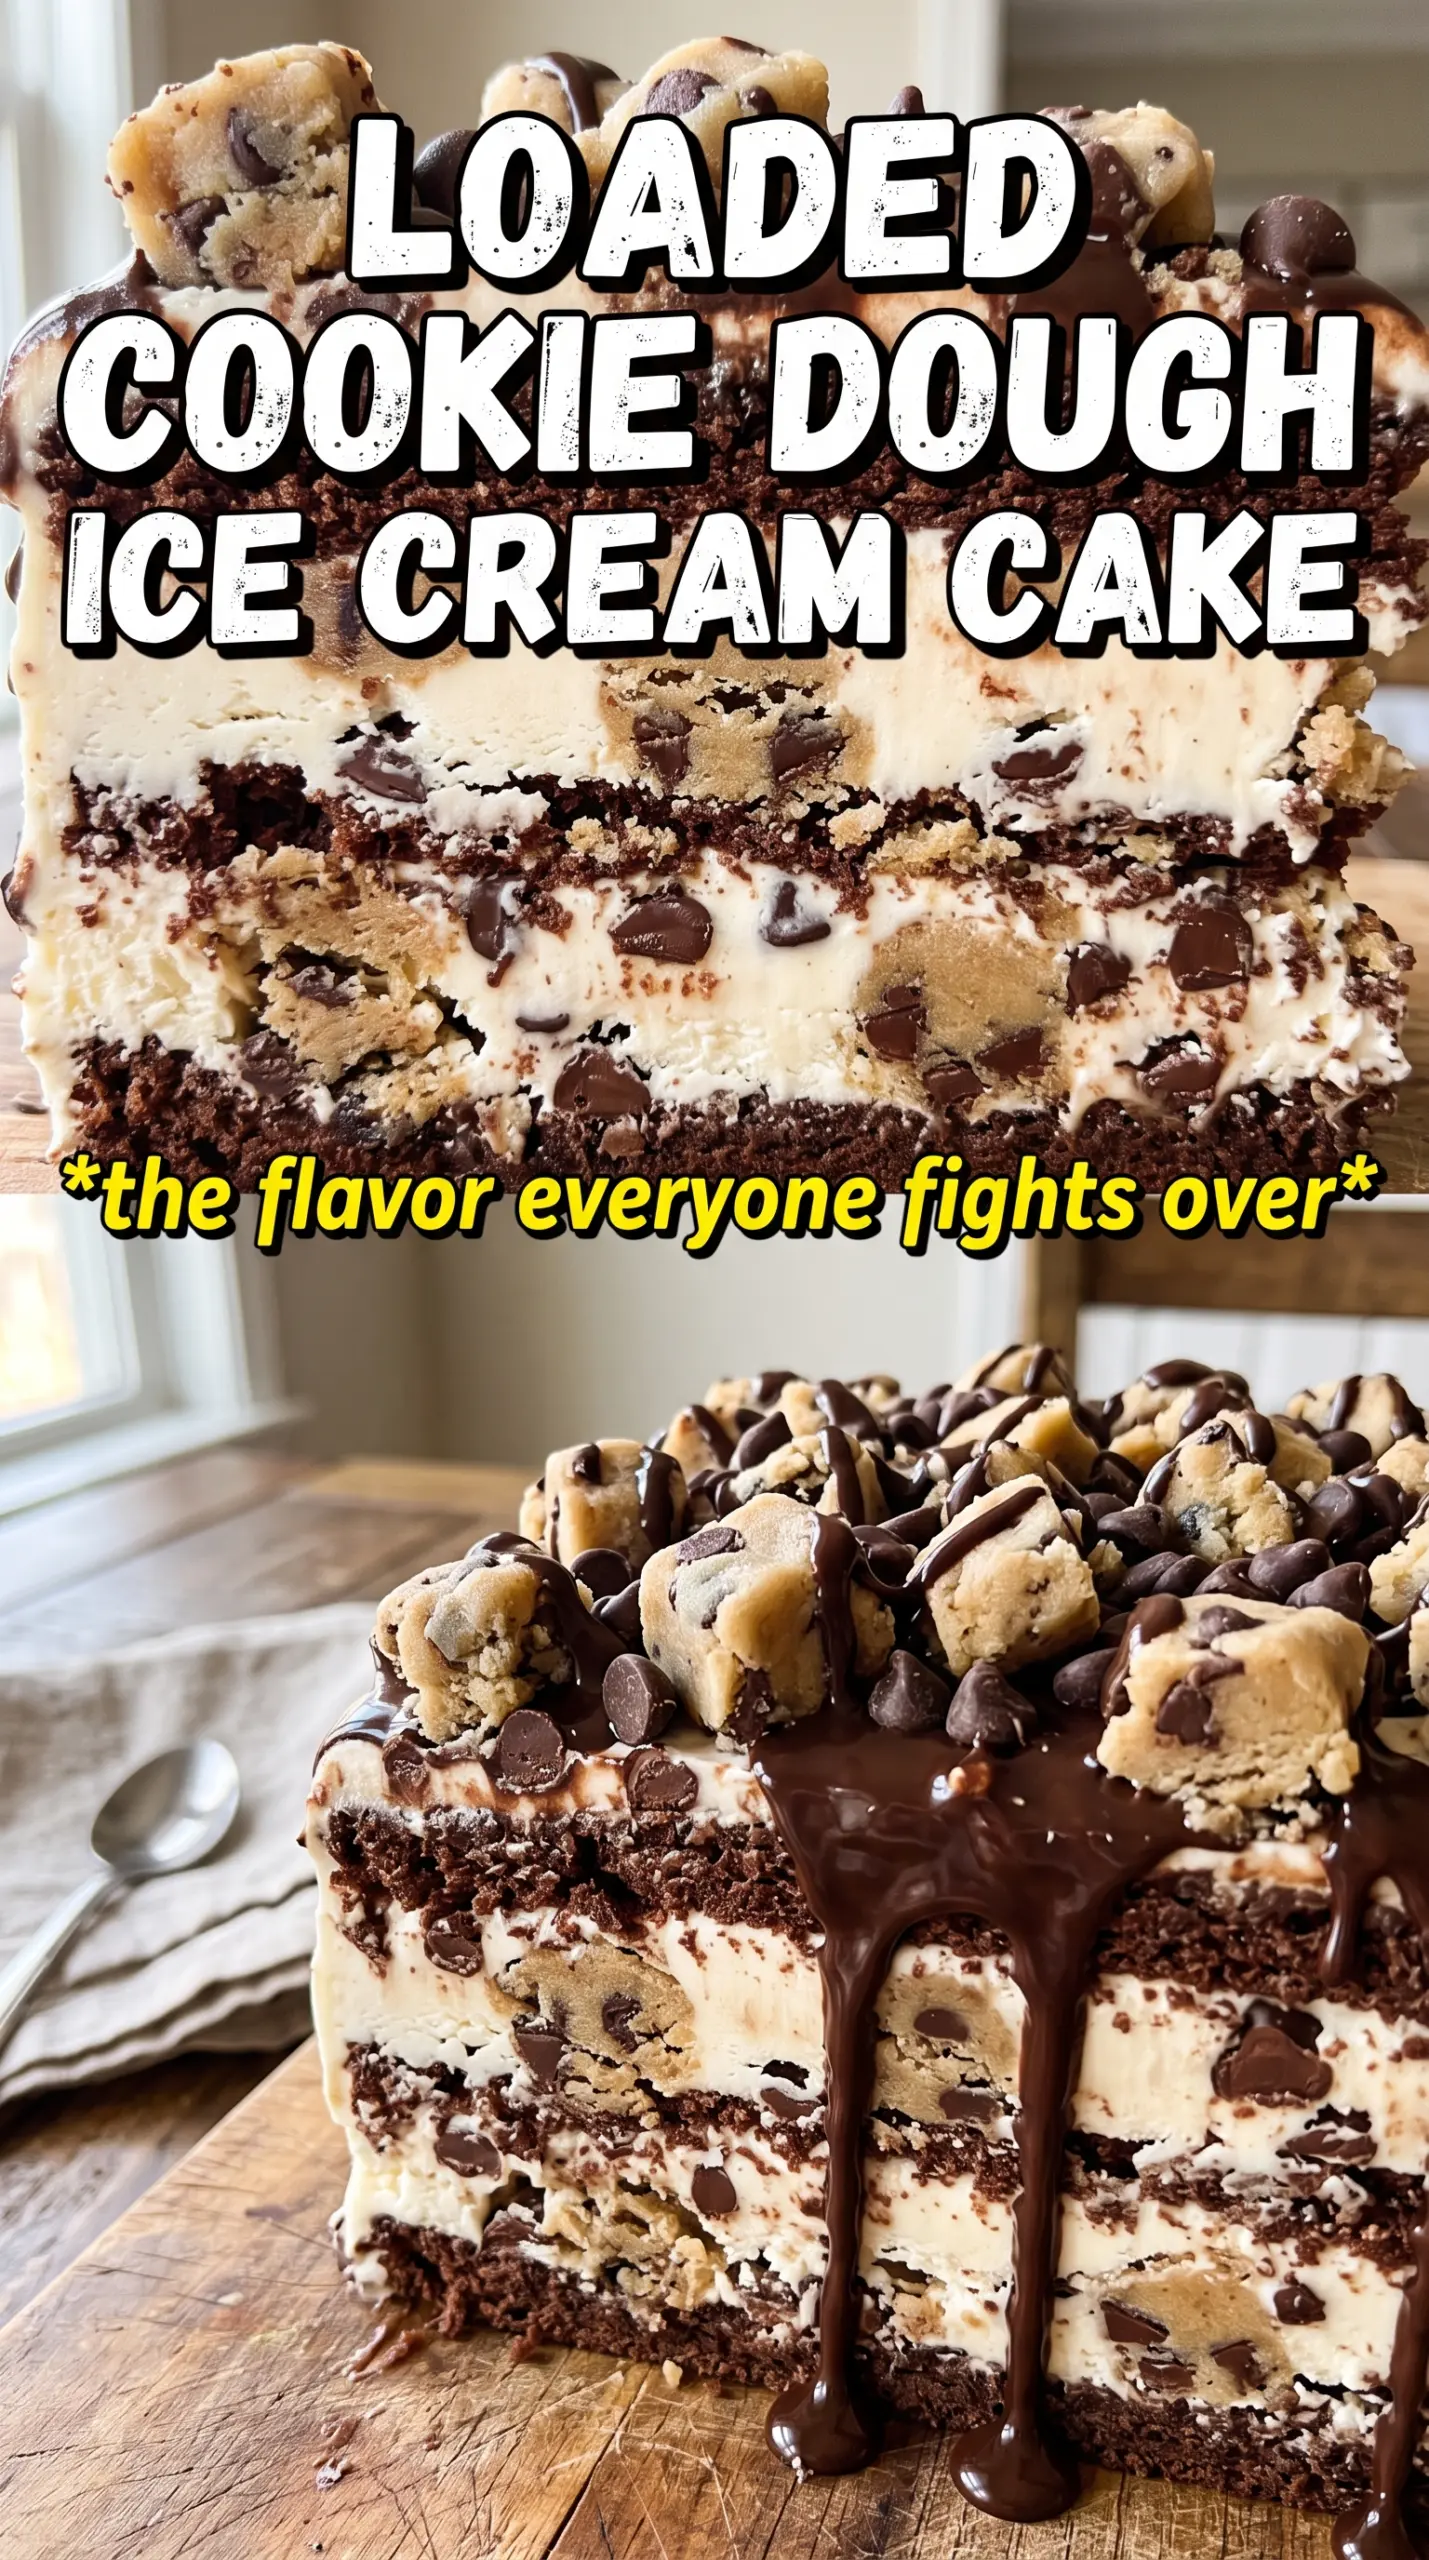
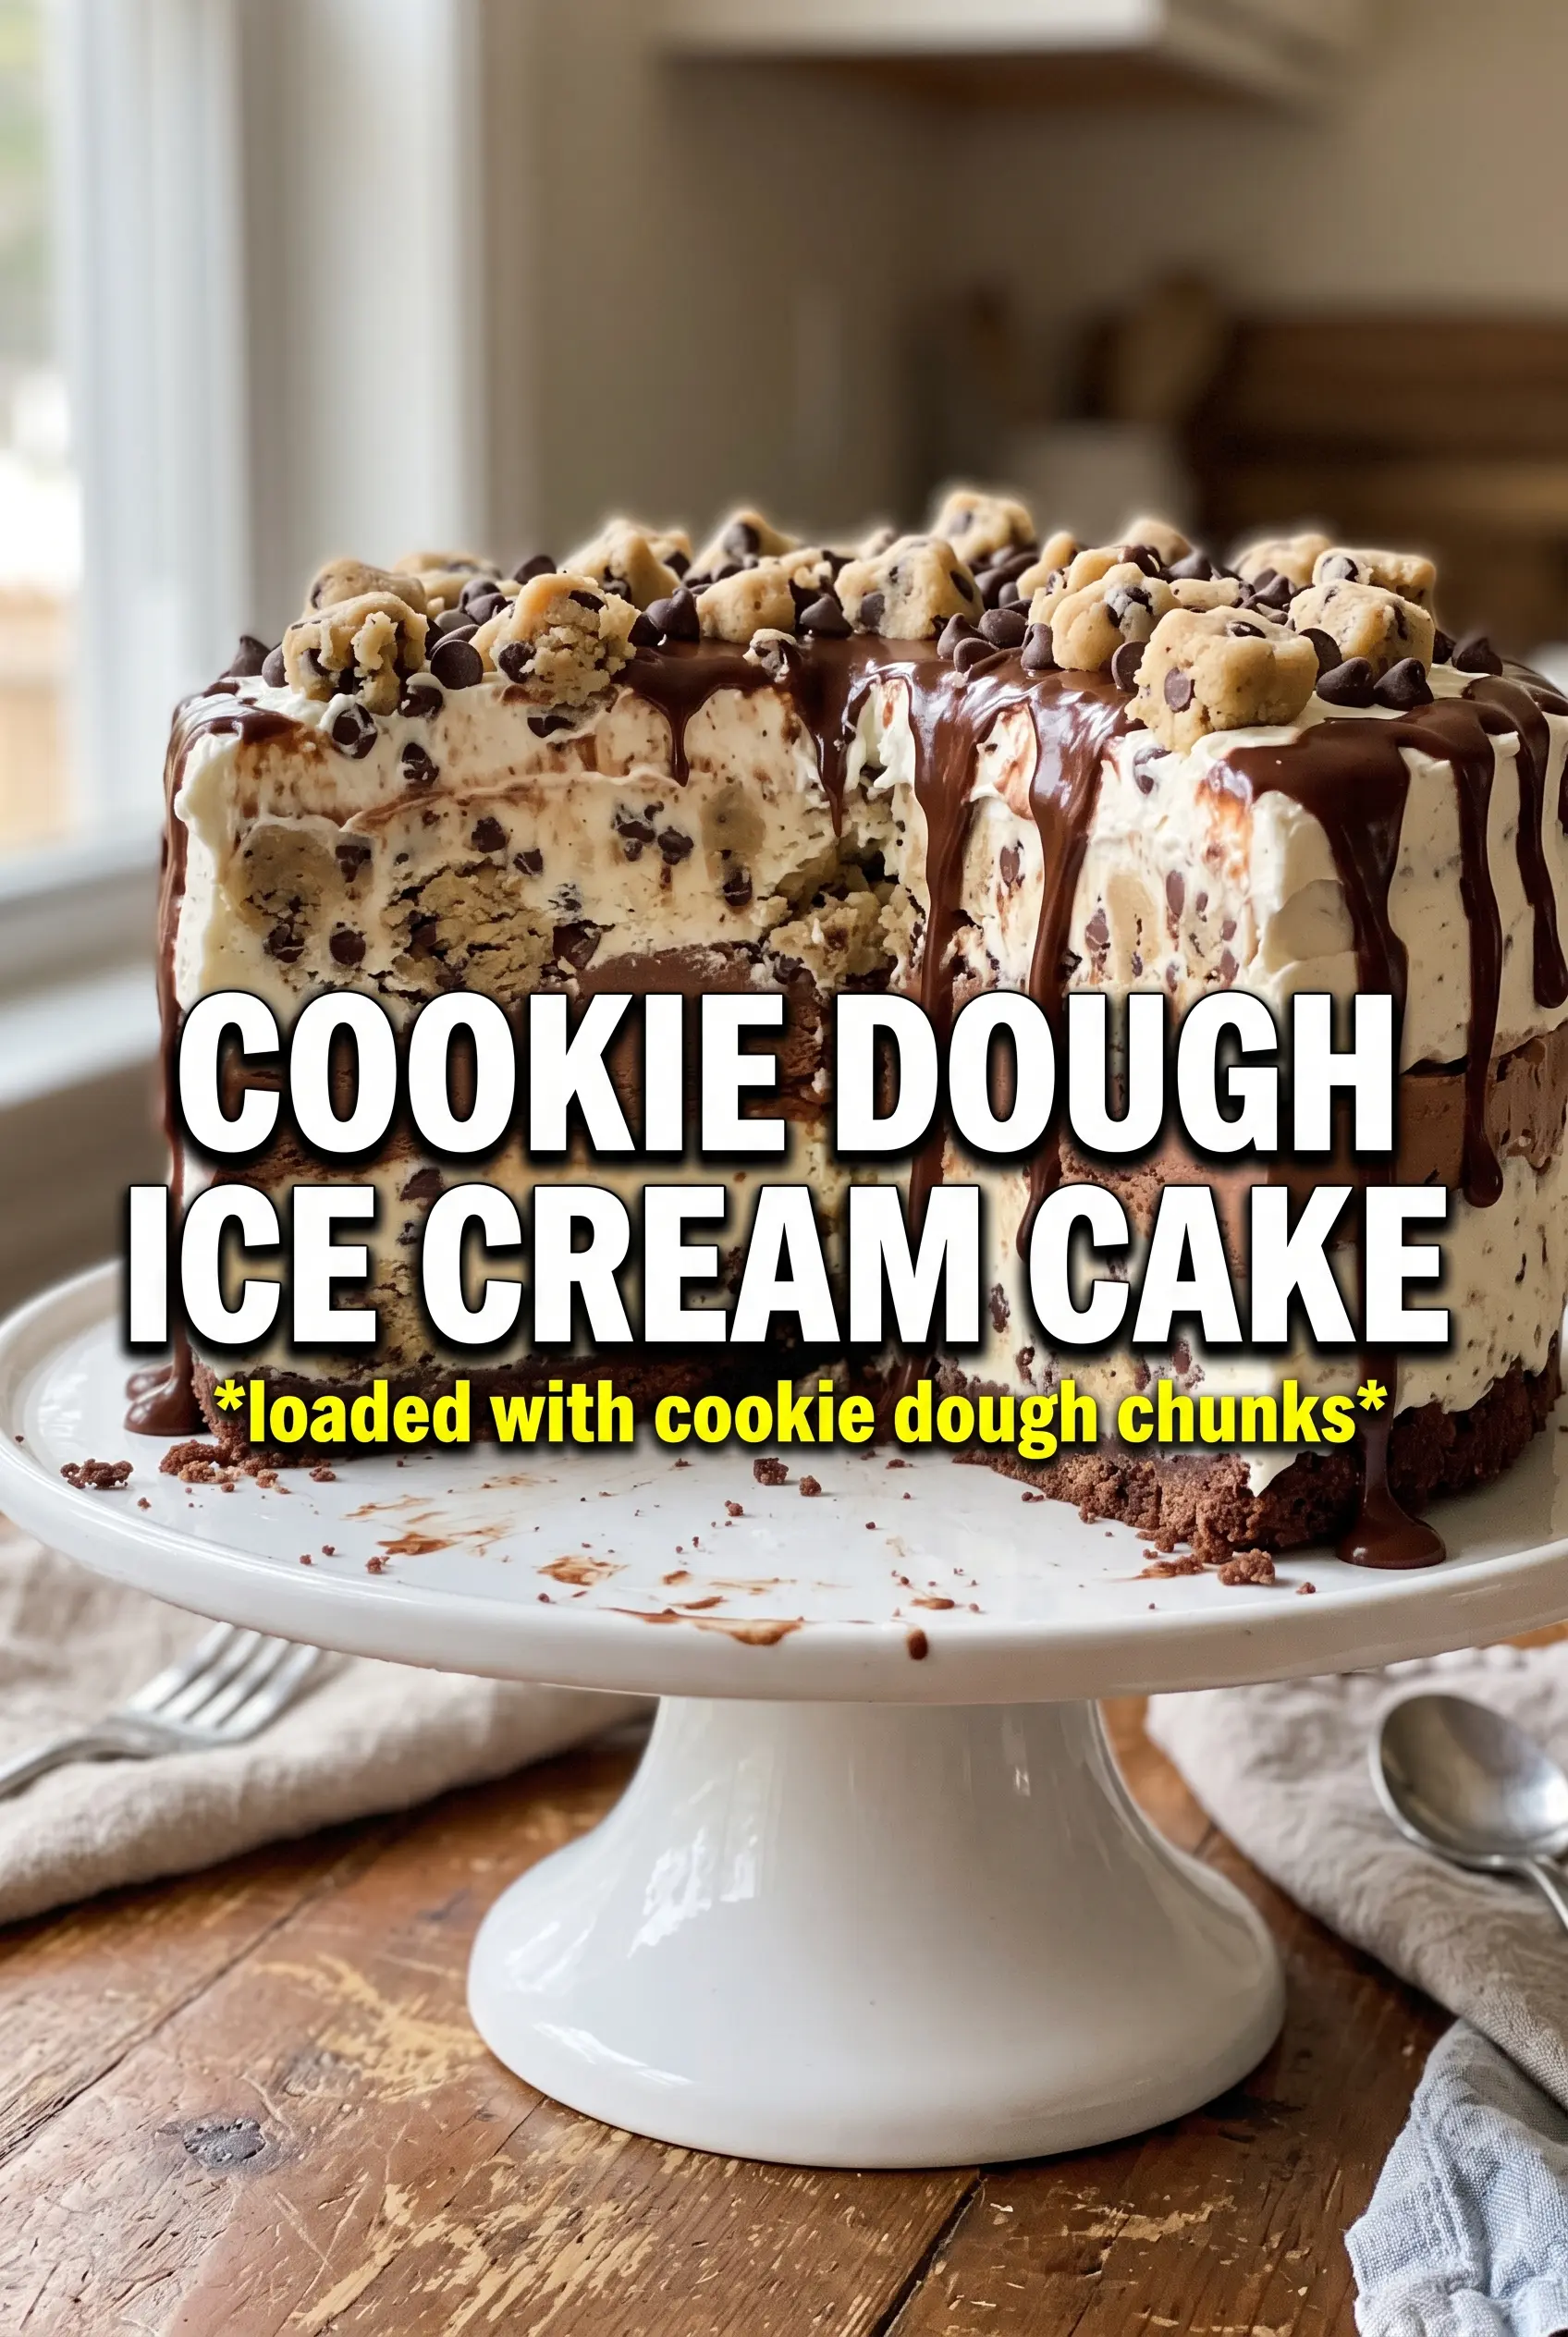
Chocolate chip cookie dough ice cream cake lands with the kind of cold, creamy slice that makes people pause for a second before taking a bigger bite. The baked cookie base gives it structure, the softened ice cream layer stays plush instead of icy, and the chocolate ganache on top sets into a clean crackle that plays against the chewy bits of cookie dough inside. It’s the kind of dessert that looks like you spent all afternoon on it, even though the real work is just layering and freezing at the right times.
The trick is treating each layer for what it is. The cookie base needs to cool all the way before the ice cream goes on, or you’ll melt a trench through the center. The ice cream should be soft enough to spread, not soupy, and the edible cookie dough bites need to stay cold so they hold their shape in every slice. That’s what gives each piece those visible chunks instead of a blurred, sandy middle.
Below you’ll find the timing that keeps the layers distinct, the ingredient swaps that still hold the cake together, and the one freezing step that makes slicing clean instead of messy.
The cookie base stayed sturdy, and the cookie dough chunks were still easy to see in every slice. I let it freeze the full time and the ganache cut clean instead of smearing.
Save this chocolate chip cookie dough ice cream cake for birthdays when you want a sliced dessert with a cookie base, ganache ribbons, and visible dough chunks.
The Part That Keeps the Layers from Turning Mush
The most common failure in a frozen layered cake is impatience between layers. A warm cookie base will soften the ice cream on contact, and once that starts, the whole center turns slumpy instead of holding a clean slice. Let the baked base cool all the way to room temperature, then give it a little extra time if your kitchen runs warm.
The other thing that matters here is texture control. Softened ice cream should spread like thick frosting, not pour like milkshake. If it gets too loose, the cookie dough bites sink and the layers blend together. The goal is a firm, defined middle that freezes into distinct stripes once the cake sets.
What Each Ingredient Is Actually Doing in This Cake
- Refrigerated cookie dough — This becomes the sturdy base that keeps the cake sliceable. Store-bought dough is fine here because you want a predictable bake and a consistent thickness. Press it evenly into the pan so it bakes into one solid layer instead of puffing unevenly.
- Cookie dough or vanilla ice cream — Cookie dough ice cream gives the most obvious flavor payoff, but vanilla works if you want the edible cookie dough bites to stand out more. Let it soften just enough to fold and spread. If it melts too much, the cake will freeze with air pockets and a denser, icier texture.
- Edible cookie dough bites — These are what give every slice those obvious chunks. Homemade or store-bought both work, but they need to be safe to eat raw and firm enough to hold their shape. Cut them small so the knife goes through cleanly when you slice the cake.
- Chocolate ganache or magic shell — Ganache gives a richer, softer bite; magic shell sets faster and makes a firmer crack when sliced. Either one should go on after the ice cream layer is fully frozen, or it will sink instead of sitting on top in a distinct layer.
- Whipped topping — This keeps the top light and helps the decorations stick. A stabilized whipped cream can work too, but whipped topping holds up a little better in the freezer and keeps its shape longer on the finished cake.
Building the Cake So It Slices Cleanly
Baking the Cookie Base
Press the refrigerated cookie dough into a 9-inch springform pan in an even layer, pushing it all the way to the edges so the crust supports the whole cake. Bake until the top is golden and the center looks set, not wet. If you pull it too early, the base stays soft under the ice cream and the bottom of the cake can collapse when you slice it. Cool it completely before moving on, then reattach the springform sides so the cake can build upward in the same pan.
Folding the Ice Cream Layer
Let the ice cream sit just until it’s spreadable, then fold in the cookie dough bites and spread the mixture over the cooled base. Work quickly and use an offset spatula or the back of a spoon to nudge it into an even layer. If the ice cream gets too soft while you’re spreading, stop and freeze the pan for 10 to 15 minutes before finishing, because a half-melted layer is what causes streaks and gaps later.
Freezing Between Layers
Freeze the cake until the ice cream layer is completely firm, about 4 hours, before adding the topping. This step is what keeps the ganache on top instead of blending into the middle. If you rush it, the warm topping can melt small pockets in the surface and leave a rough, uneven finish. The cake should feel solid when you press the center gently through the pan.
Finishing the Top and Setting the Slice
Drizzle the ganache in thick ribbons, then add the whipped topping and mini chocolate chips while the surface is still cold enough for them to stay put. Freeze again for at least 2 hours before releasing the springform ring. When you slice it, run a sharp knife under hot water and wipe it dry between cuts for the cleanest layers. That’s what gives you those straight-edged slices with the cookie base, pale ice cream center, and dark top all showing at once.
How to Adapt This Frozen Cake Without Losing the Structure
Dairy-Free Version
Use dairy-free ice cream, coconut-based whipped topping, and a dairy-free chocolate shell or ganache. The texture stays close to the original as long as the ice cream is firm enough to spread and the toppings are kept cold. Coconut ice cream can soften faster, so give it a little extra freeze time between layers.
Vanilla Ice Cream Swap
If you can’t find cookie dough ice cream, vanilla is the cleanest substitute. It makes the cookie dough bites stand out more and keeps the cake from tasting too busy. You lose a little of the cookie-dough-in-every-bite effect, but the structure and freezer stability stay the same.
Gluten-Free Version
Use gluten-free refrigerated cookie dough and edible cookie dough bites made with certified gluten-free flour. The rest of the cake works the same way. Just check the chocolate topping and whipped topping labels, since some brands hide gluten in the additives.
Storage and Reheating
- Refrigerator: Don’t store this one in the fridge. The layers will soften and collapse into a messy slice.
- Freezer: Keep covered in the freezer for up to 1 week for the best texture. After that, the ice cream can pick up freezer flavor and the cookie base starts to dry out.
- Reheating: No reheating needed. For the cleanest slices, let the cake sit at room temperature for 5 to 10 minutes before cutting, just until the knife goes through without cracking the top.
Answers to the Questions Worth Asking
Chocolate Chip Cookie Dough Ice Cream Cake
Ingredients
Equipment
Method
- Press the refrigerated cookie dough into a 9-inch springform pan in an even layer, keeping it flat and compact so it bakes uniformly. Bake at 350F for 12-15 minutes until golden.
- Cool completely, then reattach the springform sides so the pan shape is ready for layering. Let the base come fully to room temperature before adding the ice cream.
- Fold the edible cookie dough bites into the softened cookie dough or vanilla ice cream until evenly distributed. Spread the mixture over the cooled cookie base in a smooth, even layer.
- Freeze for 4 hours until completely firm, so the ice cream layer holds its shape when you add the next topping. The surface should feel solid all the way through.
- Drizzle the chocolate ganache over the top in thick ribbons, letting it run slightly for a layered look. Aim for visible ribbons so they show in every slice.
- Top with whipped topping and decorate with mini chocolate chips. Add the chips immediately so they stick to the whipped topping before freezing.
- Freeze for 2 more hours before releasing and slicing, keeping everything firmly set. Wait until the cake is fully cold to prevent smearing at the edges.