Apple Pie Bake brings all the comfort of a classic pie without the work of rolling, crimping, or worrying about a soggy bottom. You get tender spiced apples underneath a crisp, buttery oat topping, with caramelized edges that taste like the best part of an apple pie slice. It’s the kind of dessert that disappears fast because it lands somewhere between pie and crumble in the best possible way.
The trick is keeping the apple filling juicy but not watery. Cornstarch thickens the juices as the fruit bakes, while a little lemon juice keeps the apples tasting bright instead of flat. Cold butter in the topping matters too; it melts into little pockets as it bakes, which gives the top that crumbly, pastry-like texture instead of a dense layer.
Below, I’ve included the small details that make the texture work, plus a few swaps and storage notes for the times you want to bake it ahead. If you’ve ever had an apple dessert turn mushy, this version will steer you in the right direction.
The filling set up beautifully and didn’t run all over the plate. I let it rest the full 15 minutes, and the topping stayed crisp even after we spooned on vanilla ice cream.
Save this Apple Pie Bake for the nights when you want a bubbling apple filling and a crisp brown sugar oat topping without making a full pie.
The Reason the Filling Stays Thick Instead of Soupy
Apple desserts usually fail in one of two ways: the fruit turns to mush, or the juices flood the dish before the topping has a chance to crisp. This bake avoids both problems by using enough cornstarch to thicken the liquid without turning the filling gluey, and by baking it long enough for the apples to soften while still holding their shape. The lemon juice matters here too, not for tartness alone, but because it keeps the flavor of the apples bright after baking.
The other part of the equation is the bake itself. A 9×13 dish gives the apples room to spread out instead of steaming in a deep pile, and the bubbling edges tell you the cornstarch has activated. Pull it too early and the juices will look loose even if the top is brown.
- Apples — A mix of firm, bake-friendly apples works best because they stay intact and give the filling some texture. Softer apples break down too fast and make the dessert sauce-like.
- Cornstarch — This thickens the juices as the fruit releases moisture. Flour can work in a pinch, but it leaves the filling cloudier and less clean-tasting.
- Lemon juice — It keeps the apples from tasting dull and balances the sugar. Fresh lemon is best, though bottled works fine here.
What the Topping Is Doing Besides Being Crumbly
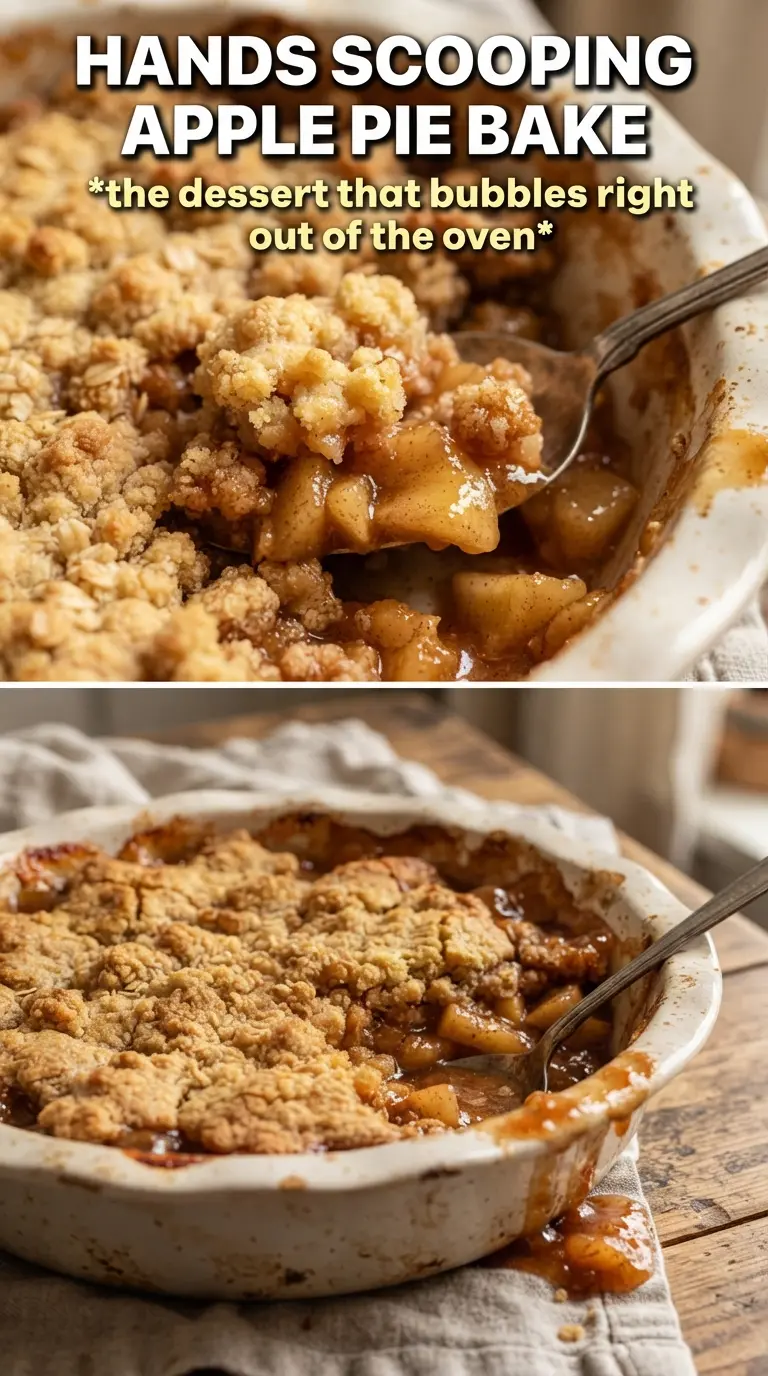
The topping isn’t just there for texture; it’s what gives this dessert its pie-like feel without a crust. The flour provides structure, the oats bring chew, and the brown sugar melts into a caramel note that plays well with the cinnamon in the filling. Cold butter is the key piece, because it creates little pockets that bake up crisp instead of turning the topping into a paste.
If your crumble ever comes out sandy or dense, the butter was probably too soft or overmixed. You want pea-sized bits and a few smaller crumbs, not a smooth dough. That uneven texture is what gives you those golden ridges and crunchy bits on top.
- Rolled oats — They add body and a toasty chew that keeps the topping from feeling flat. Quick oats will work, but the texture is softer and less distinct.
- Brown sugar — This is what gives the topping its deep caramel flavor and helps it brown. Light or dark brown sugar both work; dark just brings a stronger molasses note.
- Cold butter — Use it straight from the fridge and cube it small so it cuts in evenly. If it softens before baking, the topping spreads instead of crumbling.
How to Layer and Bake It So the Top Stays Crisp
Building the Apple Base
Toss the sliced apples with the sugar, cinnamon, nutmeg, cornstarch, and lemon juice until every slice looks lightly coated. The apples should glisten, not sit in a puddle at the bottom of the bowl. Spread them into the greased dish in an even layer so they bake at the same rate; crowded mounds leave some slices underdone while others collapse.
Cutting in the Butter the Right Way
Mix the flour, oats, brown sugar, cinnamon, and salt first, then work in the cold butter until the mixture looks like coarse crumbs with a few larger bits. That uneven size matters because the smaller pieces bind while the larger ones create crisp clusters. If the butter starts smearing into the dry ingredients, stop and chill the bowl for a few minutes before finishing.
Waiting for the Bubbling Edge
Scatter the topping evenly over the apples and bake until the top is deeply golden and the filling is bubbling around the edges, usually 35 to 40 minutes. The bubbling matters more than the clock; that tells you the thickener has done its job. If the top browns before the filling bubbles, lay a loose piece of foil over it and keep baking until the fruit juices look active.
Letting It Set Before Serving
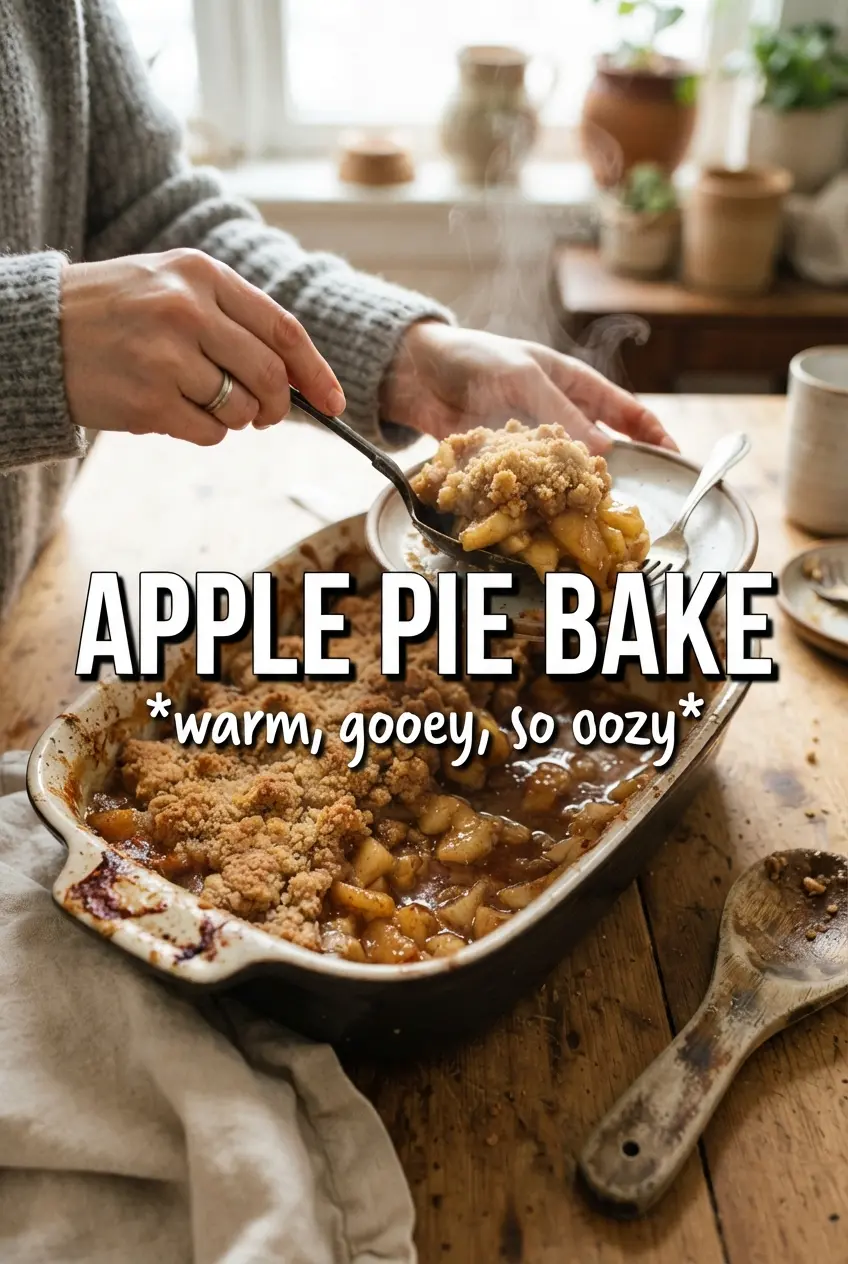
Give the bake 15 minutes on the counter before serving. That short rest lets the juices settle into a spoonable filling instead of running across the plate. It’s tempting to dig in right away, but the texture gets better after a brief pause, especially if you’re serving it with ice cream.
Three Ways to Adjust It Without Losing the Good Texture
Gluten-Free Version
Use a cup-for-cup gluten-free flour blend in the topping and check that your oats are certified gluten-free. The texture stays close to the original, though the crumb may be a little more delicate once baked.
Dairy-Free Swap
Replace the butter with a solid plant-based butter that bakes well. Soft tub-style spreads tend to melt too fast and can make the topping greasy instead of crisp, so choose one that stays firm when cold.
Less Sweet, More Apple Forward
Cut the sugar in the filling slightly if your apples are naturally sweet, but don’t reduce the brown sugar in the topping too much or you’ll lose the caramel finish. The dessert still tastes balanced when the apples bring the brightness and the topping brings the depth.
Make-Ahead Assembly
You can assemble the filling and topping separately a few hours ahead, then combine and bake just before serving. If you assemble the whole dish too early, the topping starts absorbing moisture and loses its crisp edge.
Storage and Reheating
- Refrigerator: Store covered for up to 4 days. The topping softens a bit, but the flavor stays good.
- Freezer: Freeze after baking and cooling completely. Wrap tightly and freeze for up to 2 months, though the topping won’t stay as crisp once thawed.
- Reheating: Warm individual portions in a 325F oven until the filling is hot and the top re-crisps. The microwave works in a pinch, but it softens the crumble and turns the edges chewy.
Questions I Get Asked About This Recipe
Apple Pie Bake
Ingredients
Equipment
Method
- Preheat the oven to 375F, then grease a 9x13 baking dish.
- Toss the sliced apples with granulated sugar, cinnamon, nutmeg, cornstarch, and lemon juice, then spread them in the prepared dish, forming an even layer.
- Combine all-purpose flour, rolled oats, brown sugar, cinnamon, and salt, then cut in the cold butter until the mixture looks crumbly with small pea-size bits.
- Scatter the topping evenly over the apple filling so it covers the surface in a single, even layer.
- Bake at 375F for 35-40 minutes, until the top is golden and the filling is actively bubbling around the edges.
- Rest for 15 minutes so the filling thickens, then serve warm with vanilla ice cream or whipped cream.