Apple cobbler lands in that sweet spot between a rustic pie and a fruit dessert that doesn’t ask for much ceremony. The filling turns soft and glossy, the biscuits bake up golden with little crisp edges, and every spoonful gets a little bit of both: syrupy apples underneath and tender topping on top. It’s the kind of dessert that disappears fast when it’s served warm, especially with vanilla ice cream melting into the cracks.
This version works because the apples get a head start in the oven before the biscuit topping goes on. That first bake pulls out some juices and starts thickening the filling, so you don’t end up with raw fruit under overbrowned biscuits. Cornstarch keeps the juices from turning watery, and cold butter in the topping gives you those flaky, crumbly pockets that make cobbler worth making in the first place.
Below, I’ve included the small details that matter most: which apples hold their shape, how to know when the filling is thick enough, and what to do if you want the topping a little more tender or a little more crisp.
The apples thickened up beautifully and the biscuit topping stayed tender instead of getting soggy. I baked it while we ate dinner, and it was bubbling around the edges just like you said when it came out.
Save this apple cobbler for the nights when you want bubbling cinnamon apples and a golden biscuit topping with almost no fuss.
The Trick to Cobbler That Isn’t Watery Under the Biscuits
The biggest cobbler mistake is piling raw fruit into the dish and covering it straight away. Apples release a lot of juice as they heat, and if the topping goes on too early, that juice has nowhere to go except into the biscuit dough. The result is a soggy top and a filling that still tastes thin.
This recipe fixes that by baking the apple mixture first. That short head start lets the sugar dissolve, the cornstarch begin working, and the fruit soften just enough to settle before the biscuits go on. The filling should look glossy and a little loose before the final bake; it thickens as it bubbles under the topping.
- Apples — A firm baking apple matters more than anything else here. Granny Smith, Honeycrisp, or a mix of tart and sweet apples all hold their shape better than soft eating apples.
- Cornstarch — This is what turns the juices into a spoonable sauce instead of apple soup. Flour can work in a pinch, but it makes the filling cloudier and takes longer to thicken.
- Lemon juice — Just a little keeps the apples tasting bright and keeps the dessert from leaning flat and one-note.
- Cold butter for the topping — Cold cubes create little pockets of steam in the biscuit dough. Warm butter disappears into the flour and gives you a denser topping.
What Each Ingredient Is Doing in the Filling and Topping
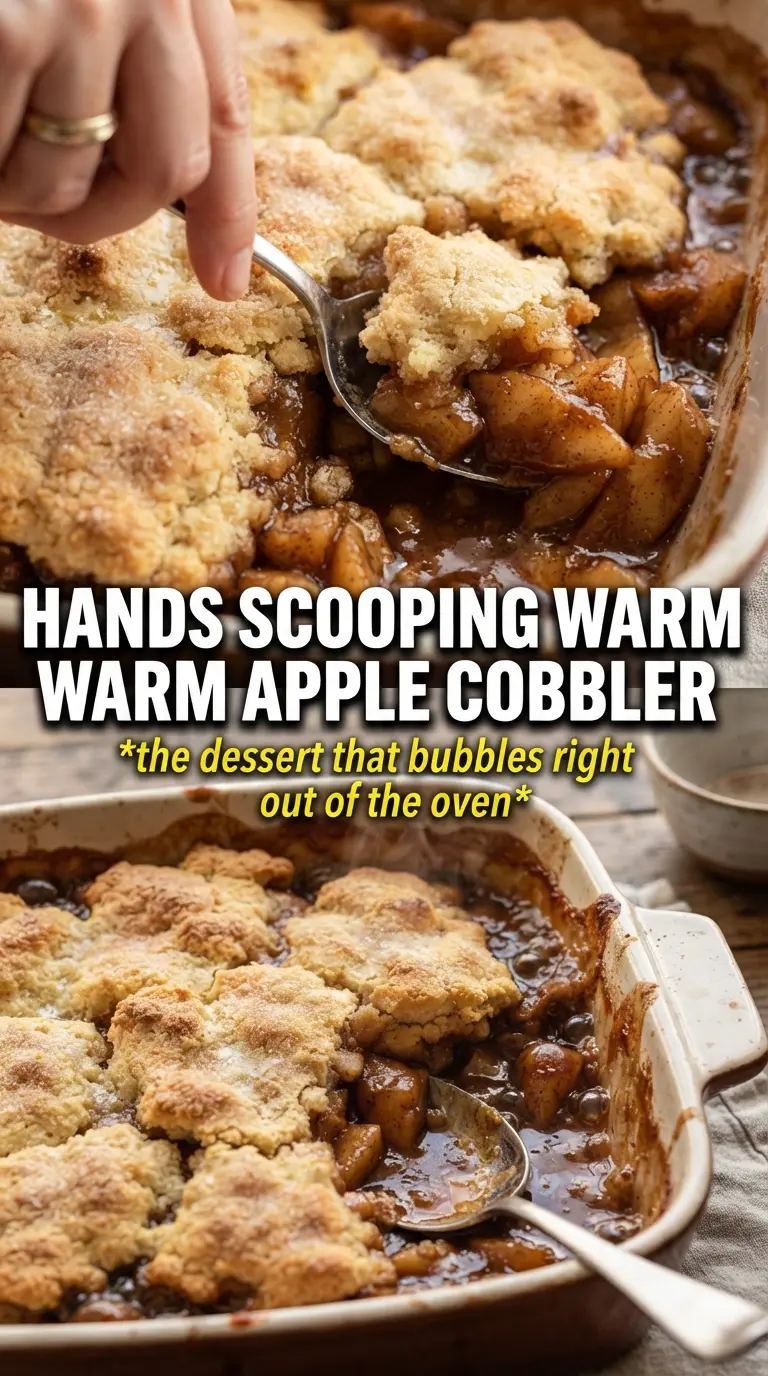
- Granulated sugar — In the filling, it draws out the apple juices and helps create that syrupy texture. In the topping, it gives a light sweetness and encourages browning.
- Cinnamon and nutmeg — Cinnamon carries the dessert, while nutmeg adds warmth without making the filling taste heavy. Don’t overdo the nutmeg; it should support the apples, not compete with them.
- Milk or buttermilk — Whole milk makes a soft, straightforward biscuit topping. Buttermilk gives a little tang and a slightly more tender crumb, which works well if you like a biscuit topping that tastes less sweet.
- Egg and vanilla — These enrich the biscuit dough and help it bake up with a softer interior. The vanilla is subtle, but it rounds out the topping so it tastes like dessert, not just plain biscuit dough.
- Flour and baking powder — Flour gives the topping structure, and baking powder gives it lift so the biscuits rise instead of baking into a heavy cap.
How to Build the Cobbler So the Topping Bakes Up Tender, Not Doughy
Start with the apple filling
Toss the sliced apples with sugar, cinnamon, nutmeg, cornstarch, and lemon juice until every piece looks coated, then spread them in the dish and dot the butter over the top. After the first bake, the apples should look slightly softened and the edges of the dish should be starting to bubble. If the filling looks dry, don’t add water; the apples will give off plenty of liquid as they heat.
Cut the butter into the biscuit dough
Work the cold butter into the flour mixture until it looks like coarse crumbs with some pieces the size of peas. Those bits of butter are what keep the topping light and craggy. If the butter starts melting into the flour while you’re mixing, stop and chill the bowl for a few minutes before continuing.
Mix just until the dough comes together
Whisk the milk, egg, and vanilla, then stir that into the flour mixture until there are no dry patches left. The dough should look shaggy and thick, not smooth like batter. Overmixing makes the topping tough, and it also flattens the lift you get from the baking powder.
Finish with uneven spoonfuls and bake until bubbling
Drop spoonfuls of dough over the hot filling instead of spreading it into a solid sheet. Those gaps let steam escape and keep the cobbler from turning gummy underneath. Sprinkle the cinnamon sugar over the top and bake until the biscuits are deep golden and the filling is bubbling around the edges and through the center.
How to Adapt This for a Different Pan, Different Apples, or a Dairy-Free Table
Dairy-Free Cobbler
Use plant-based butter in both the filling and the topping, and swap in an unsweetened non-dairy milk. The topping will still brown well, but it may bake up a touch less rich than the original version.
Gluten-Free Version
Use a cup-for-cup gluten-free flour blend in place of the all-purpose flour. The biscuits may be a little more delicate, so drop them on gently and let the cobbler rest for 10 to 15 minutes before serving so the filling sets.
Different Apple Combinations
A mix of tart and sweet apples gives the best flavor and texture. If you use only very sweet apples, the cobbler can taste flat, and if you use only tart apples, you may want to add a tablespoon or two more sugar to the filling.
Make-Ahead for Serving Later
Bake the cobbler earlier in the day, then warm it in a low oven before serving. The topping softens a little as it sits, but the flavor stays great, and a short reheat brings back the edges.
Storage and Reheating
- Refrigerator: Store covered for up to 4 days. The topping will soften, but the filling stays flavorful.
- Freezer: It freezes best after baking and cooling completely. Wrap tightly and freeze for up to 2 months; thaw overnight in the fridge before reheating.
- Reheating: Warm uncovered in a 350F oven until the filling is hot and the topping firms back up, usually 15 to 20 minutes. The biggest mistake is microwaving it until the biscuits turn rubbery before the center is hot.
Questions I Get Asked About This Cobbler
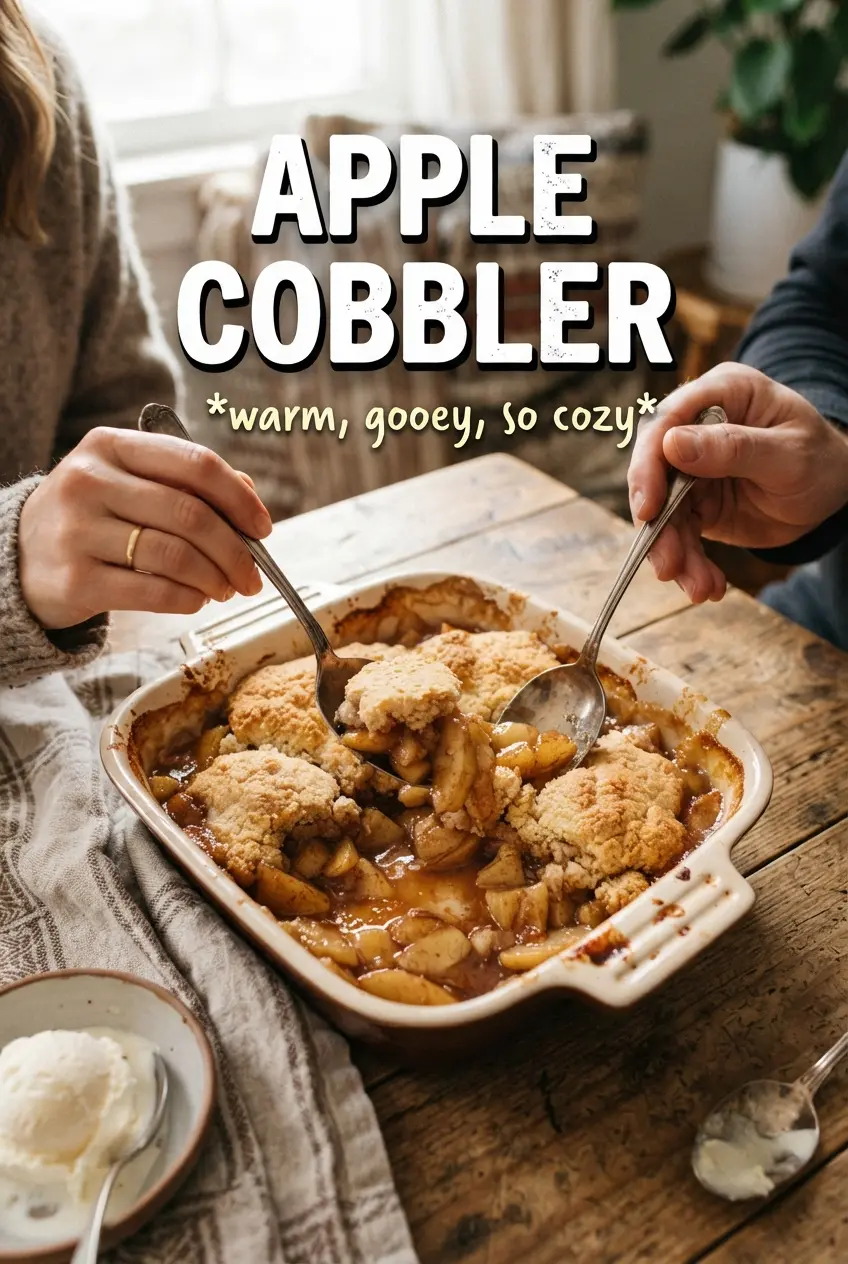
Apple Cobbler
Ingredients
Equipment
Method
- Preheat oven to 375F and grease a 9x13 baking dish.
- Set aside the baking dish while you prep the apple filling and biscuit topping.
- Toss apple slices with granulated sugar, cinnamon, nutmeg, cornstarch, and lemon juice until evenly coated.
- Spread the coated apples in the greased baking dish, then dot with unsalted butter.
- Bake the apple filling for 15 minutes while you prepare the biscuit topping.
- Whisk all-purpose flour, granulated sugar, baking powder, salt, and cinnamon until combined.
- Cut in cold unsalted butter until the mixture looks crumbly.
- Whisk whole milk or buttermilk, egg, and vanilla, then stir into the flour mixture until just combined.
- Drop spoonfuls of biscuit dough over the hot apple filling.
- Sprinkle the cinnamon sugar topping over the biscuit dough.
- Bake for 28-32 minutes at 375F until the biscuit topping is golden and the filling is bubbling.
- Serve the apple cobbler warm with vanilla ice cream.